If you don’t know how to activate the new Microsoft Office UI in Windows, we are going to help you out. Microsoft has launched the new Office interface for some users that are in the Insider program. If you want to try this new design, keep reading.
We have prepared this guide using the latest update of Microsoft Office and the previous version of Windows 11. It is very likely that the steps mentioned below are also valid for users of Windows 10. Remember that, if you use Microsoft Office on a daily basis, the installation of beta versions is not recommended.
How to activate the new Microsoft Office UI in Windows?
To get started, visit the Office Account section. You can do this from any Office application. For example, you can use Word. Click on the Office Insider button and select Join Office Insider.


After clicking the OK button, Office will check for updates and install the latest beta version. You can follow the progress in the pop-up window.
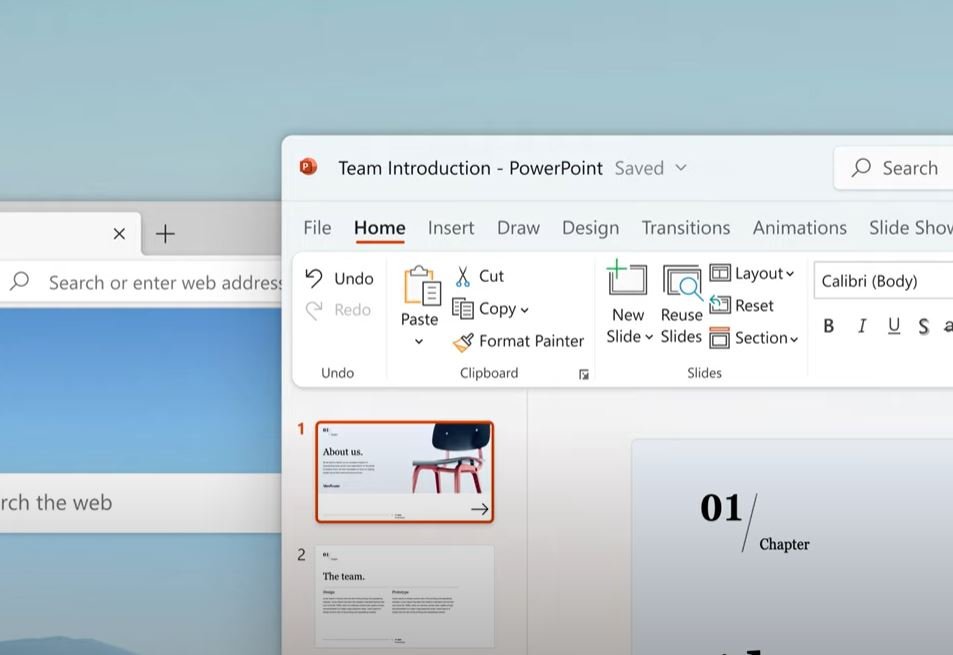
During the installation, you will need to close all Office applications. Be sure to save your changes. Once you have the latest version, notice that a new megaphone icon will appear in the upper right corner. Click on it to see what’s new and enable the new design.
What happens if the megaphone icon does not appear?
As has happened in our case, it is possible that, even if you sign up for the Insider program, you do not have the megaphone button. In that case, you will need to complete some additional tasks to activate the new design. First, copy the text you see below:
Windows Registry Editor Version 5.00
[HKEY_CURRENT_USERSoftware_Microsoft_Office_16.0.0Common_ExperimentConfigs_ExternalFeatureOverrides_word]
“Microsoft.Office.UXPlatform.FluentSVRefresh”=”true”.
“Microsoft.Office.UXPlatform.RibbonTouchOptimization”=”true”
“Microsoft.Office.UXPlatform.FluentSVRibbonOptionsMenu”=”true”
[HKEY_CURRENT_USERSoftware_Microsoft.Office.Office.UXPlatform.FluentSVRibbonOverridesOptionsMenu”=”true”]
“Microsoft.Office.UXPlatform.FluentSVRefresh”=”true”.
“Microsoft.Office.UXPlatform.RibbonTouchOptimization”=”true”
“Microsoft.Office.UXPlatform.FluentSVRibbonOptionsMenu”=”true”
[HKEY_CURRENT_USERSoftware_Microsoft.Office.Office.UXPlatform.FluentSVRibbonOverridesOptionsMenu”= true]
“Microsoft.Office.UXPlatform.FluentSVRefresh”=”true”.
“Microsoft.Office.UXPlatform.RibbonTouchOptimization”=”true”
“Microsoft.Office.UXPlatform.FluentSVRibbonOptionsMenu”=”true”
[HKEY_CURRENT_USERSoftware_Microsoft.Office.UXPlatform.FluentSVRibbonOverridesOutlook]
“Microsoft.Office.UXPlatform.FluentSVRefresh”=”true”.
“Microsoft.Office.UXPlatform.RibbonTouchOptimization”=”true”
“Microsoft.Office.UXPlatform.FluentSVRibbonOptionsMenu”=”true”
[HKEY_CURRENT_USERSoftware_Microsoft.Office.UXPlatform.FluentSVRibbonOverridesMenu”=”true”.]
“Microsoft.Office.UXPlatform.FluentSVRefresh”=”true”.
“Microsoft.Office.UXPlatform.RibbonTouchOptimization”=”true”
“Microsoft.Office.UXPlatform.FluentSVRibbonOptionsMenu”=”true”
Then, open the notepad and paste it. Next, use the Save As… option, select the All Files format and name your new file whatever you want. However, be sure to use the .reg extension to create a Windows registry file.
After generating the corresponding registry file, double-click on it. In the pop-up dialogs that will appear, use OK to add the contents to the registry. Then restart your computer. The next time you open Microsoft Office you will enjoy the new design.


