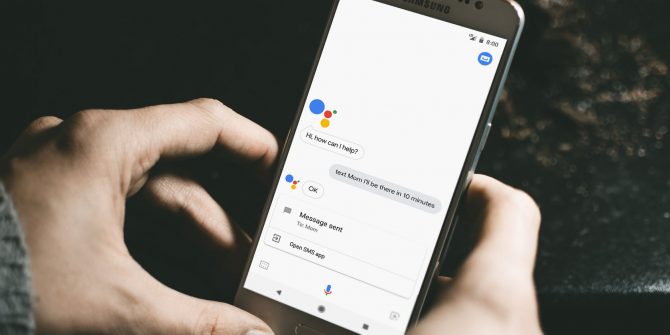
If you wonder how to use Google Assistant on a PC, we are going to help you out. Google has a large number of applications with very useful features for our daily lives, such as Google Maps and Google Photos, but, without a doubt, the application that is making our lives easier and improving our productivity is its virtual assistant, Google Assistant.
The Google Assistant, which we can activate with the OK Google command, facilitates some day-to-day tasks such as calling a friend or family member, saving an appointment or reminder in the calendar, adding a note to Keep, listening to the news, informing us of the weather or managing our home automation devices.
But one of the problems that Google Assistant has is that we can only use it on our smartphones and devices with Chrome OS through its official client. But we are going to show you a little trick so you can enjoy this application on your computer with Windows, macOS, or Linux by installing an unofficial client.
How to use Google Assistant on Windows, macOS or Linux PC?
The process is not really hard. First, you need to download the unofficial client from the GitHub page, then you just need to follow these steps:
- Sign up for Google Cloud with a Gmail account (selecting the “Get started for free” option).
- Access the action console.
- Click on “New project”.
- We name our project and check “Create project”.
- Scroll to the bottom of the page and next to “Are you looking for a device registration?” you will see the option “Click here” and click on it.
- Once we have already created the project, a new screen appears in which we must click on “Register model”.
- We cover all the fields, in device type, we select any of those listed and click again on “Register model”.
- In the next screen, we click on “Download OAuth 2.0 credentials”, which we will need to identify ourselves in the Google Assistant application.

Consent screen configuration
- We access the Google Cloud console.
- In the upper left corner, right next to the Google Cloud Platform logo, we find a drop-down menu, and when we click on it, a pop-up window with the title “Select a project” will appear.
- We select the “All” tab, choose the name of the project we have just created and then click on “Open”.
- We expand the menu on the left side by clicking on the three horizontal stripes, select “API and services” and click on “Enable APIs and Services.”
- The previous step has taken us to the API library, in the search bar we type “Google Assistant” and when we get the search results we click on “Google Assistant API”.
- Click on the “Enable” button and wait until it is activated.
- Going back to the left menu we select “Credentials” and then click on “Consent Screen”.
- Once on the consent screen, under user type we select “External” and click on the “Create” button.
- This takes us to the “Application Registration” screen where we must select our email in the “User Support Email” section.
- We scroll to the bottom of the page, and in the “Developer Contact Information” section we look for the “Email Addresses” option, enter our email and click on the “Save and Continue” button.
- On the next screen, which is titled “Scope”, simply scroll to the bottom of the page and click “Save and Continue”.
- On the next screen labeled “Test Users”, we click on the “+ ” button, enter our Gmail email address, which is the one we will use to authenticate to the application, and click “Save”.
Authentication configuration

- Run the unofficial Google Assistant desktop client.
- We click on the Settings option located in the upper left corner.
- Next, we click on “Authentication” and then on “Key file path”. We select the file we downloaded earlier in the last step of the first block called “OAuth 2.0 Credentials”, leave the “Saved token path” field blank and click on Save.
- A message will appear on the screen and we must click on the “Automatically set a path” button.
- We will see another message with the title “Relaunch required”, in which we will click on the “Relaunch wizard” button.
- Now we will see a message saying “Get token” and an authentication page will open in the web browser.
- We choose our Gmail account with which we have registered in Google Cloud.
- Click on “Advanced” and “Go to project” (instead of “project” we will see the name we have previously given it.
- It will ask us to give permission, for which we click on the “Allow” button.
- Now we will see our authentication code, we copy it, we return to the application, we paste the code and we press the “Send” button.
- We will get a message to relaunch the application, click on “Relaunch assistant” and once it restarts we will have the Google Assistant operational on our PC.


