In this article, we will provide tips on how to charge fitness tracker effectively. Fitness trackers are gaining popularity as individuals strive to increase their physical activity and monitor their health. Although many trackers come with a USB charging cable, there are ways to prolong the battery life and ensure that the tracker is always charged and ready for use.
How to charge fitness tracker?
It’s not uncommon for people to consider replacing their traditional wristwatch with a fitness monitor. These devices have numerous benefits, such as the ability to track steps, monitor sleep and even GPS capabilities that can connect to smartphones. They can also serve as a replacement for a traditional wristwatch.
However, it is important to note that traditional watches can last for several months before needing a new battery, while fitness trackers need to be charged every few days. Failure to charge the fitness tracker can result in it not working. In this article, we will provide ways to ensure that your fitness tracker is always charged and functioning optimally. Now let’s learn how to charge fitness trackers below.
How long does it take to charge a fitness tracker?
A fitness tracker is a device worn on the body that records data related to physical activity. There are various types and brands of fitness trackers, each with distinct features and abilities. The charging time of a tracker varies based on the brand and type of tracker, as well as the power source used.
Some trackers can be charged within a short time of 30-60 minutes, while others may take a few hours. If it is taking longer to charge, it is important to check the connections to make sure they are secure to allow the battery to draw maximum power. Let’s explore different device models and the required intructions to charge a fitness trackers.
Most fitness trackers require a specific type of charging cable, which usually comes with the tracker. However, these cables can malfunction or break over time, requiring the need for a replacement. In addition to the original manufacturer, third-party companies also produce replacement charging cables that are compatible with the trackers.
To charge the tracker, a USB wall adapter is also required. These charging cables can be plugged into a USB adapter, which then connects to standard wall outlets. Some trackers come with the adapter included, while others do not.
Fitbit Charge 4
The Fitbit Charge 4 uses a clip-style charging cable to charge the tracker’s rechargeable battery. To use the cable, pinch the clip to open the gap at the front of the clip. The front edge of the clip has a slight lip that allows it to wrap around the edges of the tracker.
The clip also has an oval-shaped opening that wraps around the Fitbit control button without touching it, which helps align the clip and cable correctly. Once the clip is correctly attached and connected to the power cable, a charging status indicator will appear on the tracker’s screen.
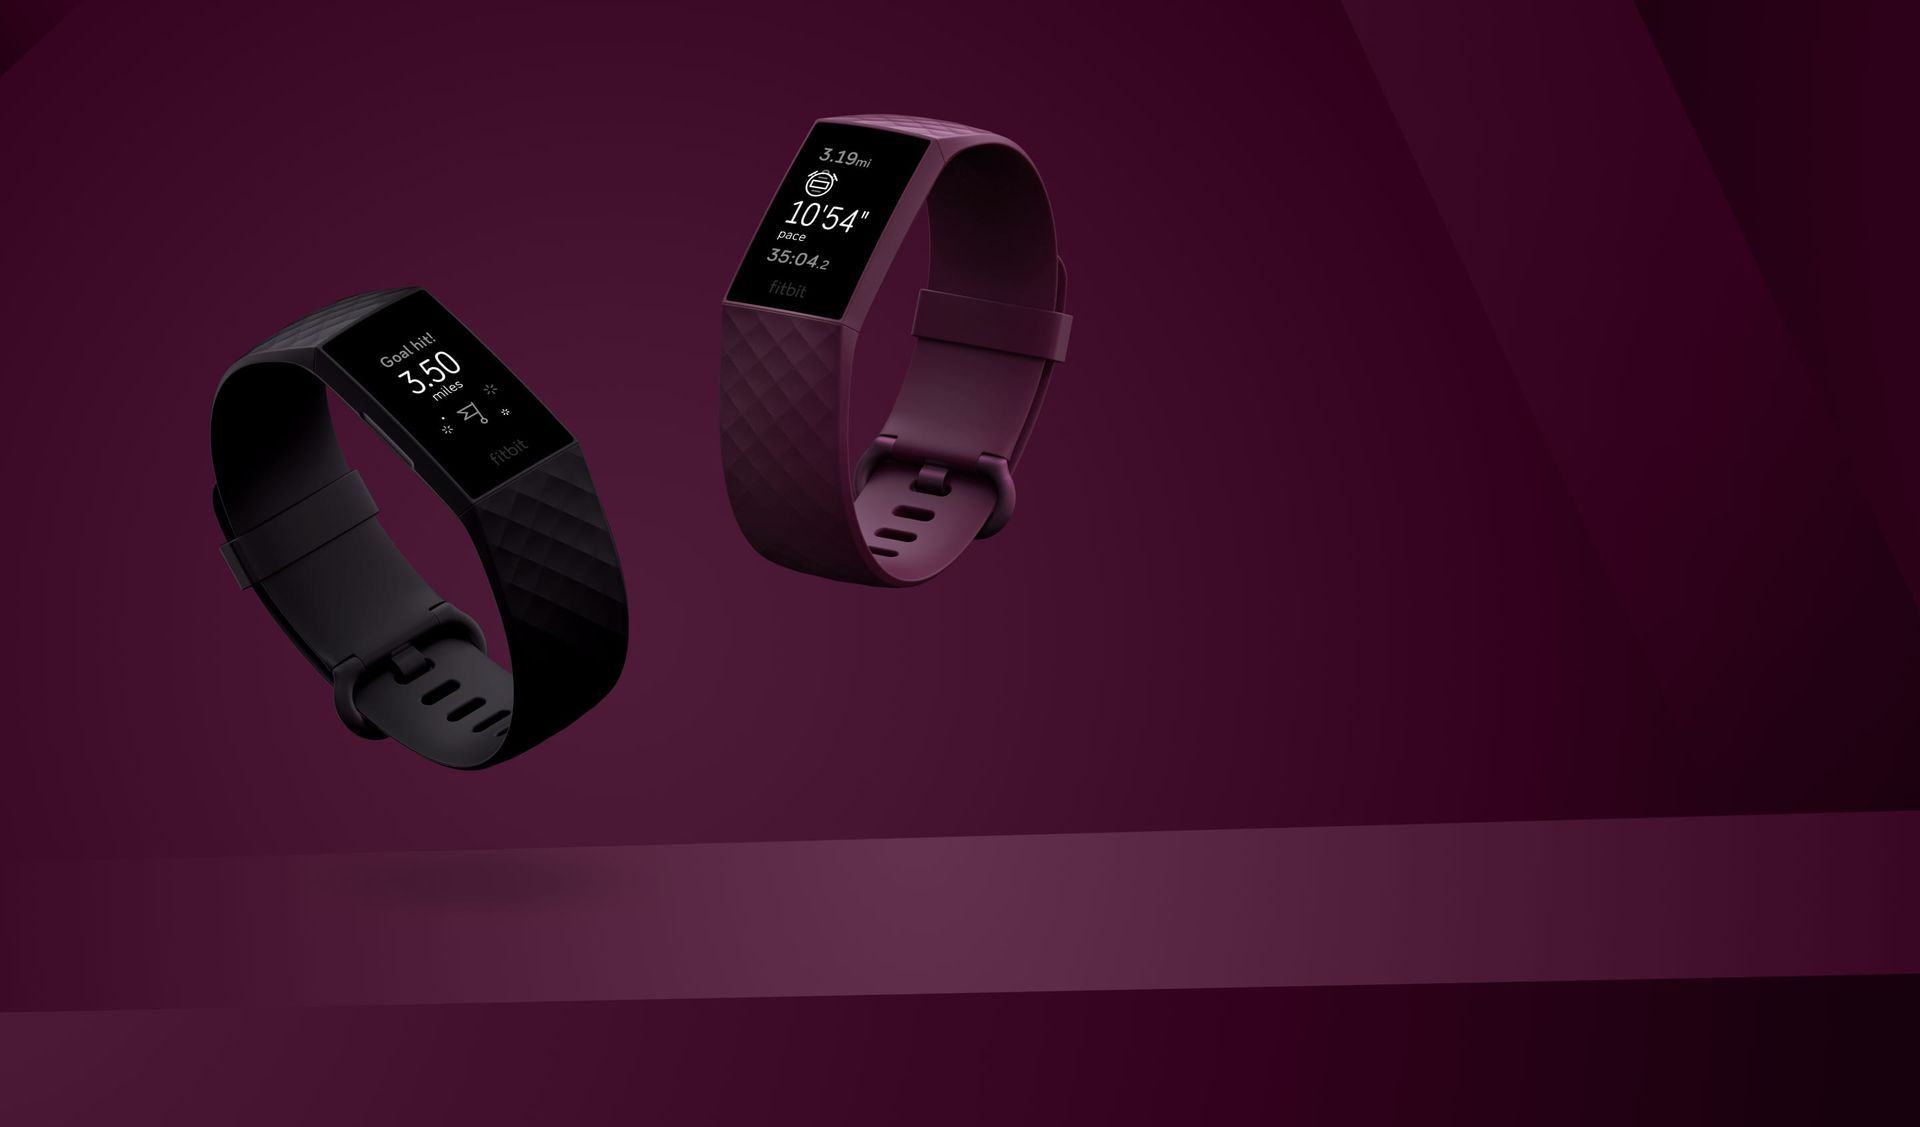
It is important to note that the Charge 4 charging cable is not compatible with the Fitbit Charge 3 as the Charge 4 cable has gray markings at the bottom of the clip mechanism, while the Charge 3 has no markings.
Fitbit Charge 5
To charge the tracker, connect the charging cord to a USB port on a computer, a UL-certified USB wall charger, or another low-energy charging source. Hold the other end of the cable close to the connector on the back of the tracker until it attaches magnetically.
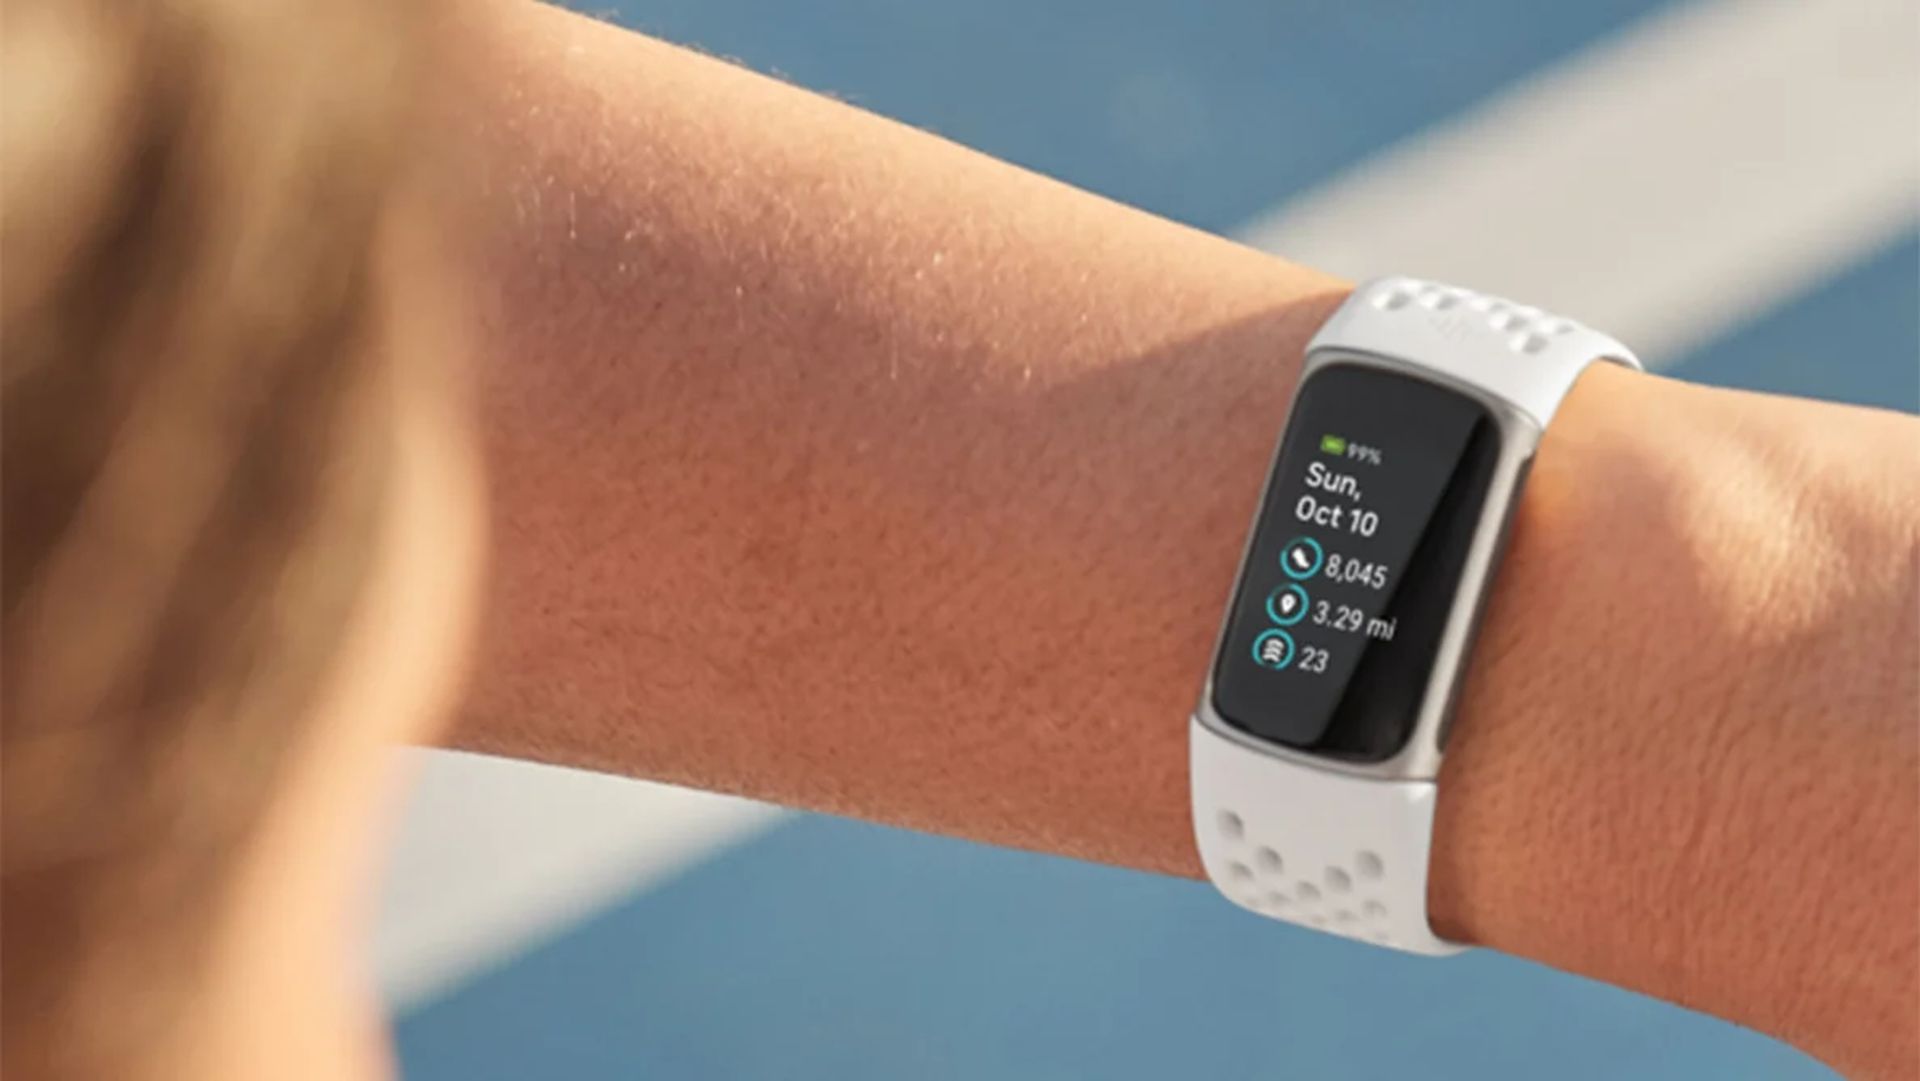
Ensure that the pins on the charging cord align with the ports on the back of the tracker. It typically takes 1-2 hours to fully charge the device. While the device is charging, double-tap the screen to turn it on and check the battery level. Swipe right on the battery screen to access the device. Once the tracker is fully charged, a solid battery icon will appear on the screen.
Apple Watch Series 6
The Apple Watch Series 6 requires a specific charging cable to set it up as a fitness tracker, and this model uses a different charger cable than other trackers. To charge it, plug the cable into the port on the back of the watch and attach it using the open port and a magnet to ensure a secure fit.
Put the watch back on the charger, it will make a chime sound when it is properly connected and charging, a green lightning symbol will appear on the watch’s face to indicate that it is charging.
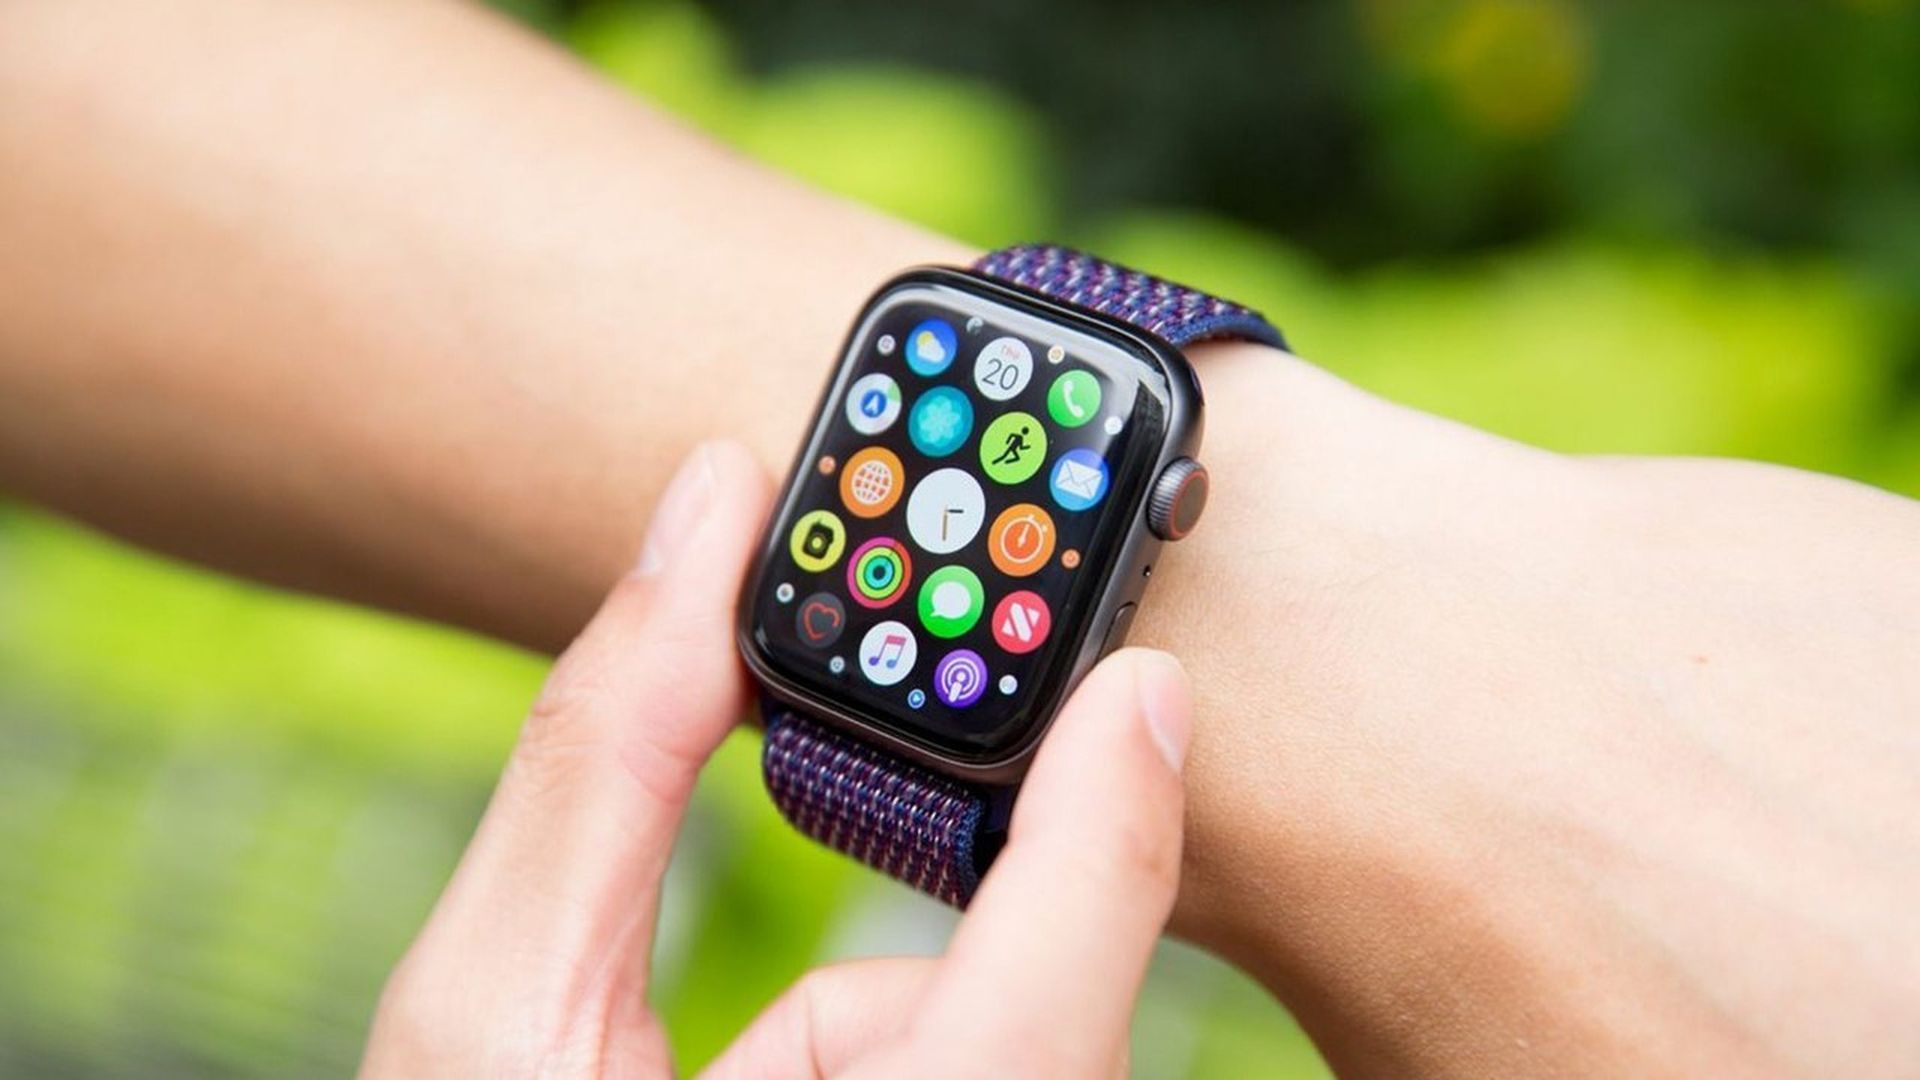
When your Apple Watch is charging, the red lightning symbol will appear. To view the Control Center, swipe up. To check the remaining battery life, you can check the power level. To see the exact percentage of battery remaining, tap the Battery menu.
To ensure efficient charging, go to the Settings icon on your Apple Watch face, then tap the Battery menu and select Battery Health. To maximize charging, turn on Optimized Battery Charging. This process is the same for both the Apple Watch Series 7 and Series 8.
Garmin Vivosmart 4
To charge your Garmin Vivo smart 4, you will require a Vivo smart4 charging cable or a cable that is compatible with it. The cable has a USB connector on one end and a clip-shaped charger on the other.
To widen the front end of the clip, press the ends of the clip together. The edges of the clip should securely hold the charger against the tracker by wrapping around the edges of the Vivo smart 4.
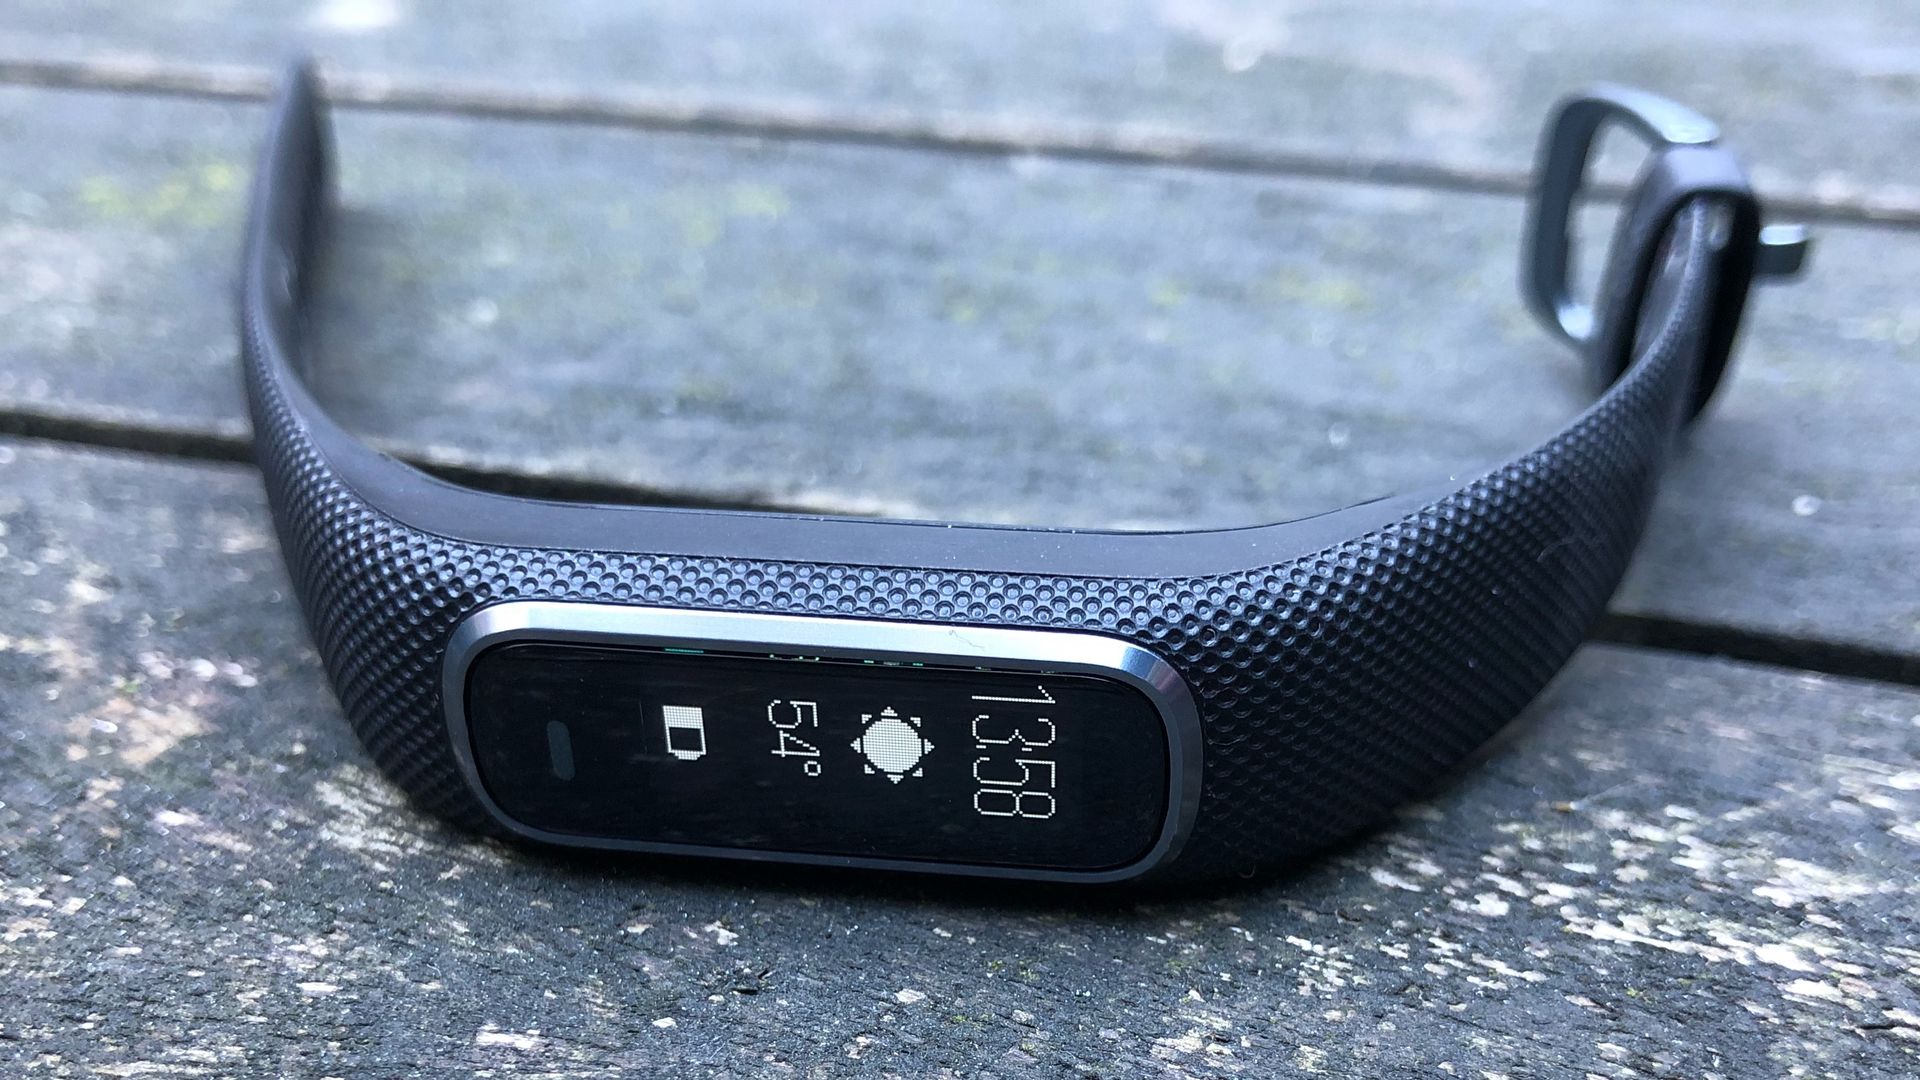
The contacts on the interior of the clip should fit into the receptors on the tracker. The tracker should be firmly attached to the clip.
Check to see if the connections at either end of the clip are bent or rusted if your charger isn’t working.
This is compatible with the Garmin Vivosmart 5.
Samsung Galaxy Watch Active 2
The Samsung Galaxy Watch Active 2 requires a special charging station designed especially for Samsung activity trackers.
The circular base of the charging stand has a vertical portion. The cable can be connected to a USB wall adapter on one end and the rear of the charging station on the other.
To start charging the Galaxy fitness tracker, place the back of your watch in line with the vertical part of the charging stand. The round edge of the watch face is placed on the base of the charging station to provide stability.
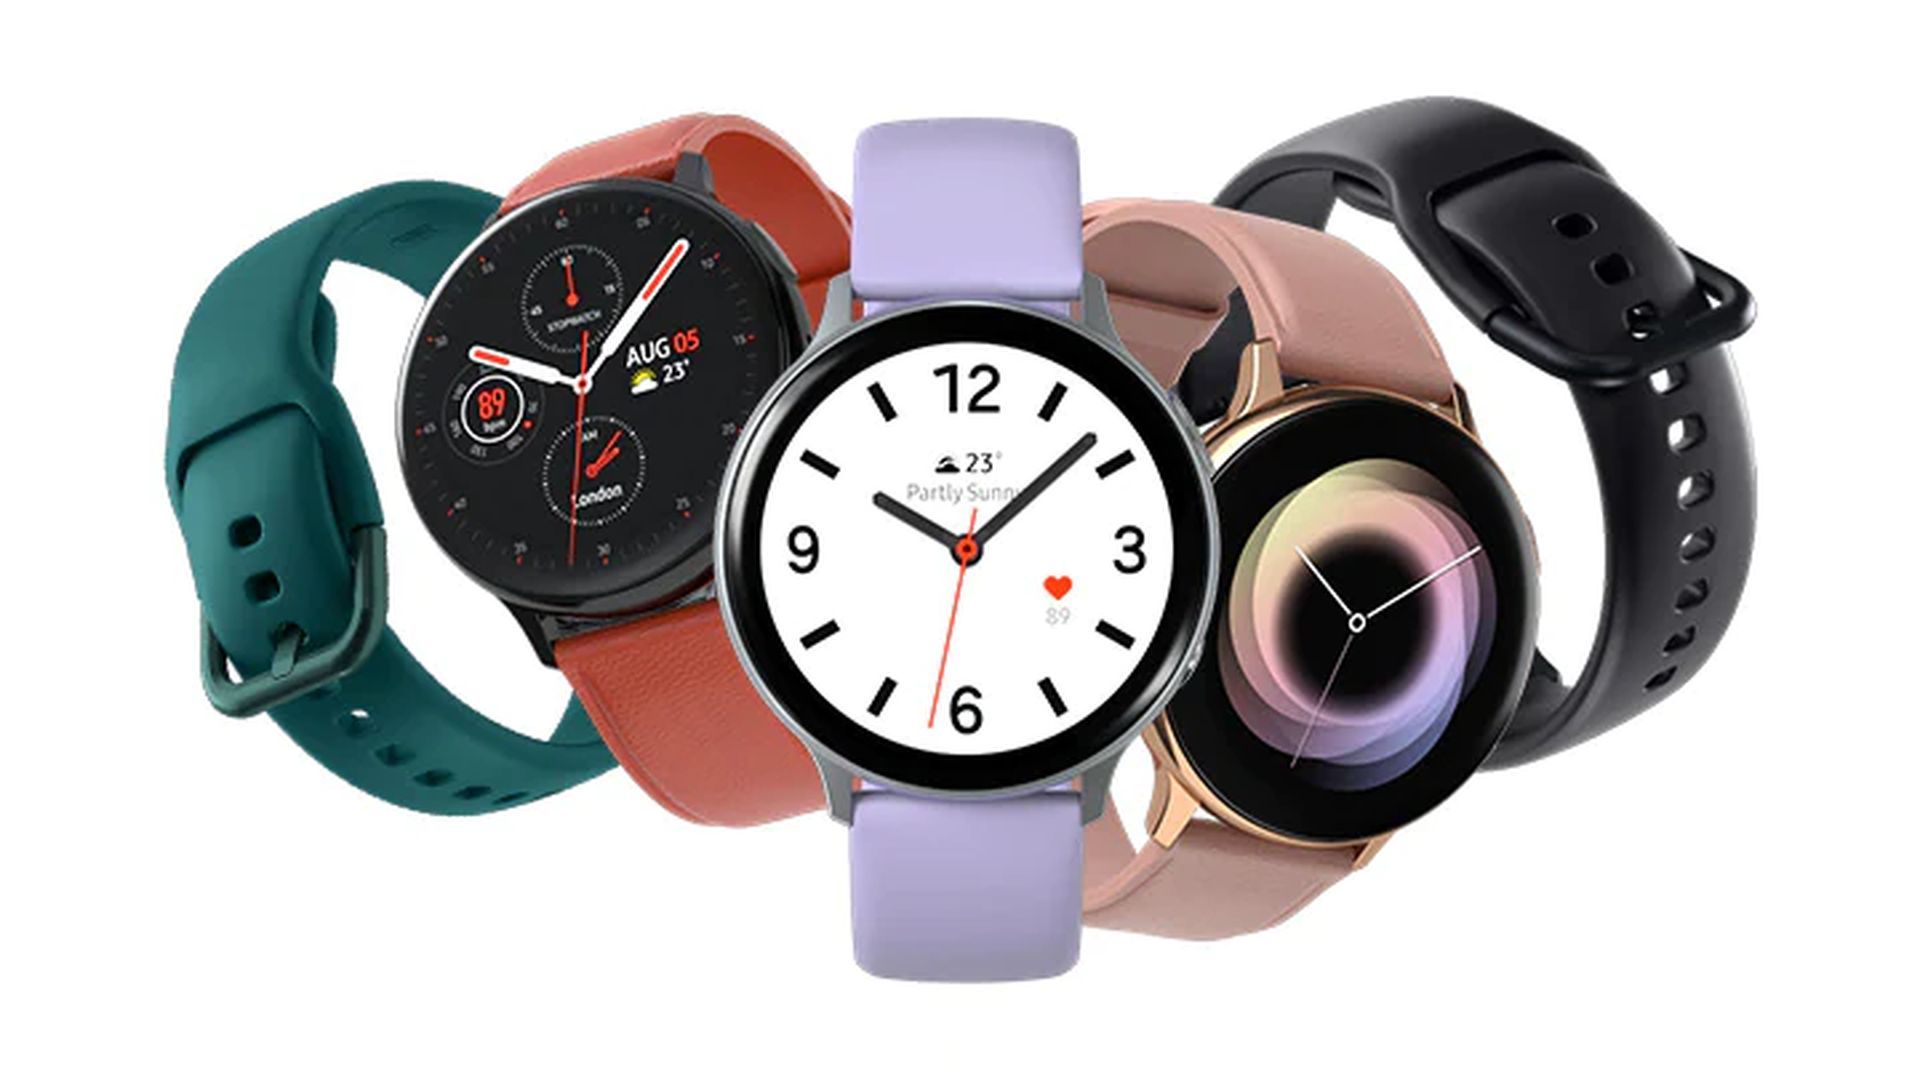
The charging state is indicated by a little light on the charging station’s front. The red or green light indicates the charging rate. When the red light flashes, the charging dock can be broken.
The Samsung Galaxy Watch Active 2, Samsung Galaxy Watch Active 3, Samsung Galaxy Watch Active 4, and Samsung Galaxy Watch Active 5 can all use this instruction.
Fitbit Versa 3
Maintaining a fully charged Fitbit Versa 3 is essential. The Fitbit Versa 3 uses more power than comparable trackers because of its huge screen. Older Versa models are compatible with the Versa 3 charging cable.
The charging cable dock features rounded sides and is square in shape. It matches the back of the Versa 3 tracker. The dock contains a magnet that you can place against the rear of your Versa 3 fitness tracker to ensure a successful charging operation.
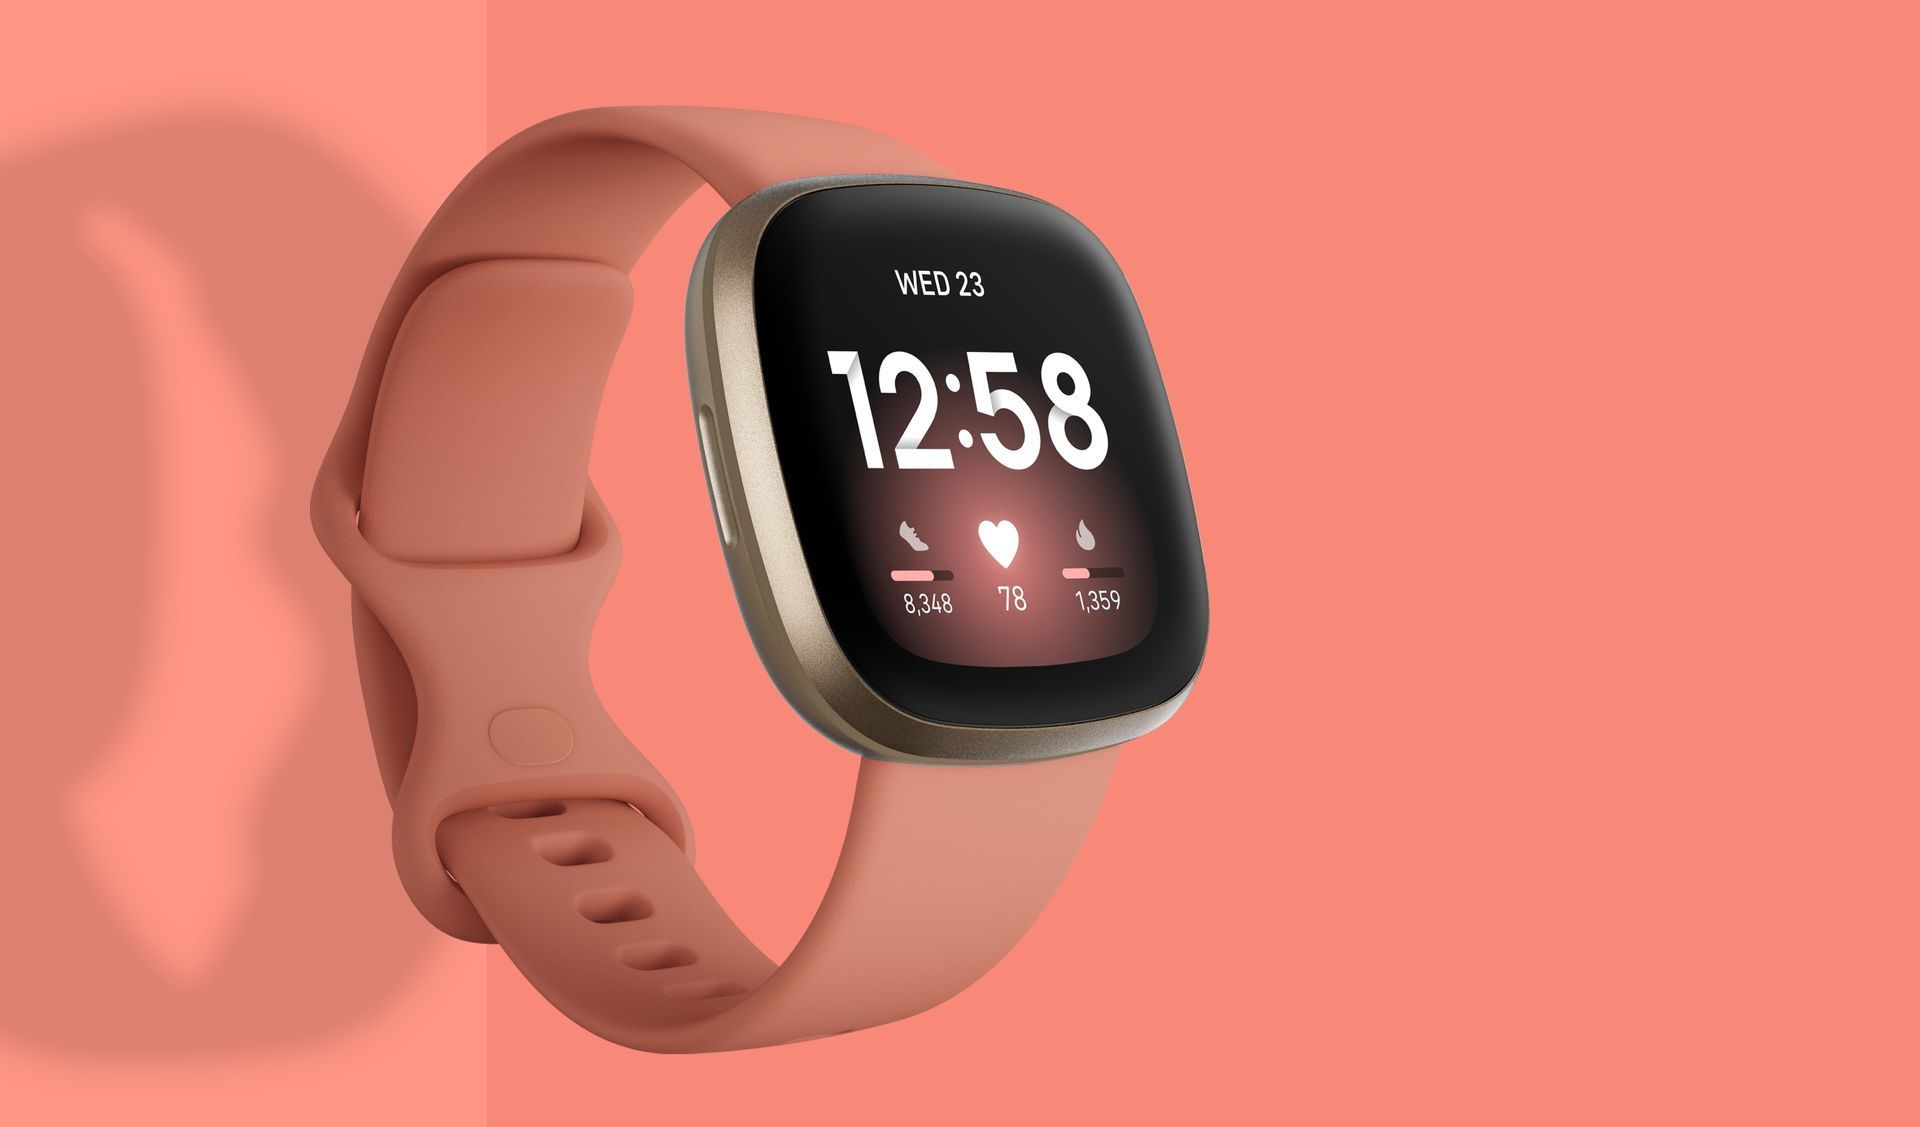
As the battery charges, the device will show the current battery power percentage. This enables you to monitor the progress of the charging procedure. If there is no sign of charging progress, the dock could not be properly positioned relative to the tracker.
Fitbit Versa 4 is likewise covered by this instruction.
Jawbone UP Band
Simply push the button to check the charge of your UP band, then look for the red status light. Your UP band will vibrate three times as quickly and the red sun will shine if the battery is less than 10%.
You can use these steps to charge your UP band. Connect your computer’s USB port to the charging cable.
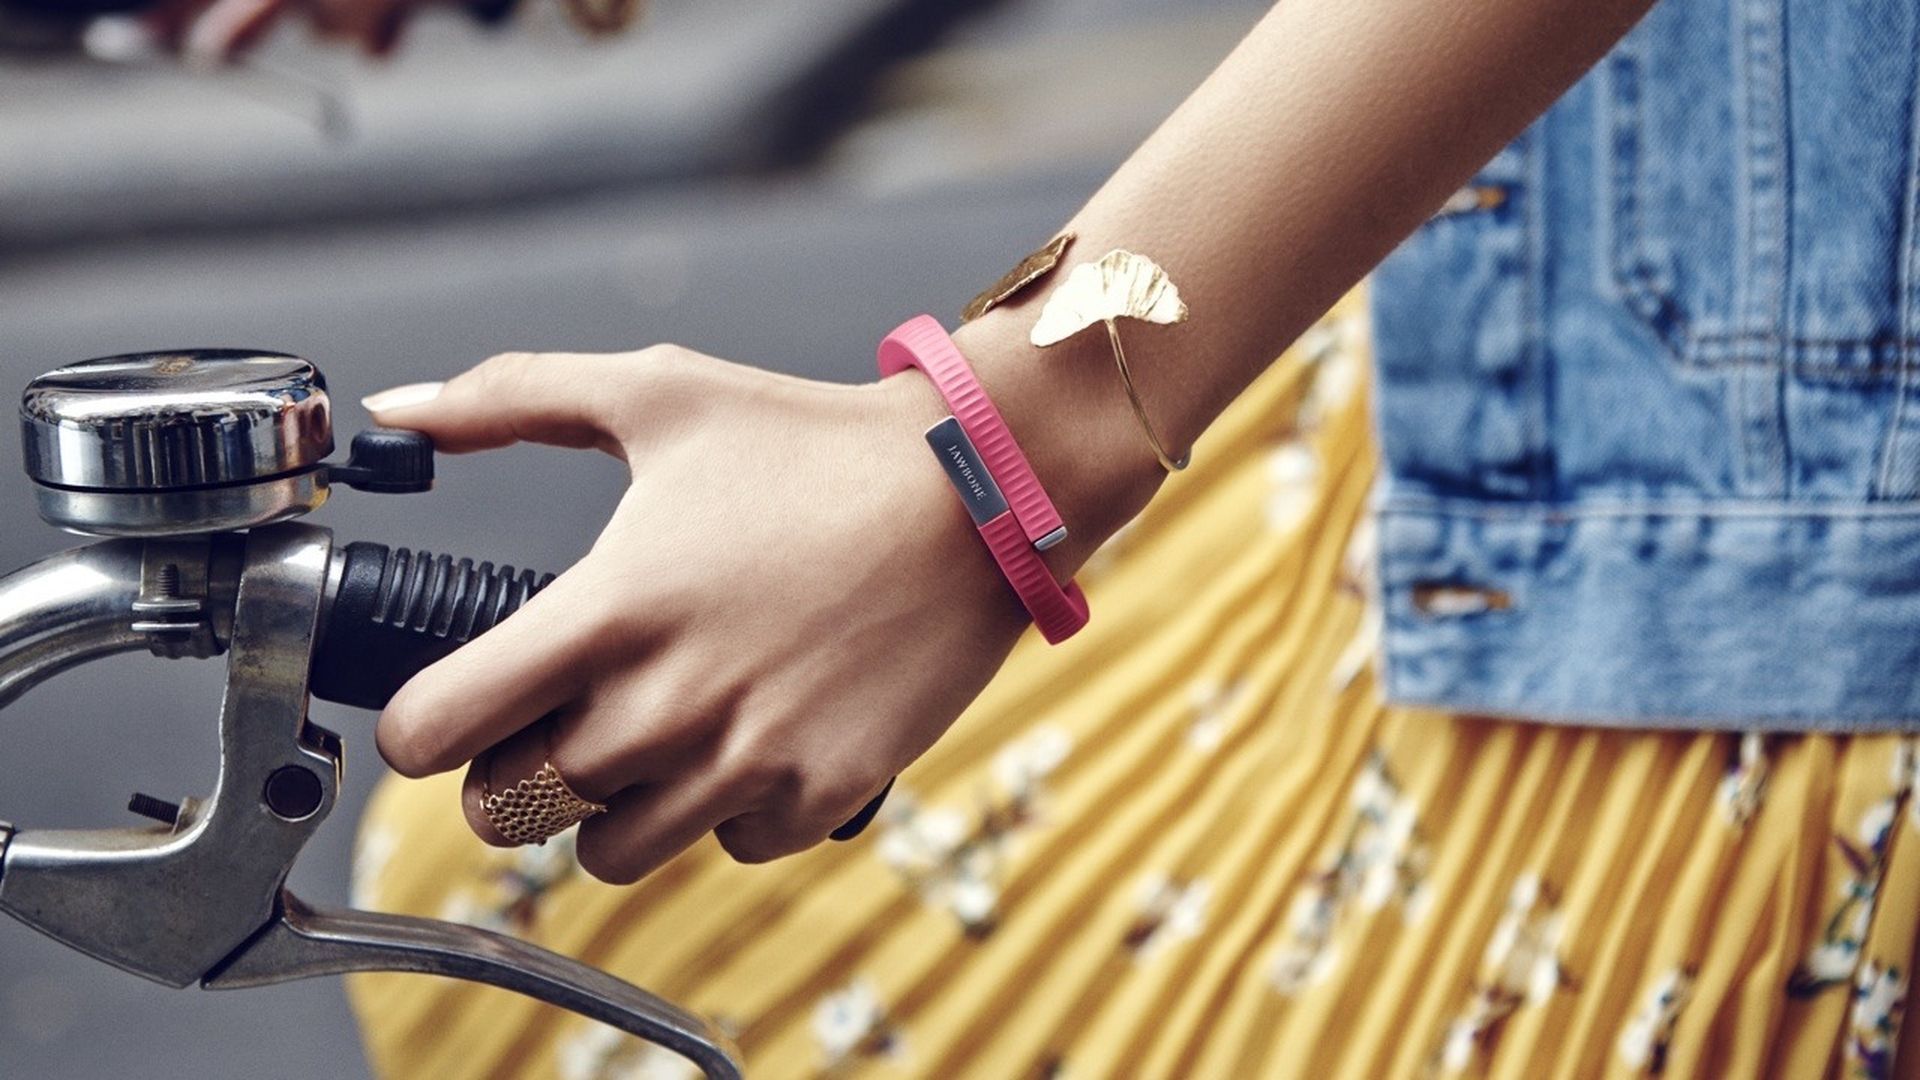
The band should be attached to the opposite end after removing the Jawbone logo cap. When the UP band is charging, the Sun status light pulses, and when it is fully charged, it glows brilliantly.
It takes the band about 80 minutes to charge completely. The battery shouldn’t need to be charged again for roughly 10 days.
Nike+ FuelBand
When you push the button, a battery icon will appear if your FuelBand battery is low. Your battery level will be indicated by a plug-in indicator. It might be beneficial if you recharged the FuelBand by connecting it to your computer.
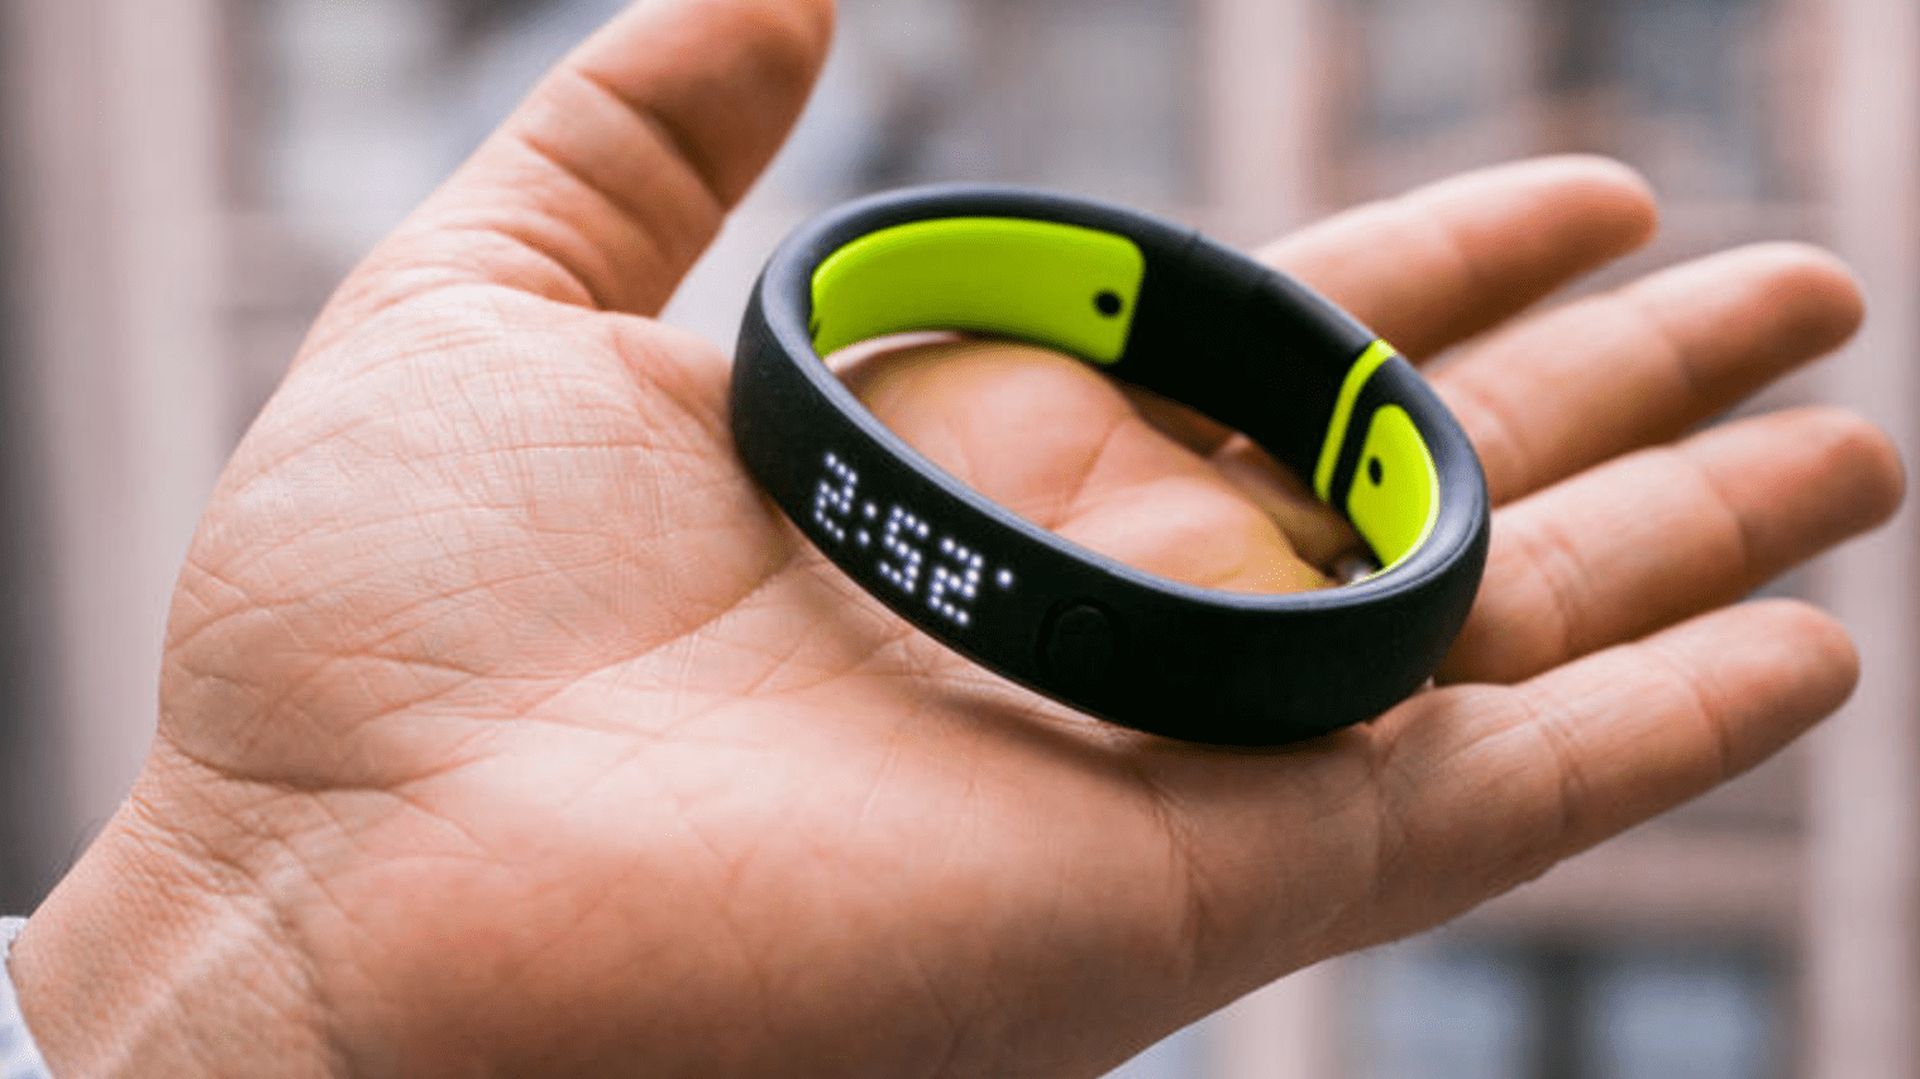
You have two choices for connecting your FuelBand to your computer: directly or with the included connection.
To demonstrate how full your battery is, a battery icon will fill up on the FuelBand display. A complete charge of the battery takes three to four hours.
Misfit Shine
Every four months, you must replace the Shine. A special battery-replacement tool is included in the Shine box. Another option is to use a flathead or eyeglass repair screwdriver.
Lift the cover by inserting the screwdriver or other specified instrument into the notch at the back of Shine.

The old battery can be taken out using the magnetic clasp found on the Shine package. Place your battery on the large end of the magnetic clip after removing it from the Shine container.
The positive side of the battery should be facing the back cover.
By lining up the “12” mark inside the Shine with the notch on the back cover, you can close the cover.
Fitbit Force
To check the battery level of your Force on Fitbit.com, log in and click on the gear icon in the top right corner. To recharge, connect the charging cable to either a USB port on your computer or a wall charger, and then connect the other end to the Force’s port.
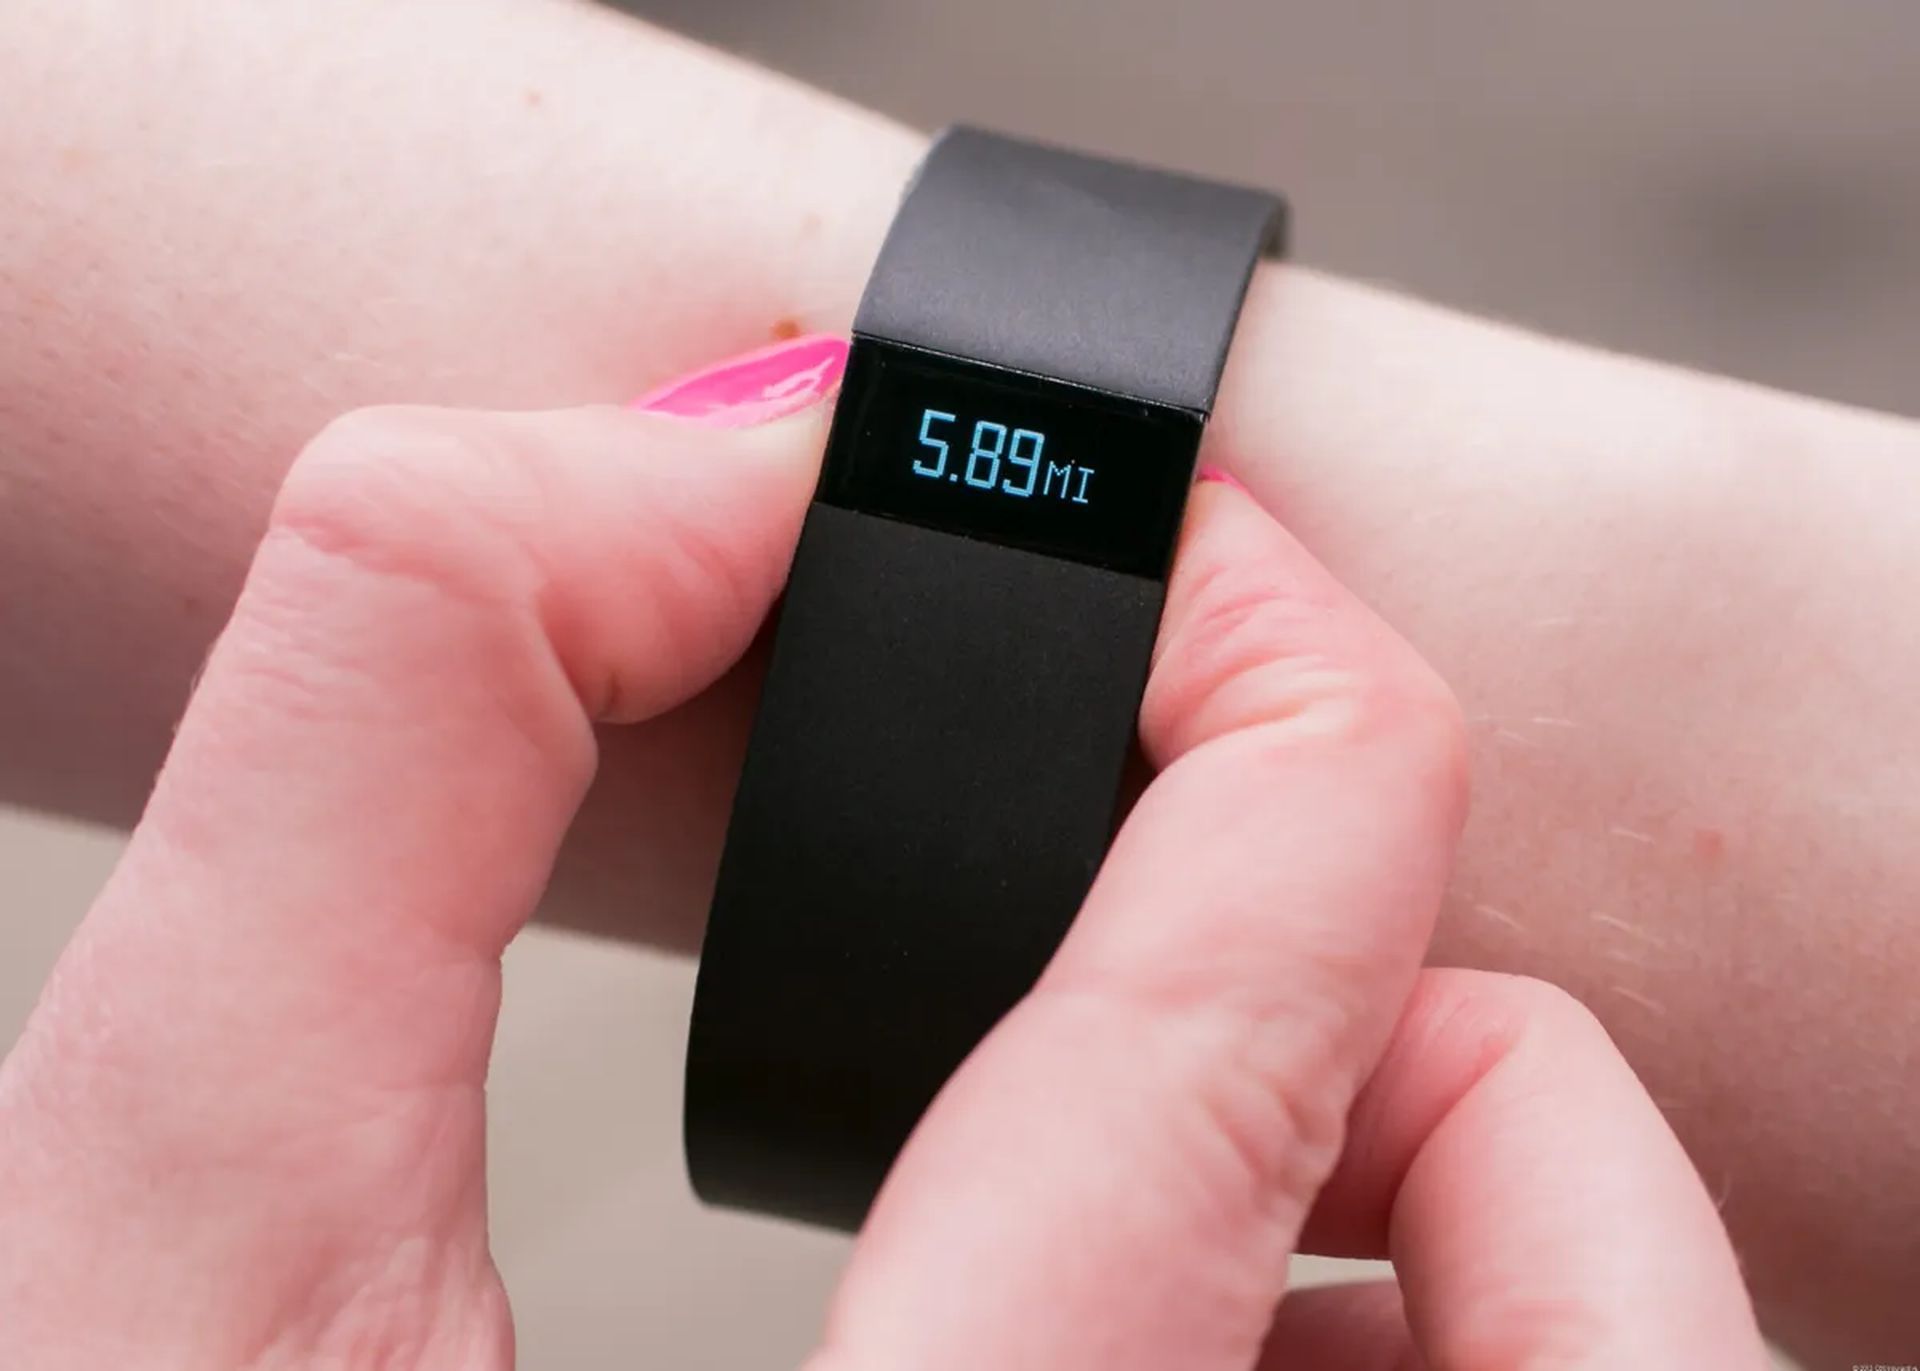
The battery icon will show the charging progress and it typically takes around an hour and 15 minutes to fully charge. The battery should last between 7-10 days before needing to be recharged again.
Fitbit Flex
You can check the battery level of your Flex by logging into Fitbit.com and clicking on the gear icon in the top right corner. To recharge, connect the charging cable to a USB port on your computer. Take the Flex tracker out of the wristband and align the three dots with the rods on the charging cord and push it in until you hear a click.

You will see one flashing light while charging, and as the battery level increases, more lights will appear. It may take up to 3 hours to fully charge and the Flex battery should last for 5 days before needing to be recharged again.
How to charge a fitness band without a charger?
To charge your fitness band without a charger, you will require a USB cable. Connect the cable to the charging port located on the back of the band, and then plug it into a power source. Once the band is connected to the power, the charging indicator light will turn on, indicating that the charging process has begun.
Conclusion
Recharging your fitness tracker after purchasing it and the charging cable is a quick process. To ensure that your device does not run out of battery, it’s recommended to charge it before going to bed. The most common method for charging a fitness tracker is by using the USB cable that is included with the device.
Now we hope you know how to charge fitness tracker. You can also learn how to fix Fitbit Charge 5 battery drain issue by visiting our guide!


