You can find how to fix AMD driver timeout error in Windows 10 in this article. Windows 10 shows a constant message saying “AMD driver timed out”? Fix this error in a couple of simple steps.
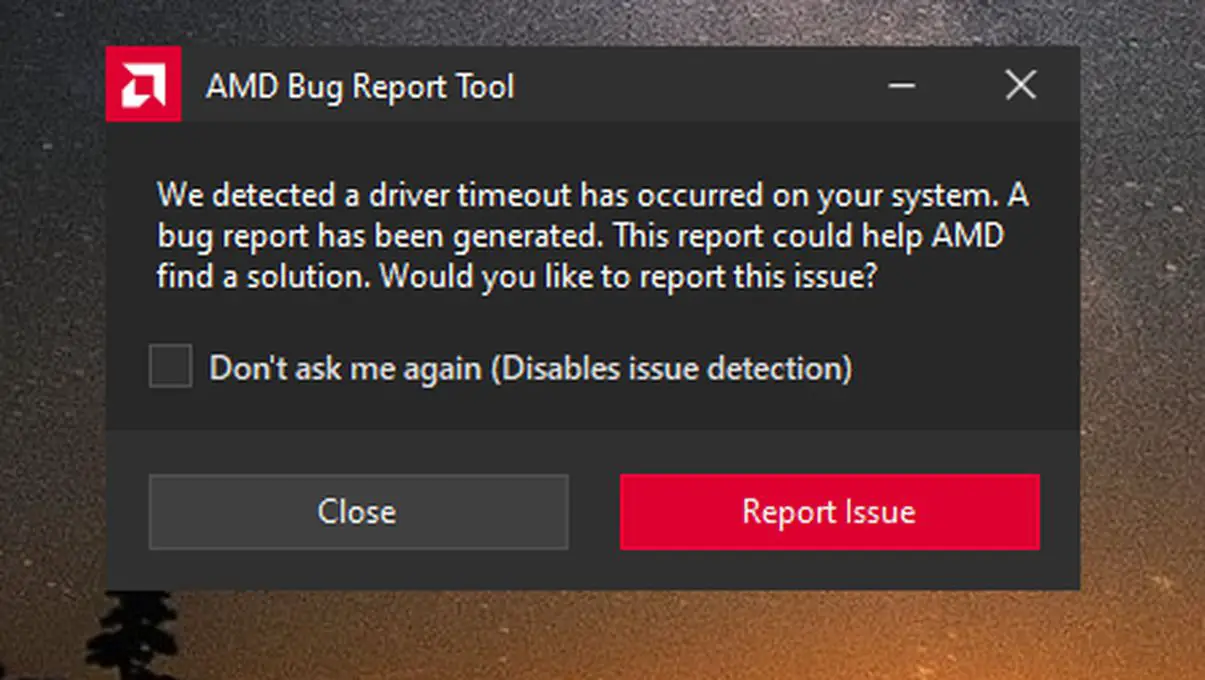
One of the most common Windows 10 errors with AMD or Radeon graphics cards has to do with the message that presides over this post. In the form of a pop-up window, the system’s graphics drivers issue a message that reads as follows: “We detected that the driver on your system timed out”. After tens of thousands of messages on Microsoft and AMD support forums, everything points to an error in the AMD drivers. This time we will see how to proceed to solve the AMD driver timeout error in Windows 10.
AMD Driver timeout expired: Solution in Windows 10
As this is a generic failure derived from AMD drivers, the first step is precisely to reinstall the graphics drivers of the card to fix any possible error. To do this, however, we will have to follow a series of previous steps with relative complexity.
First, download DDU to uninstall the drivers completely
By the very nature of the error, the uninstallation of the graphics drivers must be done with an external tool, since the native Windows options do not remove the residual libraries that can be kept in certain folders. DDU is the best option among the tools available for Windows 10, for being free and for its simplicity of use.
Once we have downloaded it, we will unzip the ZIP file that will be downloaded next. After unzipping the file, locate the program executable with EXE extension to run it after starting the computer in Safe Mode.
Now, restart Windows 10 in safe mode
To uninstall the graphic libraries of the system completely, we will have to start Windows 10 in Safe Mode, a controlled environment that allows us to manage the software components without causing failures. To do this, press the Windows and R keys at the same time to open the run window. Then, type the following text:
- msconfig
After clicking on Open, we will go to the Startup tab next to the General tab that will be shown in the pop-up window that will appear next. Finally, we will check the box Safe boot and we will leave the Minimum option checked.
After applying the changes, the system will automatically reboot into Safe Mode, where the drivers for most components will be disabled.
Run DDU to uninstall AMD drivers
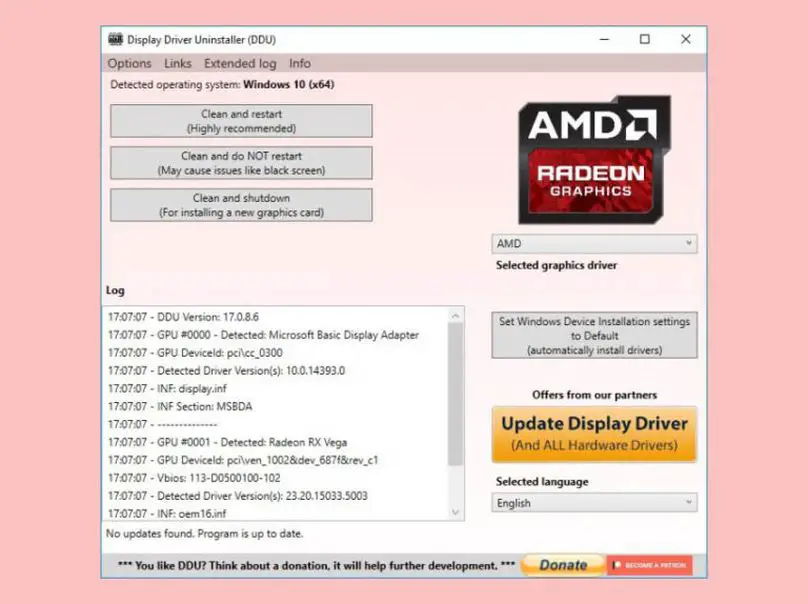
With Safe Mode active, we will run the DDU tool to proceed with the uninstallation of the system’s graphics drivers. Once started, we will grant all the permissions and click on OK in the pop-up windows that will gradually appear until we reach this window:

Now we will only have to click on the Select Graphic Driver option to select the AMD option. Finally, click on Clean and Restart, the first of the three available options. The program will then remove all traces of drivers and configurations that are susceptible to failure. After the wiping process is complete, the system will restart automatically, but this time in the normal run mode.
Install an older version of AMD drivers
At least until the latest versions are debugged. In our case, we have selected a version dating from 2019 and compatible with most models of AMD graphics cards: RX460, RX580, RX 5600, RX 5700 XT… In general, models are released before the release date of the drivers. For cards released later, we will have to opt for more modern versions.
The installation process once downloaded is similar to that of any other program. However, during installation, the monitors will probably flicker for a few seconds. On the other hand, as it is an old version, it is likely to generate some kind of conflict with heavy or recently released games.
If none of the above works
If none of the above steps work to fix the driver problem, the last step before deciding if it is a hardware error is to resort to the Windows 10 diagnostic tools, which are accessible through the command prompt, also known as CMD. Previously, we will have to resort to PowerShell, a powered execution machine. To do this, press Windows and X at the same time on the keyboard and then either Command Prompt (administrator) or Windows PowerShell (administrator).
With the execution window open, type the following commands one by one, pressing Enter for each command:
- dism /online /cleanup-image /StartComponentCleanup
- dism /online /cleanup-image /CheckHealth
- dism /online /cleanup-image /ScanHealth
- dism /online /cleanup-image /RestoreHealth
Once the process is finished, run the following command:
- sfc /scannow
If it does not run, we will go to the CMD by typing its name in the Start search menu, clicking on the program icon, and selecting the Run as administrator option.
After executing the command, the diagnostic process will be applied for a few minutes, depending on the read and write speed of the hard disk.


