Today we are going to review what Tasker is and show you how to use it to create a task on Android. Although Google Assistant routines are an indication of how smart Android is getting, there’s nothing like Tasker, the legendary software originally released almost a decade ago, when it comes to task automation on Android.
If you’ve heard of Tasker but aren’t sure how to get started using it, we’ll walk you through the first steps so you can automate tasks like a pro.
What is Tasker?
Tasker is the most complete way to automate commands on Android. It is not extremely complex to use it at a basic level, although to take full advantage of it -which is a lot- you have to spend some time.
It is a paid application, currently priced at $3,49, although you have a seven-day trial version available on its website.
Note that Tasker itself is only the main engine, but there are other support apps that add more features and that you can download from Google Play (note: some need to be purchased separately). There are dozens of them:
- Tasker Settings: You can use this to be able to change more system options from Tasker.
- AutoVoice: You can use this plugin for Tasker to add voice control functions.
- AutoInput: You can use this to simulate tapping or typing text with Tasker.
- AutoCast: You can use this to communicate with Chromecast.
- Auto-notification: You can use this option to interact and create notifications.
- AutoLocation: You can use this option to give Tasker the ability to recognize whether you are walking, cycling, or in a vehicle, as well as in which location.
- AutoShare: You can use this to interact with the Android share menu.
- Tasker App Factory: You can use this tool to export projects as standalone apps.

How to use Tasker?
The first time you open Tasker it’s normal to get confused a bit. Now what? There are four main tabs and not much explanation about what each one does. Also, this is a personal opinion, but the names of some of its main pillars are not entirely explanatory and give a bit of room for confusion. These tabs are:
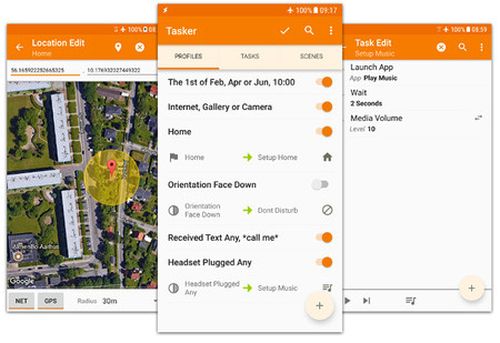
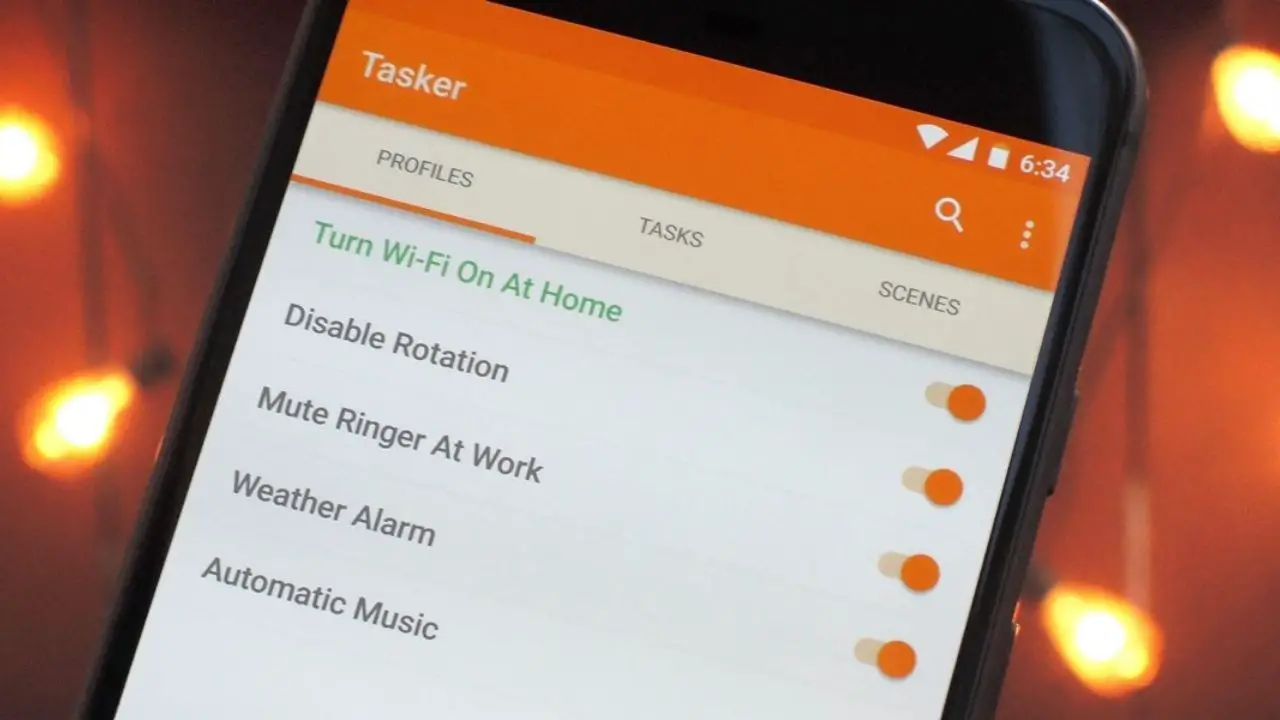
- Profiles: Tasker profiles are configurations that link tasks to contexts.
- Contexts: They are the conditions for the execution of tasks. For example, at a certain time, at a certain location, or after the end of a countdown.
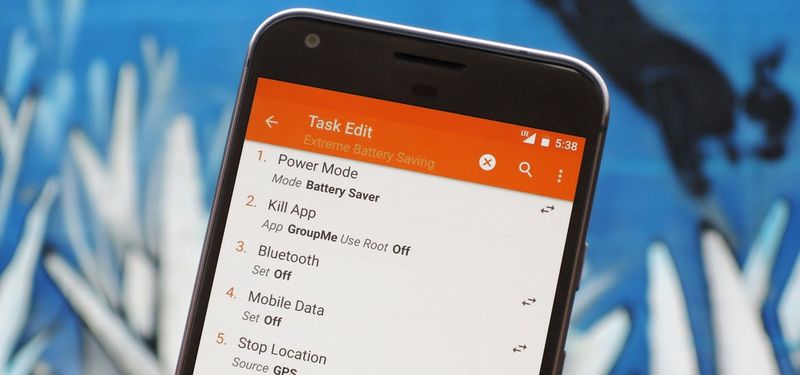
- Tasks: These are the actions that are carried out. A task can carry out several actions.
- Scenes: This is a user interface generated from Tasker that you can use to display information for actions after pressing a button or similar.
- Variables: Names for changing values that you might want to use somewhere in your tasks, such as the time or battery level.
How to create a profile on Tasker?
Let’s start by creating a very basic Tasker configuration that sets the mode to do not disturb and lowers the screen brightness at night.
This may be done from the profiles page by tapping on the floating button. First, you must choose a profile name. Select the context or condition from the drop-down list. Then tap on Time.
On the next screen, choose when the profile begins and ends. There is no confirm button, so use the back button to continue the process.

How to create a task on Tasker?
The profile you just created does absolutely nothing, and so Tasker proposes you create a new task directly. Click the button to begin the procedure, which begins with inputting a name for the task, but this is not required.
This will take you to an empty window for the task, so the first step is to use the floating button to add the first action. They are organized by category, so to adjust the brightness you first need to enter Display and then Screen Brightness. Then you can adjust the brightness to the desired value, which in our case is zero.
You can add several actions to the same task, and as an example, we are going to activate the Do Not Disturb mode. This is located in Audio Settings – Do not disturb. Tasker needs permission to access notifications to be able to perform this action.
Go back to the previous window and you will see that your two actions have been added to the task. If you want, you can test if they work correctly by pressing the play button. If you want to make any adjustments, tap on the action to edit it.
Let’s say we set the starting time at 8 PM and went into Do Not Disturb mode correctly, but what happens after that? Nothing, unless we configure it. For this, we need an exit task, something like a way to return the system to the way it was when the condition is no longer met.

How to create an exit task on Tasker?
To add an exit task, go back to the list of profiles and tap on the one you just created. You will then see the Add Exit Task option, which you should click and then choose the task you created earlier. The difference is that the output task will run it in reverse, i.e. it will turn off the Do Not Disturb mode and return the brightness to the way it was.
Now all you have to do is wait to see that everything works correctly. If you don’t want to wait until the evening, change the time to start a little earlier so that you can check whether everything works perfectly. If everything went well, the brightness will be reduced and the Do Not Disturb mode will be automatically activated at the set time.
Of course, this is just the tip of the iceberg of what Tasker can do. As we mentioned before, its extensibility makes the app suitable for doing almost anything on Android, with enough patience and dedication.


