If you want to learn How to enable virtual keyboard or touch keyboard in Windows 11, you’ve come to the right place because we’ve prepared a detailed guide for you. In many occasions having an on-screen keyboard at our disposal comes in handy, especially if we are running Windows 11 on a computer that has a touch screen. For this reason, we want to show you how to enable the virtual or touch keyboard in Windows 11.
How to enable virtual keyboard or touch keyboard in Windows 11?
Activating virtual or touch keyboard in Windows 11 is an extremely simple process. Follow these steps:
- The first thing we will need to do is right-click on an empty area of the taskbar and select “Taskbar Settings”.
- After this, we will have to go to Personalization > Taskbar in the Windows 11 Settings application. In this section, we will have to click on “Taskbar icons” to be able to see all the options.
- We will have to click on the switch on the right side of “Touch Keyboard” to activate it.

- An icon will appear in the lower right corner of the taskbar immediately.
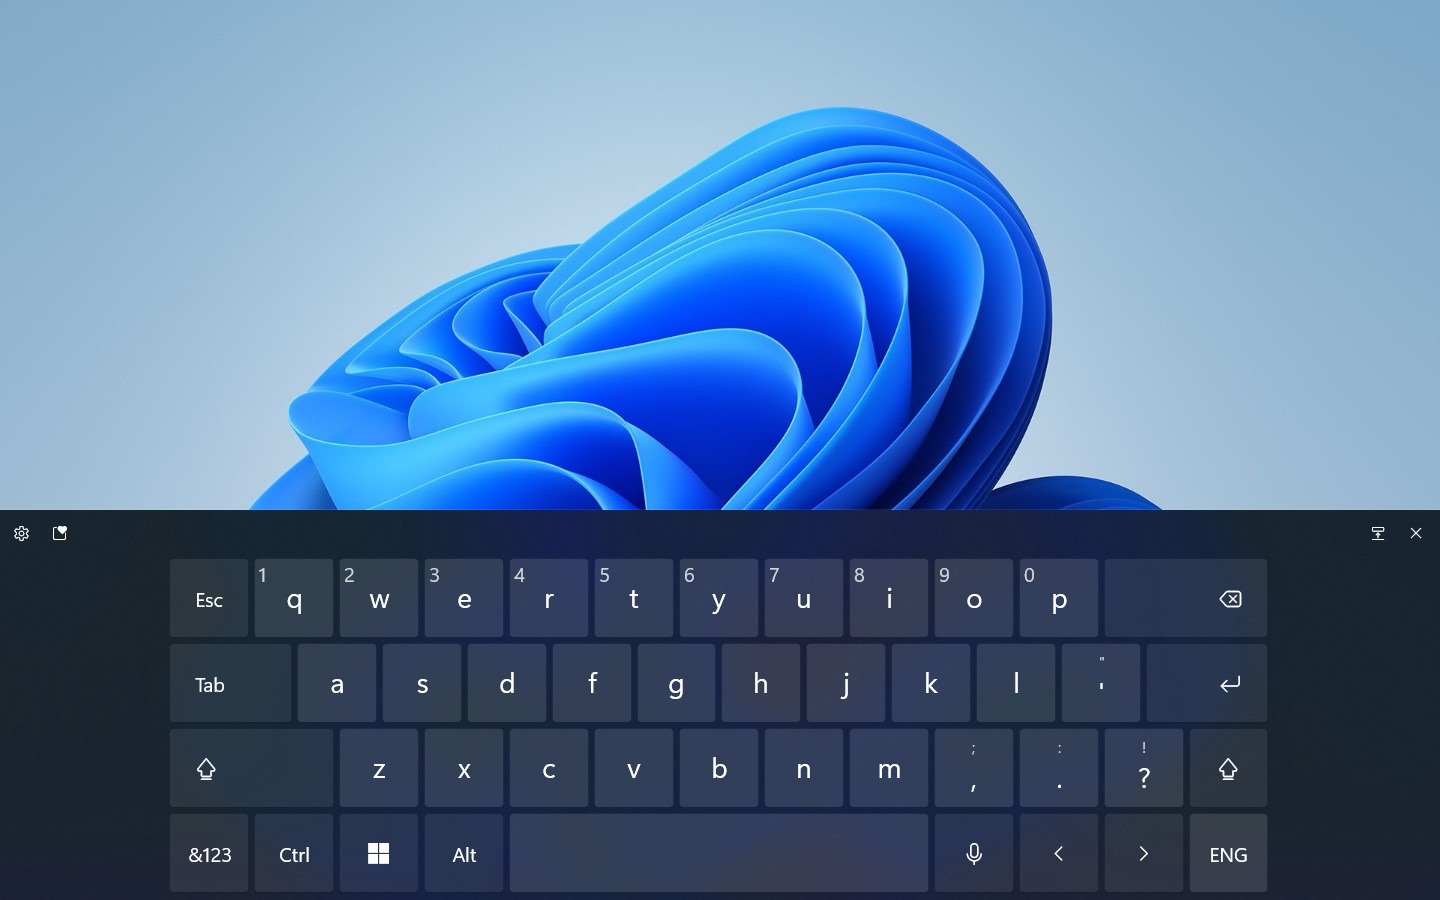
- If we click on this icon, a virtual keyboard will immediately appear at the bottom of the screen, above the taskbar.
- If you want to remove that icon just repeat the process.
As you can see there’s nothing hard to do here, you’ve learned how to enable virtual keyboard or touch keyboard in Windows 11, try it out now!


