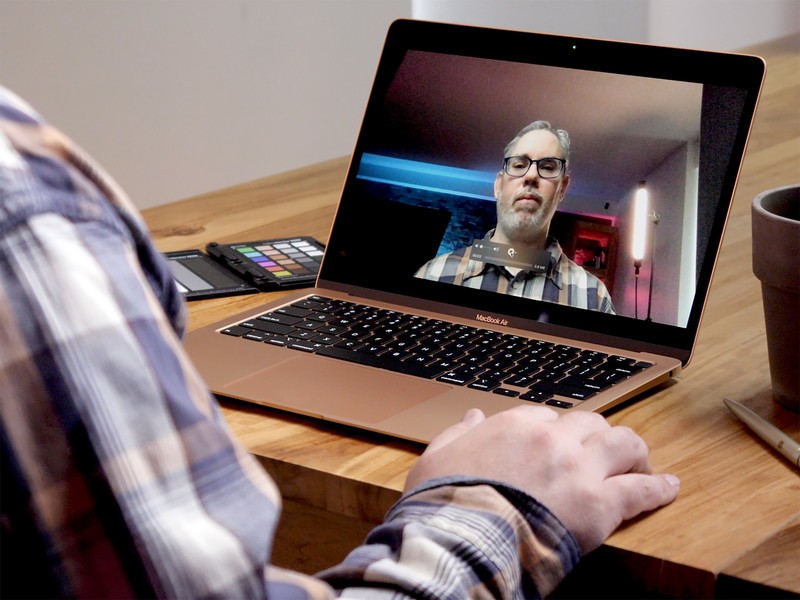
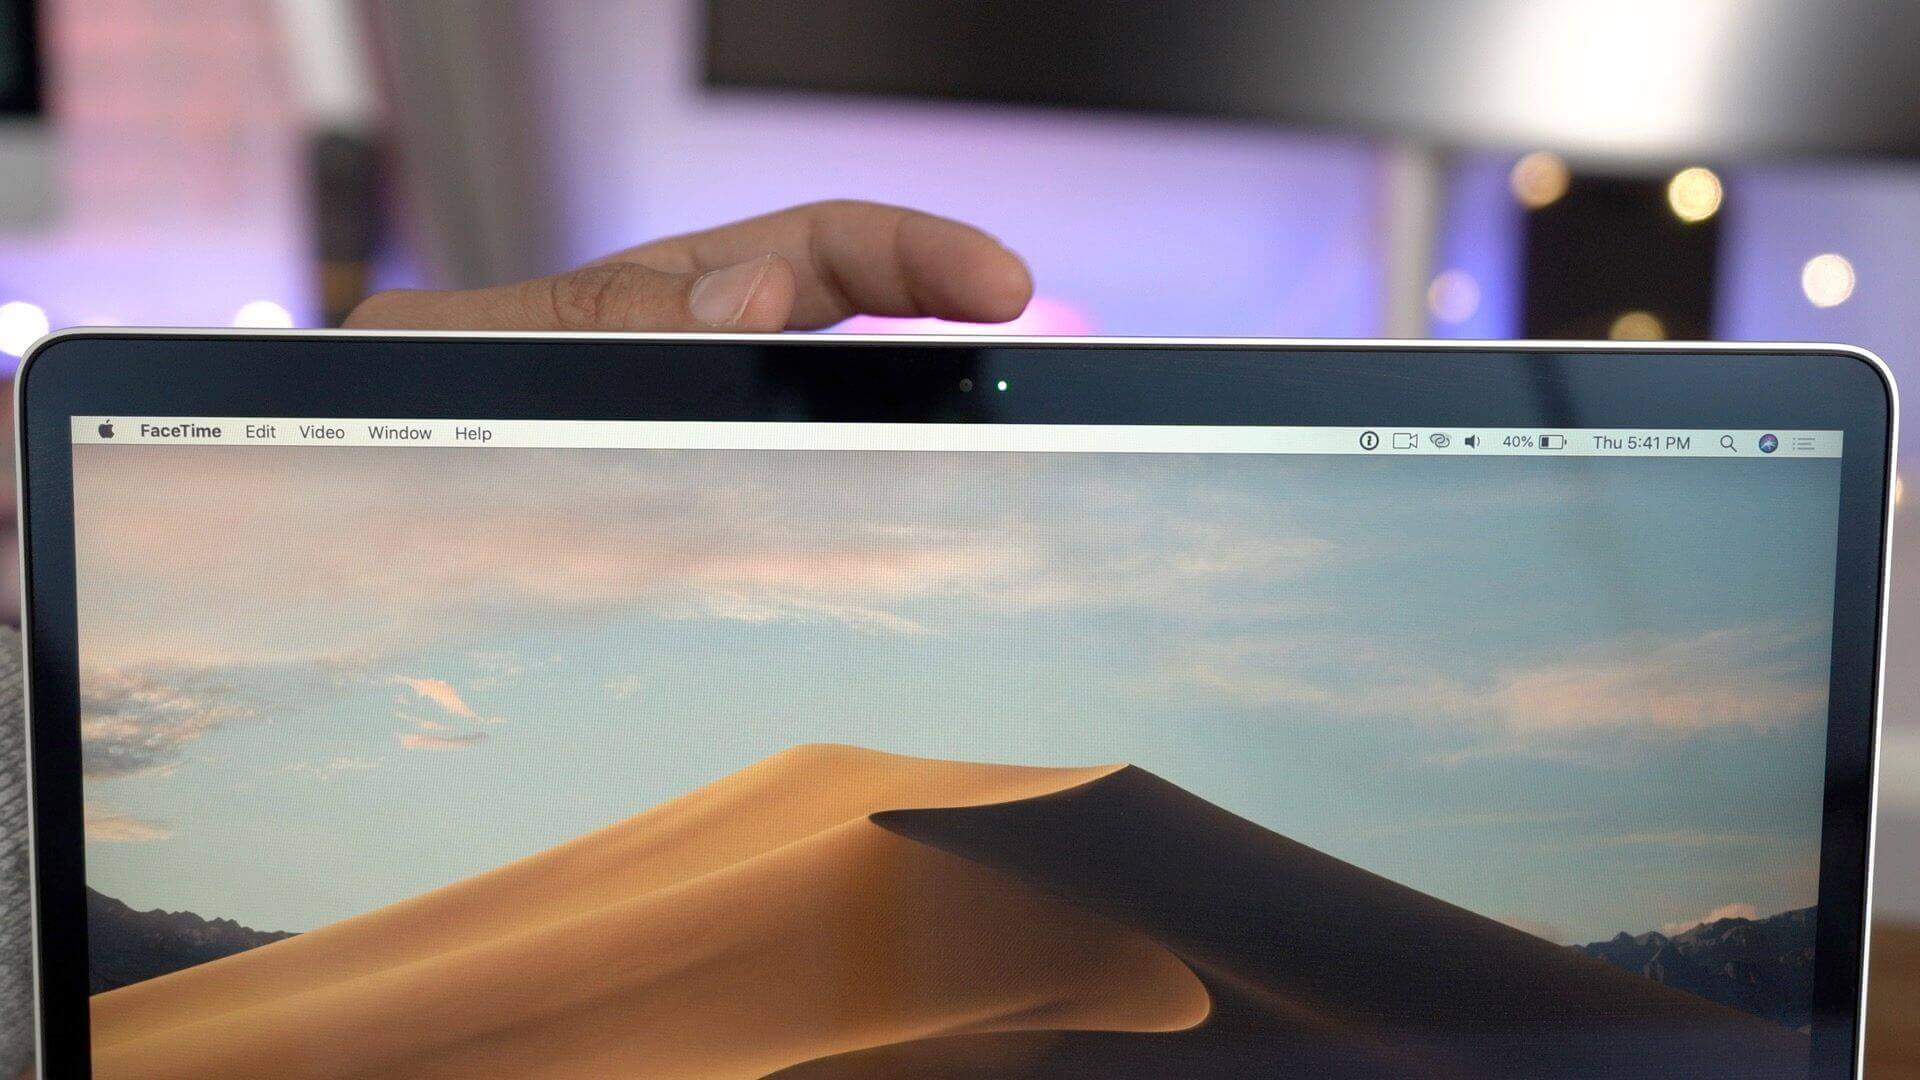
Today we are going to show you how to fix if your Mac camera is not working. Most Macs today have a built-in front-facing camera, often referred to as a FaceTime camera. It sits near the top edge of the screen and turns on when you open an app that can take photos, record videos, or make video calls. Since FaceTime is automatically activated, there is no need to wonder how to connect the camera on Mac. However, the activation process sometimes fails and it’s good to know what to do to restore the connection.
How to fix Mac camera not working?
When the camera on your MacBook is not working properly, it will display the message. macOS does not come with a camera setup application. Most apps that use the Mac camera come with their own configuration options, so there are no on/off switches, either physical or software.

Even if you think it might be a hardware problem, you can usually fix the Mac camera not working fast enough on your own with the help of some little tricks.
Look for applications that use the camera at the same time
We know that the Mac camera is automatically activated by the applications that use it. But what is also important to keep in mind is that only one application can use the camera at a time. So, when your Mac’s camera is not working, make sure that no other application is currently using it.
Close any other open applications or utilities that may be using the camera (e.g. Skype, FaceTime and Photo Booth).
If you are unsure which applications may be accessing your camera, save your work and close all open applications.
Simply restart your Mac
If closing the apps didn’t help, there may be a chance that some processes are using the camera in the background. A restart will almost certainly fix the problem, giving you full access to the camera again. To restart your Mac:
- Select the Apple icon in the top menu bar.
- Click Restart.
How to fix camera not working on Mac when using FaceTime?

But restarting takes time and interrupts everything you are doing. Which may not be an option when you’re in the middle of an important FaceTime call. Fortunately, for FaceTime not working on Mac, there’s another trick that doesn’t require a reboot and it fixes the problem right away. We will use a command line to force the process to shut down:
- Go Applications > Utilities > Terminal.
- Click inside the terminal window and type sudo killall VDCAssistant.
- Press Enter on your keyboard and enter the administrator password.
- Restart the application to see if the camera of the Mac works.
How to fix camera not working on Mac when using Skype?
Here’s what to do if your Skype camera is not working on Mac:
- Make sure you have the latest version of Skype.
- If you do and there is still no camera connected on the MacBook, reinstall the application.
- If you are still facing the same problem, apply the same solution described above for FaceTime not working on Mac. Then, restart your computer and try Skype again.
- Finally, check that you are connected to the Internet. If you are having problems with your Internet connection, try WiFi Explorer, a network analyzer that helps identify and fix common network problems with your connection without involving an expensive professional.
WiFi Explorer scans your network environment (bandwidth, signal quality, security status), identifies channel conflicts and coverage issues, and provides quick tips for improving your Wi-Fi connection. Visual graphs in WiFi Explorer allow you to easily gauge the situation without diving into the numbers.
How to reset your Mac’s system driver?
If the Mac camera is still not working and none of the above seems to help, you can try resetting what is known as a system management controller (SMC). The SMC handles many hardware functions on your Mac and resetting it could serve as a solution to your problems.
To reset SMC on MacBook (2017 or earlier):
- Turn off the computer.
- Plug in the power supply
- Hold down Shift + Control + Options and the Power button at the same time.
- Wait for 30 seconds before releasing the keys, which will start the backup.
Resetting SMC on modern MacBook Air or Pro with the T2 security chip is different and involves a two-step process:
The first step required to reset SMC on MacBook (2018 or later):
- Turn off your Mac.
- Press and hold the power button for 10 seconds.
- Release the power button and wait a few more seconds.
- Turn on your Mac
- Check if the Mac webcam is still not working. If the problem persists, move on to the second part below.

The second step needed to reset SMC on MacBook (2018 or later):
- Turn off your Mac.
- After turning off the computer, press and hold the right Shift key, left Option key, and left Control key for seven seconds.
- While holding down the keys, press and hold the power button for another seven seconds.
- Release all and wait a few more seconds.
- Press the power button again to turn on the Mac.
Assuming the MacBook Pro camera problem didn’t work with SMC, whatever the problem is, it should now be fixed.


