Today we are going to talk about Discord and you will learn how to use it, how to join a server, and how to create a server. It is a platform that allows you to communicate with people with similar tastes.
What is Discord?
Discord is a social platform designed to create chat groups for different games and purposes. You can think of it as something similar to Skype or TeamSpeak.
This application has PC and mobile versions, as well as a web client that you can use directly from the browser. This app even has a video conferencing feature for free.
You can use this platform for whatever purpose you want, of course, but it has had a great impact on the gamer community. All because it is a perfect application to meet friends and colleagues and organize games. Especially because it allows you to talk to other people while you are playing with its voice chat functions.
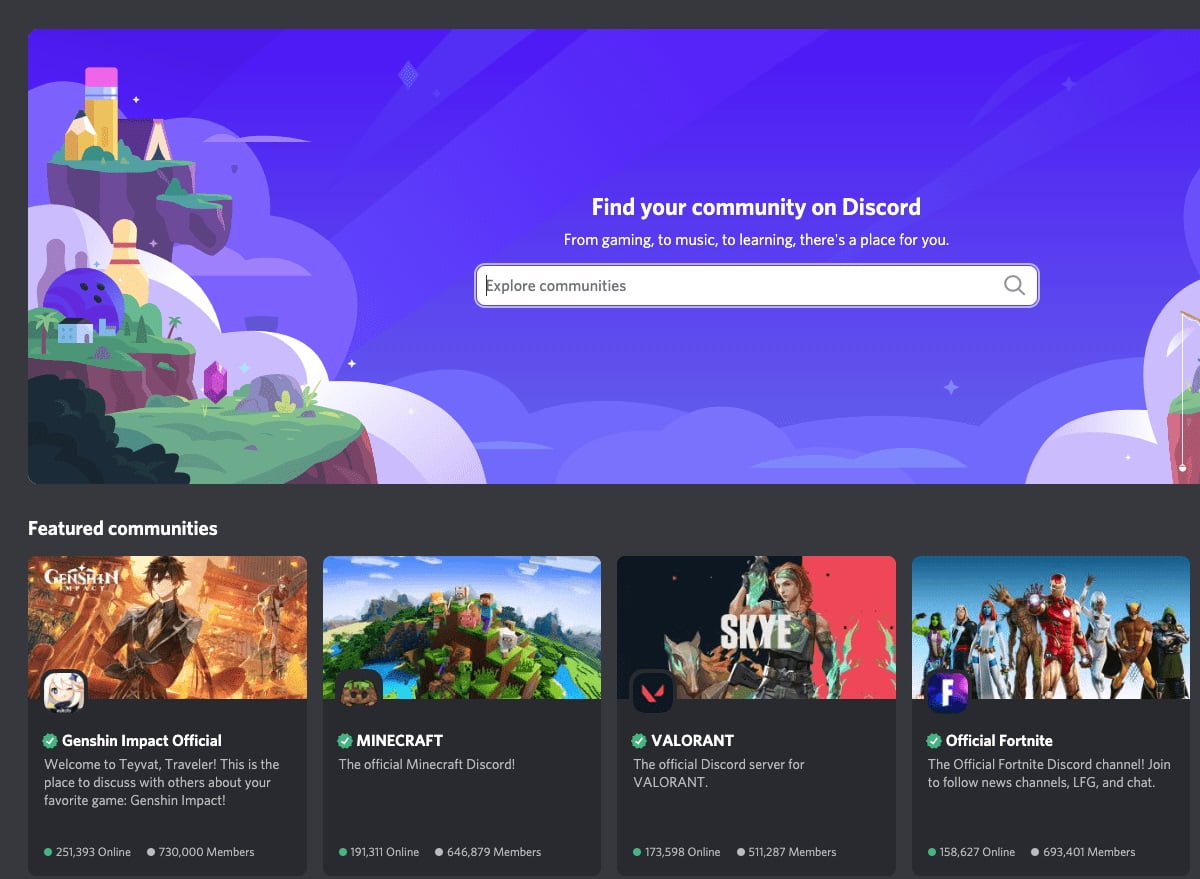
The conversation with other users is done through the servers. This is the name given to each of the communities that you can create on the platform. To give you an idea, each community is like having your own IRC, since each server can have different channels.
These groups can be of specific games, but also developer studios and other topics. They can be either public or private, but they are always meeting points where users can get together and chat. The fame of the platform comes from its gamer side, but there are also many other servers dedicated to all kinds of hobbies and interests.
You can find different servers on pages like Discord.me, Disboard.org, Discordservers.com or Discordea.net.
What makes Discord different from other platforms?
What makes Discord special? Yes, there are quite a few similar applications that you can find online. But Discord combines the best features of other apps and brings them all together in an easy-to-use interface for any user.
For example, in voice calls, they use a low latency. This means that if you use Discord while you are playing, the calls will consume as little data as possible.
This platform is also like a social network where you can talk about your tastes and contact other like-minded people. Also, it is available on almost any platform like Android, iOS, Windows, macOS, and GNU/Linux, web browsers.
Discord has also decided to explore other paths such as creating its own game store in the spirit of continuing with this versatility that makes them strong. This is a section that is already implemented in the service, something very similar to GOG feeding mainly on classics, indie games, and some exclusive titles.
In this way, the application will try to solve one of its weaknesses to achieve a sustainable business model. This is quite complicated considering that they want to remain a free service. The only remuneration possibilities it has besides the store are its two Nitro modes, one for 5 dollars a month to improve the chat with mobile avatars, and another for 10 dollars with a flat rate with limited access to a collection of classic games.
How to register and install Discord?
You can register in Discord using any of their clients, but to make it easier we are going to show you how to do it through their website. The process is very basic, the first thing you have to do is to enter discordapp.com, and click on the Login button you will see at the top right.
Click on the Register link that you will see just below the Login button, and that will take you to the process of creating a new account.
This first step is much simpler on the mobile phone since when you start the application for the first time, on the welcome screen you will see the option Register next to the login option without having to click anywhere else.
Here, you must enter an e-mail address, user name, and password, and when you are set just click on Continue.
And that’s it, you can start using Discord. At first, you may be asked to verify your account with a link that you will receive by email.
At this point, now you just need to download the Discord application on all the devices you want. To do this, go to the discordapp.com/download page.
How to join a server on Discord?
When you’re on the main Discord screen, on the far left you have a column where your different servers will be added, and when you first sign up it will be empty. What you have to do here is to click on the button with the + symbol to add a new server.
A window will appear in which you will be offered the option of creating a new server or joining an existing one. Here, click on the Join a server button to choose the option to access a server that has already been created by someone else.
When you click on the Join a server button, you will be taken to another window where you will have to enter the address of the invitation to the server you want to join.
In pages like Discord.me, Disboard.org, Discordservers.com, or Discordea.net you can navigate between several options, and when you click on a specific server there will be a link that will take you to the platform’s screen, where you will only have to click on the Accept Invitation button to access the server.
And if you then want to leave one of those servers, you must click on the name of the server that will appear at the top of the screen. Then, a drop-down menu will open, in which you will simply have to click on the Leave server button.
How to create your own server on Discord?
When you are on the Discord main screen, on the left side you have a column in which your different servers will be added. What you have to do here is to click on the button with the + symbol to add a new server.
A window will appear offering you the options of creating a new server or joining an existing one. Here, click on the Create a server button to proceed to create your own server from scratch.
The process is extremely simple. Clicking on the Create a server option above will take you to a screen where you will have to enter the name of the server, the region you belong to, and add an icon. The region comes preconfigured, and the icon is not mandatory, but if you want to use one, it will have to have a size of 128×128.
In just a few seconds your server will be created automatically, and the first thing you will see is a screen with the direct invitation code so you can start inviting the first users. The code you are given expires in one day, but you can make it permanent if you choose.
And after closing that window you will be automatically logged into your server. It will have only two categories, text channels, and voice channels. Next to each category, there is a + symbol to create channels.
In the channels you create within the different categories you will be able to write whatever you want, and you will be told which users are connected and which are not. As it happens in applications such as Slack, when you write a text you can edit it or pin it so everyone can see it later.
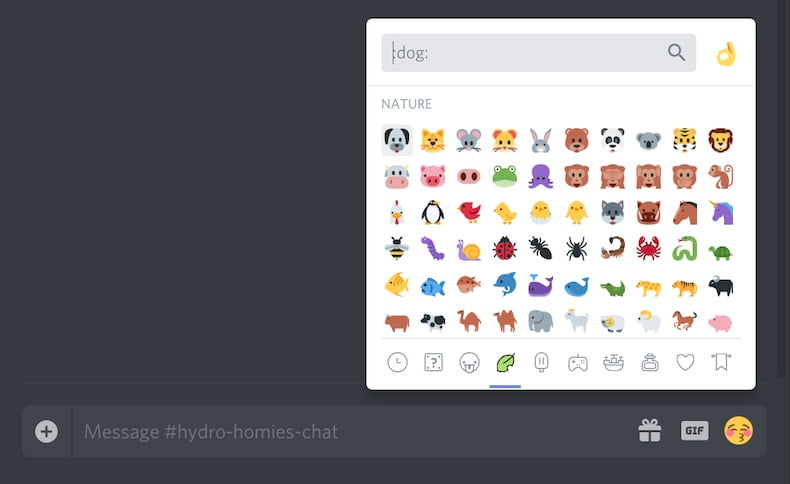
If you click on the @ icon you will access the notifications panel. It will show you the mentions and notifications you receive on all the servers you are on. At the top, you will also see a search engine, and icons for notifications, pinned texts, and users.
If you click on the name of the server you will see several options. Here you can configure your notifications, privacy, and your user name. When you are the server administrator you will also see other extra Server Settings options, as well as two buttons with which you will be able to create channels and categories.
If you go into Server Settings you will be able to change its name and icon. You can manage the Roles to assign moderators and you can configure the integration of applications such as Twitch or YouTube Gaming.
You will also be able to upload your own Emojis, create automated messages with the Webhooks section, or create a Widget to insert server information into a website. You will also be able to manage users, invitations, and banned lists, and even delete the server completely. So, at this point, all you have to do is spend some time shaping your server to suit your needs.


