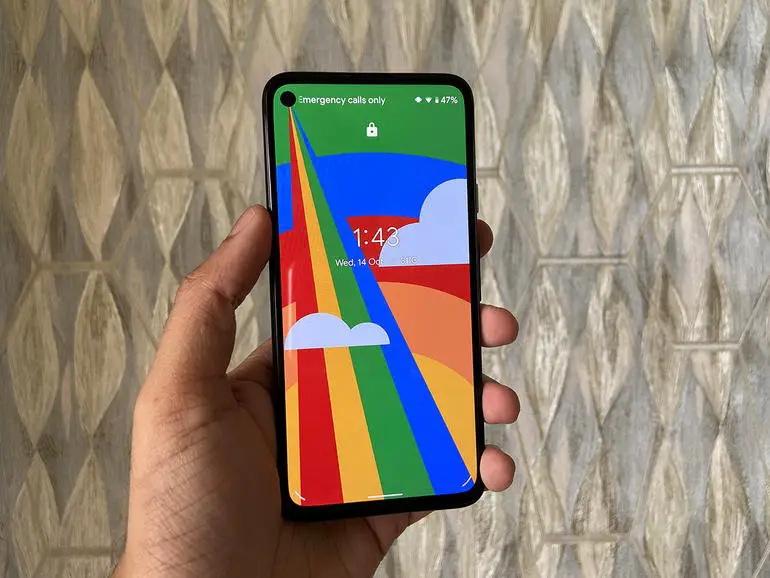
Today we are going to show you how to install Android 12 on a compatible smartphone. The new version of the operating system is available for download and installation and it comes a number of interesting new features that many people will welcome with open arms.
Instead of waiting for the deployment of the final edition of Android 12 -something that will occur in summer 2021-, it is already possible to install Android 12 Developer Preview on some compatible mobiles.
How to install Android 12 on a compatible smartphone?
Which devices are compatible with Android 12?
During the preview phase intended for developers and advanced users, Android 12 can only be installed on Google Pixel series devices. And not on all, as neither the 2016 models nor the Pixel 2 series are compatible with the latest version of the system.
- Google Pixel 5
- Google Pixel 4a (5G)
- Google Pixel 4a
- Google Pixel 4 XL
- Google Pixel 4
- Google Pixel 3a XL
- Google Pixel 3a
- Google Pixel 3 XL
- Google Pixel 3

How to install Android 12 manually?
Before starting to see the steps to install Android 12, it is worth making sure that we meet one of the essential requirements, we need to install the drivers of our device on a computer, as well as the ADB drivers. Usually, they are installed automatically when we connect the smartphone to the computer for the first time.
Once this is done, which will also serve to carry out other advanced procedures in Android, we can continue.
It is possible to install Android 12 Developer Preview in two different ways: through its OTA file, or through its full factory image. In this case, we opt for the first of the options, although the process is the same in either case, and only the type of file to download changes. That said, we can begin:
- First of all, we need to download the OTA package corresponding to your device. All of them are available on the Android developer website, categorized according to the device they belong to, the date, and the version they are based on.
- Connect your device to the computer with USB debugging enabled and, through a command window (CMD on Windows, and Terminal on macOS or Linux), run the instruction “adb devices”. If the terminal serial number appears, everything is OK to continue.
- Turn off the phone and boot into bootloader mode manually -usually by holding the Power and Volume down buttons while turning on-, or through the command “adb reboot bootloader”.
- Now you have to access the recovery mode: to do this, go down through the volume keys of the device until you are above “Recovery mode”, and access through the power button -Power- of the terminal.
- The device will reboot, but will boot to a screen that shows Andy’s image next to a red caution sign. You will have to press and hold the power button and, about a second later, the volume up button, in order to enter the system recovery.
- Navigating through the volume keys, we must position ourselves above the “Apply update from ADB” option, and access through the power button. Now we can proceed to the OTA installation from the command window.
- On the computer, inside the command window and with the device still connected via USB, we will have to use the command “adb sideload [OTA FILE].zip”, being [OTA FILE] the path of the downloaded update file. If everything is correct, we will see the installation process start.
- Once finished, the device will reboot automatically, booting into the new version of the system we just installed.
That’s all. When the process is completely finished, it will be possible to start enjoying the new features of Android 12. Once Google releases the next preliminary versions, it will be necessary to perform this process again with the new OTA files corresponding to each Android 12 Developer Preview.


