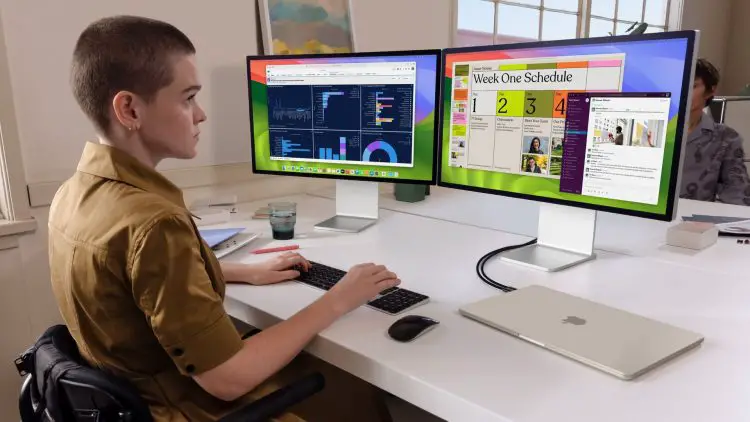
MacBook Airs are known for their portability and power, but sometimes that compact screen feels limiting. If you’re looking to expand your productivity and multitasking capabilities, connecting two external displays to your M3 MacBook Air is the perfect solution, or at least that’s how Apple markets this product…
The M3 generation of MacBook Airs has a so-called significant upgrade, allowing for the first time to use two external screens simultaneously.
Let’s dive into how to make this setup a reality!
What you will need
Before we start, here’s what you’ll need to successfully connect those displays:
- Two external displays: Ensure your displays have compatible input ports (HDMI, DisplayPort, etc.)
- Adapters (if necessary): Check if your displays have direct Thunderbolt/USB-C connections. You might need adapters like a USB-C to HDMI or USB-C to DisplayPort adapter
- Power source: Your M3 MacBook Air will need to be plugged in for dual external monitor support
- External keyboard and mouse/trackpad: When using two external displays with the lid closed, you’ll need an external keyboard and mouse or trackpad
Step-by-step guide
- Connect the displays:
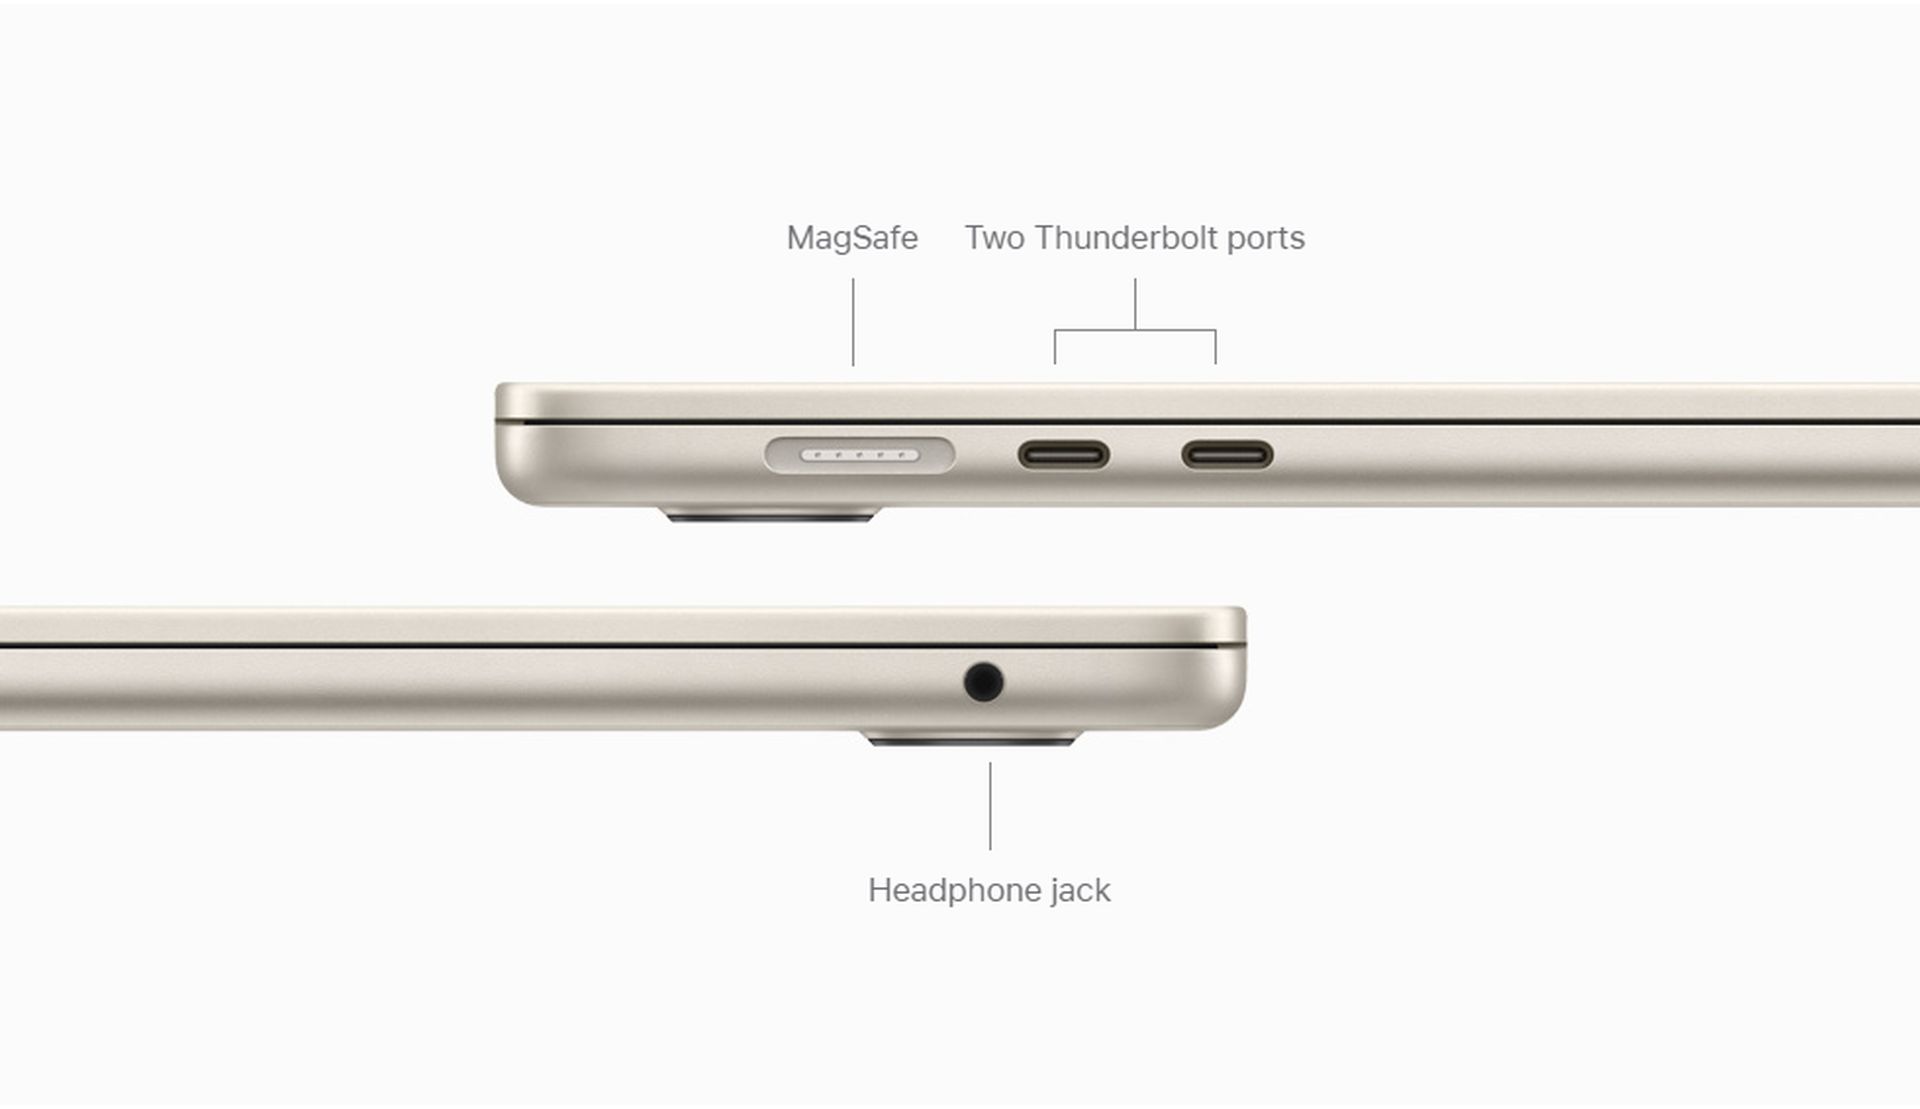
- Connect the first display directly to a Thunderbolt/USB-4 port on your M3 MacBook Air using its cable or a compatible adapter
- Repeat the process for the second display, connecting it to the remaining Thunderbolt/USB-4 port
- Close the lid:
- To utilize both external displays, close the lid of your M3 MacBook Air. This is crucial, as the M3 MacBook Air will only support two external displays while the lid is closed
- Configure display settings:
- Your M3 MacBook Air should automatically detect the connected displays
- Go to System Settings > Displays
- In the Arrangement tab, drag and position the display icons to match your physical monitor setup
- Select a primary display – this will be the display with the dock and application menus

Don’t forget to fine-tune your dual-monitor experience for optimal results.
Adjust the resolution for each external display to get the sharpness you desire.
Experiment with the refresh rate to control how smoothly the displays update their images. This is especially important if you work with video or fast-paced content.
If you want to give a presentation, enable mirroring mode so your M3 MacBook Air’s screen is duplicated on the external monitors. Alternatively, choose to extend your workspace for increased productivity, allowing you to spread different applications and windows across the multiple displays.
With a little setup, you’ve turned your M3 MacBook Air into a productivity powerhouse. Finally, you can experience the freedom of a multi-monitor workspace with your $1099 M3 MacBook Air, just like how you can do the exact same thing on those ‘horrible’ Windows laptops for years with a simple HDMI dock.
Featured image credit: Apple.


