Fixing a Microsoft Teams camera not working issue can be frustrating, but don’t worry, there are several solutions you can try! Here’s a troubleshooting guide to get you back on video.
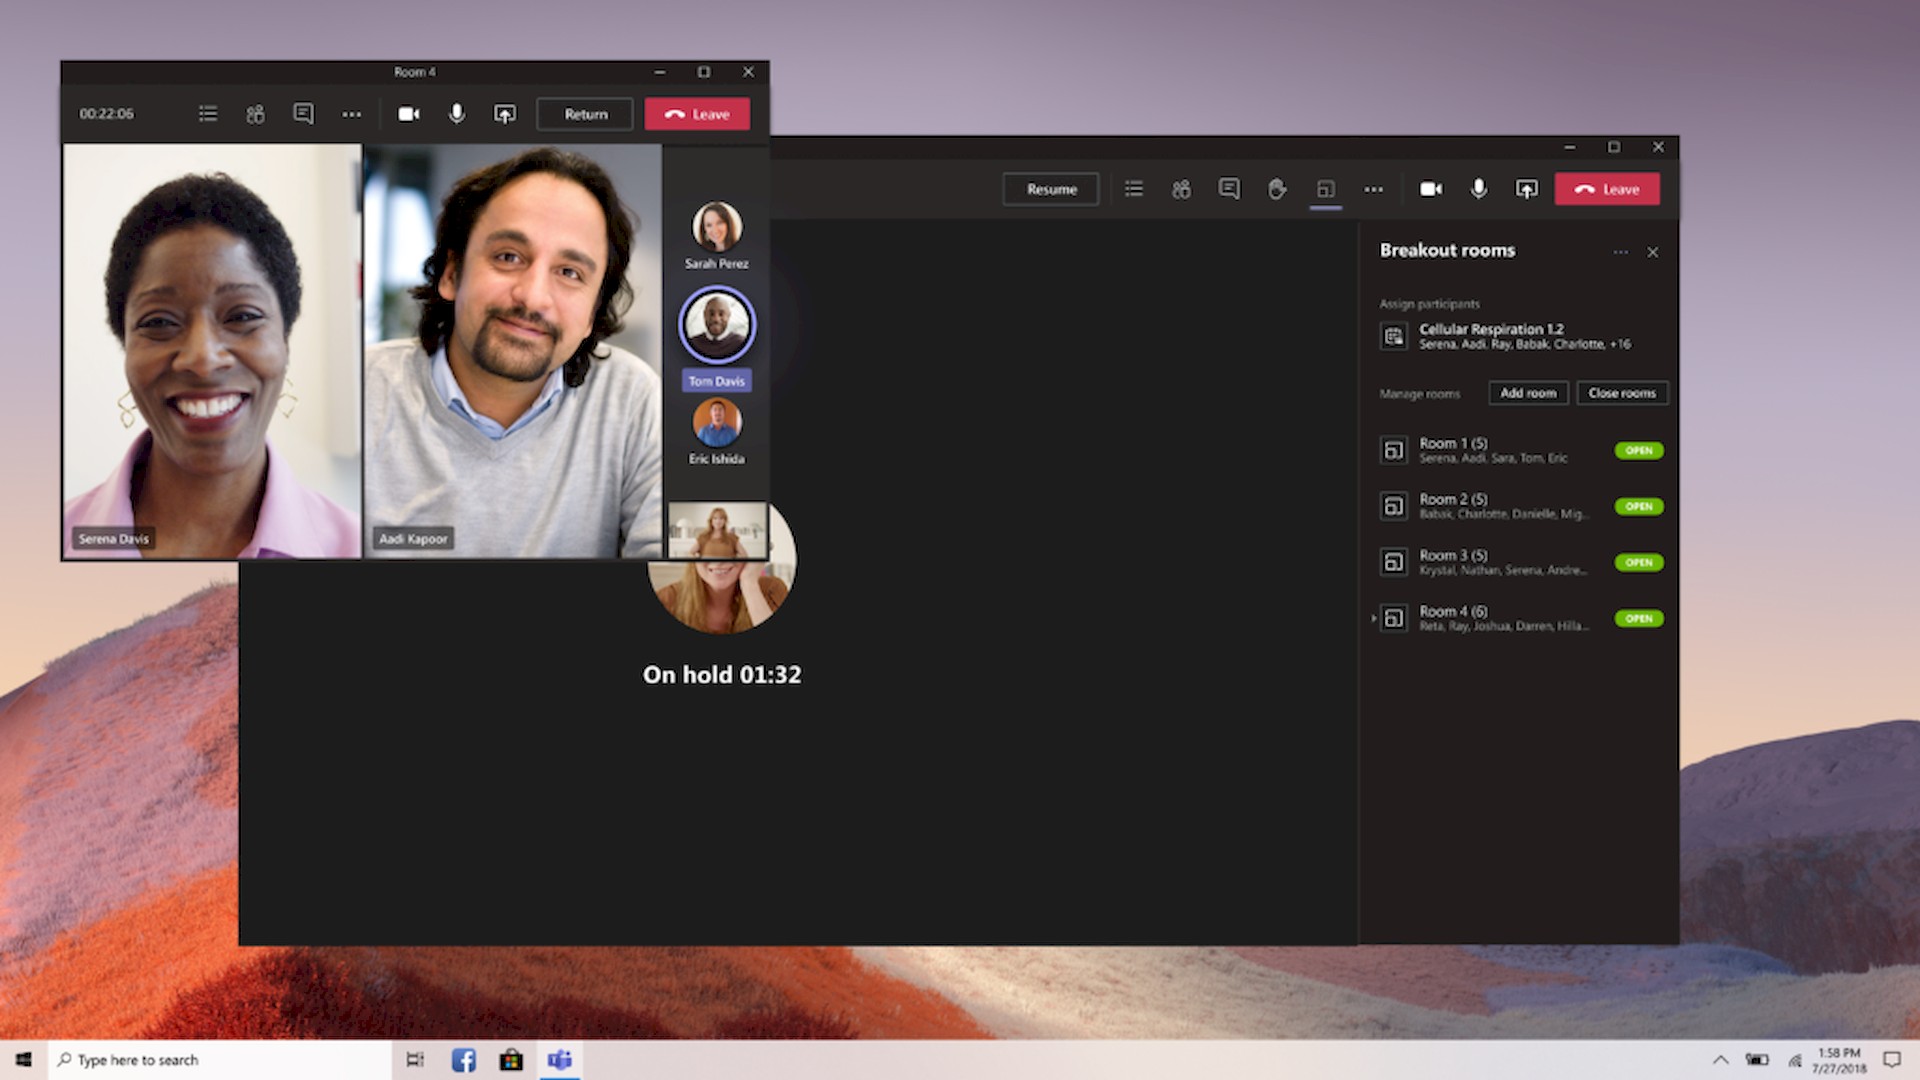
Microsoft Teams is your all-in-one digital office hub, like a virtual headquarters for your team. Chat with colleagues, host video meetings, edit files together in real-time, share ideas on digital whiteboards, and manage projects – all in one place. Think Slack meets Word documents meets Zoom on steroids, keeping your team connected, productive, and on the same page, whether remote or in-office.
Although the application is perfect for business solutions, sometimes Microsoft Teams camera not working issue can prevent you from attending that very important meeting. So what should you do?

How to fix Microsoft Teams camera not working issue
Before heading over to the advanced steps we will explain on our how to fix Microsoft Teams camera not working issue guide, there are several basic checks you must perform:
- Restart your computer and Teams: Sometimes a simple restart can resolve temporary glitches
- Check if your camera is in use by another application: Close any other programs that might be using your camera, like Skype or Zoom
- Make sure your camera is properly connected: If you’re using an external camera, ensure it’s plugged in securely and properly powered
- Test your camera in another application: Open a different app that uses your camera, like the Windows Camera app, to see if it works there
If you have confirmed all the above and still having the Microsoft Teams camera not working issue, here are the things you should do:
- Grant access to camera for Teams
- Reset app permissions
- Update camera drivers
- Run Hardware and Devices troubleshooter
- Reinstall Teams
Grant access to camera for Teams
Make sure the app can access your camera before trying to fix the Microsoft Teams camera not working issue.
Here is what you should do:
- Open Windows Settings
- Go to Privacy & security > Camera
- Toggle on “Let apps access your camera”
- Scroll down and ensure “Microsoft Teams (work or school)” is also toggled on
- Close all apps and restart your computer

Reset app permissions
Microsoft Teams camera not working issue might not be rooted in the app itself, it could be happening due to a problem with your camera’s permissions. Here is what you need to do:
Windows:
- Open Settings > Privacy & security > Camera
- Ensure “Let apps access your camera” is turned on
- Scroll down and make sure “Microsoft Teams (work or school)” is turned on as well
Mac:
- Open System Preferences > Security & Privacy > Privacy
- Select “Camera” in the left sidebar
- Check the box next to “Microsoft Teams”
Update camera drivers
Outdated or corrupted drivers can cause problems. Update your camera drivers from the device manufacturer’s website.
Run Hardware and device troubleshooter
Follow these steps to run a hardware and device troubleshooter:
Windows:
- Press Windows + X and select Windows PowerShell (Admin)
- Enter the command:
- Get-AppxPackage Microsoft.WindowsCamera | Foreach {Add AppxPackage -DisableDevelopmentMode -Register “$($_.InstallLocation)\AppxManifest.xml”)} and press Enter
- Restart your device
- Open Settings > Update & security > Troubleshoot
- Click on “Additional troubleshooters” and select “Hardware and Devices”
- Run the troubleshooter and follow the on-screen instructions

Reinstall Teams
Lastly, consider reinstalling the app to fix the Microsoft Teams camera not working issue by:
- Press Windows + R to open the Run dialog
- Type “appwiz.cpl” and press Enter
- Find “Microsoft Teams” in the list, right-click it, and select “Uninstall”
- Download and reinstall the latest version of Teams from the official website
If none of these solutions work to fix the Microsoft Teams camera not working issue, consider contacting Microsoft Support for further assistance. They can help diagnose the issue and provide personalized solutions.
Featured image credit: Microsoft.


