Are you seeking the Midjourney Cheat Sheet? This guide is written only for you!
Midjourney is an AI picture generator that has recently gained popularity as a result of its newest development, version 5. Midjourney v5 enhances the visual quality, picture size, and general style of your prompts. If you’ve been using Midjourney recently, you’ve probably seen that there are several options to create multiple variations and versions of your photographs.
To better creative control over the pictures generated by the text-to-AI-art application, you may utilize multiple Midjourney versions, elaborate prompts, additional settings, and more. However, keeping track of all the characteristics and nuances might be difficult when you’re just getting started.
So here’s a comprehensive Midjourney cheat sheet to help you enhance your suggestions and create extremely complex and stunning photographs using Midjourney.
Also, you can click here to reach Midjourney Cheat Sheet and command list:
Midjourney Cheat Sheet
Here are the best tips and tactics for making the most of your Midjourney Cheat Sheet prompts to create beautiful photos tailored to your needs. Let’s get this party started:
- Make use of permutations.
- You may give your words weight.
- Specifics are your buddy!
- Use “/describe” to learn about the algorithm
- Use “/blend” to mix and match art styles or subjects.
- Include visuals wherever feasible.
- Make use of aspect ratios.
- Make the most of upscaling
- Carefully describe your lighting
Let’s dig into it!
Make use of permutations
Permutations are yet another new Midjourney feature that focuses on creating various visuals from a single query. There may be occasions when you are unsure of the ultimate image you require but have a decent starting point in mind.
In such circumstances, you may utilize permutations to produce numerous versions from the same word prompt, allowing you to quickly select a final image and then build on it.
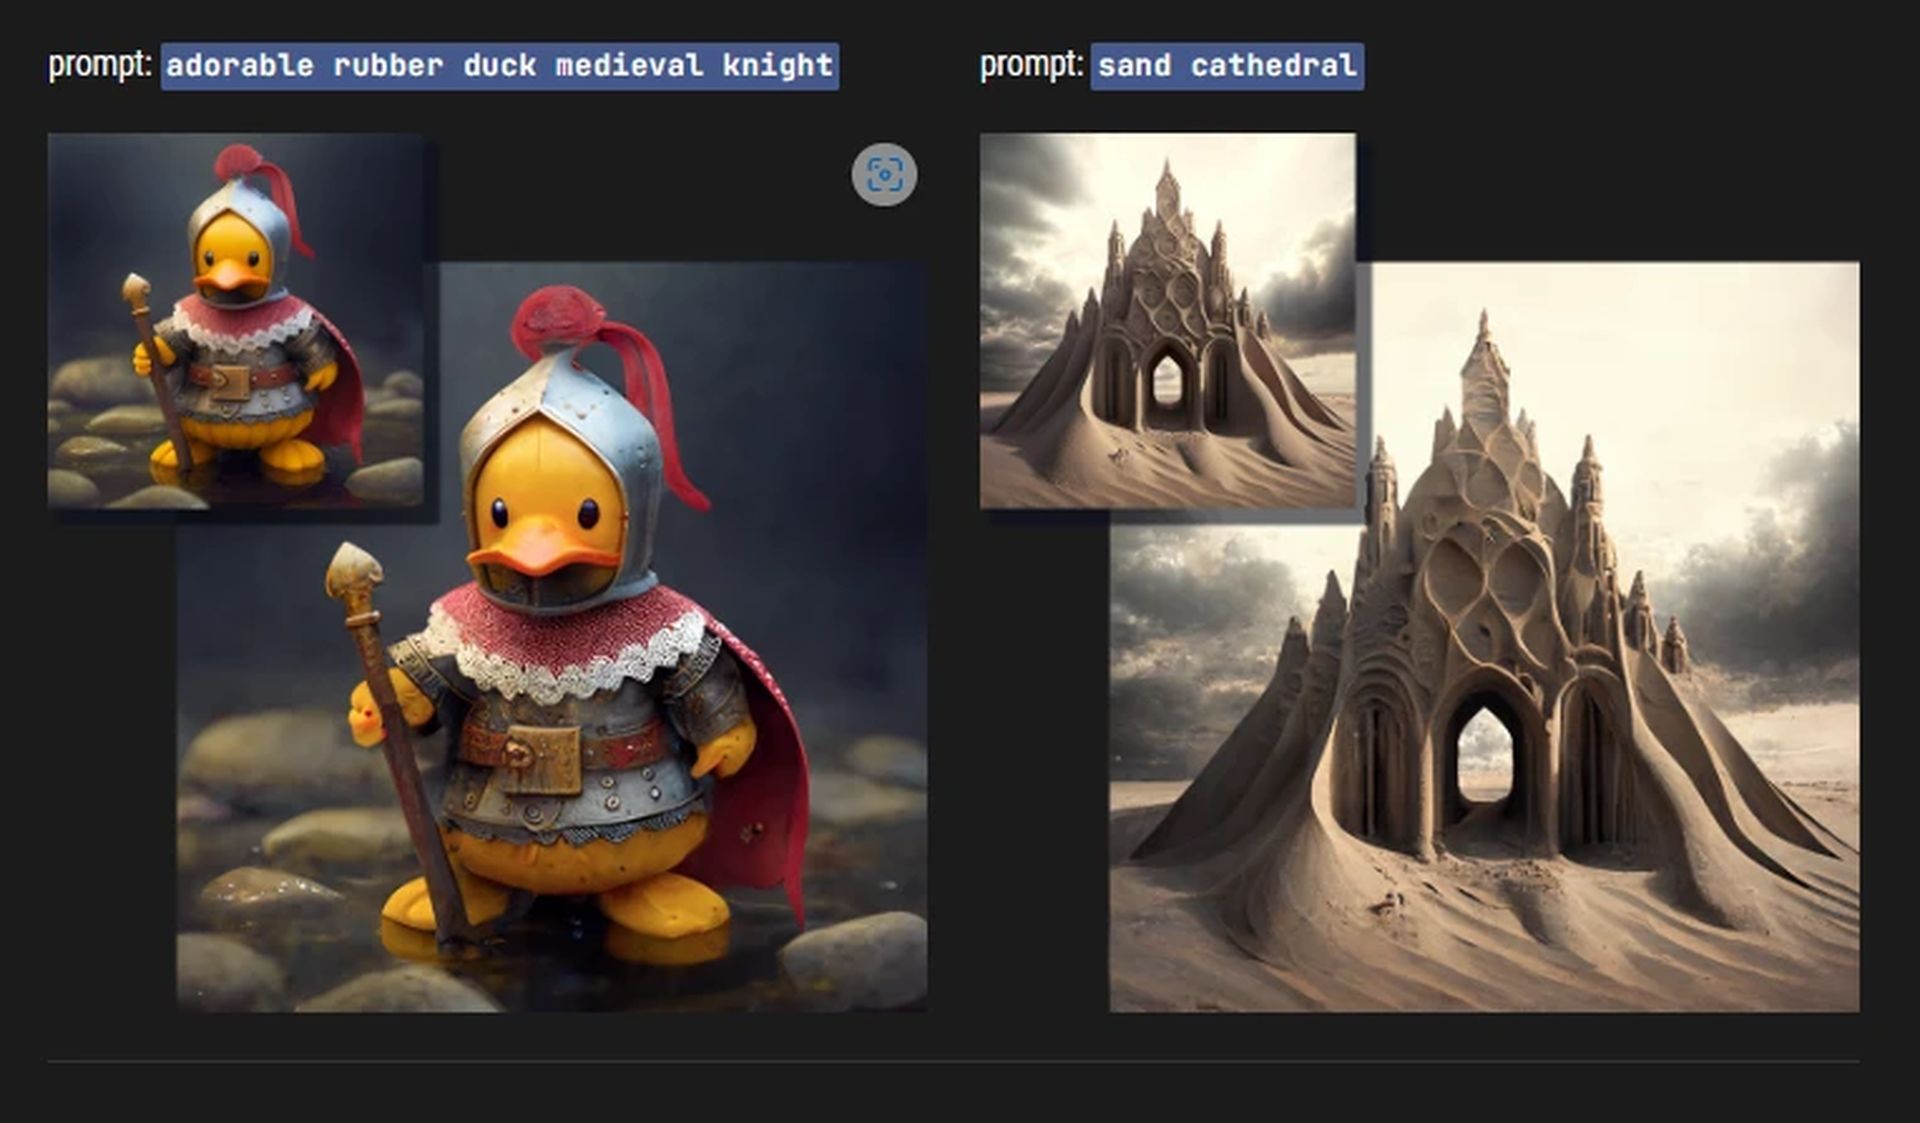
To utilize permutations in your text prompt, put your variants inside curly brackets. For example, if we require a red panda to eat three different fruits, we may use the prompt below:
/imagine a red panda eating a {banana, strawberry, or pear} while riding a Yamaha
This will yield three distinct final sets of photos depicting a red panda eating a banana, a strawberry, and a pear. Permutations aren’t limited to text prompts, though. They can also be used in combination with other characteristics such as aspect ratios. So, if we need to experiment with other aspect ratios with the same query, it will appear like this.
/imagine a red panda eating a {banana, strawberry, pear} while riding a Yamaha –ar {3:2, 1:2, 16:9}
This produces three distinct sets of photos in three distinct aspect ratios, for a total of nine distinct sets of photographs. Similarly, if I want to test multiple versions of Midjourney to see which one generates the greatest image for my needs, I may use permutations. The prompt will appear as seen below.
/imagine a red panda eating a {banana, strawberry, pear} while riding a Yamaha –{v5, v4b, niji}
This will result in three distinct sets of photos created with Midjourney v5, v4b, and Fiji. Permutations are the greatest solution if you want to produce several pictures instantaneously to select the one that best meets your present needs.
You may give your words weight
We addressed how to apply image weight when uploading photographs to Midjourney before. Image weight influences how inspired your final photographs are by the ones you uploaded. But did you know you can also add and control the weight of additional components in your text prompt?
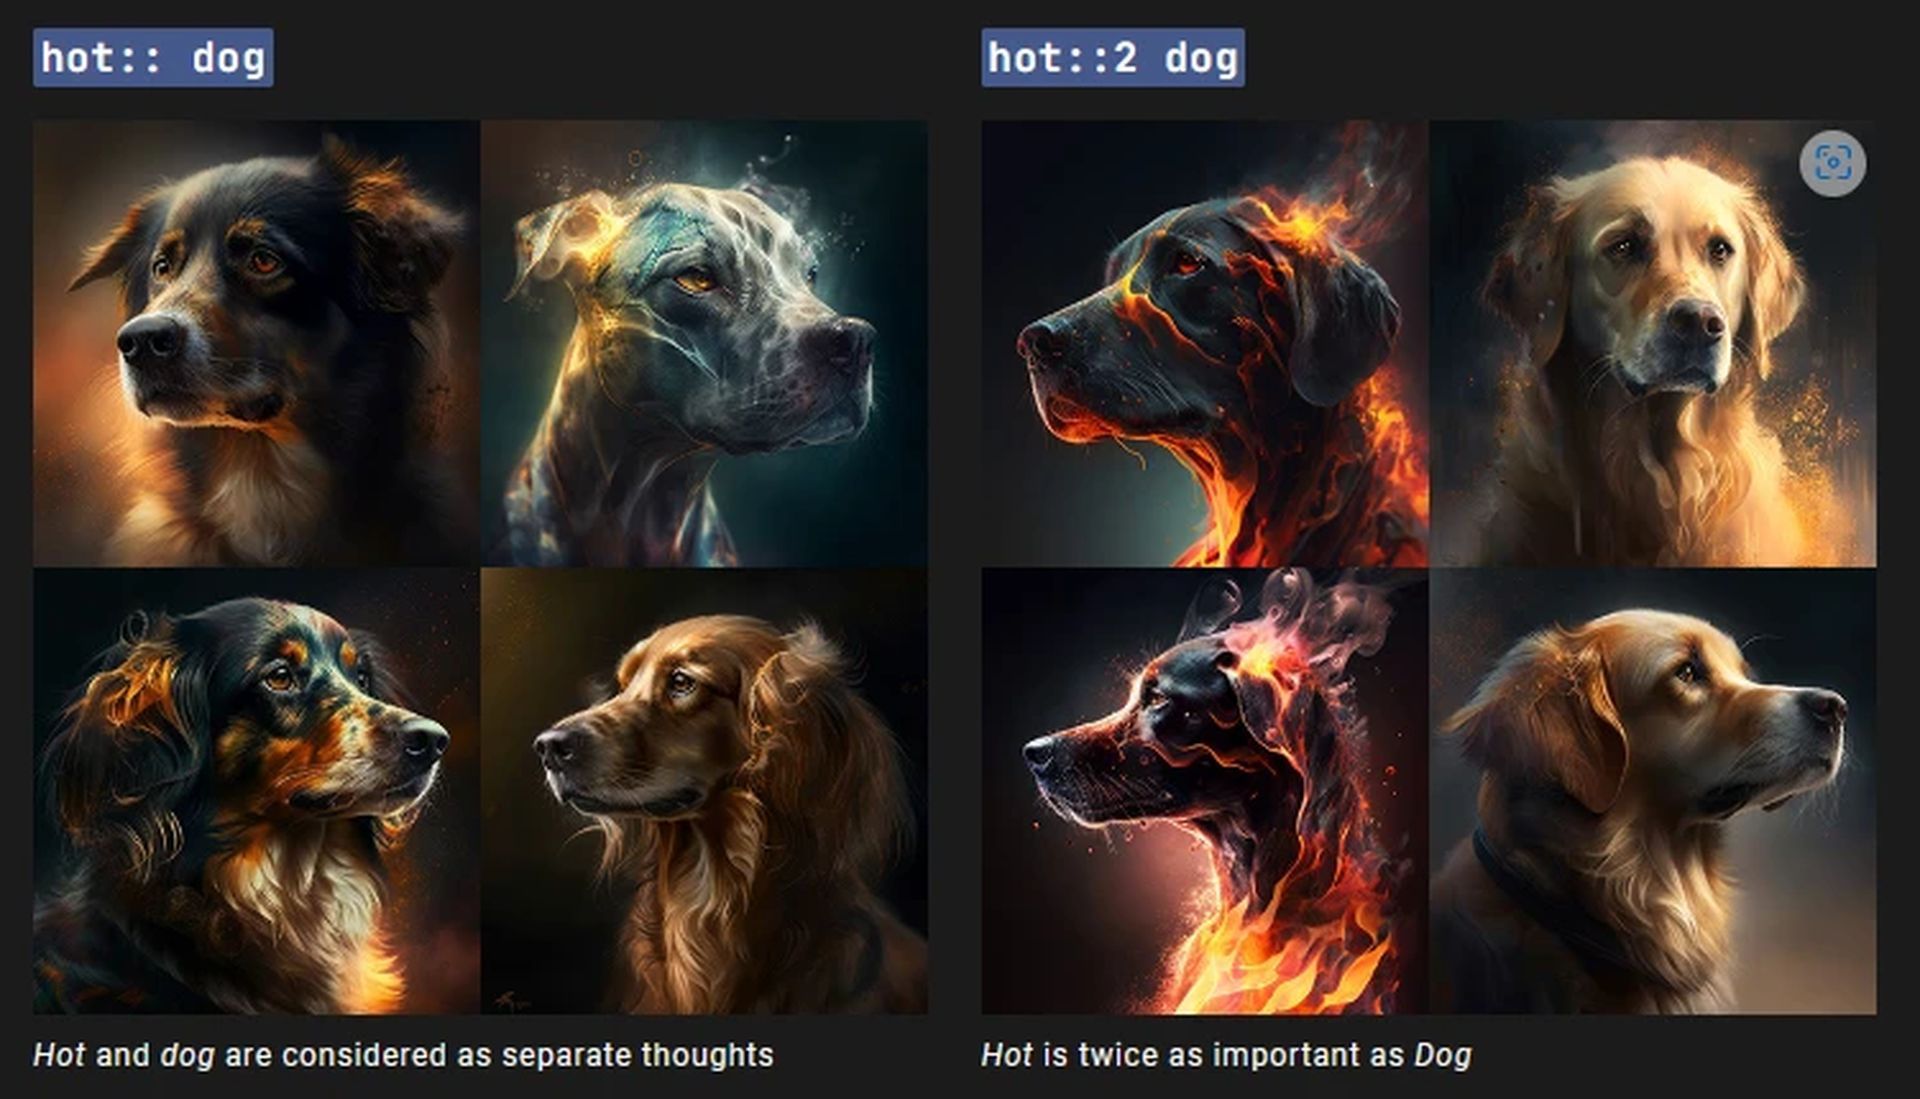
In your text prompt, you may specify the weight for various factors such as lighting, subjects, style, and others. This will provide you with more creative control over your final photographs, allowing you to specify the precise style you desire for your images.
Using the “::” separator, you may add weight to your components. For example, when producing pictures with the command “a red panda eating a banana in space while riding a beach buggy”, we may use the weight parameter to accentuate key characteristics such as space and beach buggy. The final prompt will look like this.
“a red panda eating a banana in space::1.5 while riding a beach buggy::2.0”
Weight parameters may be used everywhere and in conjunction with other commands to generate unique graphics that match your needs.
Specifics are your buddy!
Consider employing medium, drawing style, period, emotions, colors, and surroundings to set the tone and constraints for your work. More on this, with examples, is provided below.
When employing text prompts with Midjourney Cheat Sheet, specificity is your friend. You may believe that employing abstract terms and nouns to describe the situation would help you produce aesthetic imagery, but such words and phrases are subjective. The algorithm may understand the suggestions in the manner you want it to, but it may also proceed in an opposite route.
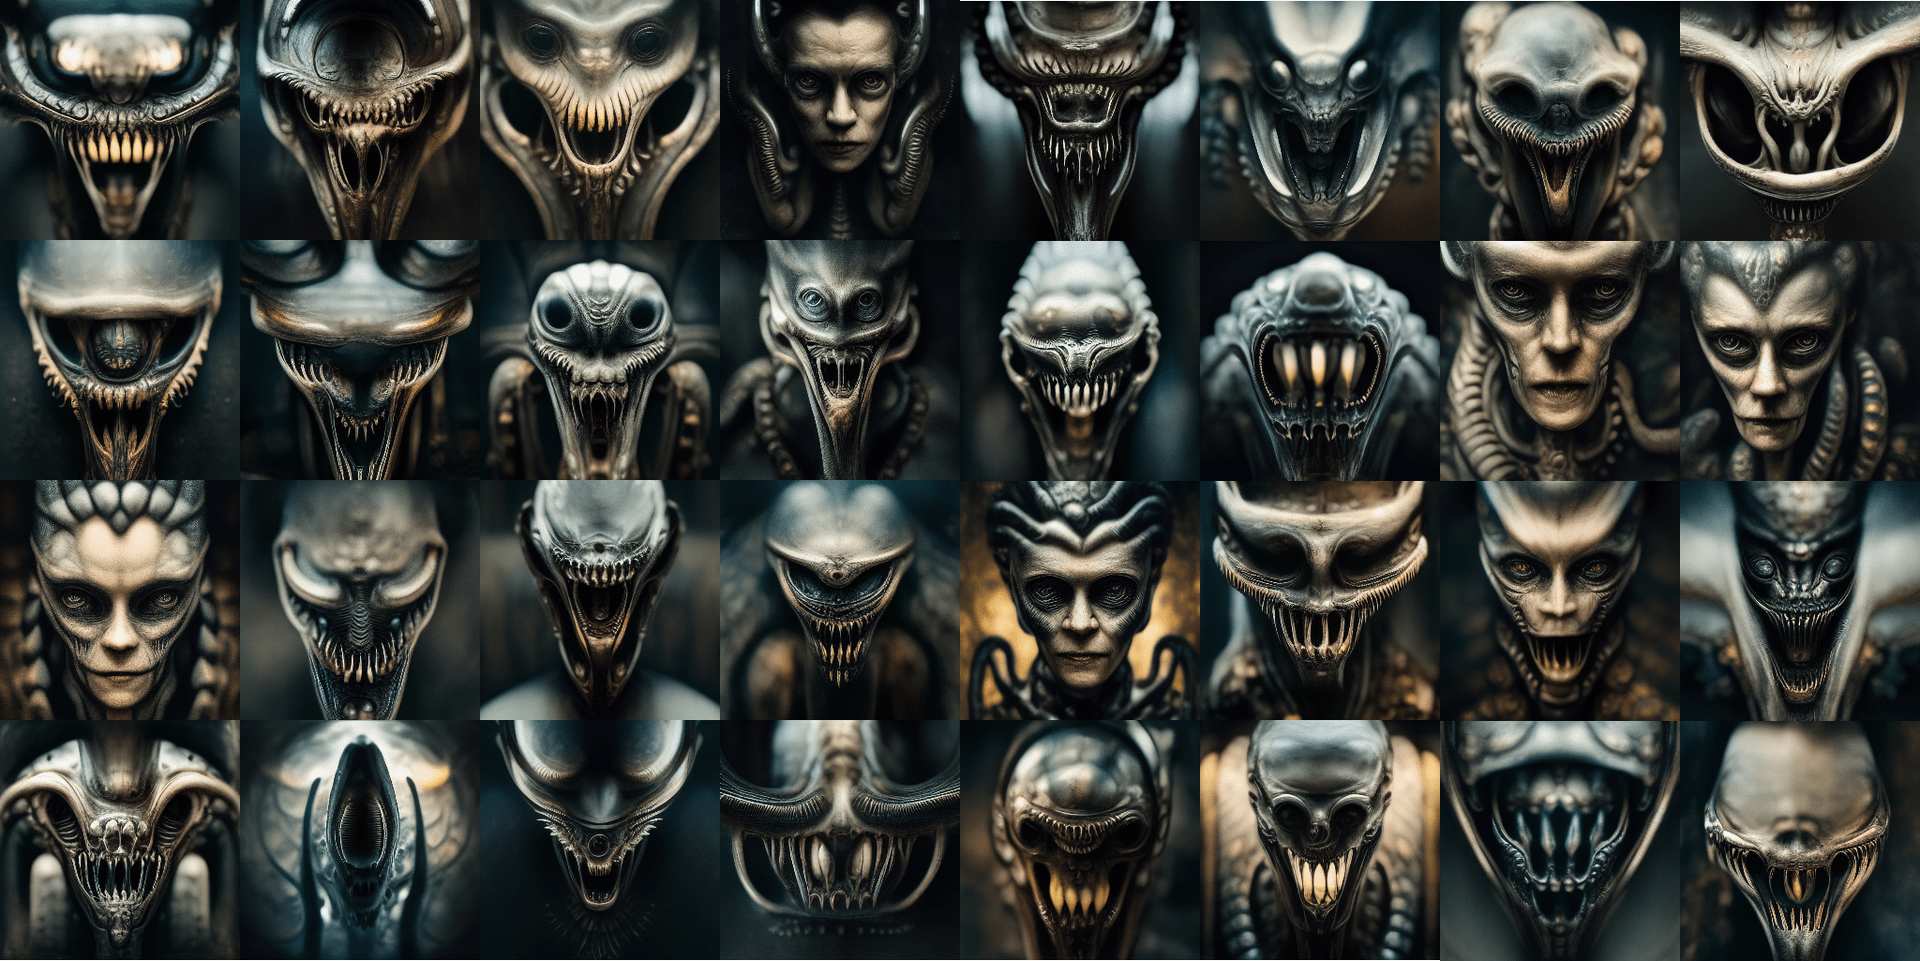
Being as descriptive as possible will aid in restricting the algorithm to your needs and generating the photos you desire. Here are some components you should add in your prompts to be more particular so you may receive the finest end image for your needs.
Use “/describe” to learn about the algorithm
Midjourney Cheat Sheet was recently upgraded with several new and fascinating commands, such as the “/describe” command. This command has the exact opposite effect as the “/imagine” command. Unlike the /imagine command, which transforms text prompts into images, the /describe command converts images to text prompts. When using the /describe command, you must supply Midjourney with a picture.
After that, the system will evaluate the image and provide four text-based prompts for it. You may then use each of these instructions to create new photos. If you’re having trouble with prompts, the /describe command might come in helpful.
You may use it to learn and evaluate how the algorithm interprets your prompts, as well as how to organize future prompts for better outcomes. For example, if you supply an image and then produce four prompts, you can get an idea of what Midjojurney should have used to make a similar image.
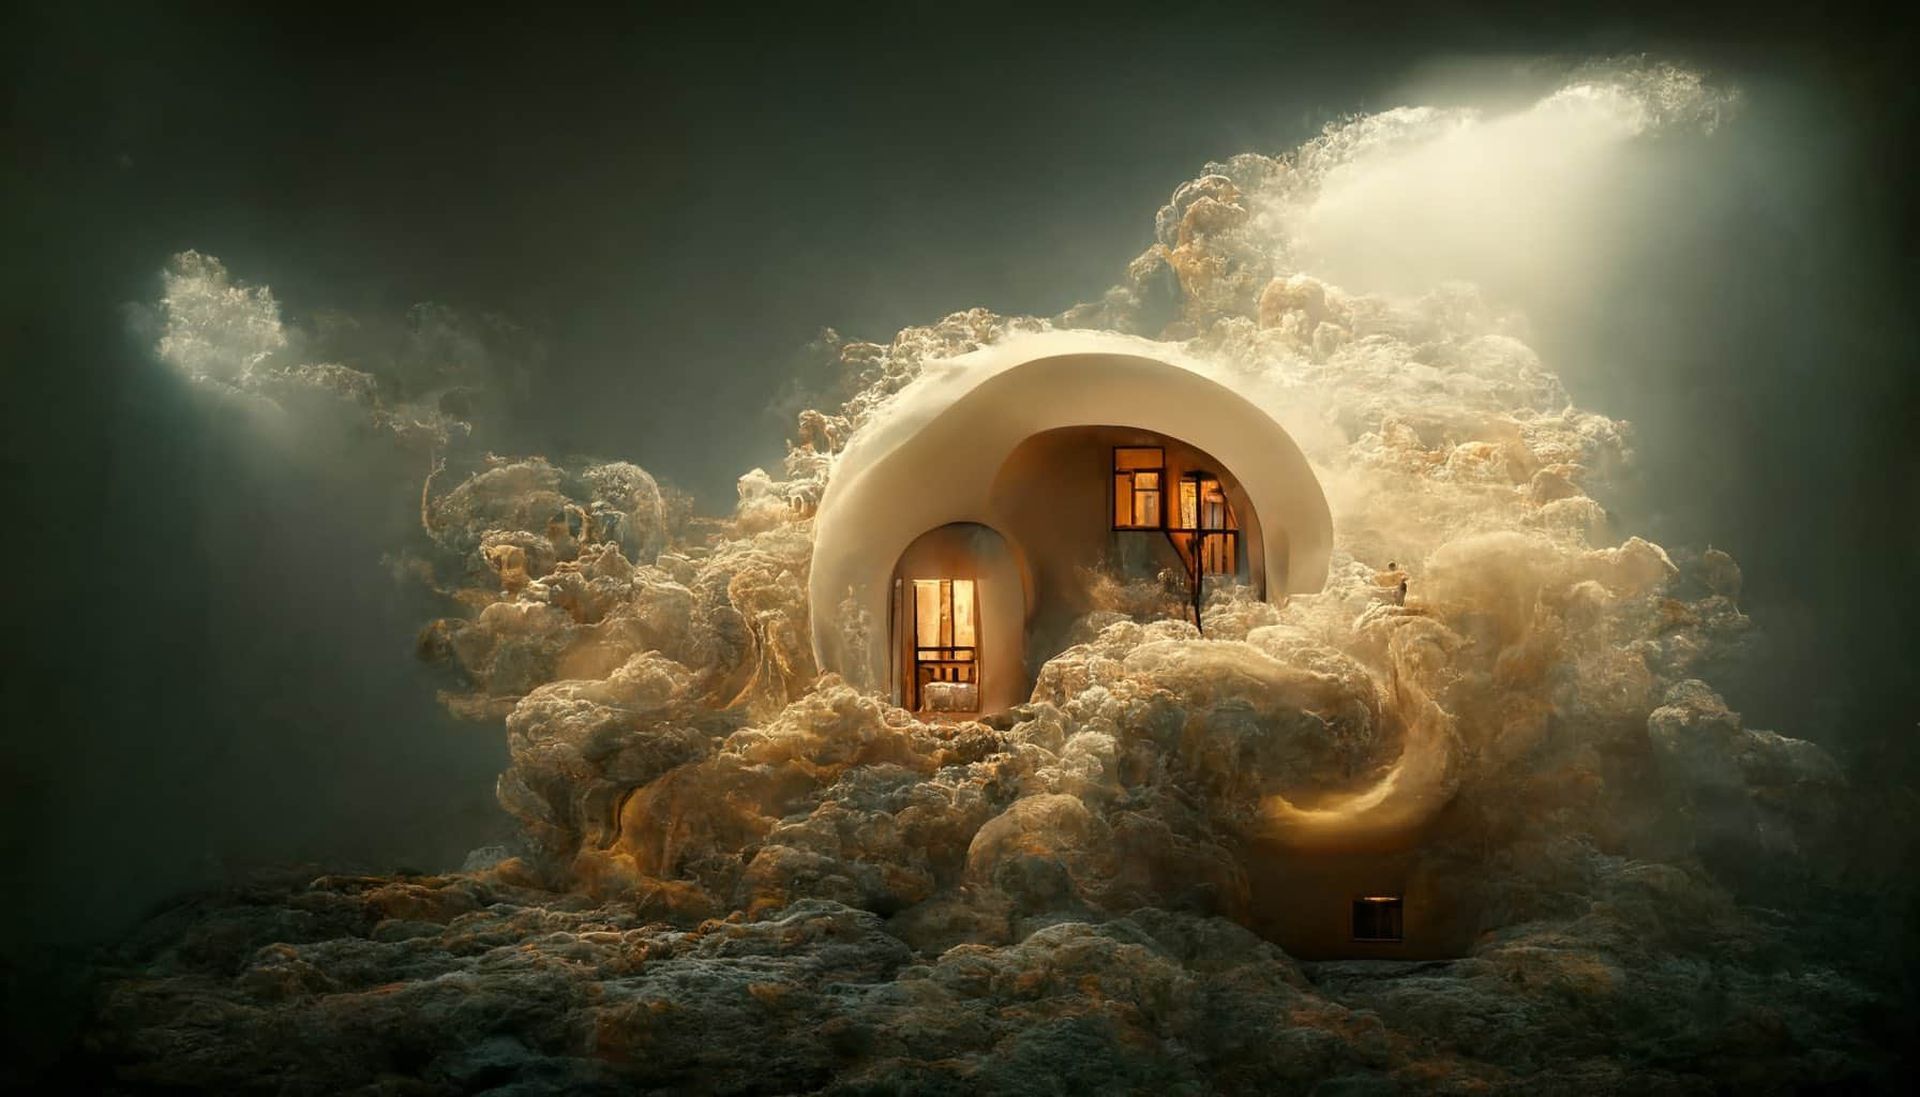
Similarly, when you produce photos using these four prompts, you may select the image that best meets your needs and then examine the relevant prompt to uncover the subtleties and specifics that lead to the final results.
You may then continue to improve your future prompts by using comparable specifications and details to produce visuals that match your needs.
Use “/blend” to mix and match art styles or subjects
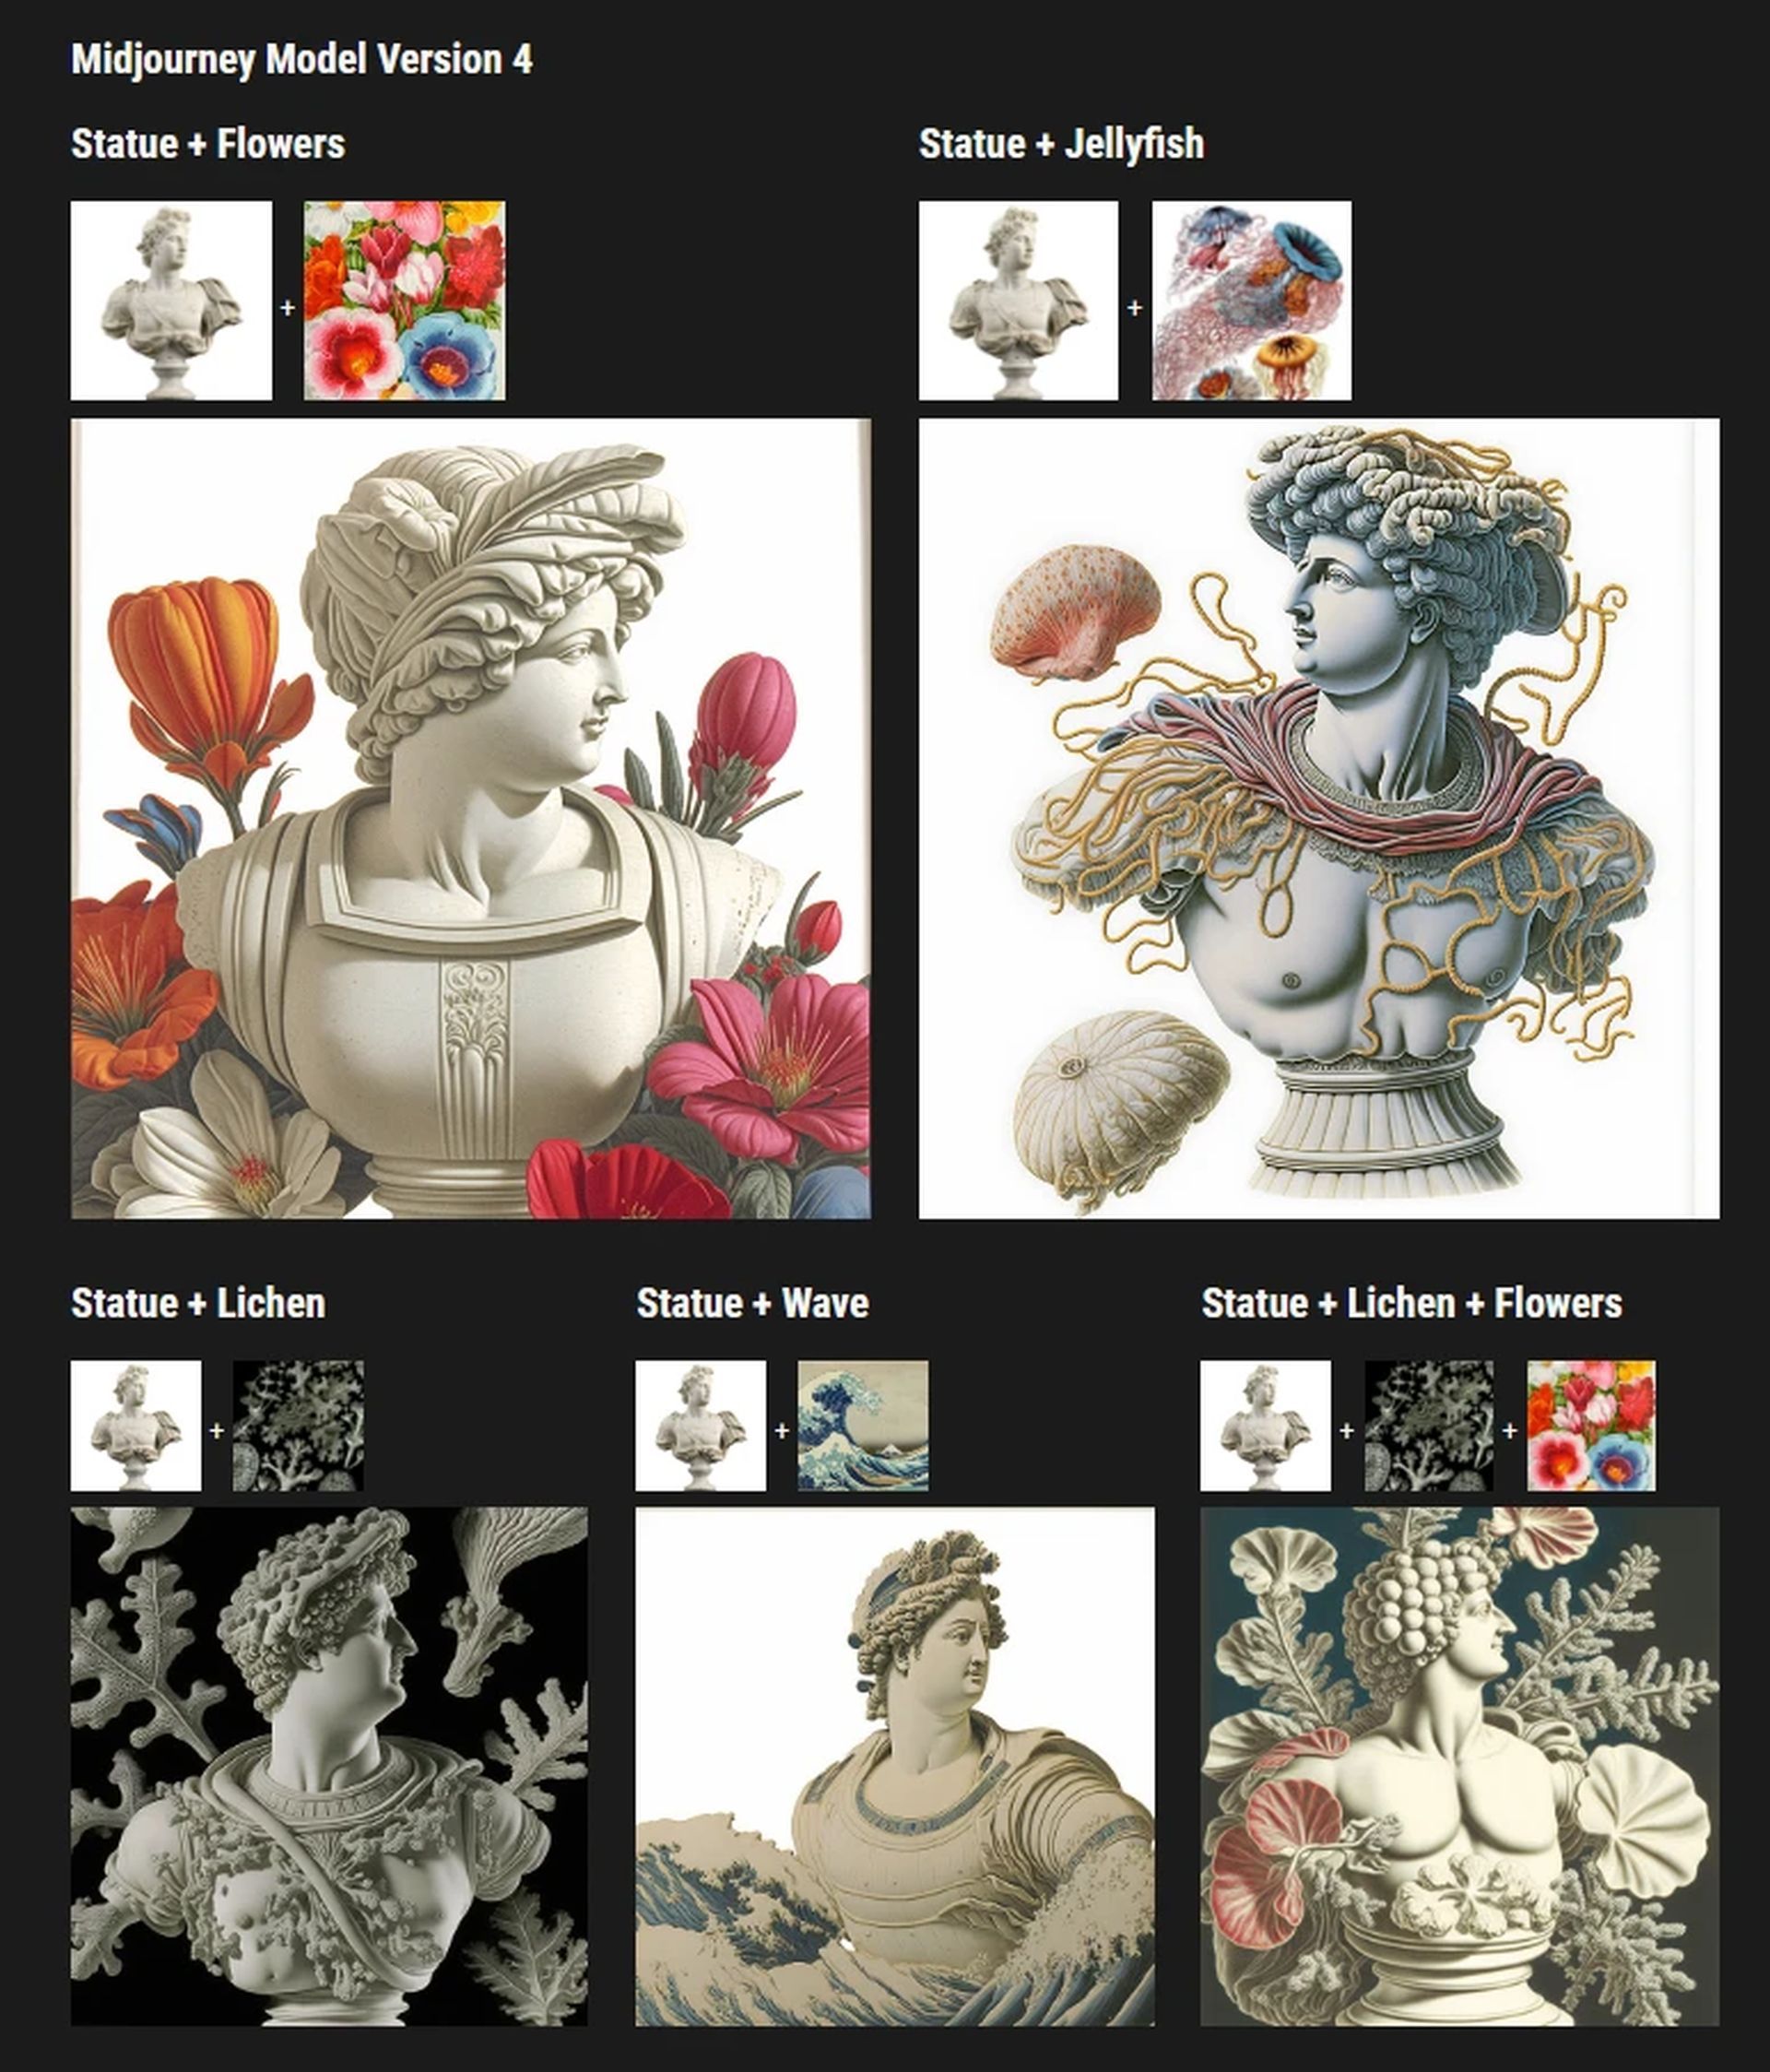
/blend is another useful command for combining and creating graphics influenced by one another. Instead of the /imagine command, which allows you to input a picture and have your final image inspired by it, /blend will mix two to five photos and generate a final image that is influenced by all of them.
You may take advantage of this by having Midjourney style your final image influenced by a certain photograph.
You can also use /blend to create a unique final image by combining two separate themes or landscapes. You may mix up to five photos together with /blend, and you can even specify the image weight for each image.
Include visuals wherever feasible
Midjourney also allows you to upload photos to use in your prompts. The picture weight may then be defined based on your needs, which will decide how inspired the final photographs are by the one you gave.
You may also attach a written question to accompany your image, allowing you to be more explicit in terms of your requirements. Uploading photographs to Midjourney for use in prompts allows you to stylize them, choose certain themes, and even create art with your images.
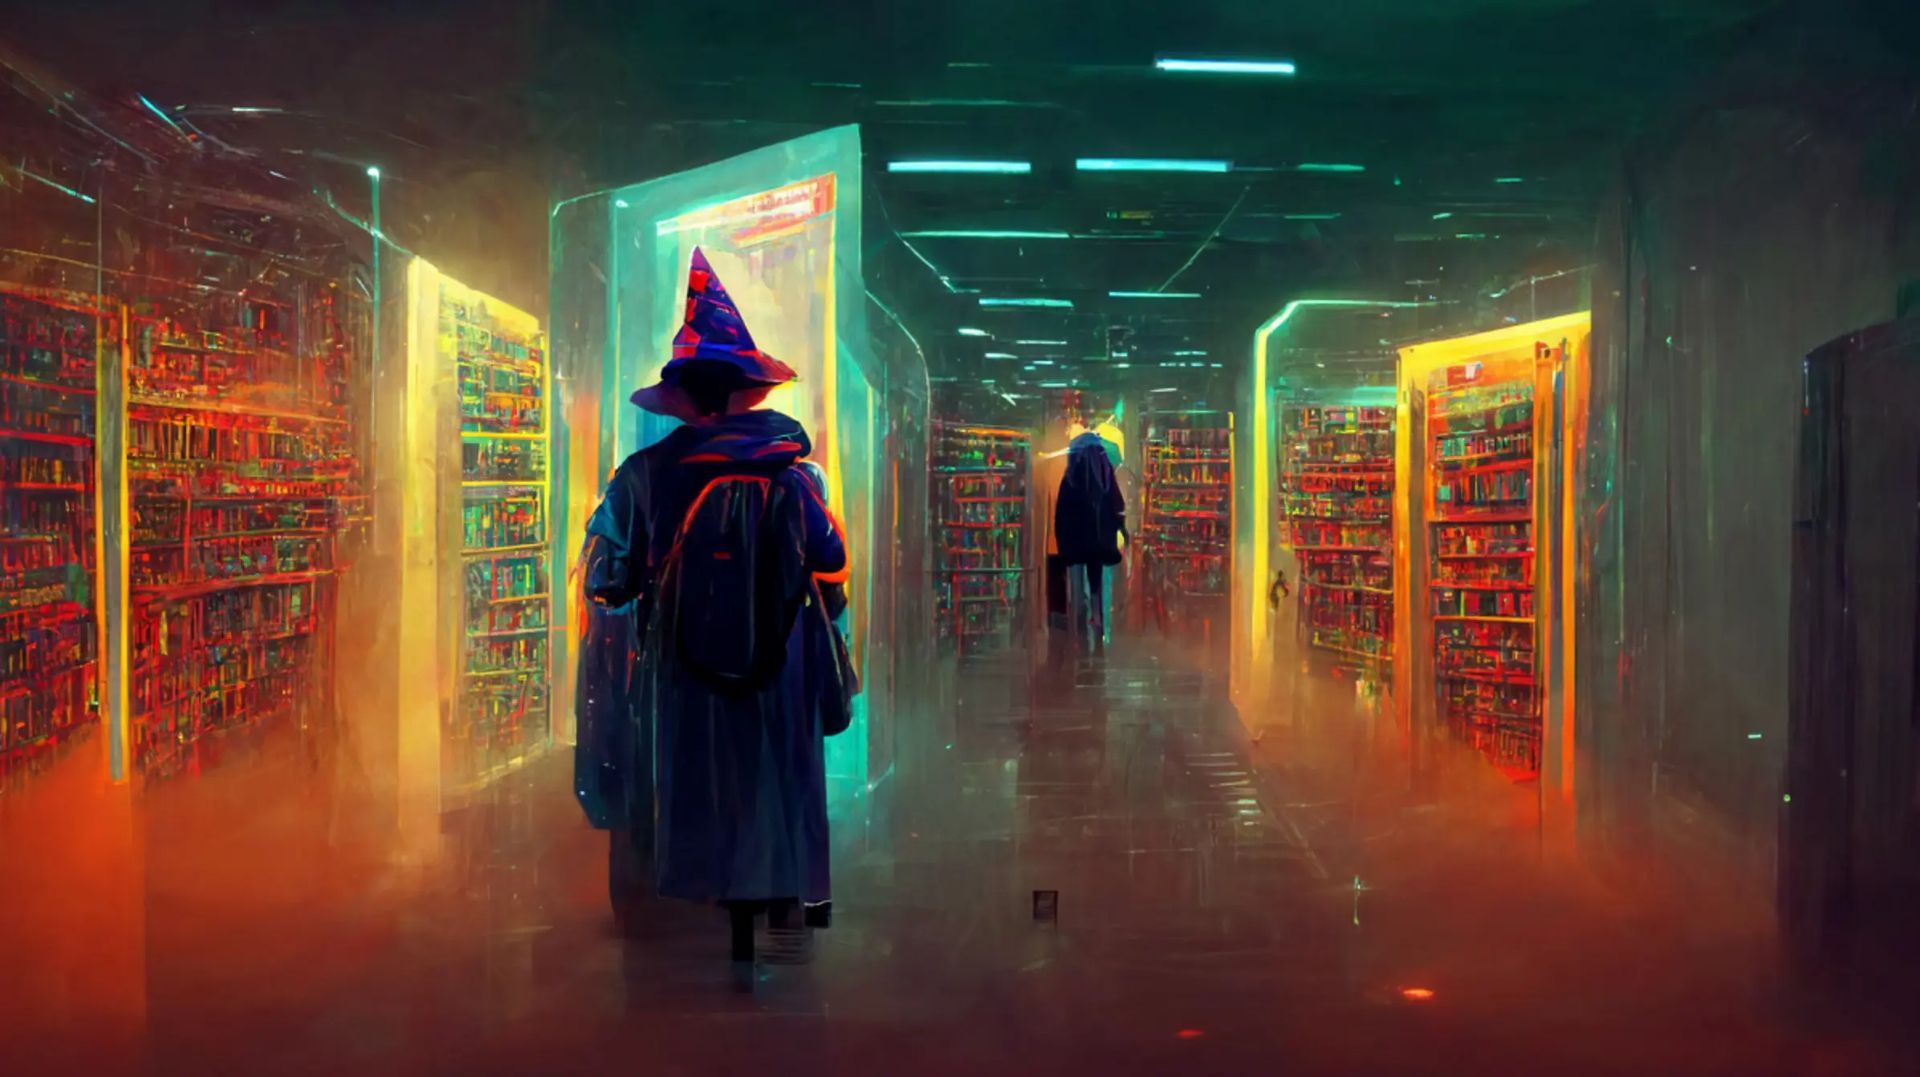
You may also provide Midjourney real-life situations to edit and stylize depending on your specifications. So remember to post and incorporate photographs in your prompts the next time you wish you could stylize or make visuals from anything you recorded in real life.
Make use of aspect ratios
Midjourney may also follow your aspect ratio choices, which eliminates the need to crop or resize your final photographs. This is especially useful if you’re running Midjourney version 5. By entering precise aspect ratios, you may create banners, billboards, posters, and more. Depending on the version, Midjourney can keep your aspect ratios.
You may use the following syntax to add aspect ratios to your questions. (Your aspect ratio) should be replaced with the appropriate aspect ratio supported by the Midjourney version you’re presently using.
/imagine [Your text prompt] –ar (Your aspect ratio)
Make the most of upscaling
After you’ve created and selected an image, you should upscale it. While your final set of photographs will have specified upscale for you, there are a few methods to improve your images when they are upscaled. To begin, you might employ the light upscale.
This upscale adds little features to your final image and is best suited for faces and human subjects. When you upscale an image in Midjourney by default, it employs the detailed upscale. This upscale will upscale your image while also adding plenty of finer features to the final result.
This can contain dents, scuffs, HQ textures, and other details. However, there may be occasions when you don’t want to add finer details to your final image or soften the textures, which may be beneficial when working with human beings. You can utilize the light upscale in such circumstances. The light upscale may be used in the following formats:
/imagine [Your text prompt] –uplight
Carefully describe your lighting
It is critical to describe your scene as accurately as possible to obtain a fantastic photograph from Midjourney. While most users describe their subjects in great detail, noting the lighting is something that everyone overlooks. Lighting is vital in creating the right picture, just as it is in any photograph or work of art.
The lighting of your subjects, the number of light sources in your scene, and how your shadows interact are all critical components of creating a stunning shot.
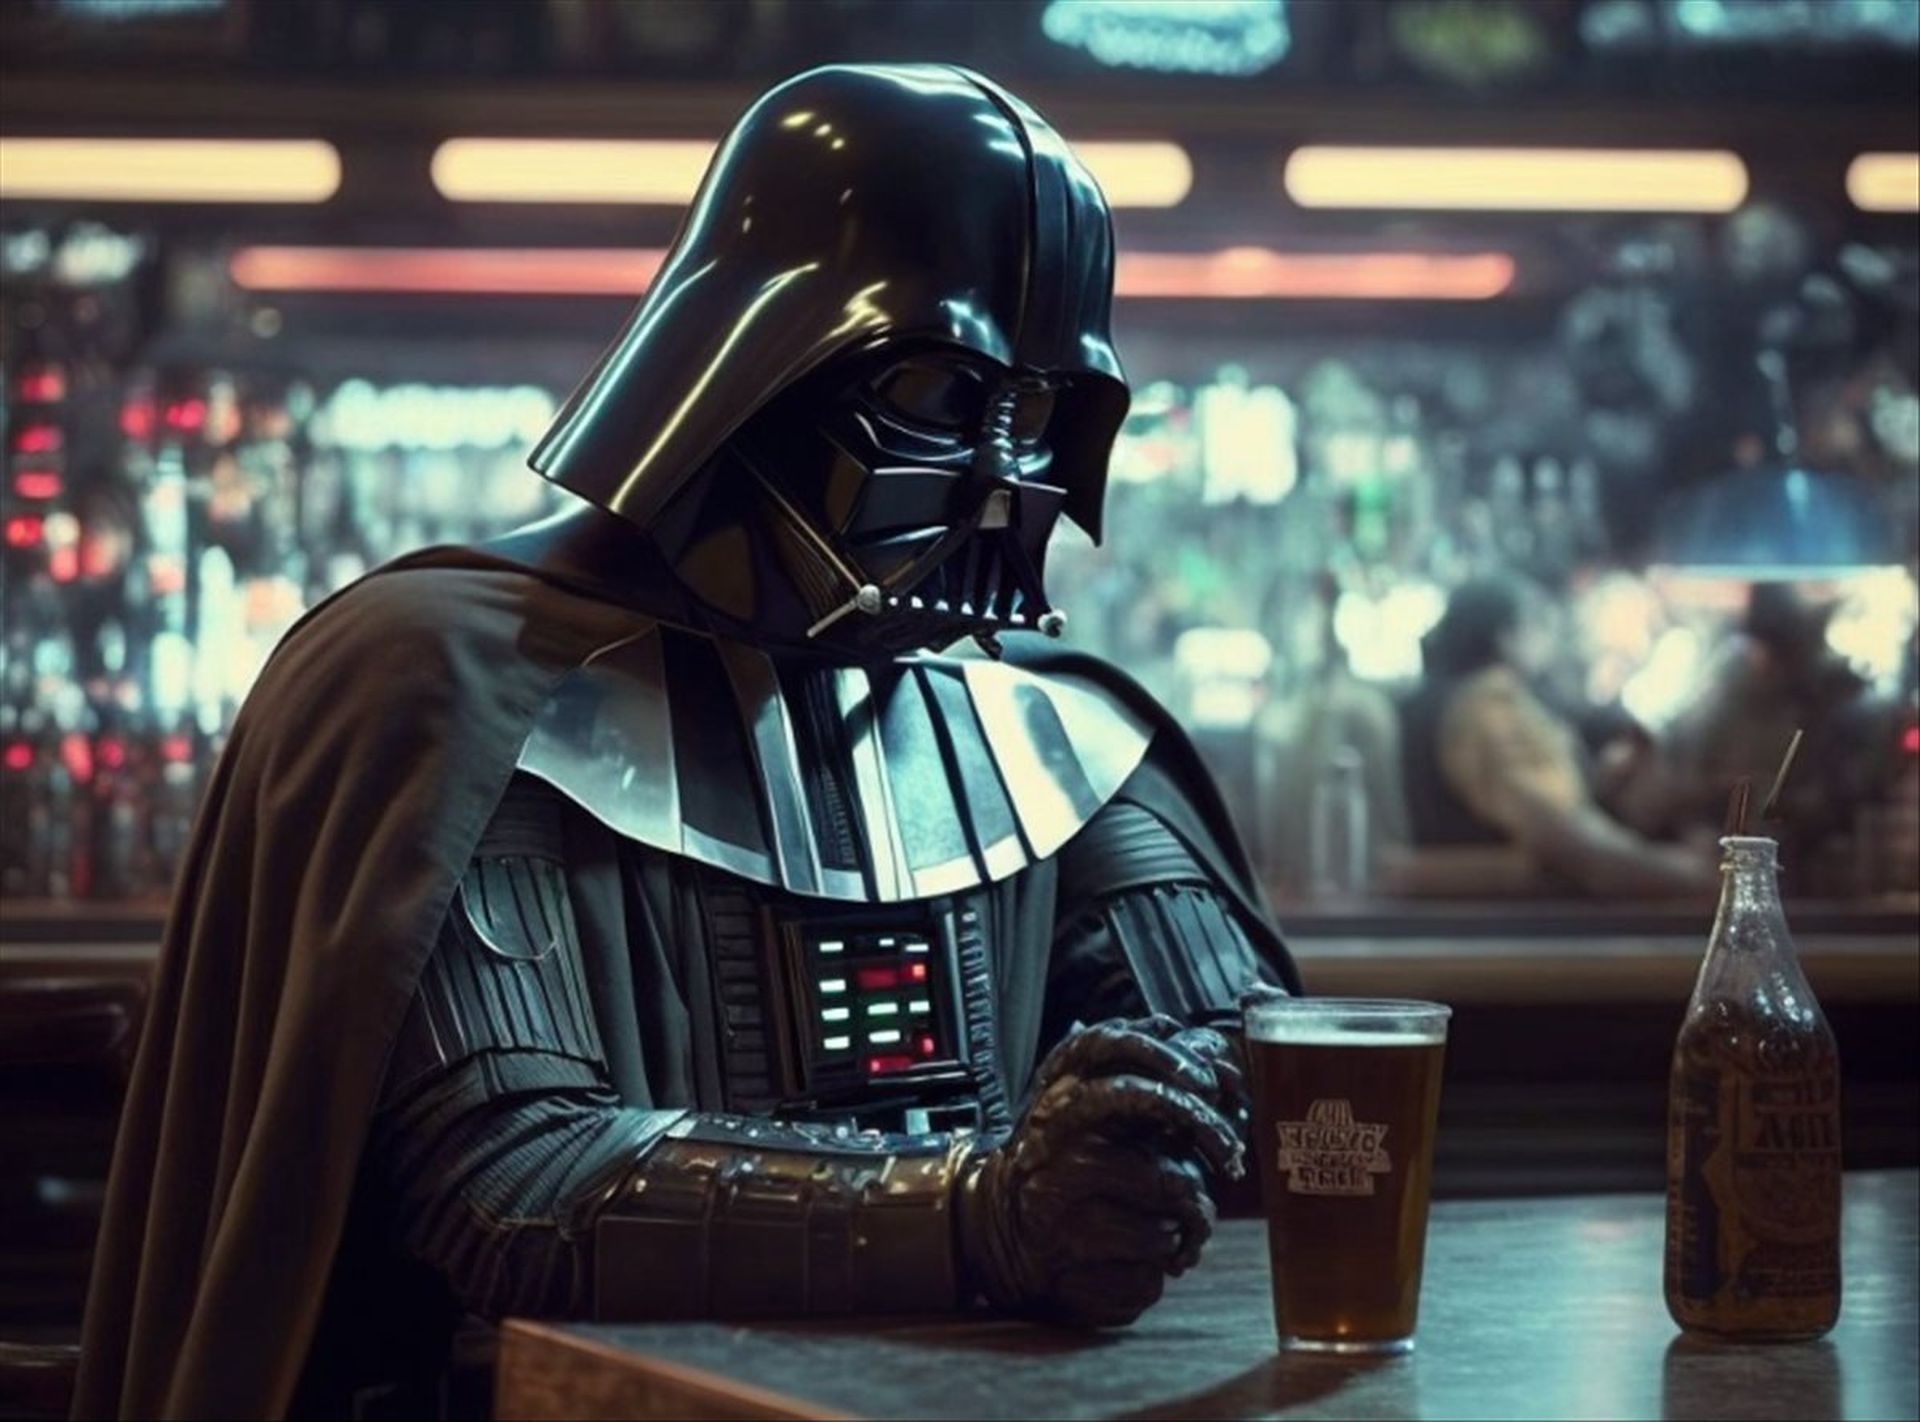
So, when asking Midjourney for photographs, we recommend being very clear about your lighting. To acquire the greatest possible photograph for your demand, you should determine the color temperature, the number of light sources in the scene, the location of your subject, everything that may generate shadows, and more.
If you’re attempting to make photographs with sparse lighting, you may also be specific about shadows in your scenario.
Midjourney Cheat Sheet: Conclusion
To make the most out of this app, users can utilize multiple versions, elaborate prompts, additional settings, and more. However, with so many options, it can be difficult to keep track of everything.
The cheat sheet includes tips such as utilizing permutations, giving your words weight, being specific, using “/describe” to learn about the algorithm, using “/blend” to mix and match art styles or subjects, including visuals wherever feasible, making use of aspect ratios, and carefully describing your lighting.
Specificity is the key to using text prompts with Midjourney, which allows you to generate photos that match your needs. The “/describe” command is a new addition to Midjourney, which converts images to text prompts and evaluates the image to provide four text descriptions.
Did you find Midjourney Cheat Sheet useful? Don’t forget to check out our guide explaining how to create AI art with Midjourney!

