In this article, we are going to be covering how to take Apple ProRAW photos on iPhone, so you can edit them later like any professional photographer.
About two years ago, Apple offered phone photographers a reason to be enthusiastic. With the announcement of the iPhone 12 series, Apple introduced ProRaw, a new raw photo format that allows you the personalization a raw file combined with the iPhone’s computational photo smarts.
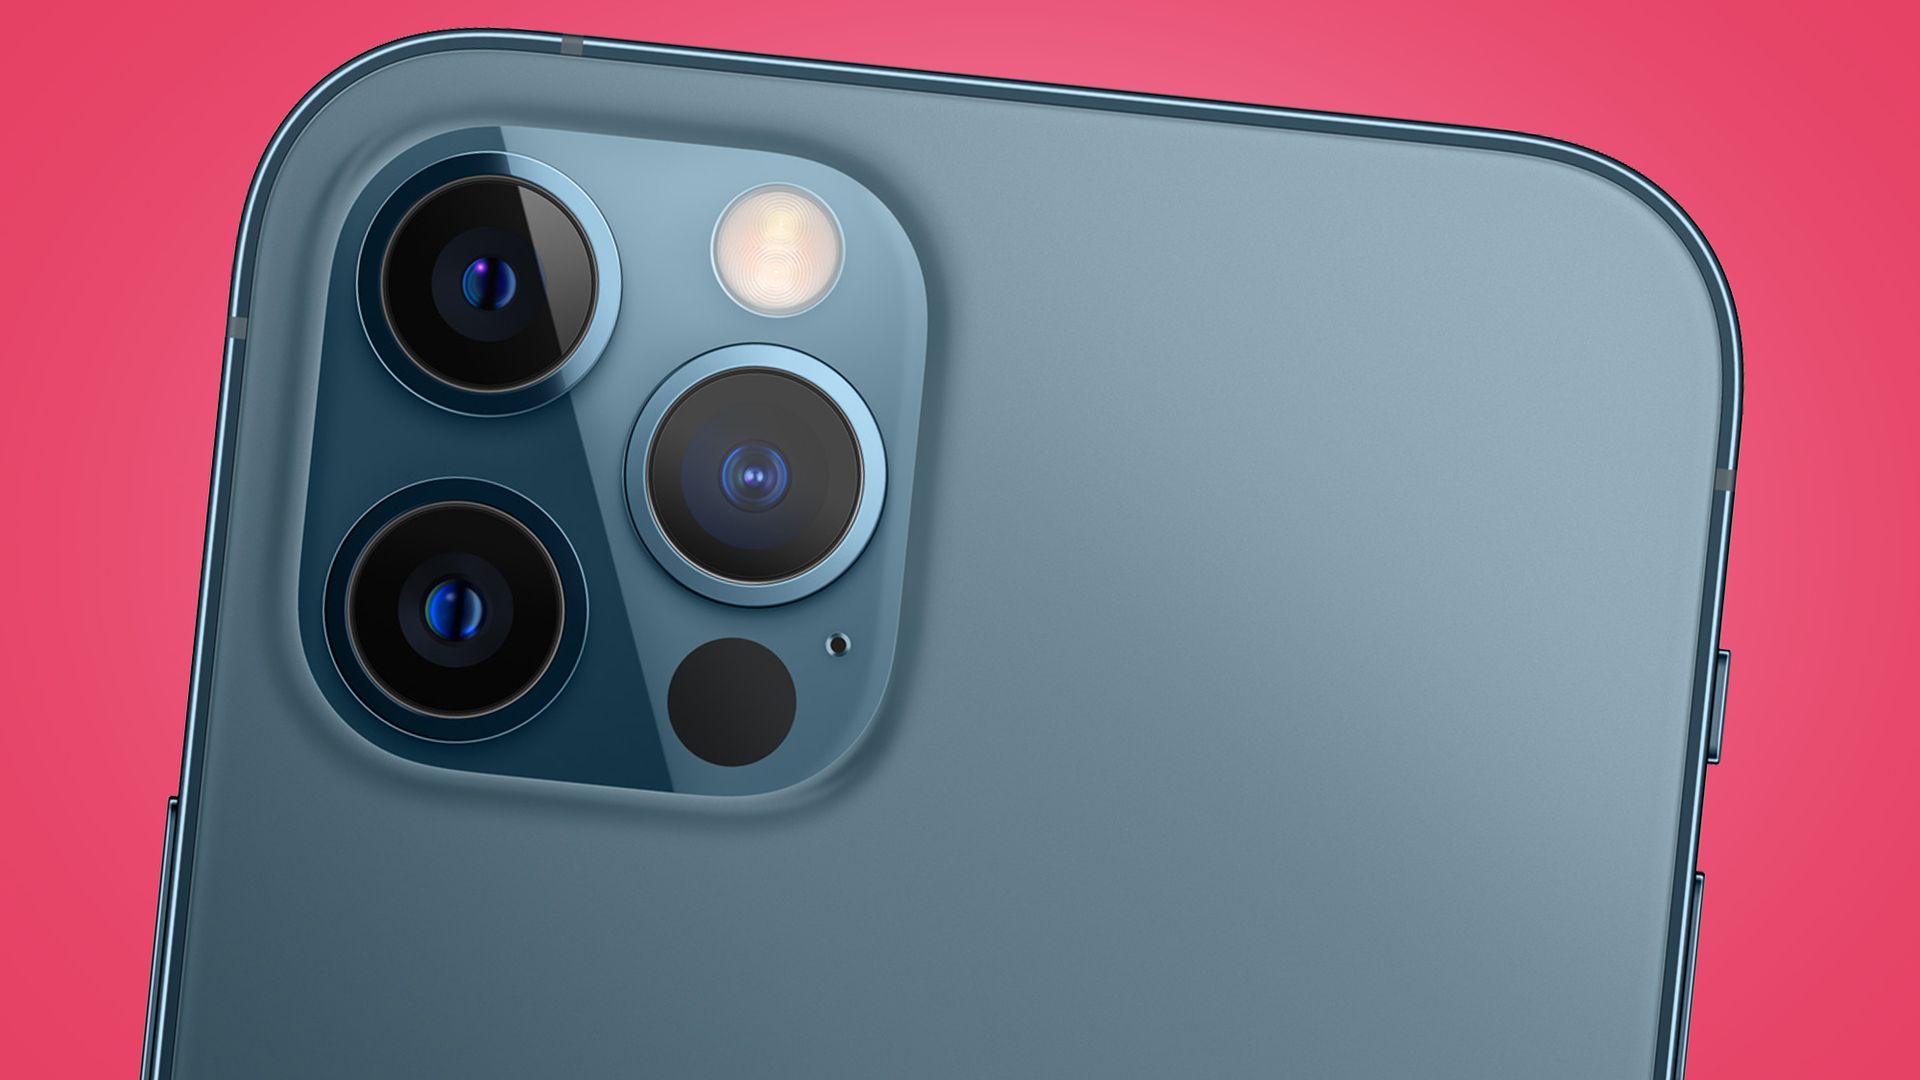
Currently, when you take a picture with your iPhone, it is stored as a JPEG or a raw file. Consider a JPEG file to be a meal provided to you in a restaurant. You’re essentially stuck with how the restaurant cooked the dish, and there aren’t many alternatives for changing it. Your phone determines the color balance, exposure, noise reduction, sharpness, and other features of a photo in a JPEG format.
A raw file is more like a grocery bag with all of the components for a meal. You may change the appearance of a photograph. However, the camera sensor on your phone is tiny, especially when compared to bigger sensors on mirrorless or DSLR cameras, which means it produces a lot of picture noise and has a limited dynamic range. In the iPhone, however, JPEGs (or the newer HEIC format) get a boost to “fix” those microscopic sensor flaws in the form of Smart HDR, Deep Fusion, and Night Mode.
Raw images on the iPhone can only be captured with a third-party app like Halide or Moment, and they lack any computational assistance. This implies that you can either shoot a JPEG shot with the official iOS camera app and get Apple’s computational boost, or you can take a raw photo with a third-party app and not get it.
How to take Apple ProRAW photos on iPhone?
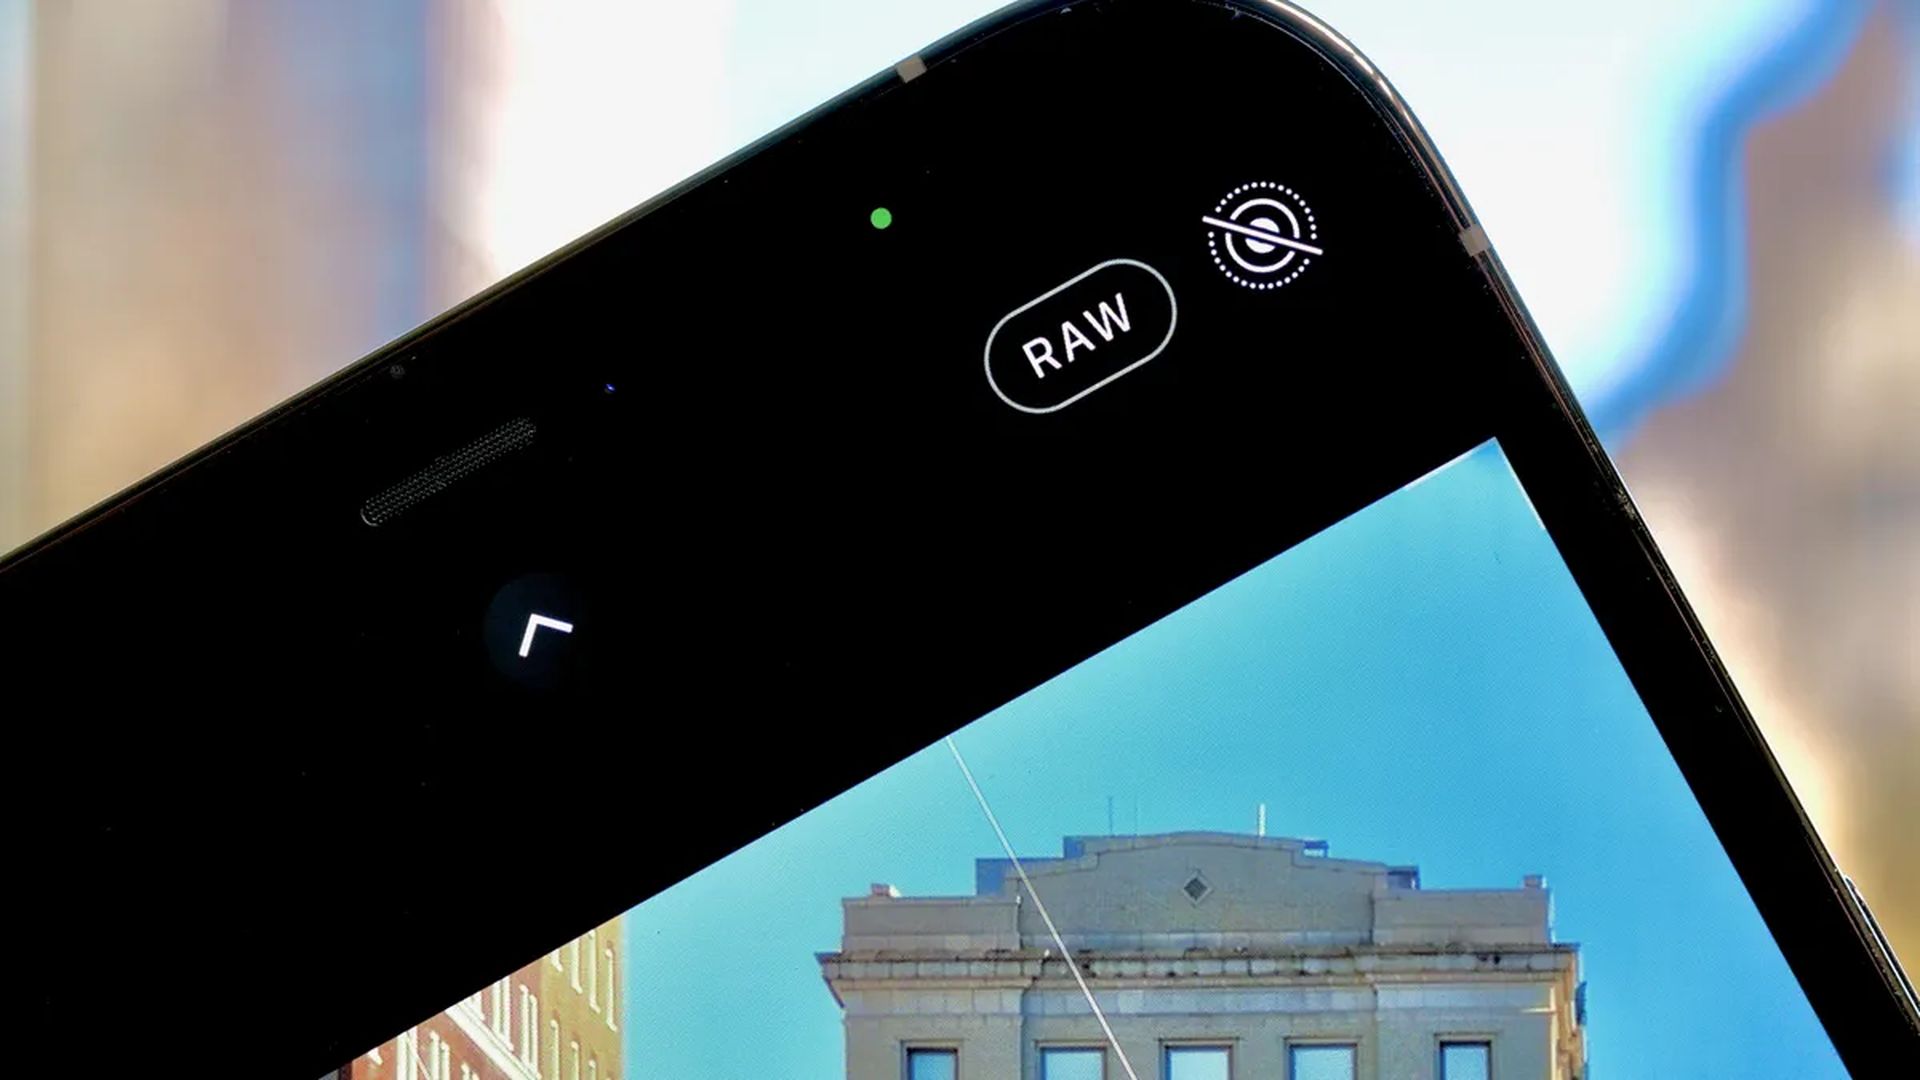
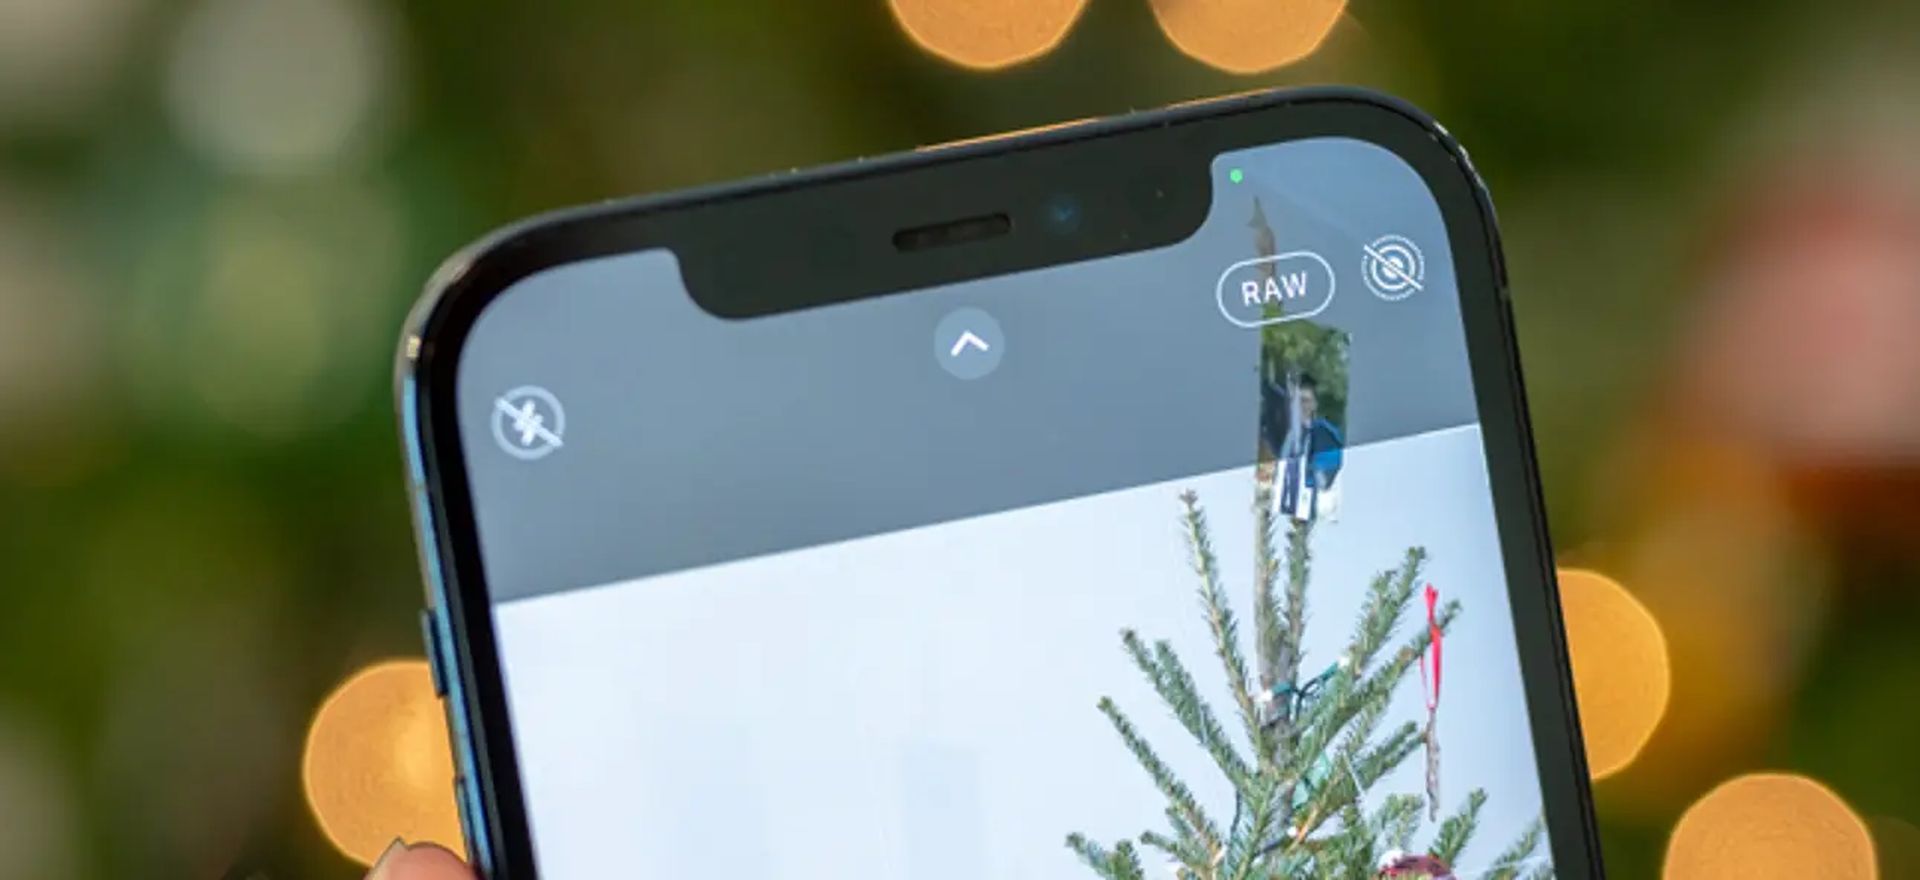
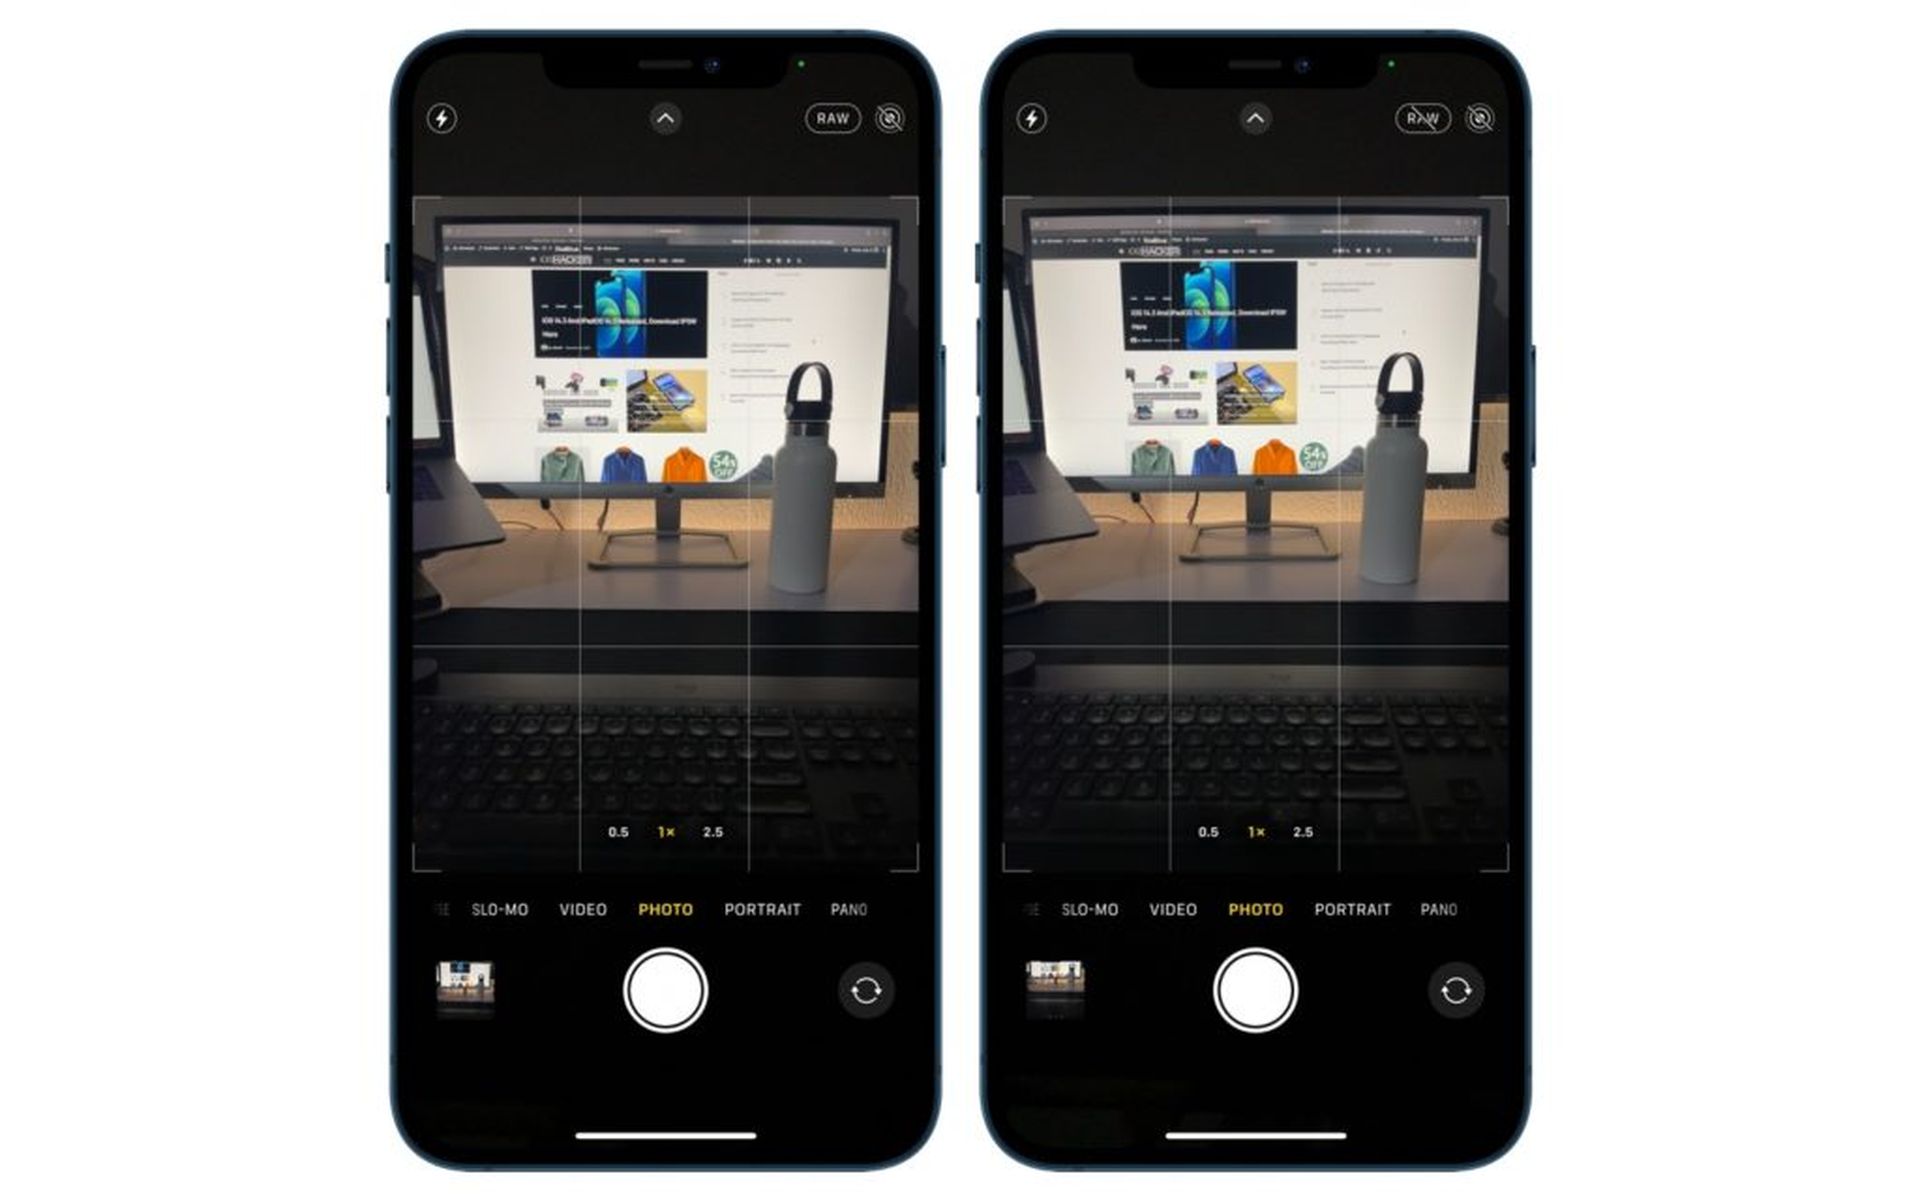
The inclusion of ProRaw affects everything. On iPhones, it will be native in the iOS camera app, but it will not be enabled by default. To enable it, head to Settings > Camera > Formats, and there’s a toggle to switch Apple ProRaw on and off under a new Photo Capture section. A new Raw button in the upper right corner of the camera app allows you to rapidly switch between ProRaw and JPEG (or HEIC) photographs.
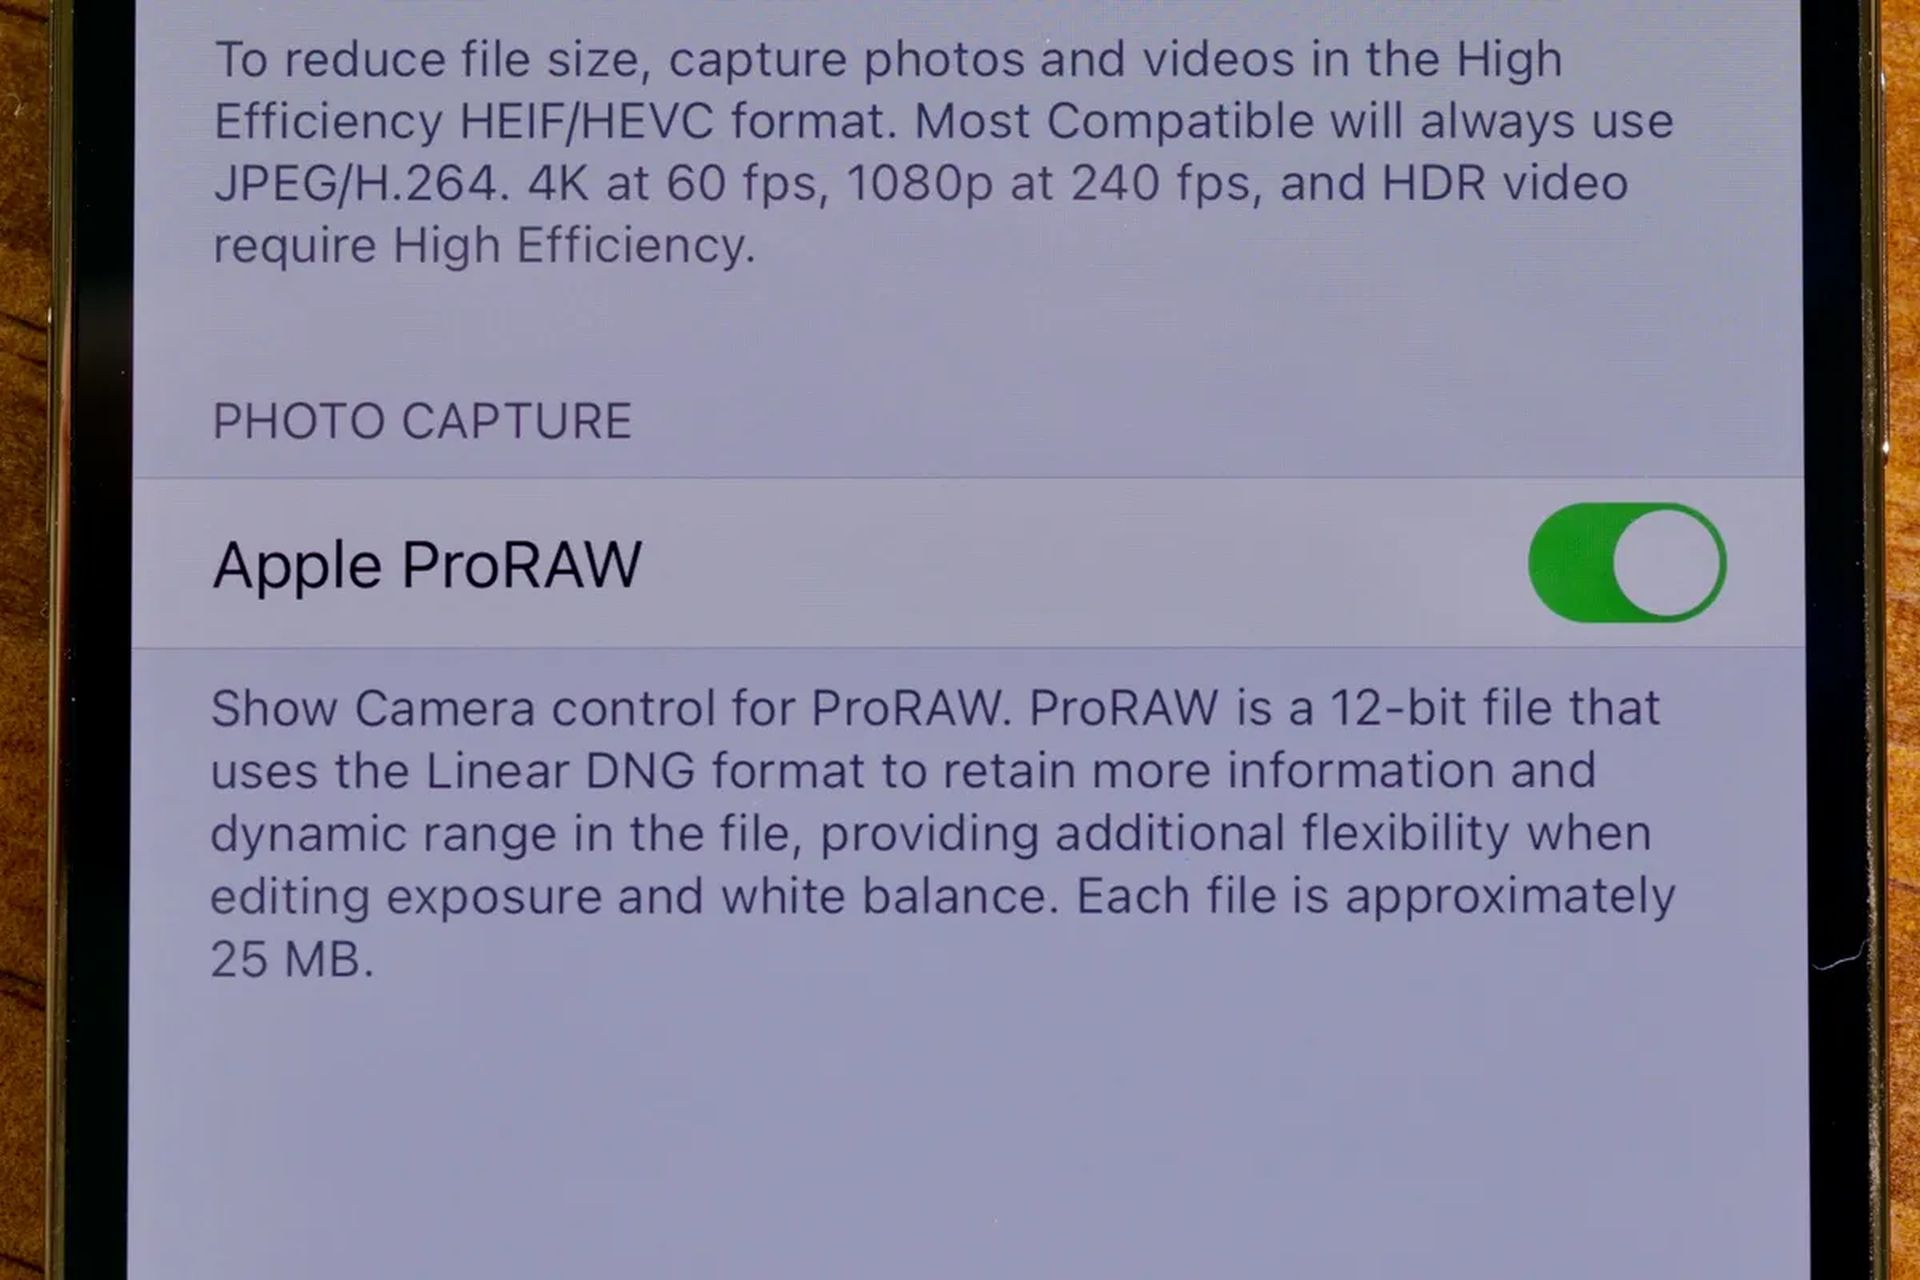
ProRaw also works in Night Mode. It employs the commonly used Adobe Digital Negative, or DNG, file format, and includes information for 12-bit color and 14 stops of dynamic range. Files are typically 25 megabytes in size.
Apple’s approach with ProRaw is comparable to how Google preserves raw files created by HDR Plus on Pixel phones. ProRaw files are created by combining many image frames and retaining the data from the best sections of those photographs. Deep Fusion examines those photographs pixel by pixel in order to build a deep photo file. All of this analysis is performed in real-time by the A14 Bionic, with no shutter lag.
ProRaw files are supported and can be converted by MacOS and iOS, as well as programs like Dark Room and Pixelmator. ProRaw photos may be edited in the Photos app. The photographs, like HDR films, will have a raw tag on them. Apps like Adobe Lightroom for iOS and VSCO will function because the file is DNG, but they will work better once they support ProRaw.
We hope that you enjoyed this article on Apple ProRAW explained: How to take ProRAW photos on iPhone. If you did, we are sure that you will also enjoy reading some of our other articles, such as Apple Watch microphone not working: How to fix it, or how to use the Dynamic Island on iPhone 14.


