A text-to-image machine learning model dubbed Stable Diffusion AI art generator was developed in collaboration with EleutherAI, LAION, and StabilityAI to generate digital images from descriptions in natural language.
The creation of art by AI is not new. However, software like DALL-E 2, Midjourney AI, and Stable Diffusion introduced this year has made it possible for even the least skilled artists to create complex, abstract, or lifelike artworks by simply entering a few words into a text box.
Stability AI’s open-source picture-generating model is on par with DALL-E 2 in terms of quality. In addition, it introduced DreamStudio, a commercial website that provides compute time for Stable Diffusion image creation. Stable Diffusion, unlike DALL-E 2, can be used by anybody, and because the code is open source, projects can build on it with little restrictions.


What is Stable Diffusion AI art generator?
Stability AI launched Stable Diffusion, an open-source AI art generator, on August 22. Python is used to create Stable Diffusion, and the transformer language concept is used. Any operating system that supports Cuda kernels can use it.
Thanks to the open-source Stable Diffusion image synthesis paradigm, anyone with a PC and a good GPU can build nearly any visual reality they can imagine. It can duplicate practically any visual style if you give it a descriptive text, and the results appear on your screen miraculously.
Unlike methods like DALL-E, Stable Diffusion makes its source code available. The license prohibits some risky use situations.
AI ethics have come under assault from opponents, who assert that the model can be used to create “deepfakes” and question if it is appropriate to create images using a model trained on a dataset that contains copyrighted content without the artists’ consent.
The training set for Stable Diffusion was a subset of the LAION-Aesthetics V2 dataset. It was trained on 256 Nvidia A100 GPUs in the shopping mode for $600,000.
Stability AI, the company that underpins Stable Diffusion, is in talks to seek capital at a valuation of up to $1 billion as of September 2022.
Stable Diffusion download requirements
In 2022, a typical gaming PC will support Stable Diffusion, but your phone and most laptops won’t. The prerequisites for Stable Diffusion download that you must meet are as follows:
- A GPU with at least 6 gigabytes (GB) of VRAM
- This includes most modern NVIDIA GPUs
- 10GB (ish) of storage space on your hard drive or solid-state drive
- The Miniconda3 installer
- The Stable Diffusion files from GitHub
- The Latest Checkpoints (Version 1.4, as of the time of writing, but 1.5 should be released soon)
- The Git Installer
- Windows 8, 10, or 11
- Stable Diffusion can also be run on Linux and macOS
How big is the Stable Diffusion AI art generator?
You require roughly 10GB of storage space on your hard disk or solid-state drive.
You can utilize Midjourney AI or other web-based AI generators if you don’t have the necessary hardware.
How to run Stable Diffusion AI art generator?
These are the steps of how to run Stable Diffusion AI art generator:
- Install Git
- Install Miniconda3
- Download the Stable Diffusion GitHub repository and the Latest Checkpoint
Let’s take a closer look at how you can do them.
Install Git
Programmers can manage several versions of the software they’re developing with the help of the technology called Git. They can retain different versions of the software they’re working on in a shared repository while also allowing other developers to contribute to the project.
If you’re not a developer, Git provides a simple way for you to access and download these projects. We’ll apply it in this circumstance. Running the Windows x64 installer that can be obtained from the Git website is necessary to install Git.
You’ll be given the option to set several options while the installation is running; leave them all at their default settings. It’s important to visit the “Adjusting Your PATH Environment” options page. Only “Git From The Command Line And Also From 3rd-Party Software” ought to be chosen.
Install Miniconda3
Stable Diffusion makes use of a variety of Python libraries. If you’re unfamiliar with Python, don’t worry too much about this; suffice it to understand that libraries are just software packages that your computer can use to perform specific tasks, like editing an image or performing challenging arithmetic.
Miniconda3 is essentially a convenience tool. It makes it possible for you to manage every library required for Stable Diffusion to function without tedious work. It will also affect how we use stable diffusion in real-world scenarios.
Visit the Miniconda3 download page and choose “Miniconda3 Windows 64-bit” to obtain the most recent version.
Double-clicking the executable after downloading it will start the installation. Compared to Git, Miniconda3 installation involves fewer page clicks. However, you should exercise caution in making this decision:
Ensure “All Users” is chosen before pressing the next button and finishing the installation.
You’ll be prompted to restart your computer after installing Miniconda3 and Git.
Download the Stable Diffusion GitHub repository and the Latest Checkpoint
After installing the required software, we can download and set up Stable Diffusion.
Downloading the Latest Checkpoint should come first. To download the checkpoint, you must first create an account, but all they require is your name and email address.
The link that says “sd-v1-4.ckpt” will start the download. The other file, “sd-v1-4-full-ema.ckpt,” is nearly twice as big, but it might produce better results. You can use either.
The next step is to obtain Stable Diffusion from GitHub. Pick the green “Code” button, then click “Download ZIP.” You can use this direct download link as well.
Now that we have the files for Stable Diffusion unpacked, we need to create a few directories to unpack them. Click the Start button, type “miniconda3” into the Start Menu search box, and then choose “Open” or “Enter.”
We’ll create a folder called “stable-diffusion” using the command line. After pasting the next code section into the Miniconda3 box, hit Enter.
If all goes as planned, the Miniconda3 window will show up. Keep Miniconda3 open because we’ll need it again shortly.
Use your favourite file archiver to open the “stable-diffusion-main.zip” ZIP archive that you downloaded from GitHub. Windows may open ZIP files on its own as an alternative if you don’t have one. While keeping the ZIP file open in the first File Explorer window, open a second window and navigate to the “C:stable-diffusion” folder we just created.
Drag and drop the “stable-diffusion-main” folder to the “stable-diffusion” folder from the ZIP archive.
Go back to Miniconda3 and paste the following commands in the window:
cd C:\stable-diffusion\stable-diffusion-main
conda env create -f environment.yaml
conda activate ldm
mkdir models\ldm\stable-diffusion-v1
Keep going with the procedure. Because some files are more than a gigabit, downloading can take some time. If you accidentally interrupt the process, you must delete the environment folder and restart conda env create -f environment.yaml. In that scenario, after erasing the “ldm” folder from “C:Users(Your User Account).condaenvs,” execute the previous command.
The last stage of the installation is now complete. Utilizing File Explorer, copy the checkpoint file (sd-v1-4.ckpt) and paste it into the “C:stable-diffusionstable-diffusion-mainmodelsldmstable-diffusion-v1” folder.
Right-click “sd-v1-4.ckpt” after the file has finished transferring and select “Rename” from the context menu. Enter “model.ckpt” in the highlighted field and hit Enter to rename the file.
We’re done with that now. Stable diffusion is now available for use. Yet how?
Stable Diffusion guide: How to use Stable Diffusion AI art generator?
How does Stable Diffusion work? Follow these steps for the best use Stable Diffusion AI art generator:
- Activate the ldm environment
- Change the directory
- Use txt2img.py and write your text
- Wait for the process
- Check the outcomes
Every time you want to use stable diffusion, you must activate the ldm environment we designed. Type conda activate ldm into the Miniconda3 window and hit “Enter.” An active ldm environment is indicated by the (ldm) on the left side.
We must first change the directory (thus the commandcd) to “C:stable-diffusionstable-diffusion-main” before we can create any photos. Add the cd C:stable-diffusionstable-diffusion-main command line parameter.
We will convert text prompts into 512512 visuals using a tool named txt2img.py.
You’ll see a progress bar on your console as the photos are generated.
“C:stable-diffusionstable-diffusion-mainoutputstxt2img-samplessamples” is the location of all produced images.
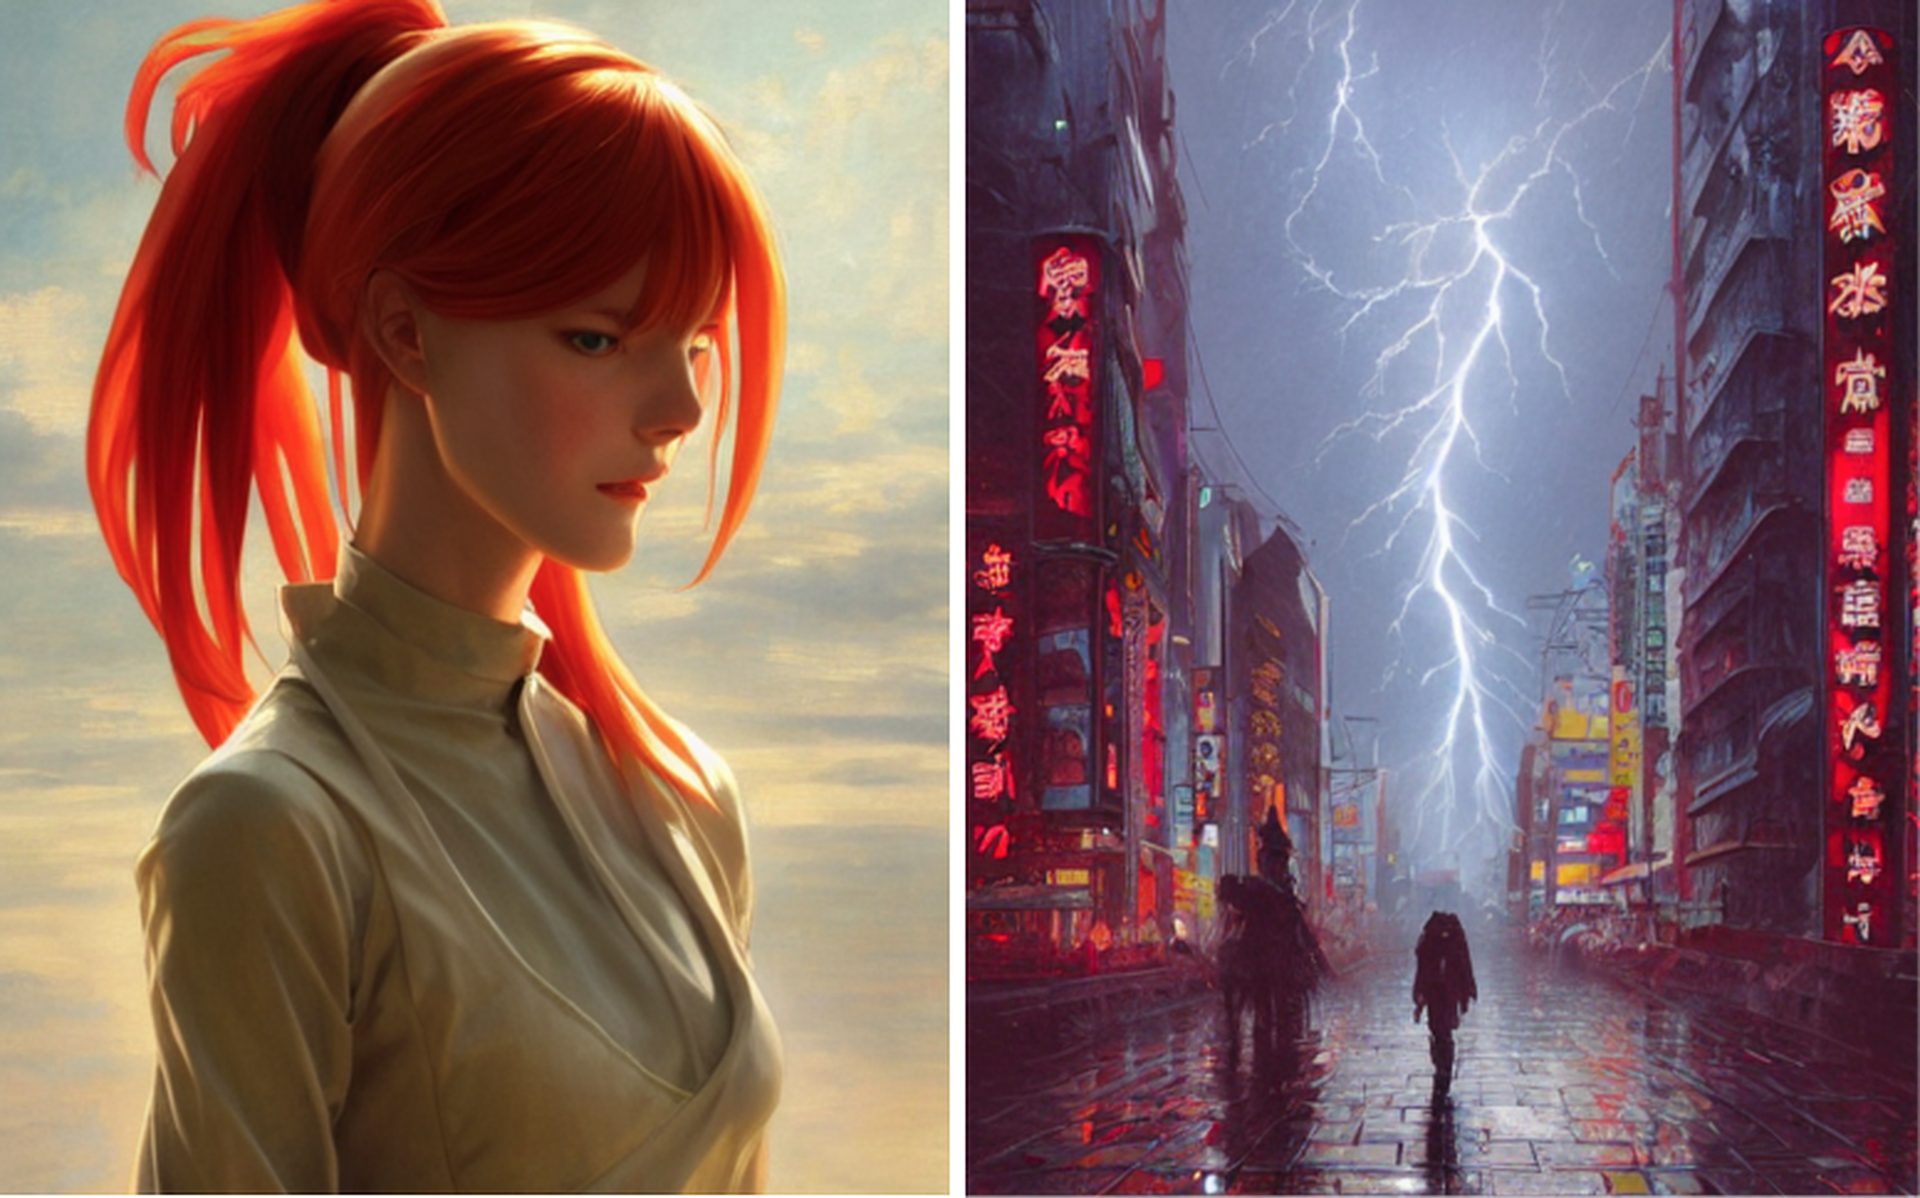
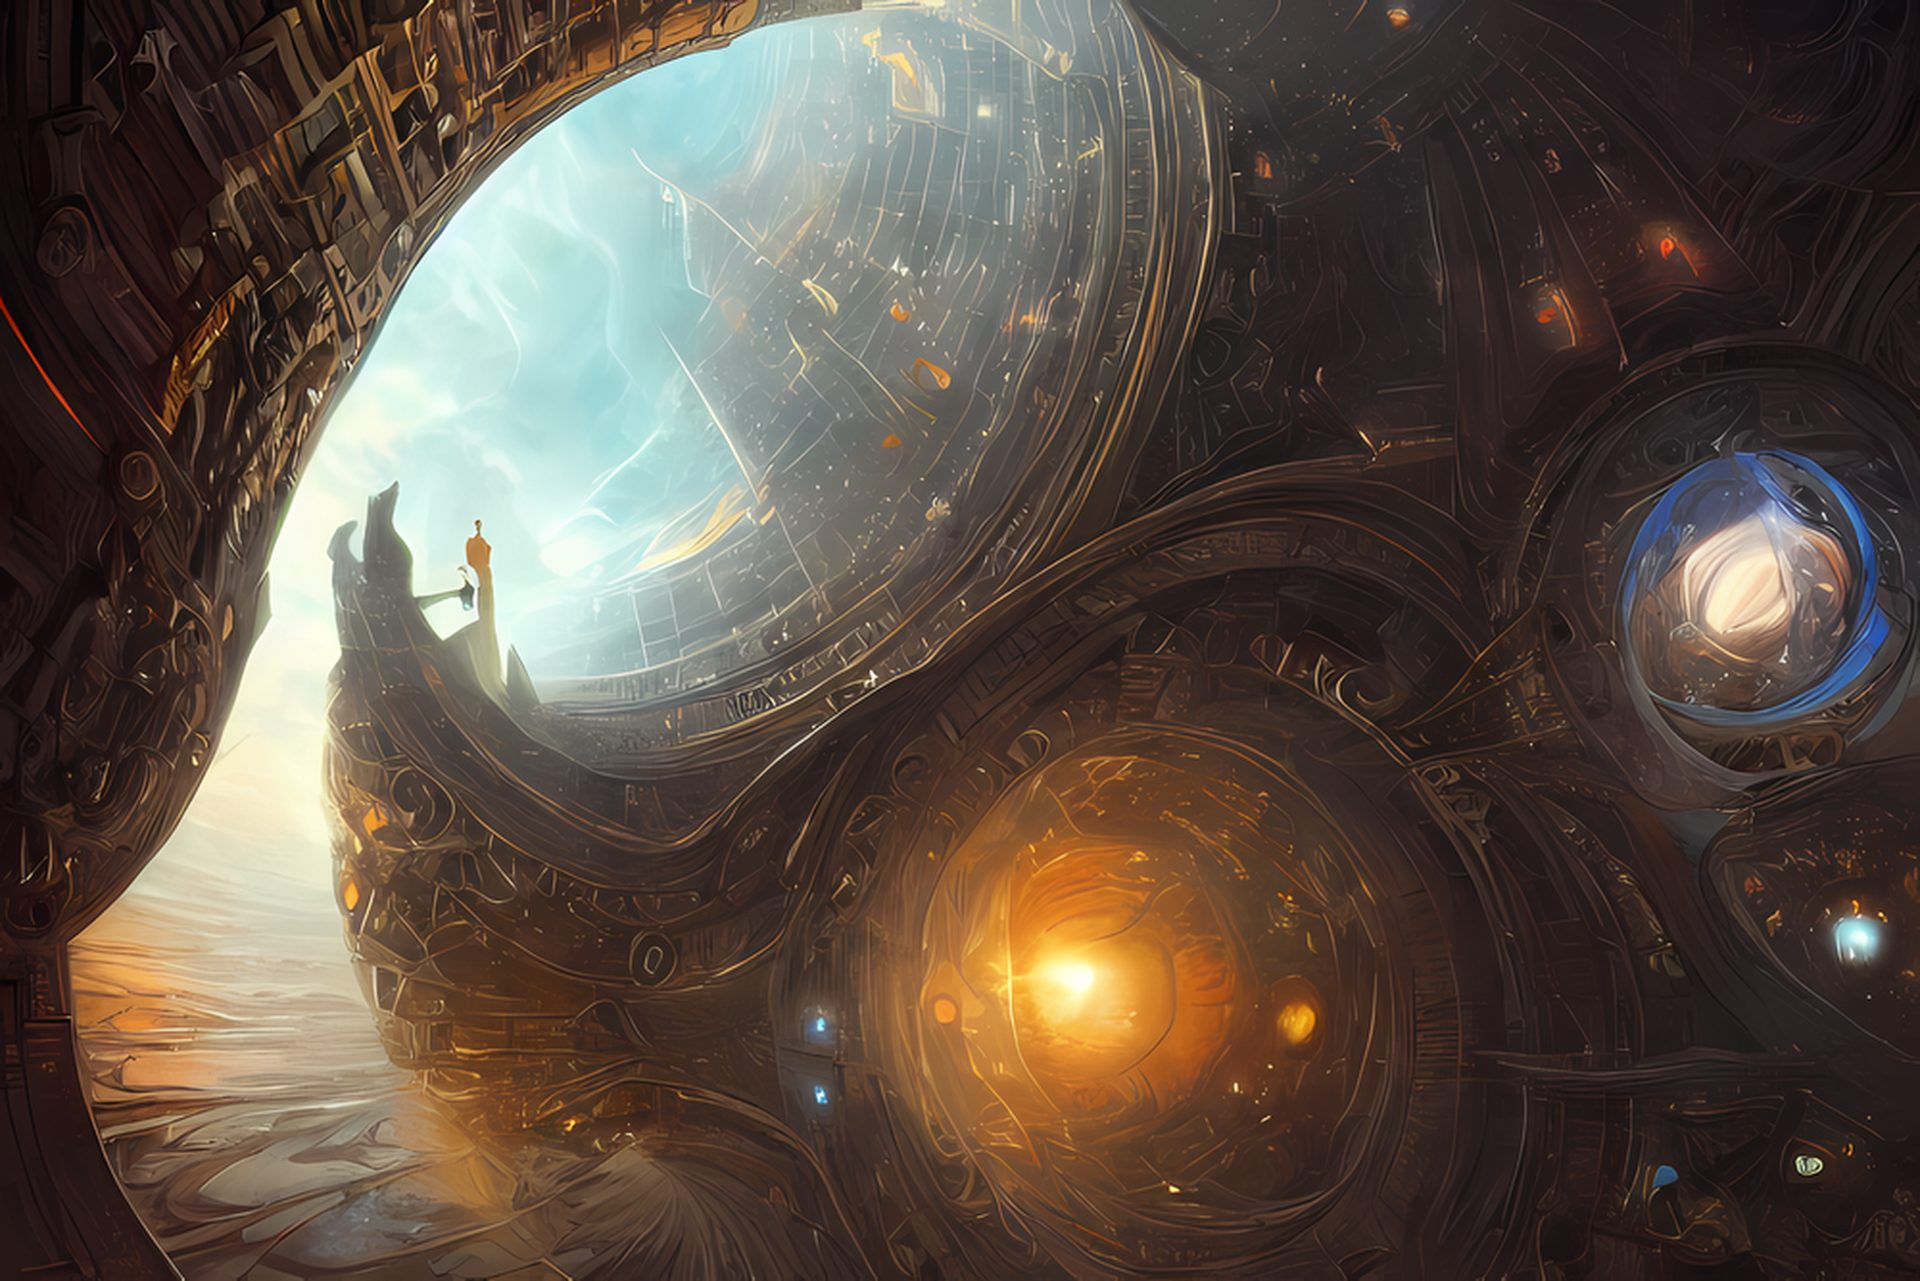
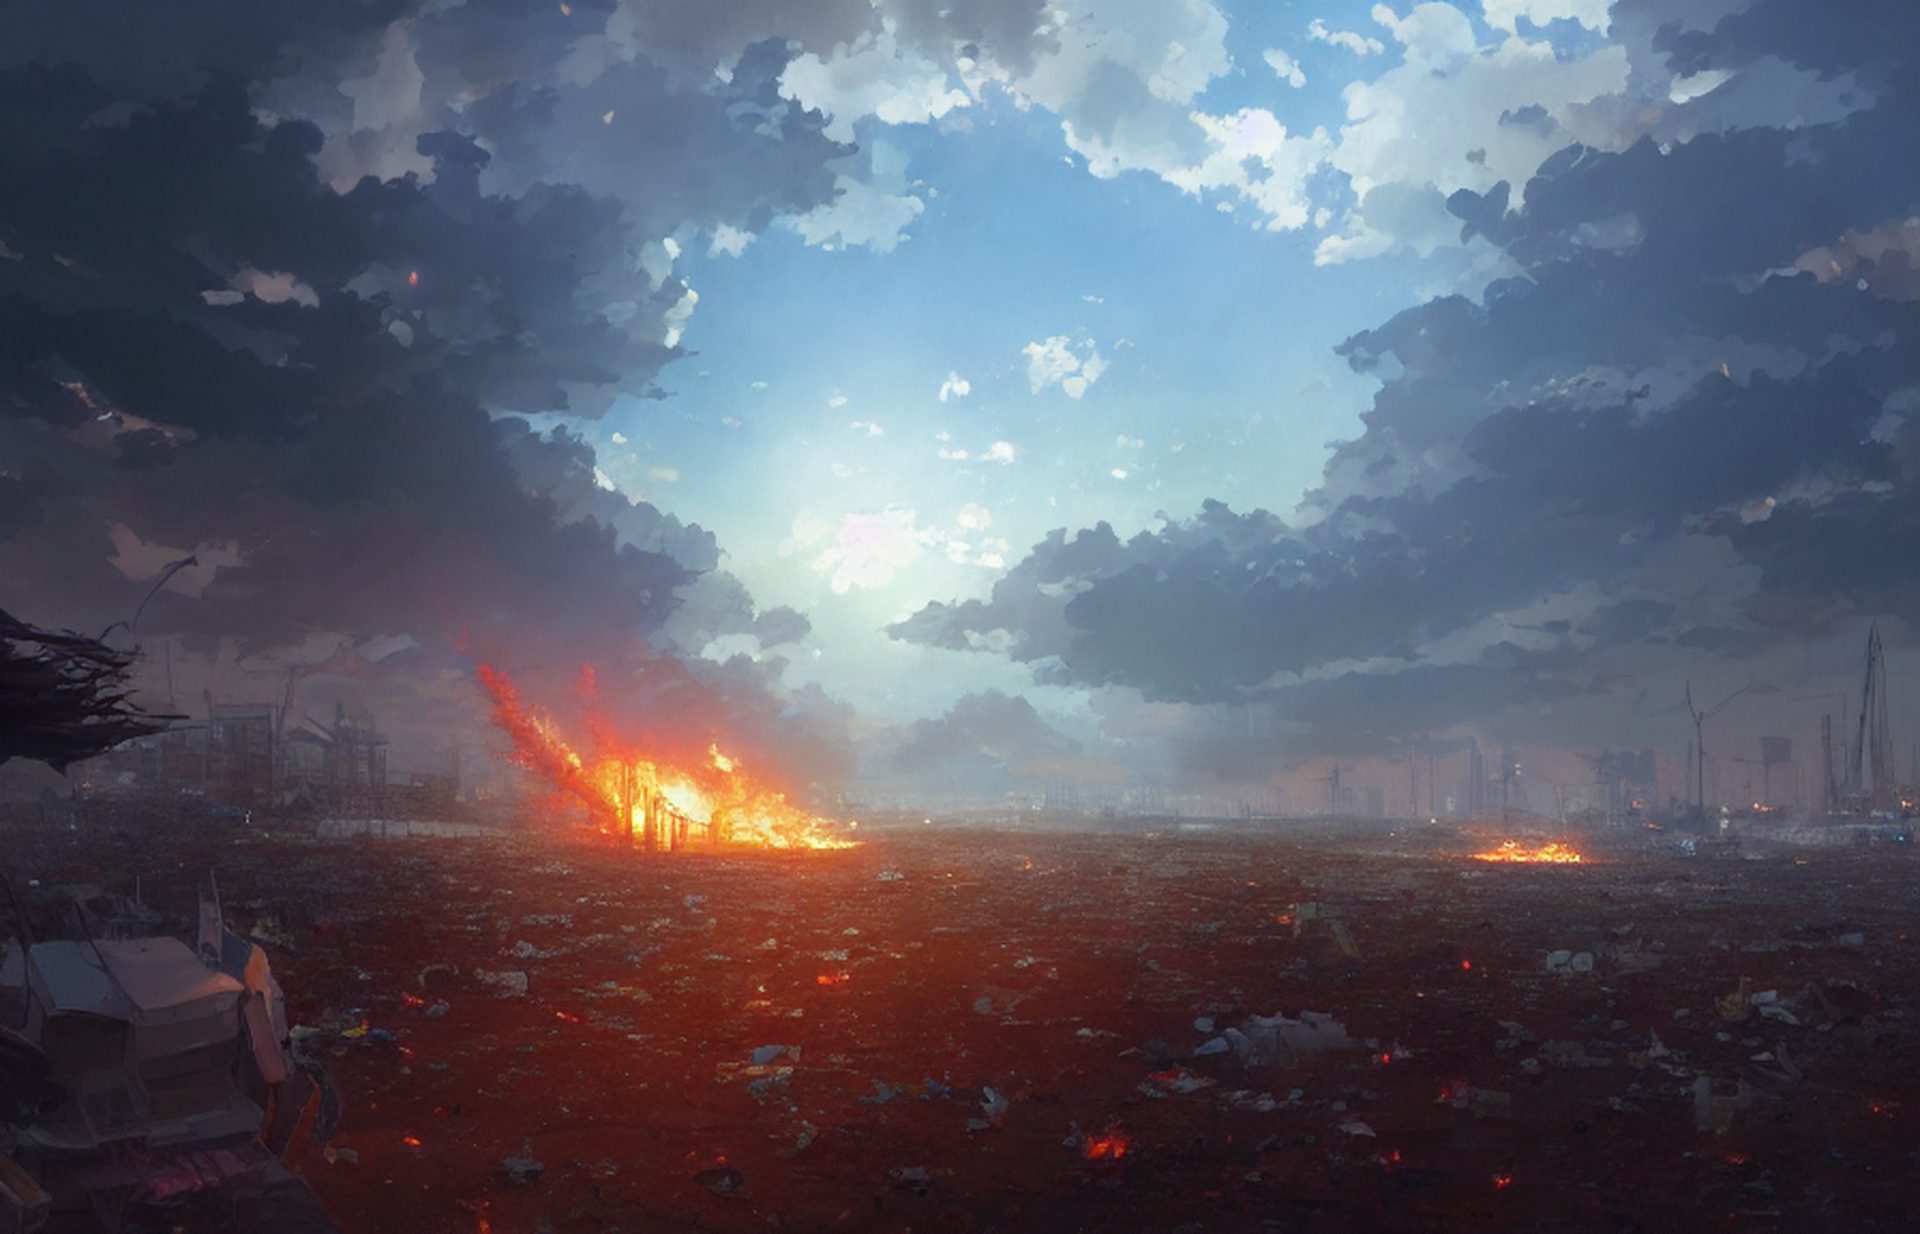
Stable Diffusion examples & prompts
The following are some of the best examples of Stable Diffusion AI art generator and their prompts:
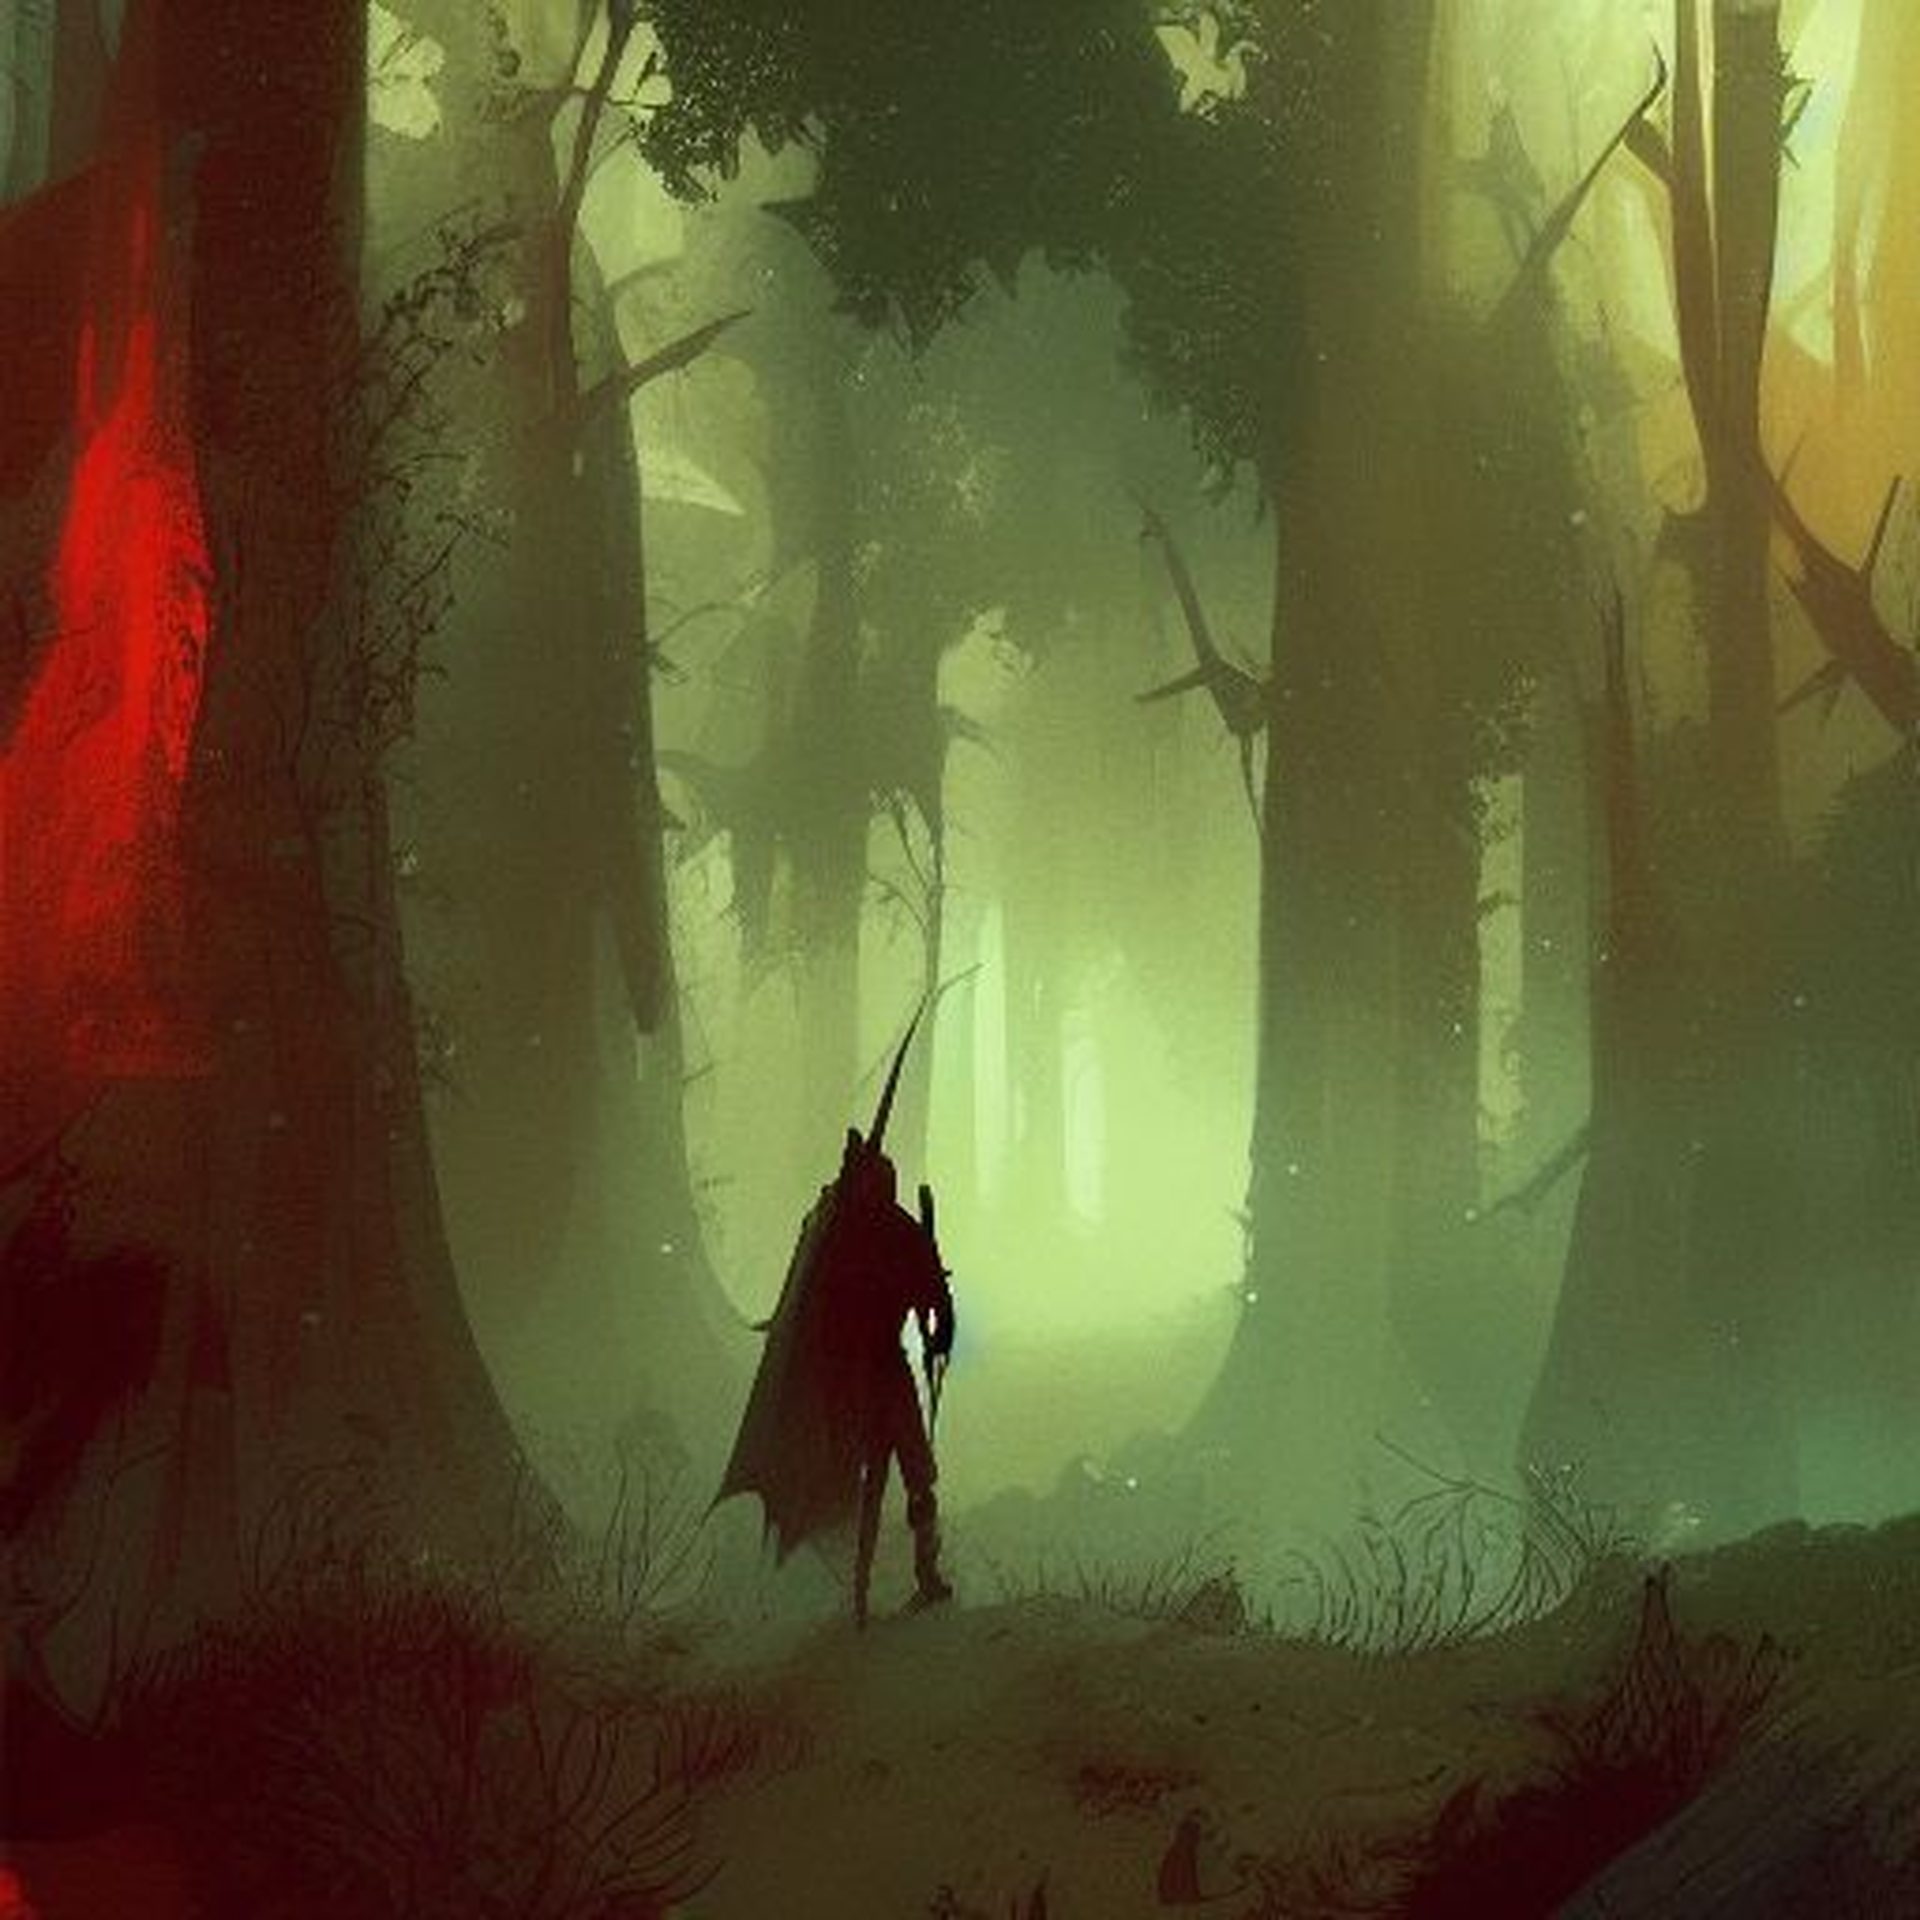
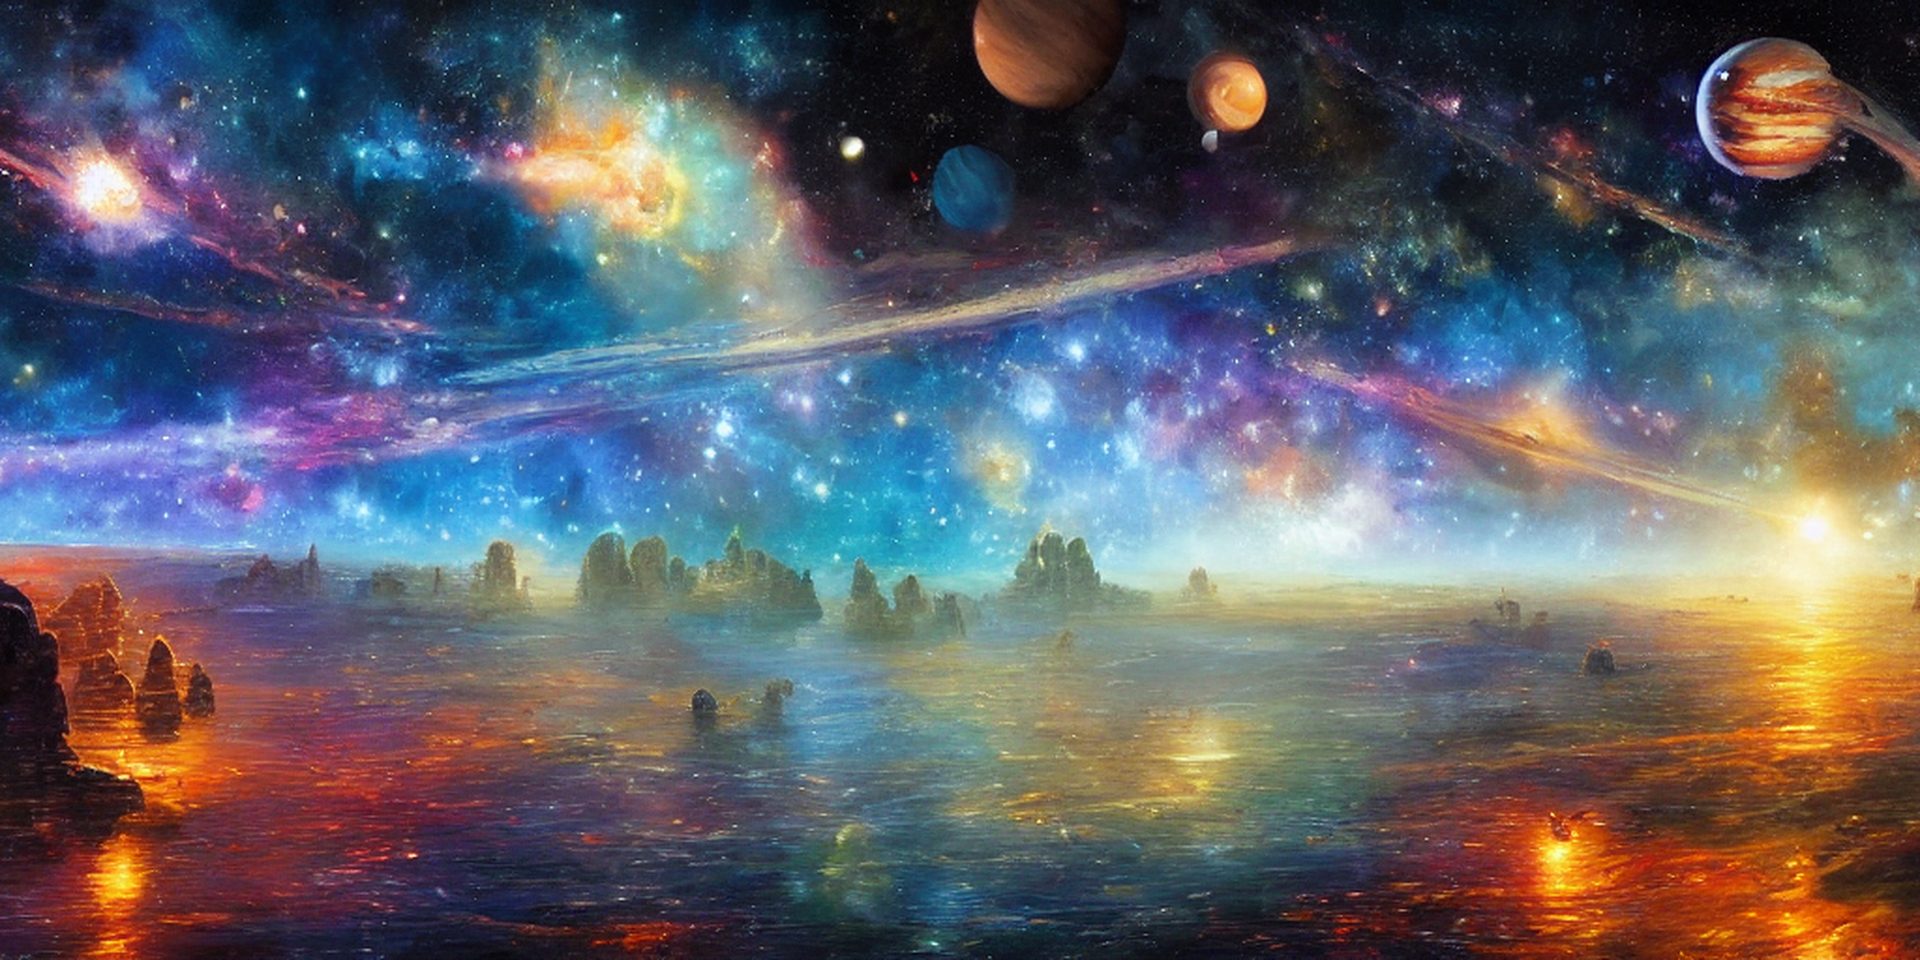
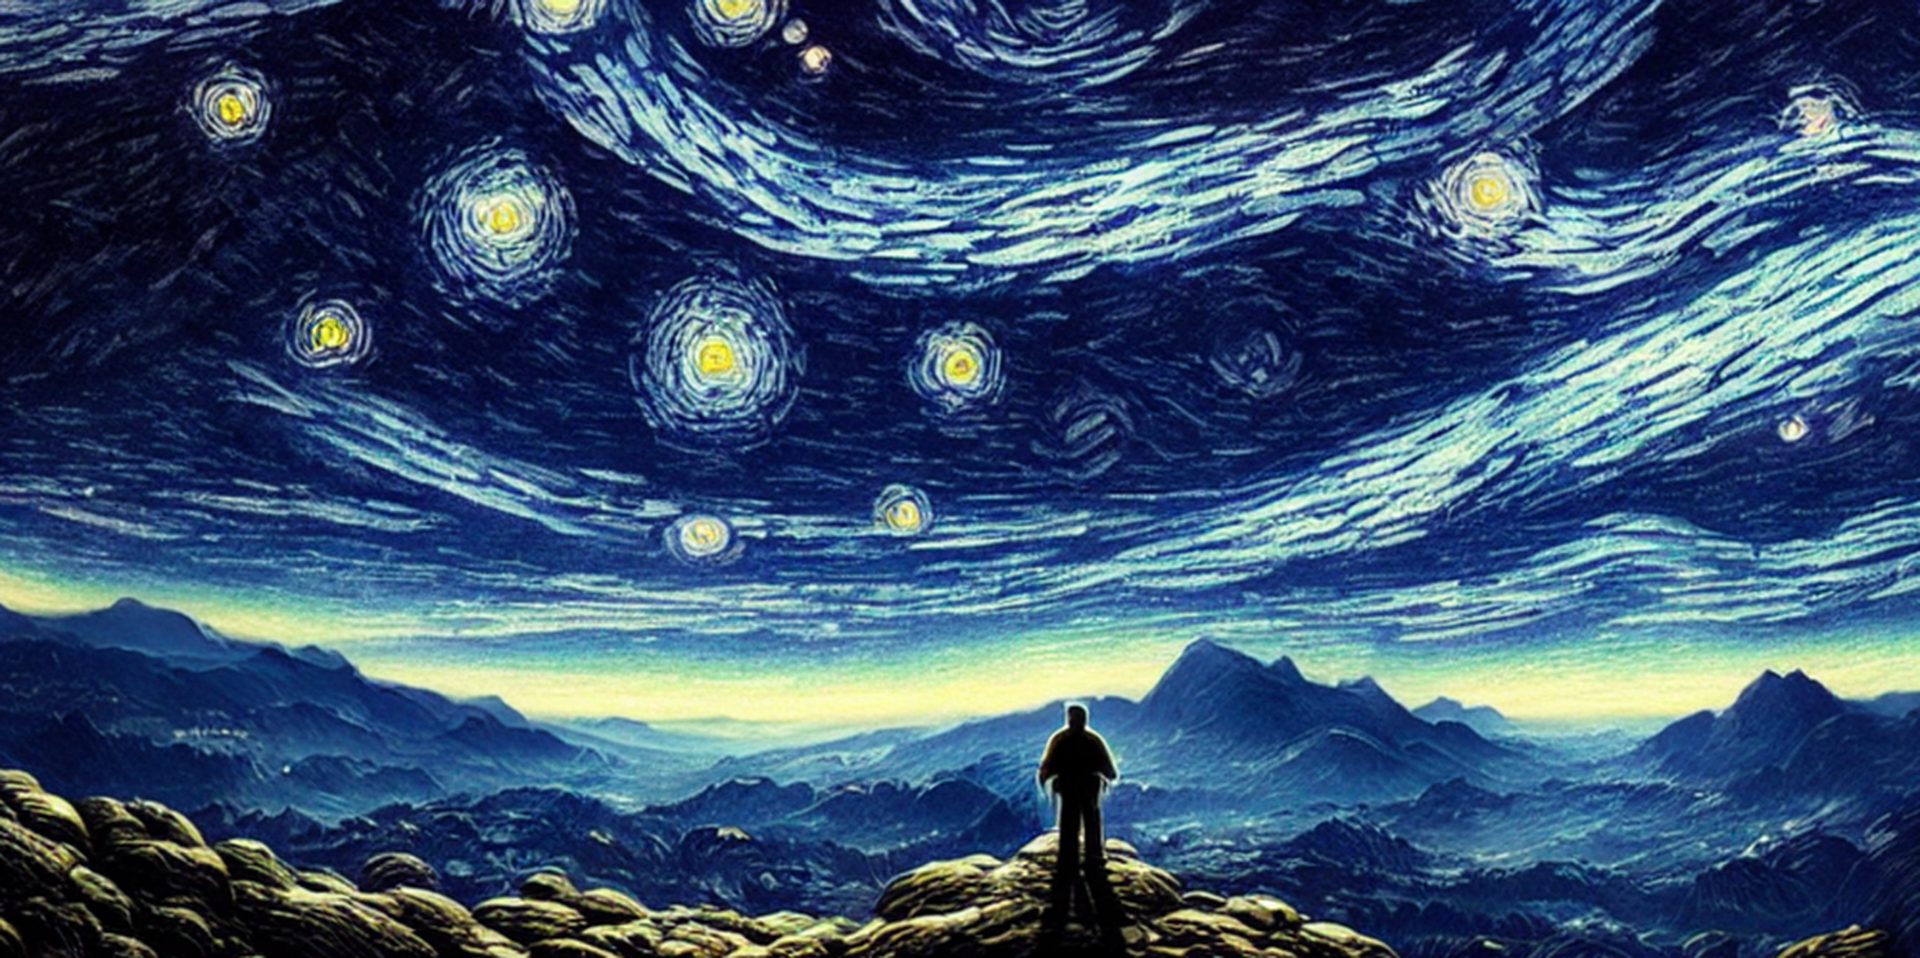
Prompt: forest wanderer by dominic mayer, anthony jones, Loish, painterly style by Gerald parel, craig mullins, marc simonetti, mike mignola, flat colors illustration, bright and colorful, high contrast, Mythology, cinematic, detailed, atmospheric, epic , concept art, Matte painting, Lord of the rings, Game of Thrones, shafts of lighting, mist, , photorealistic, concept art, volumetric light, cinematic epic + rule of thirds | 35mm| octane render, 8k, corona render, movie concept art, octane render, 8k, corona render, cinematic, trending on artstation, movie concept art, cinematic composition , ultra detailed, realistic , hiperealistic , volumetric lighting , 8k –ar 3:1 –test –uplight
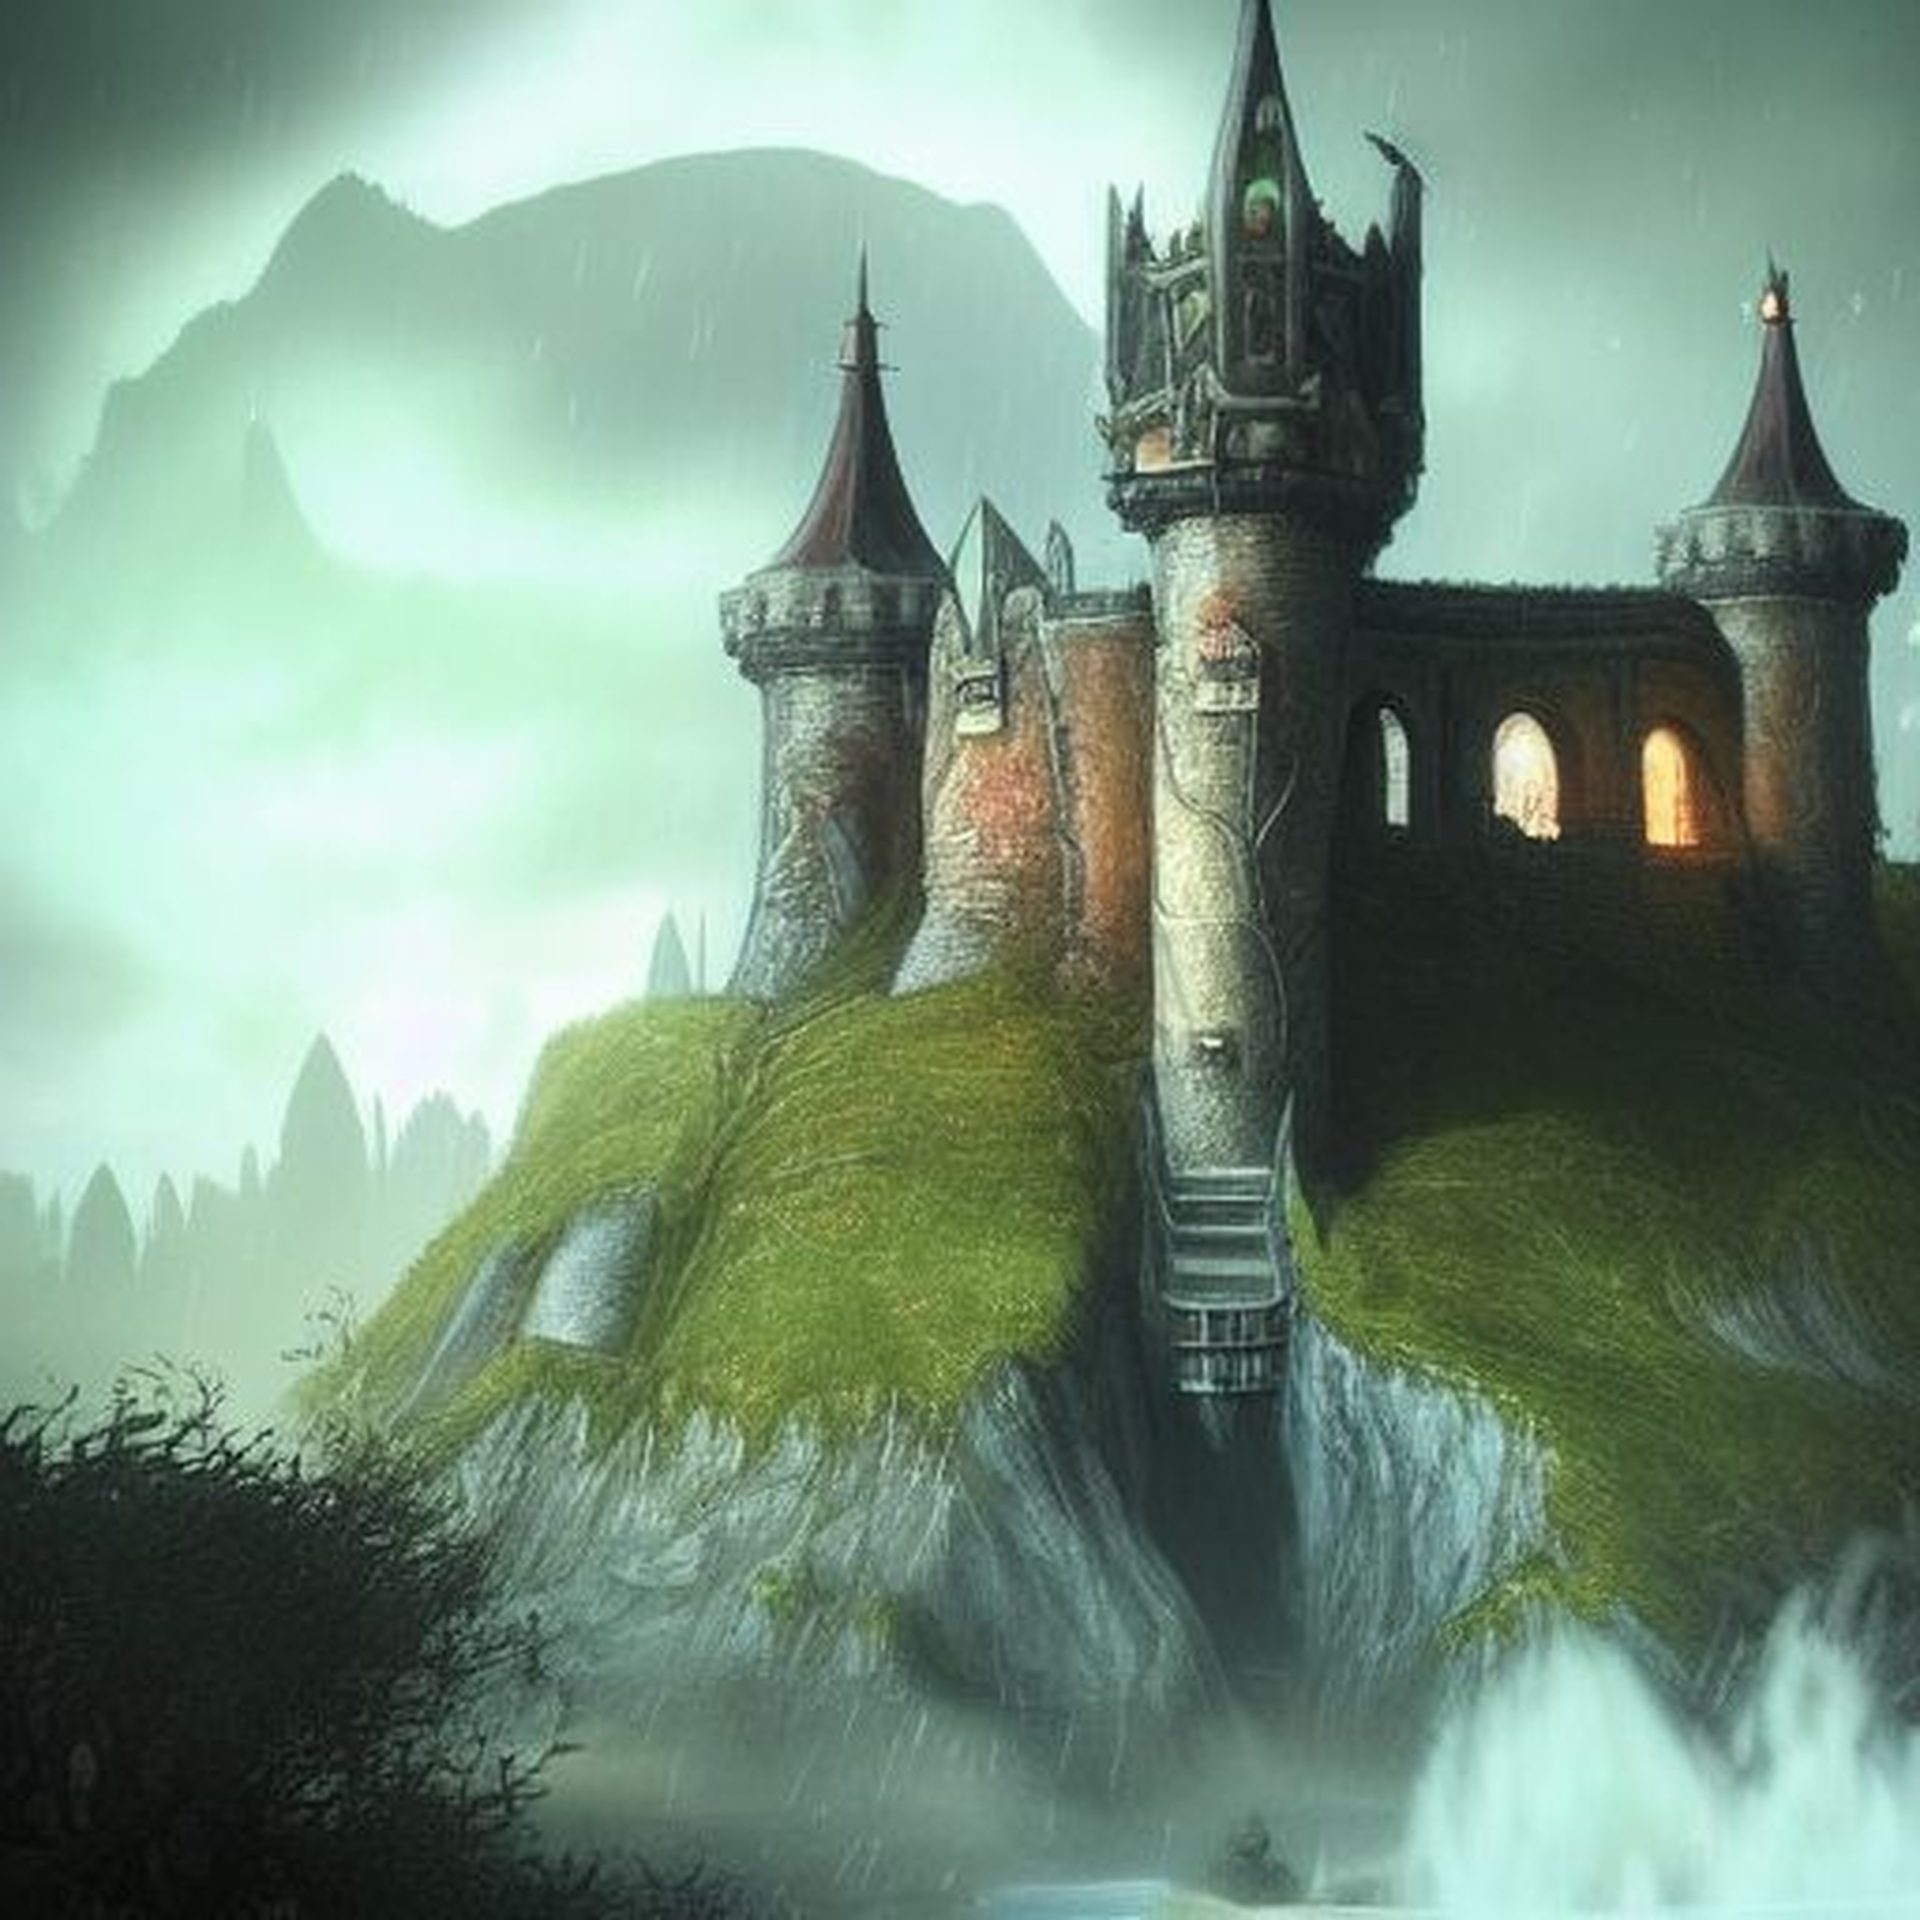
Prompt: Environment castle nathria in world of warcraft ::gothic style fully developed castle :cinematic, raining, night time, detailed, epic , concept art, Matte painting, shafts of lighting, mist, photorealistic, concept art, volumetric light, cinematic epic + rule of thirds, movie concept art, 8k, cinematic, trending on artstation, movie concept art, cinematic composition , ultra detailed, realistic , hyper realistic , volumetric lighting , 8k –ar 3:1
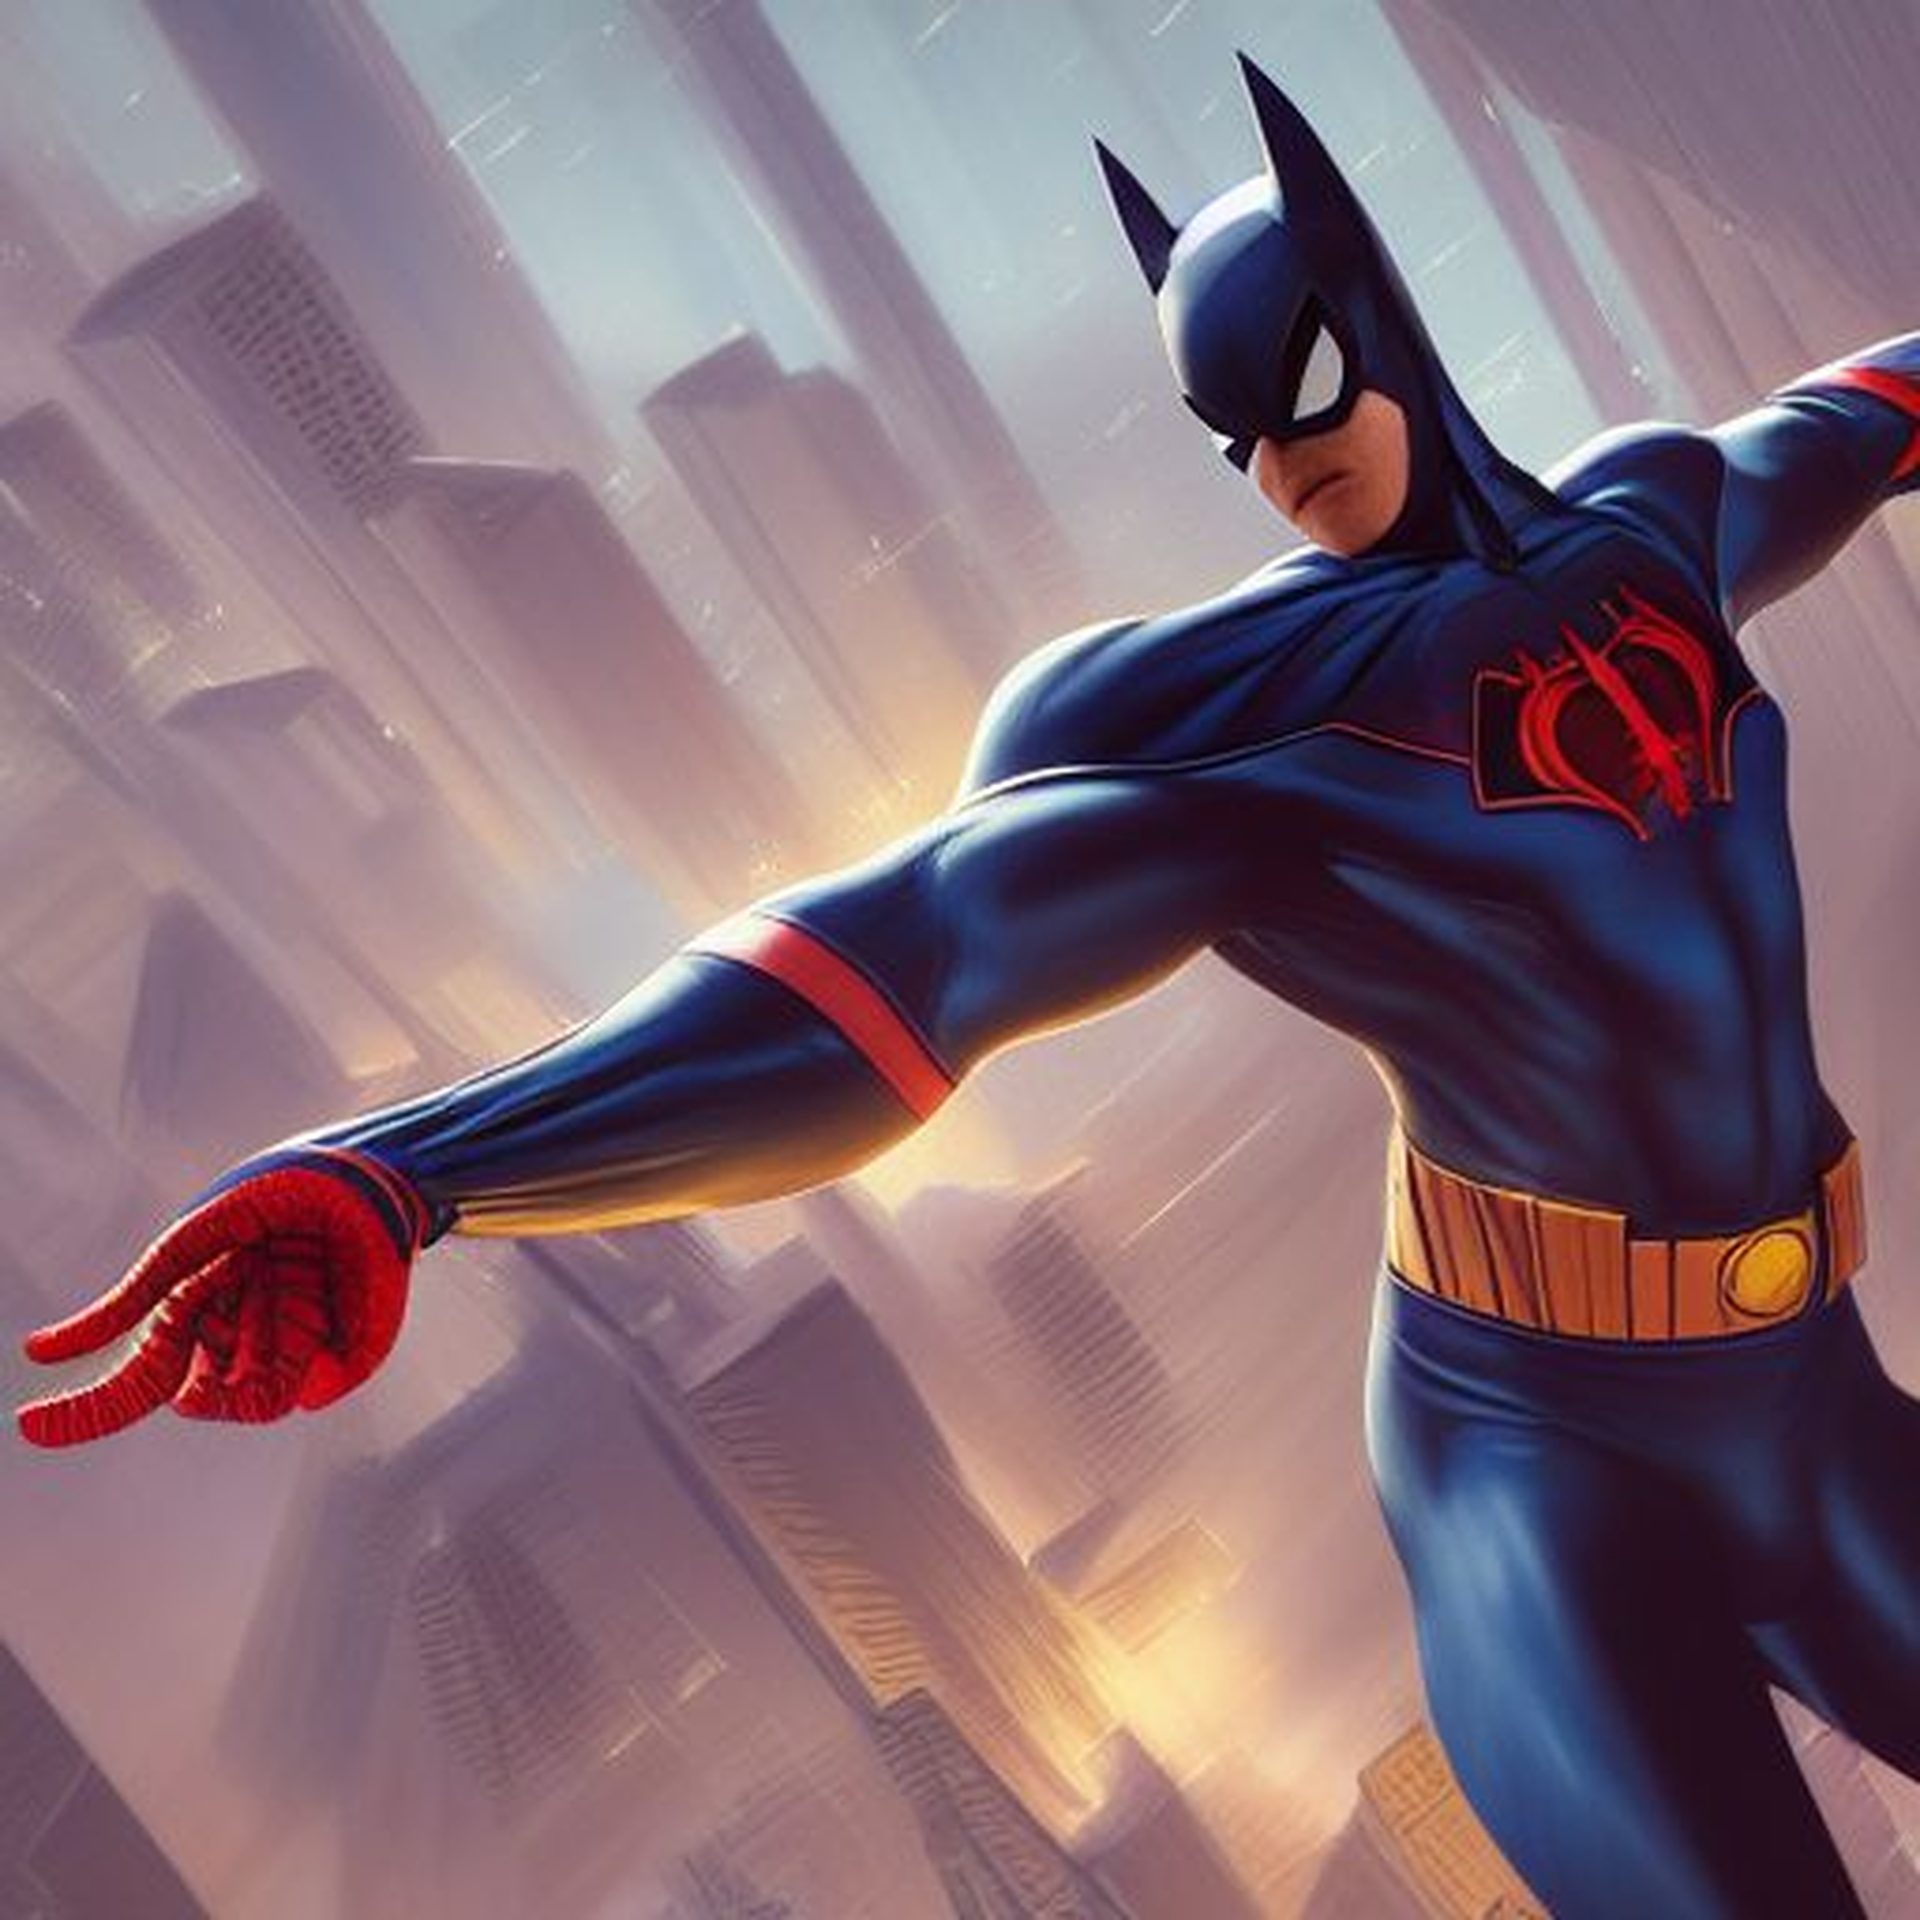
Prompt: clear portrait of a superhero concept between spiderman and batman, cottagecore!!, background hyper detailed, character concept, full body, dynamic pose, intricate, highly detailed, digital painting, artstation, concept art, smooth, sharp focus, illustration, art by artgerm and greg rutkowski and alphonse mucha
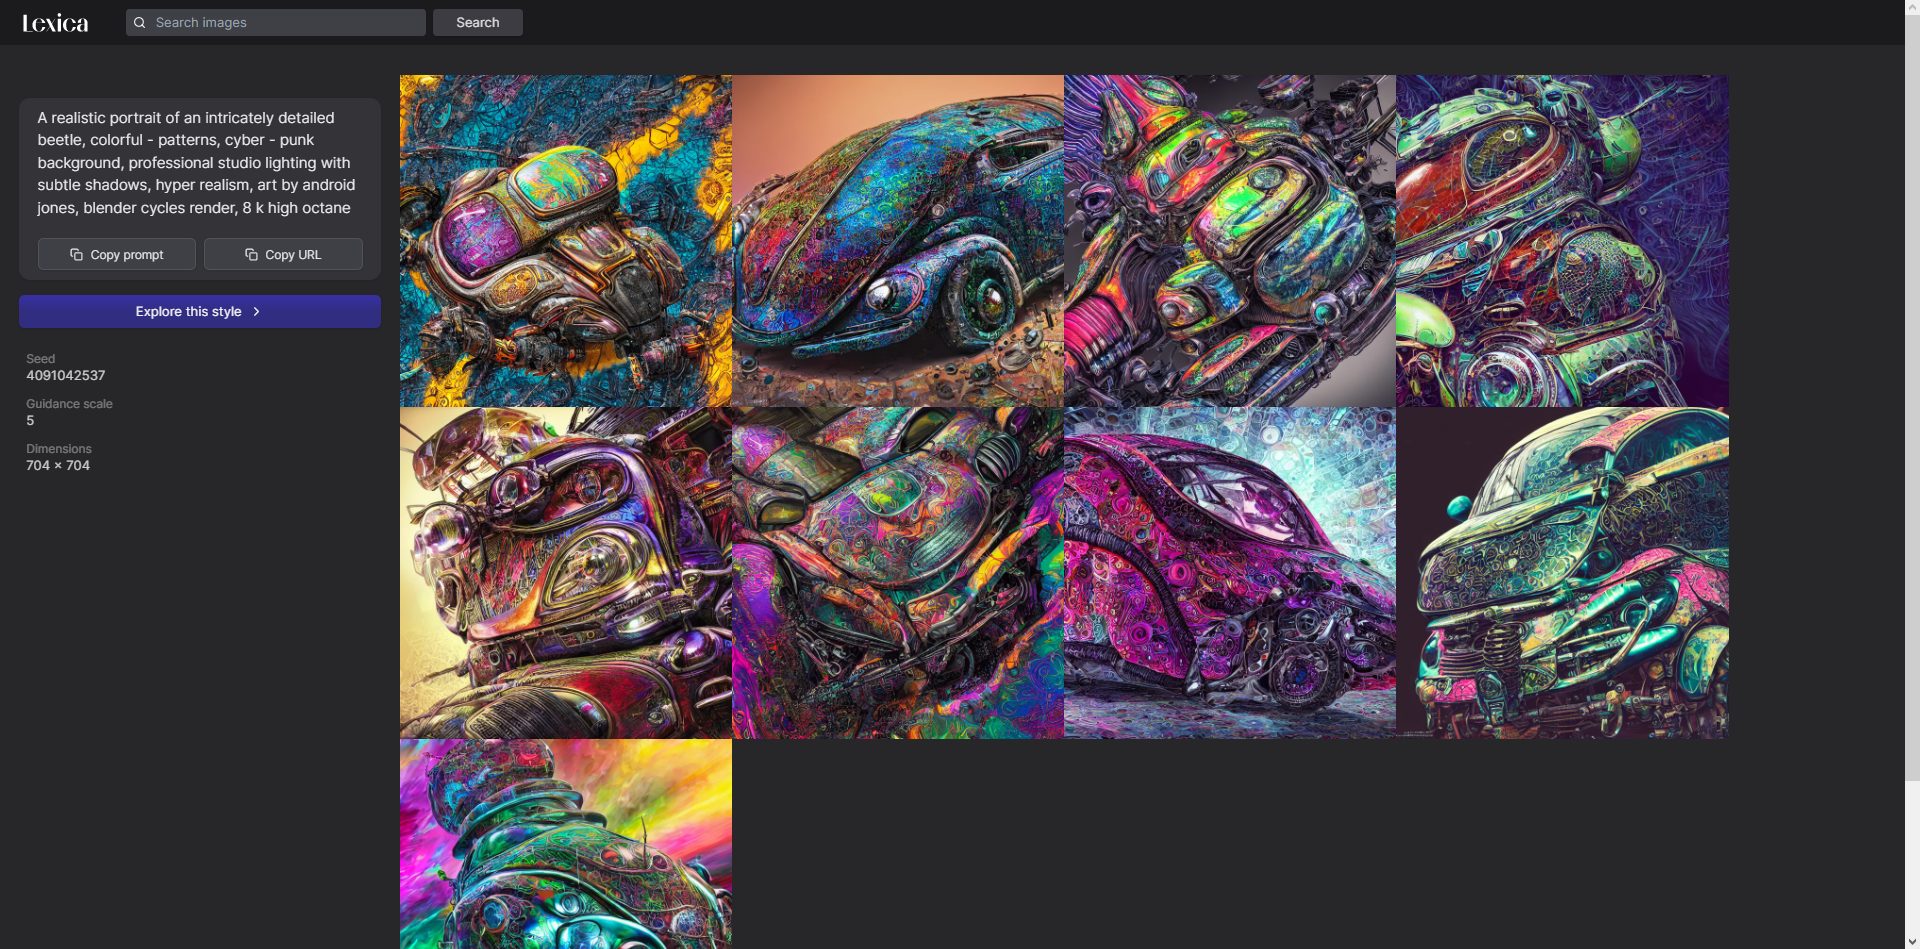
What is Lexica Art?
Lexica is a gallery and search engine for art created with Stable Diffusion.
You can check Lexica, a website for a search engine that uses AI-generated images from stable diffusion. Lexica contains prompts for automatically generated images.
Is Stable Diffusion open source?
Yes. The images used in Stable Diffusion, which was open source on August 22, were created by a neural network that was trained on millions of images retrieved from the Internet.
A new rival has recently emerged for DALL-E and Midjourney AI. Above all, it is free! We’ll see how the AI art generator conflicts impact things.