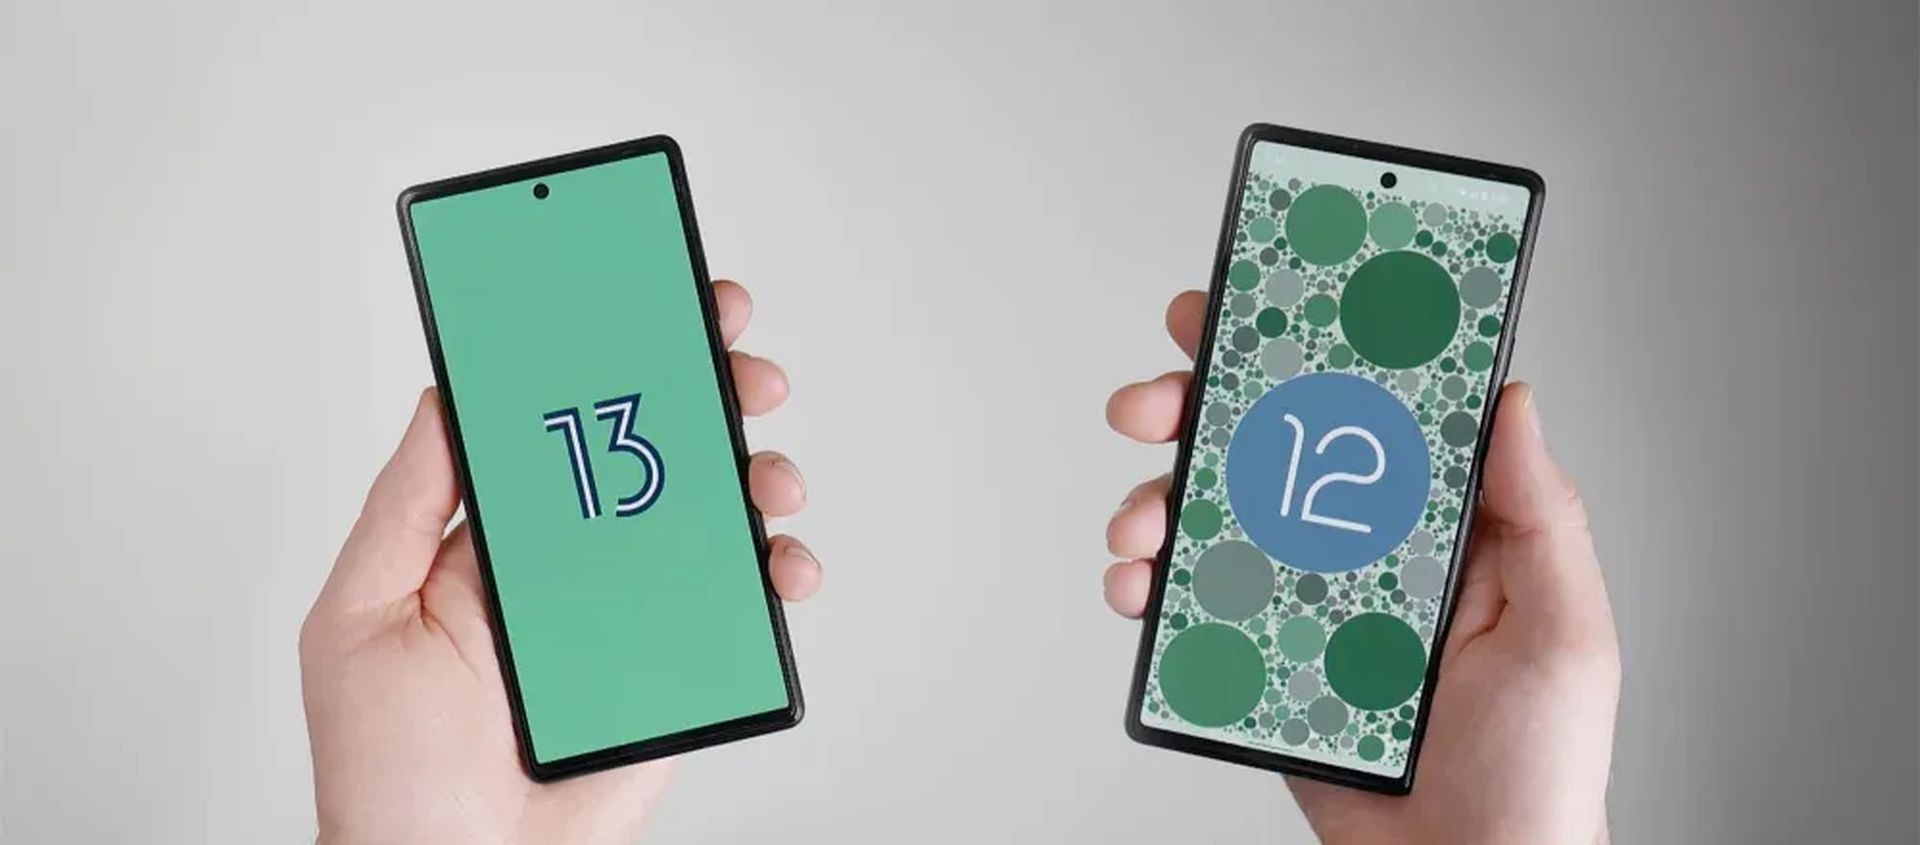
Android 13 is out, but you might not be happy with the changes and looking to learn how to downgrade Android 13 to 12. If so, we’ve got you covered.
Google has begun distributing the Android 13 developer preview release to eligible Pixel devices, and customers are ecstatic to try out Windows 11 on the Pixel 6 and stream Android apps on the PC right immediately. Now, if you’ve been on Android 13 DP for a few days and are experiencing stability difficulties or glitches, you may be wondering how to downgrade Android 13 to 12 stable version, so that you can use your device as before.
Despite the fact that the current Android 13 OS is the thirteenth generation of the Android operating system, it has a slew of faults as well as a slew of new features and enhancements. It will take some time for Android developers to release patch patches and more development builds for Android 13 in order to provide a more reliable user experience. Users will continue to experience stability difficulties until the public beta and official stable build are published.
In terms of platform stability, Google is scheduled to deliver a stable public build in May 2022, followed by a final stable build in September 2022. However, from the perspective of users, the timescale is extremely long, especially when considering the freshly launched Android OS version for Pixel smartphones. However, as a daily driver, having a solid and efficient Android OS is more vital.
How to downgrade Android 13 to 12?
Most Pixel device users have already loaded or are attempting to install the newest Android 13 OS using the Flash Tool, Sideloading, or Fastboot method. Non-Pixel device owners, on the other hand, may use the GSI images to flash the vanilla version of Android 13. However, there is now a concern regarding the reliability and performance of Pixel smartphones as a daily driver, which may take some time to resolve.
Fortunately, we’ve provided a comprehensive method to effortlessly downgrade your device from Android 13 to Android 12. You can try out two alternative approaches and use whichever one you like. Before we begin, we highly advise you to generate a backup of your device’s data that is saved on the internal storage. To complete the surgery effectively, you must attentively follow the procedures. Keep in mind that we will not be held liable for any damage or mistake that occurs on your device as a result of following this advice. You do so at your own risk. So, without further ado, let us get started on how to downgrade Android 13 to 12.
Requirements
Before we begin telling you how to downgrade Android 13 to 12, you must first complete all of the prerequisites listed below.
Install Android SDK Platform Tools: To begin, use this link to install the Android SDK Platform Tools on your PC. To flash firmware or other files on Android devices, the ADB and Fastboot binaries must be installed on the PC. After downloading the ZIP package from the URL above, unzip it to a comfortable spot on your PC.
Enable USB Debugging and OEM Unlocking: To proceed, enable USB Debugging and OEM Unlocking on the handset so that your PC can easily recognize the device while connected in Android Debugging or ADB mode. To accomplish this:
- Navigate to the Settings menu on your Android device.
- Tap on Build Number 7 times continuously in About Phone.
- Then return to the Settings menu and choose System.
- Select Advanced > You should now see the Developer Options menu.
- Open it and flip the USB Debugging switch on.
- After that, scroll down the page slightly and enable the OEM Unlocking option.
- Finally, connect your device to the PC via a USB cord and go to the following step.
Backup device data: If anything appears to be crucial to you, make a backup of your Android smartphone using this approach. Otherwise, unlocking the device bootloader technique will entirely destroy the device data.
Unlock Bootloader: You’ll also need to unlock the device’s bootloader. OEMs lock the bootloader by default on their devices, preventing consumers from flashing any third-party unsigned firmware file. To flash any third-party firmware file, you must first unlock the bootloader. Remember that unlocking the device bootloader would erase all data from internal storage. First, try the following way and then learn how to unlock the bootloader on Android.
Use a USB cable: It’s also a good idea to utilize a USB cord with your PC to connect your Android mobile. You’ll be able to establish a strong connection between the handset and the PC, ensuring that flashing the firmware file goes smoothly. Use a genuine and suitable USB cable for your device model.
Method 1: Downgrade using Android Flash Tool
- Go to the Android Flash Tool’s official website > Scroll down to the model of your device.
- Then, next to the appropriate Android 12 build that you wish to install as a stable one, click the Flash button.
- Now, choose Allow ADB Access > You’ll get a USB Debugging prompt on your device; select Allow.
- Ascertain that your device is linked to the PC through the USB cord and that the connected status is displayed under the Selected Device section.
- You should double-check that the Selected build displays the right version.
- Then, click the pencil (edit) button next to Selected build > Check the Wipe Device and Force Flash All Partitions boxes. [If not already chosen by default.
- On the other hand, after lowering the firmware version, you may uncheck or tick the Lock Bootloader option. [As per your preferences]
- When you’re finished, click the Install Build button.
- You will now be presented with a confirmation dialog box; click Confirm.
- Now, the Android Flash Tool will begin downloading and flashing the Android 12 version onto your smartphone.
- Wait for the flashing procedure to finish, and your device will immediately reboot into Fastboot and FastbootD Modes.
- When the flashing procedure is complete, you will receive a successful notification.
- You may now detach your smartphone from the USB wire and boot it into the reduced Android 12 operating system. [Most of the time, the machine will boot automatically]
- Enjoy!
Method 2: Downgrade via Fastboot
- First and foremost, ensure that you have downloaded the Android 12 factory image for your device (not the OTA file).
- Allow the file to completely download on your computer.
- After that, unzip it into the ADB platform-tools folder you already installed.
- To open the Command Prompt window, browse to the ADB platform-tools folder, type CMD in the address bar, and press Enter.
- Then, in the CMD window, execute the following command to boot your device into Fastboot Mode: “adb reboot bootloader”
- Next, double-click the flash-all batch file > The flashing procedure will now begin. So, let the process run its course.
- Your device will boot into the Fastboot and FastbootD modes automatically. So don’t be alarmed.
- When the flashing procedure is complete, you will receive a successful notification.
- Finally, your device will boot into the reduced Android 12 OS.
- You’re ready to go.
We hope that you enjoyed this article on how to downgrade Android 13 to 12. If you did, we are sure that you will also enjoy reading some of our other articles, such as Android 13 update list for all brands, or new Android 13 features and supported devices.

