In this article, we are going to be going over how to get Minecraft Entity Wizard, and the basics of using it, so you can make your own creations.
If you’re new to Minecraft Add-On creation, it might take a long time and a lot of studies to create your first workable behavior pack and custom object. The Minecraft Entity Wizard for Blockbench tries to simplify the process of creating a custom entity and adding it to your world as simply as possible. From there, you may incrementally expand your object, update the model, or add your own behavior.
Blockbench is a 3D modeling application that supports numerous Minecraft 3D model formats natively. The Entity Wizard is a Blockbench plugin that may be installed via the built-in plugin store. You may continue to utilize Blockbench to adjust the model after you’ve generated your basic entity in the Entity Wizard, and you can edit the behavior in an external program.
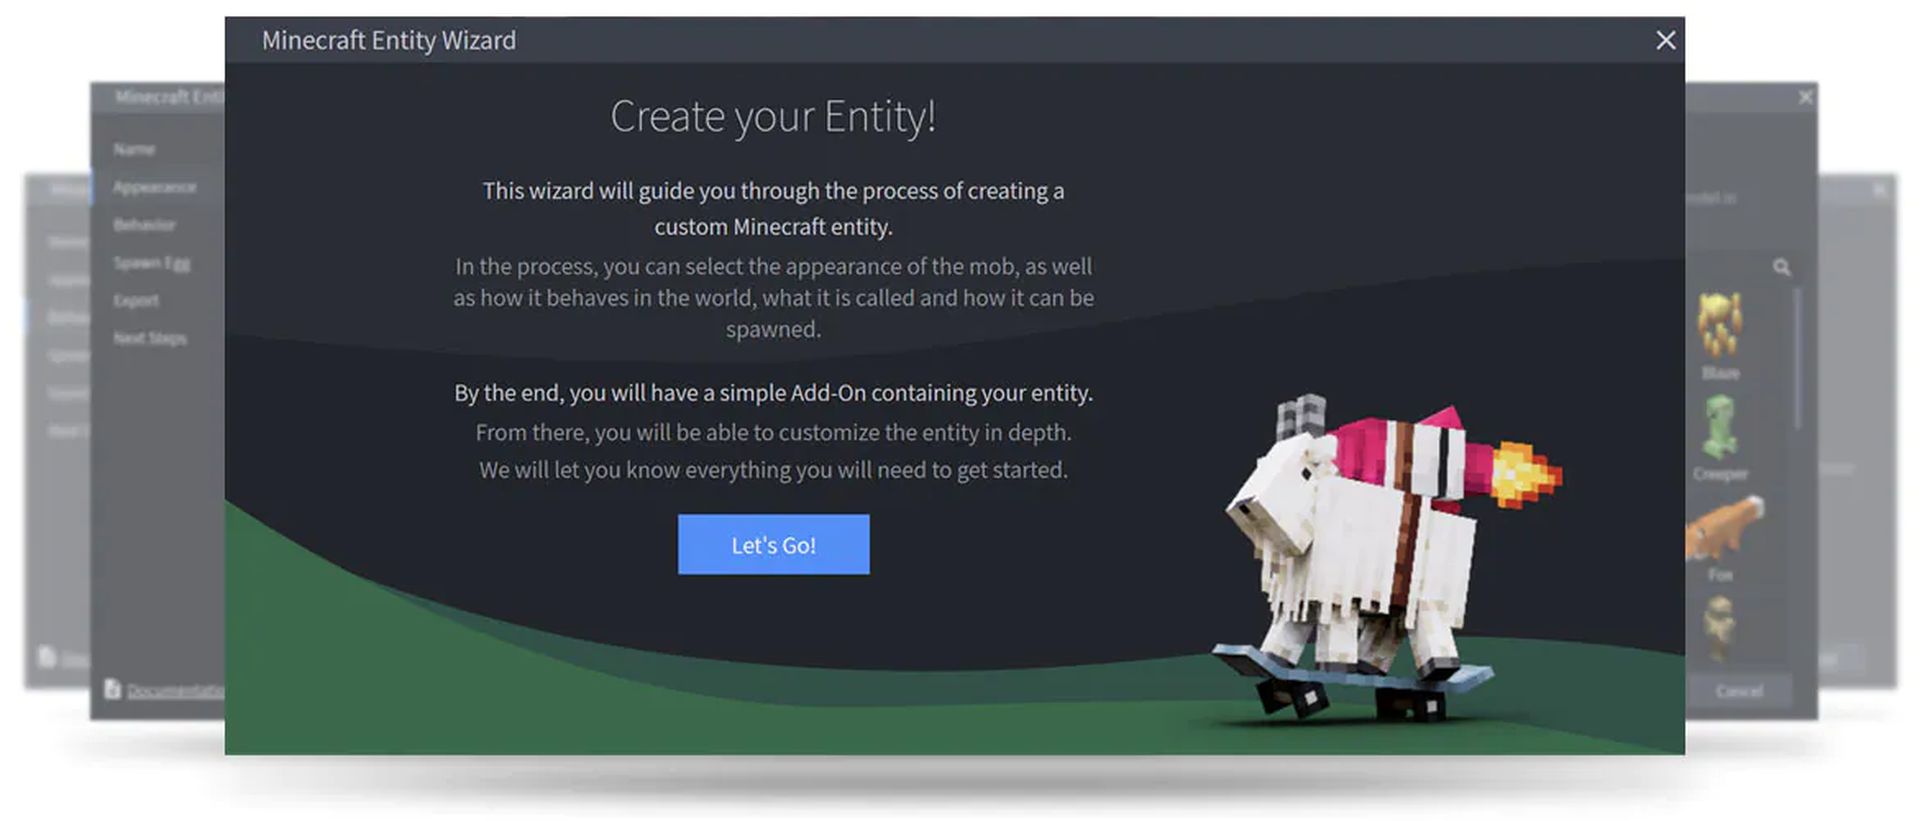
To get you started, the Entity Wizard provides presets for the majority of Minecraft’s vanilla mobs. You can select the one closest to the mob you wish to generate. Choose the dolphin preset, for example, if you want to make a shark. There are also “basic” presets that you may use if you are a more experienced addon author and wish to create your behavior from the ground up.
How to get Minecraft Entity Wizard?
It is advised that you complete the following tasks before commencing this tutorial.
- You must either have Blockbench installed or have access to the Blockbench online app
- Checking out Getting Started with Add-On Development
Installation
After downloading and installing Blockbench, you may install the Entity Wizard straight from within the software. You may use the plugin in the Blockbench web app if you do not want to install the app or if you are using a mobile device such as a tablet. The majority of the application functions the same in the online app, however saving data necessitates a few more steps.
Adding the Minecraft Entity Wizard
- Navigate to File and then Plugins in Blockbench.
- Navigate to the Available tab.
- Find the Minecraft Entity Wizard plugin by browsing through the list of available plugins or using the search box.
- To add the plugin to Blockbench, click Install.
Basics of Minecraft Entity Wizard
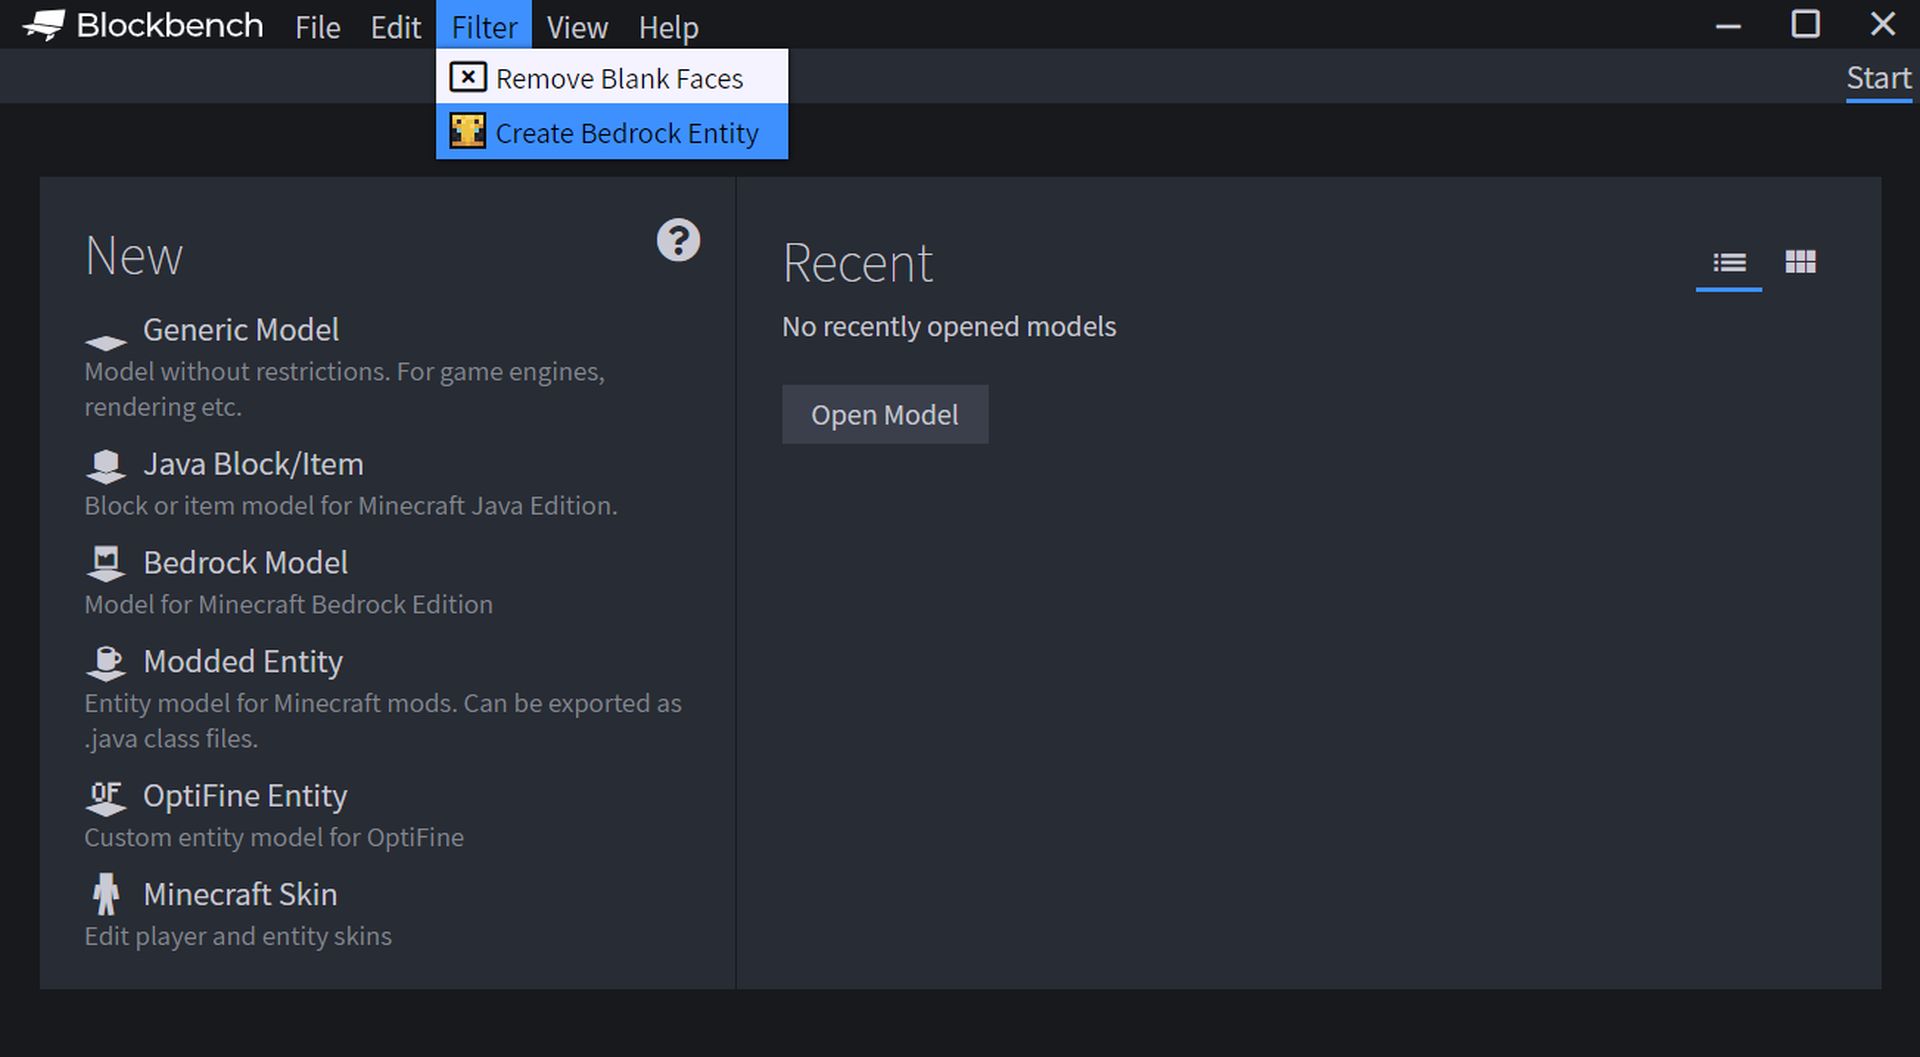
You may use the Minecraft Entity Wizard to construct your first Entity after downloading the plugin. Click the yellow banner on the start screen to initiate the wizard. To access the wizard, choose Filter and then Create Bedrock Entity. To get started, click the Let’s Go button. The wizard will guide you through each stage of building your one-of-a-kind creature. To go through the wizard, utilize the Back and Next buttons at the bottom.
Name
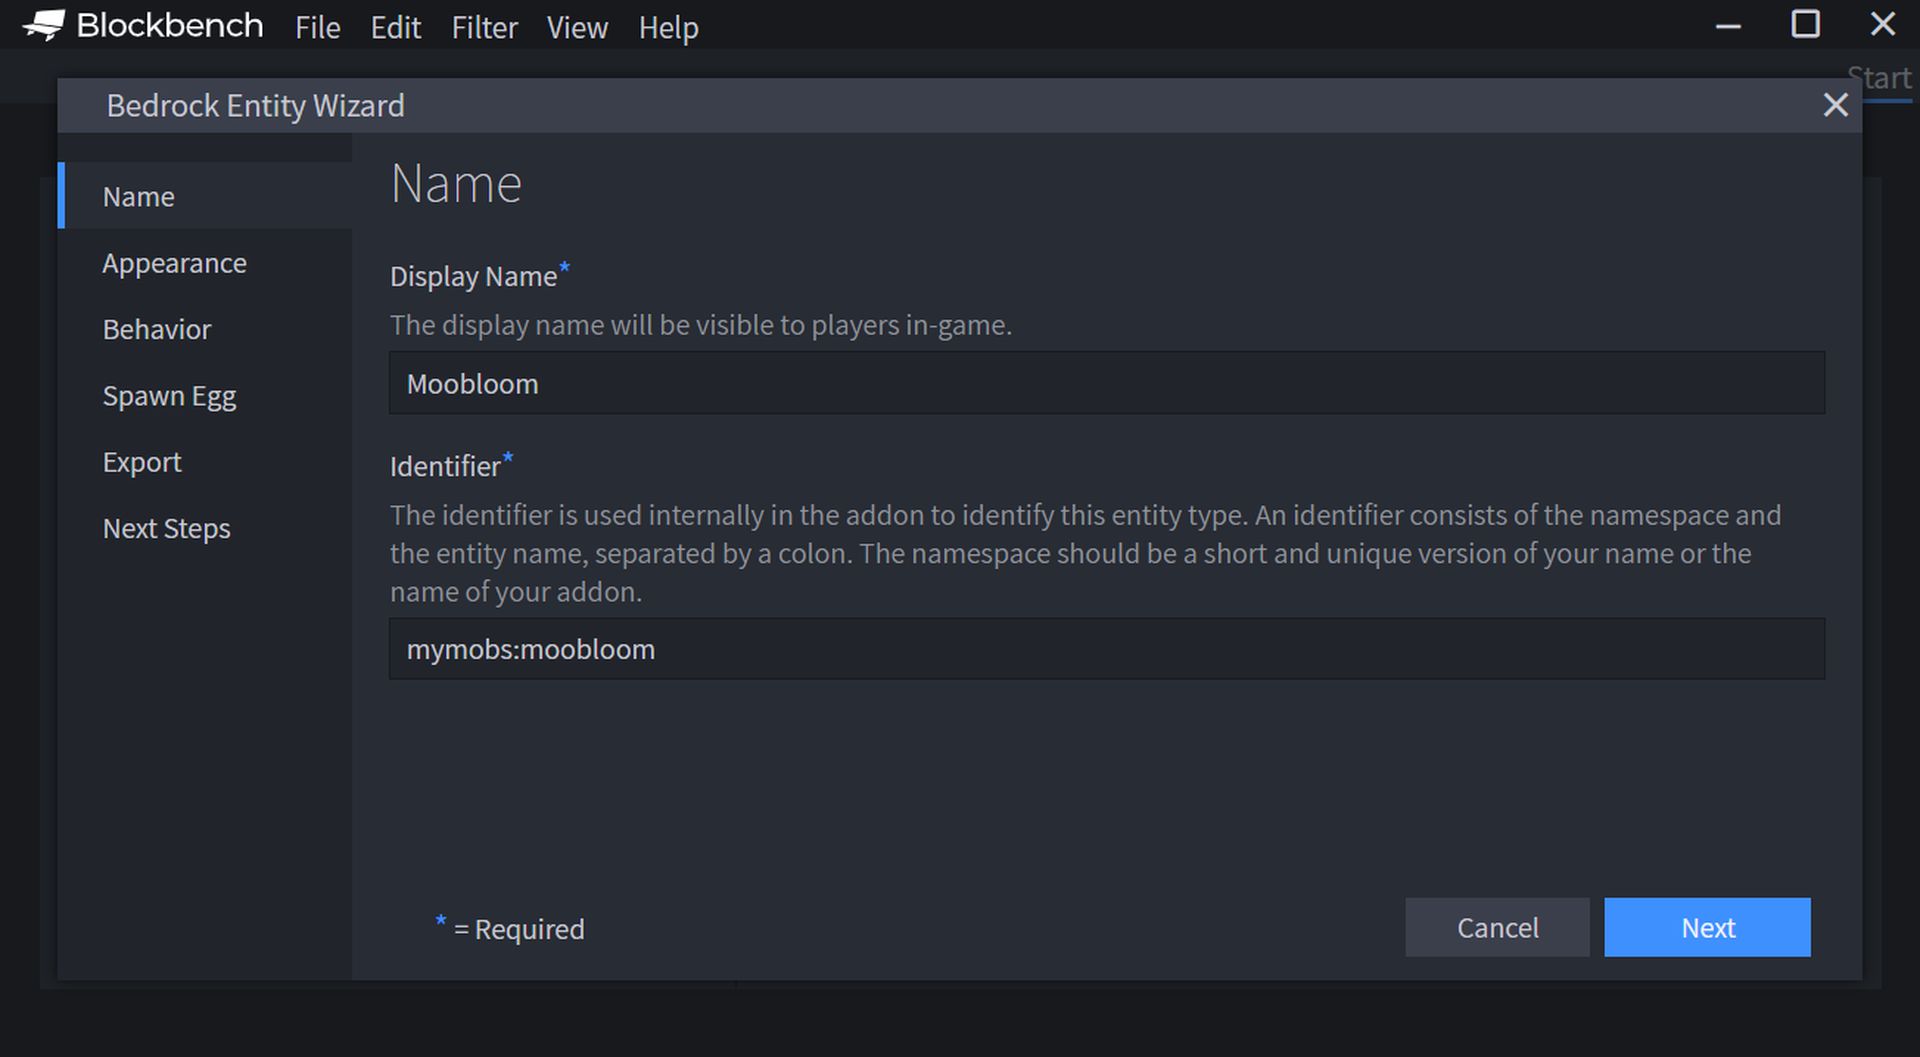
The Display Name is the name by which the creature will be known in Minecraft. It will be displayed in the spawn egg name, chat, and other locations around the UI. This name can also be translated into other languages.
Appearance
On this page, you may choose your entity’s look from a selection of defaults. Model, texture, animations, and noises are all part of the look. You will be able to change and alter this model in Blockbench at a later stage.
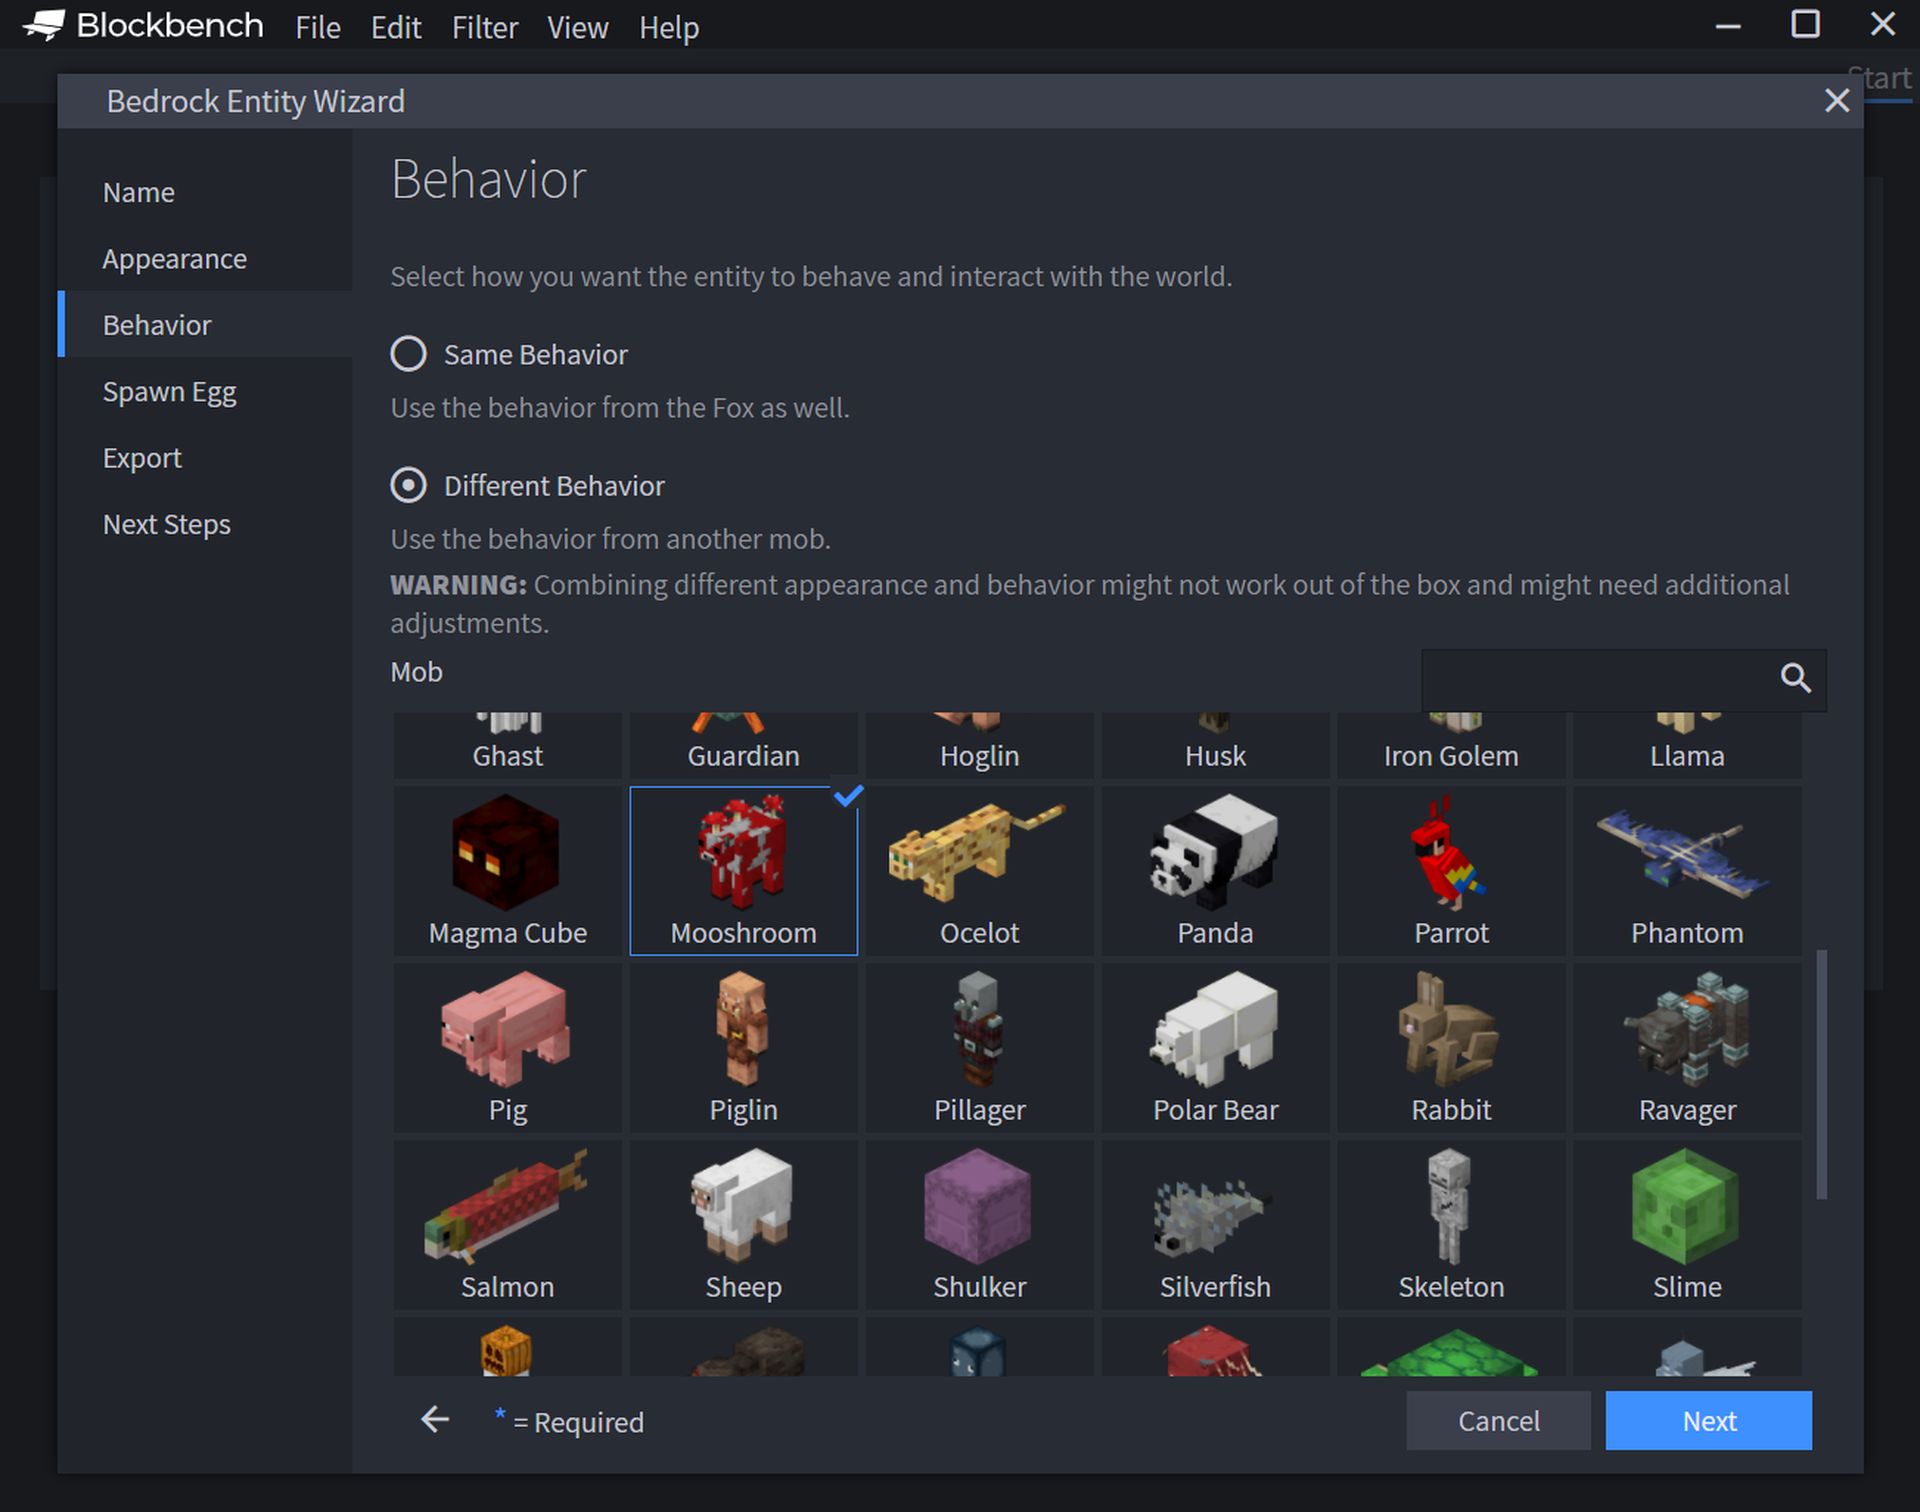
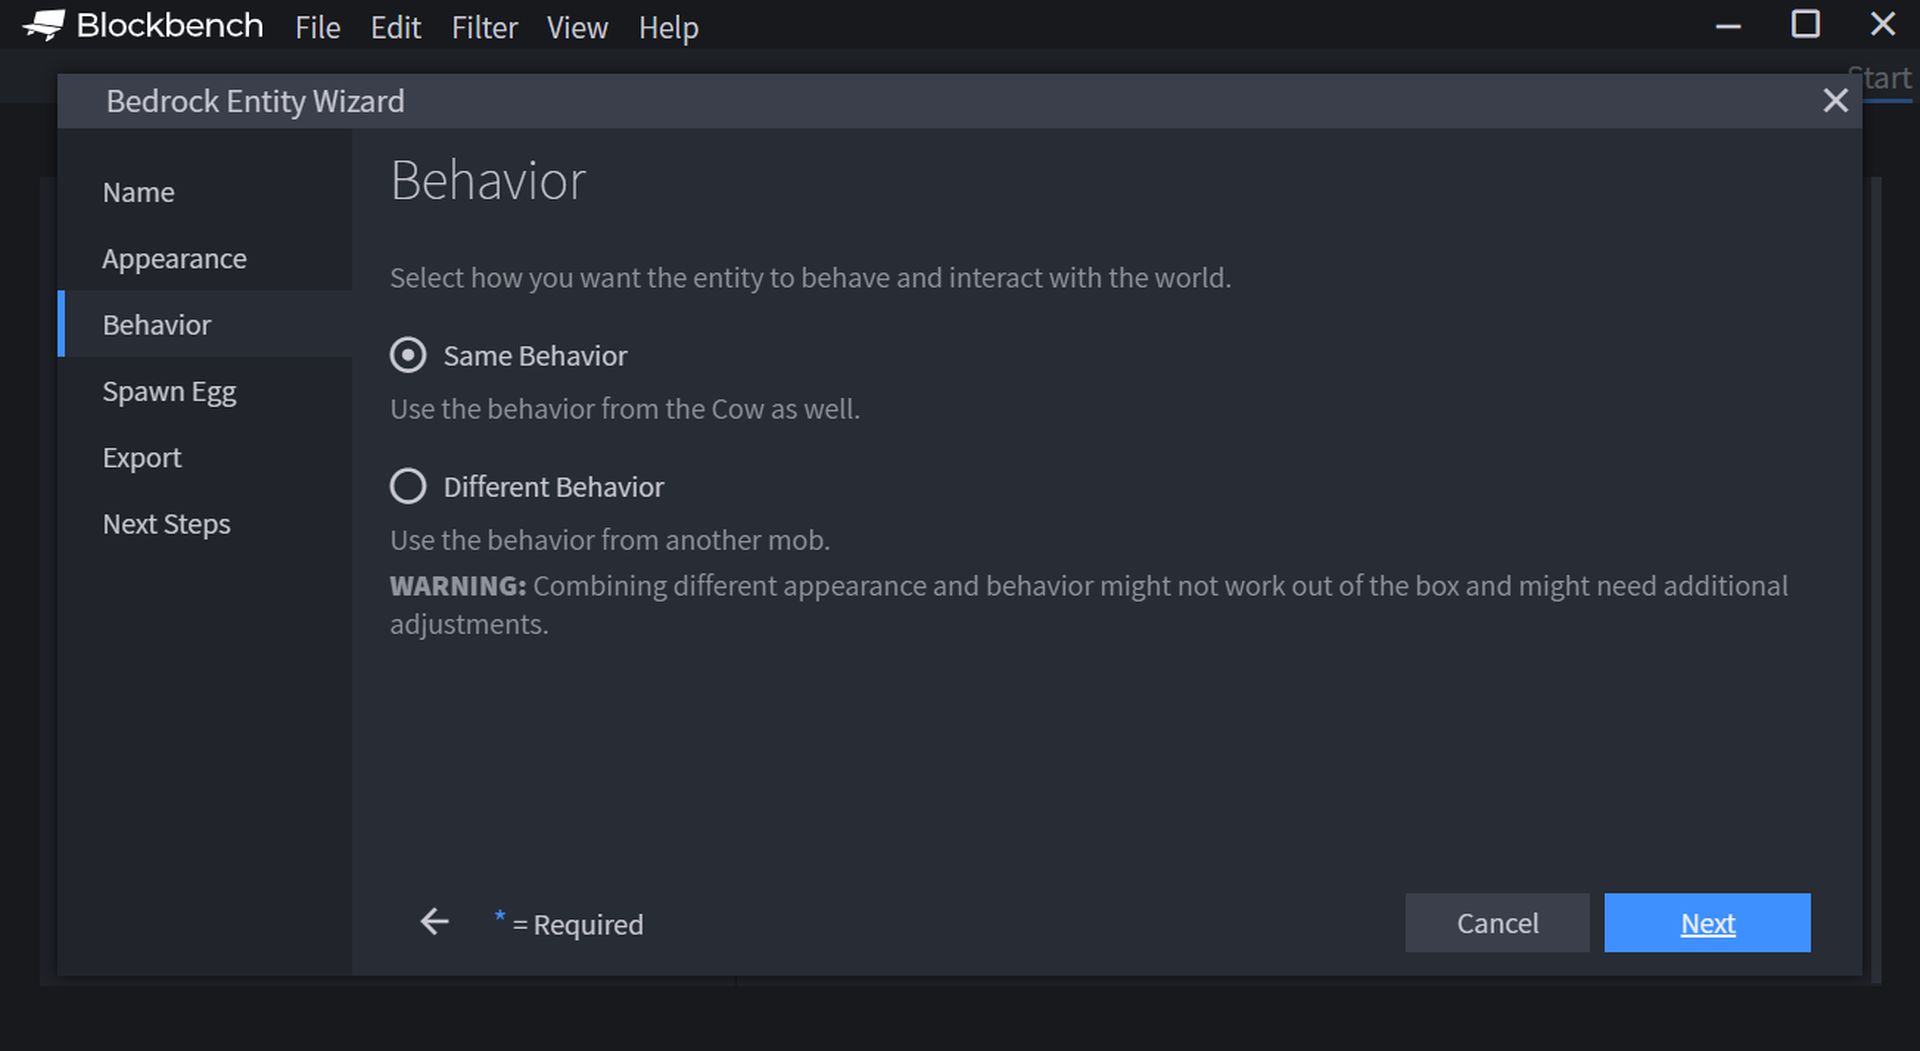
Behavior
The behavior tab controls how your custom entity interacts with the outside world. Appearance and conduct frequently go hand in hand. For example, if you combine the looks of a wolf with the activity of a sheep, you will immediately realize that the wolf in Minecraft lacks a grazing movement, thus the grass beneath them just bursts off.
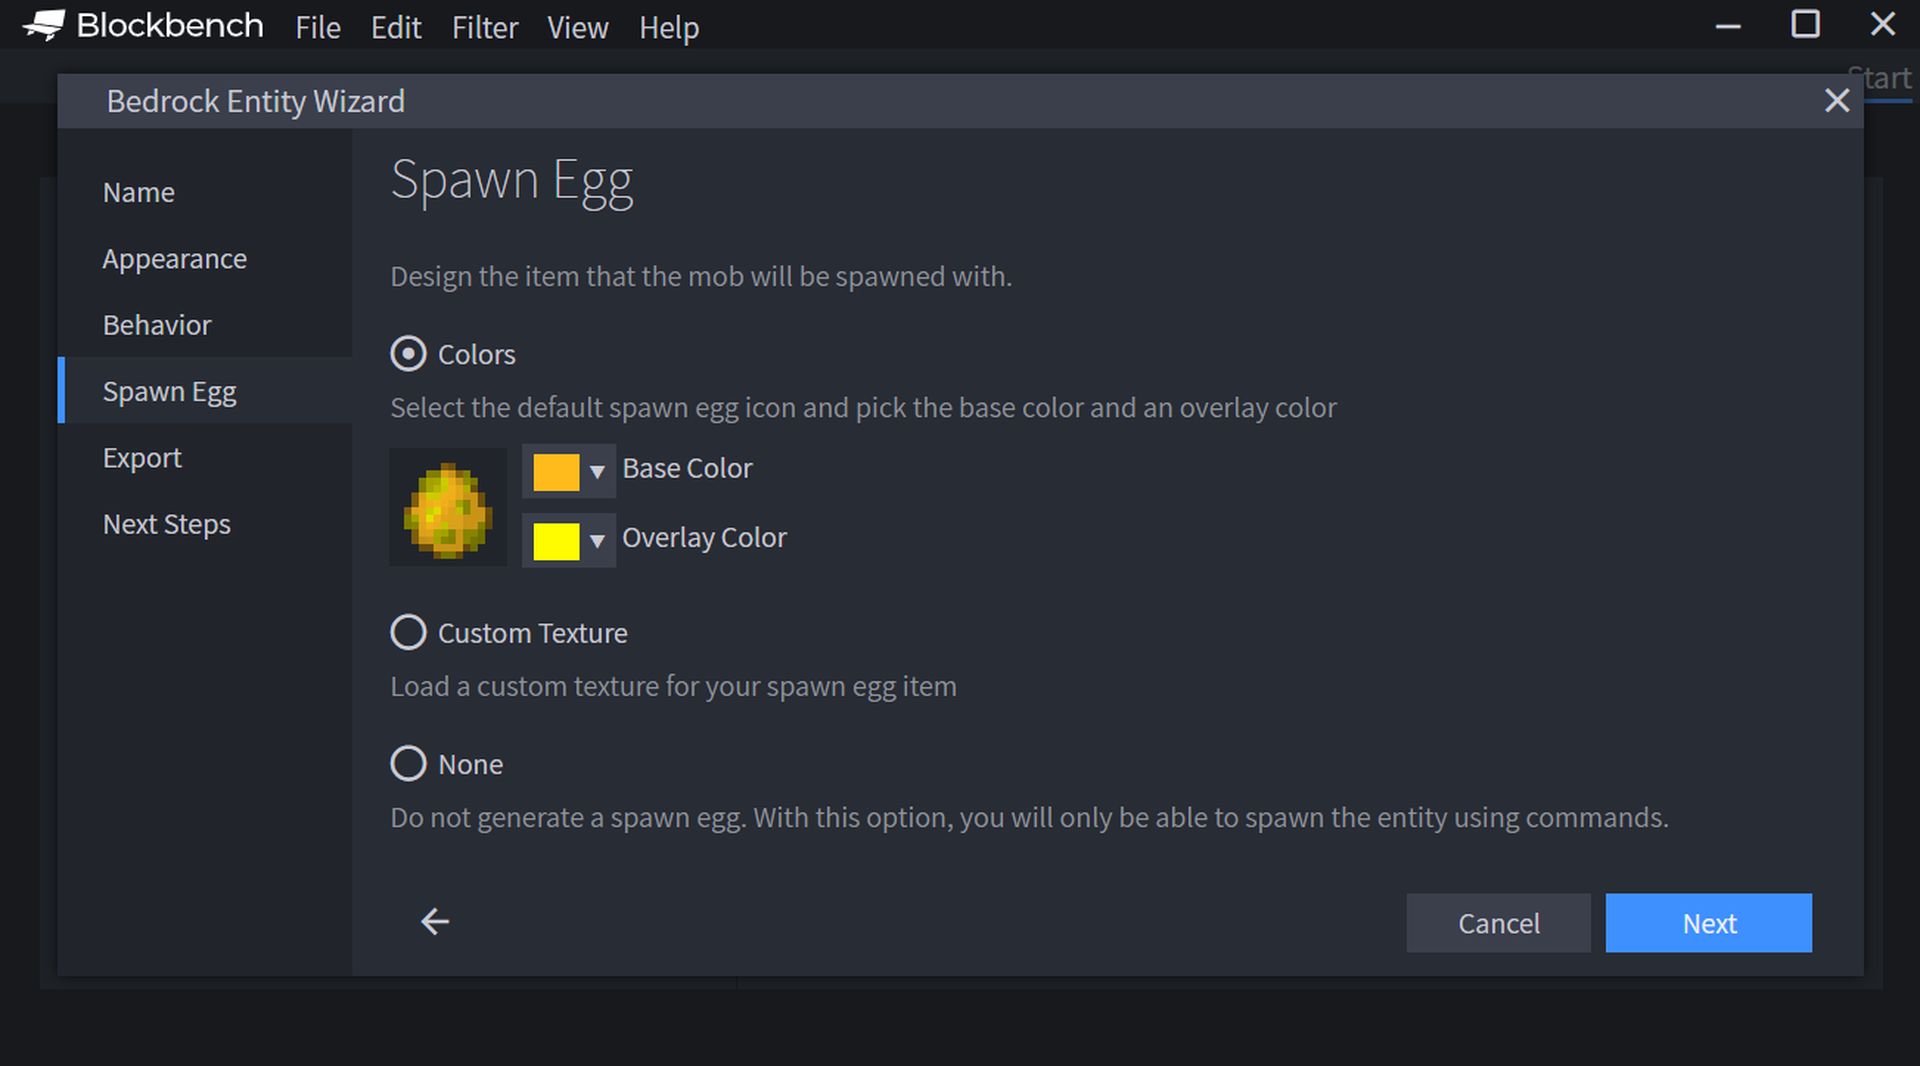
Spawn Egg
The spawn egg tab lets you customize the spawn egg, which is the object that is used to spawn the custom creature. The spawn egg can be defined in three ways:
- Colors: Select the background and foreground colors for the default spawn egg icon using the two-color pickers.
- Custom Texture: Choose a unique texture for your spawn egg icon. The texture may be created in a standard image editor, such as Paint.NET or Photoshop. The picture should be a PNG file with a transparent background and a dimension of 16 by 16 pixels.
- None: Do not create any spawn eggs. If you choose this option, you will not find a spawn egg in your creative inventory, but you will be able to summon your creation via commands.
Exporting
You have now supplied all of the information required to create the entity. On the Next Steps page, you may choose an export method to generate a resource and behavior pack for loading the object into your environment. There are up to three ways to store your pack in the Blockbench desktop client;
Export Packs: Choose this option if you just want to build a new pack on your PC with your unique entity.
Integrate into Pack: If you already have an addon on your computer, click this option and then choose your addon from the list below to integrate your new custom entity into this current pack.
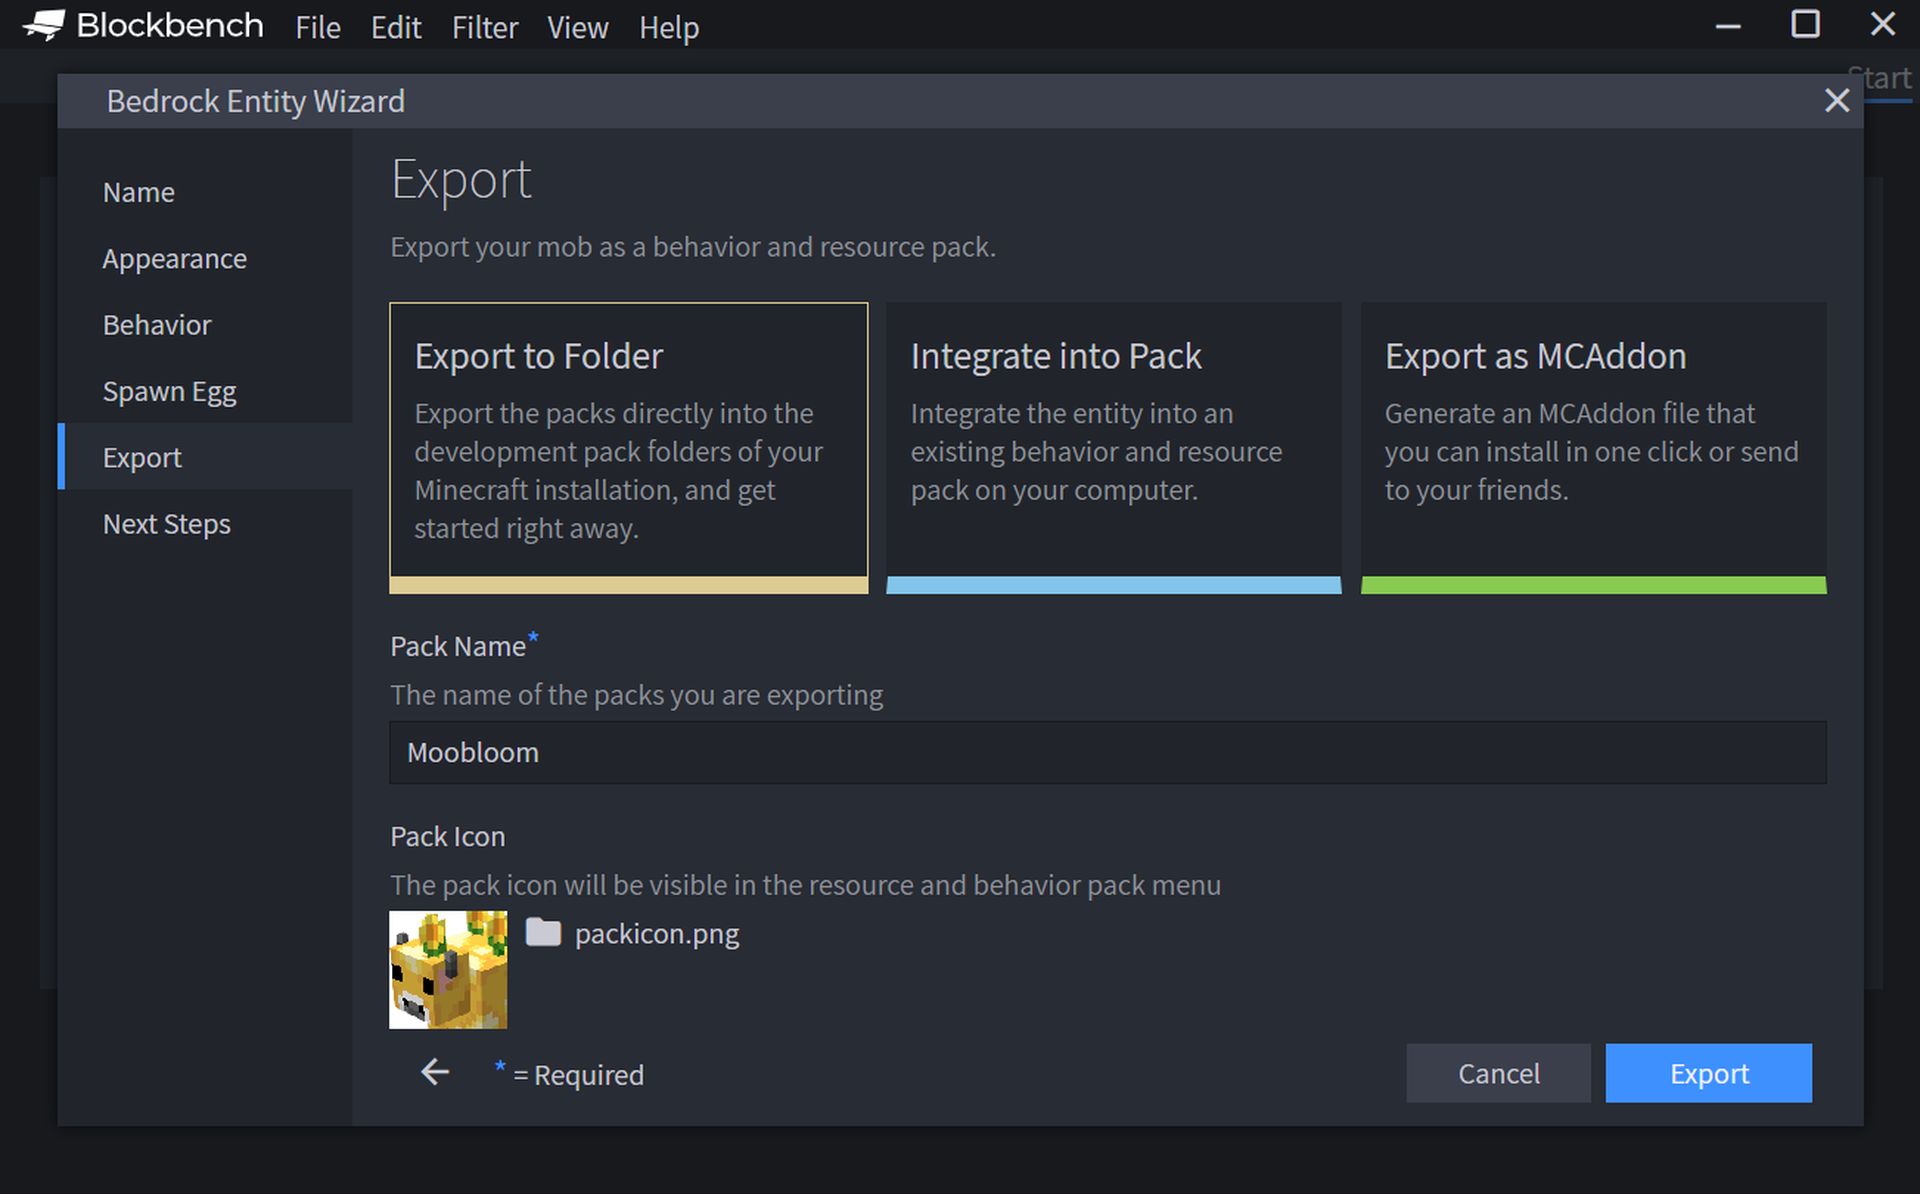
Export as MCAddon: This option will create and save a .mcaddon file to your PC. You may either open this file to load your addon into Minecraft or share it with friends. If you choose this option, you will not be able to change your model directly in Blockbench after exporting the addon.
Where can I find entity models in Minecraft?
There are many sites out there that provide custom entity models for Minecraft such as MCmodels. If you want to check out entity models created by others, you can visit such sites. But if you are looking for the models in the Java version of Minecraft, sadly they are hard-coded into the game and can’t be extracted by regular means.
We hope that you enjoyed this article on how to get Minecraft Entity Wizard. If you did, we are sure that you will also enjoy reading our other articles, such as Minecraft Legends release date, trailer, and more, or Minecraft 1.19 Wild Update is coming! Here is what it will bring.

