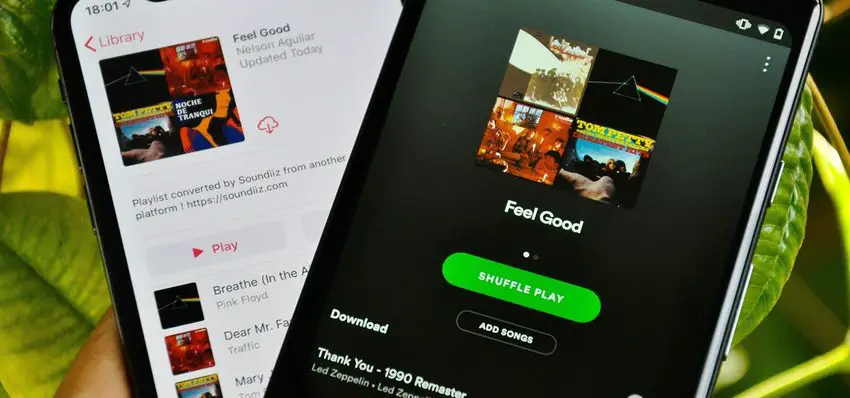
How to transfer music playlists between Spotify, Apple Music, and YouTube on iPhone? Changing music subscription services usually entails a significant issue: transferring your favorite songs from one service to another. Although there are methods to address the problem automatically, simply, and for free if you have an iPhone: try SongShift.
How to transfer music playlists between Spotify, Apple Music, YouTube, and other apps on iPhone?
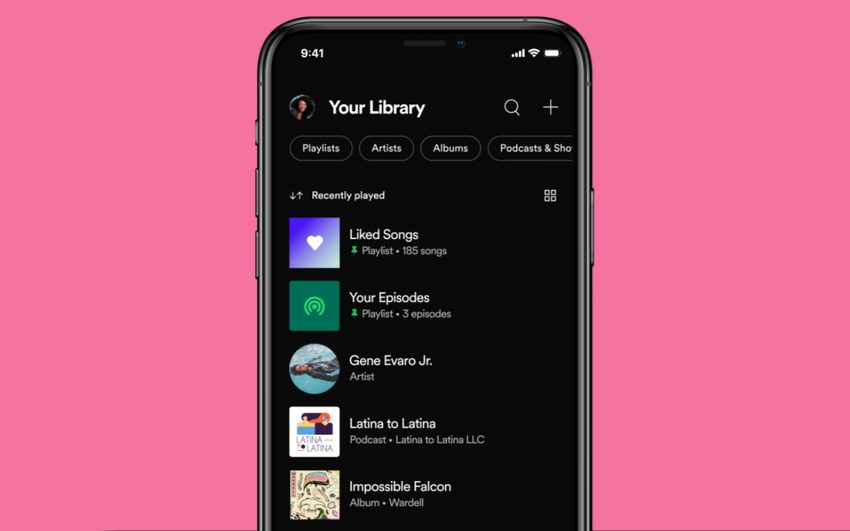
You may make a playlist of your favorite songs. You’ve probably got various playlists on platforms like Spotify where you keep your personal music. Because it doesn’t matter how many tunes are available on the platform; in the end, you’ll listen to a smaller list more often. And won’t you want to maintain that playlist if you move from one music service to another?

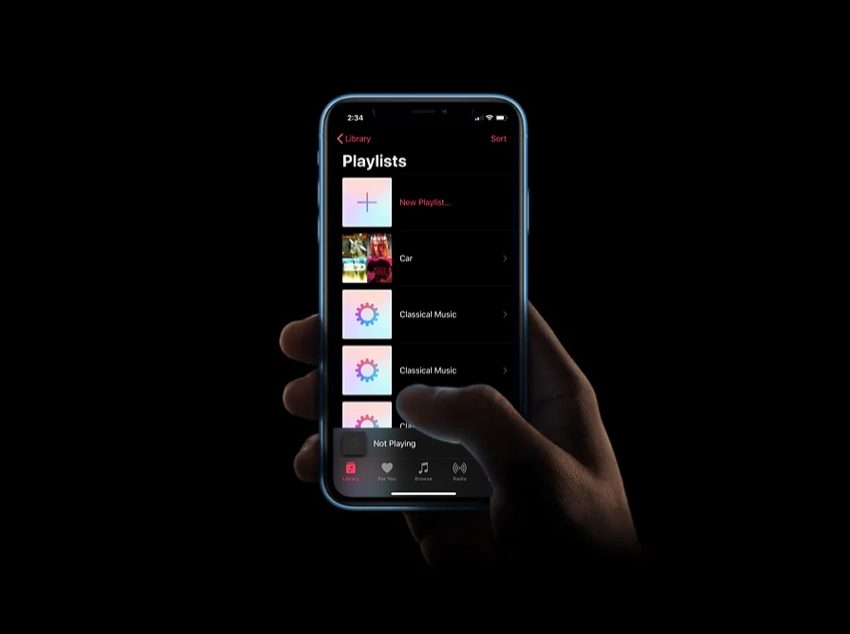
The process of moving from one music service to another is similar in many ways to the move between platforms. Finding your favorite songs once again, the ones you listen to most often may be difficult. This platform shift thanks to services like SongShift makes it much less traumatic because it allows you to switch playlists across most music subscriptions.
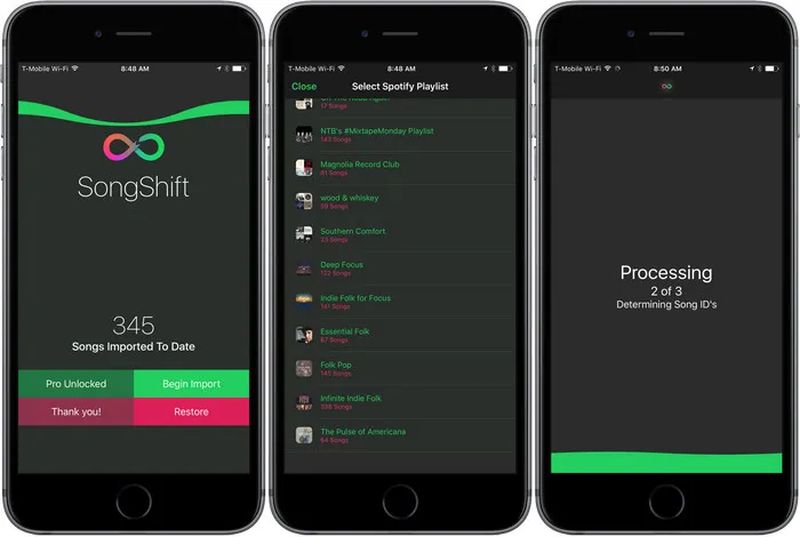
SongShift is a free application for iOS that, as is often the case, includes a subscription service with which to exploit all its possibilities. But it has no cost to perform the transfer list by list: in a few steps you will have your favorite Spotify tracks on Apple Music; or on Deezer, Tidal… The choice is yours, so you can take advantage of all the platforms’ offers.

The process for transferring playlists is as follows:
- The basics: You must install SongShift on your iPhone (it is also valid for iPad). It is free to download and use.
- You will need to log in to your streaming services for both the source and destination. SongShift will keep the logins so you can make further conversions: you can sign up as soon as you open the app.
- When you have started the two services between which you will transfer the lists, click “continue”; then “start”.
- Click on the “+” at the top right to add a “shift”. The application gives this name to each conversion task. With the free account, you can only hold one shift simultaneously.
- Click on “Set source” and select the platform where you have the original playlists.
- Choose the playlist you want to transfer. You can also combine several playlists so that SongShift converts them into one when you transfer them. When you are done click “Done”.
- The app will show you the shift you have created. Click “I’m done” and SongShift will start the moving process.
The program will do a pre-analysis of the process before it begins. After that, click on “shift” to review, ensure that all the songs match in source and destination, and then “confirm pairing.”

How to take a screenshot on Mac?
The program must analyze each song, find it on the destination platform, and search for it one by one in order to create a new playlist with the same name and criteria as the original. The procedure will take more or less time depending on how many songs there are and how difficult they are to match. It can be temperamental, especially with unfamiliar music and live versions.
SongShift is a fantastic tool for exchanging big lists across most streaming services and has no cost for putting up a conversion task. If you want to shift more playlists, be sure the first one was created correctly, then erase the shift and start from scratch. Continue doing so with each playlist you wish to transfer. Alternatively, you can subscribe: SongShift is an excellent service if you’re used to switching between music platforms regularly.


