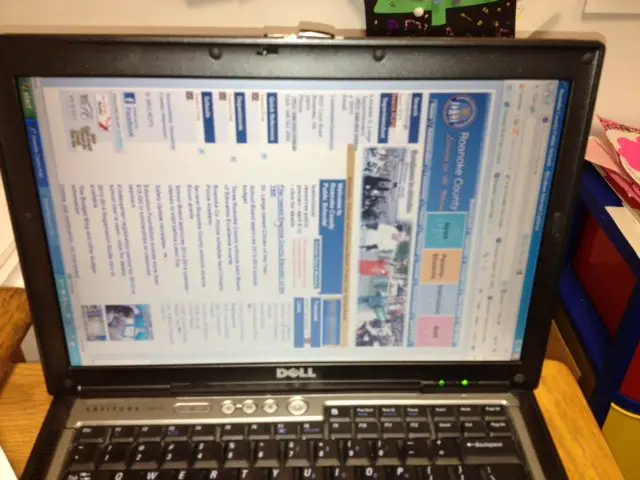
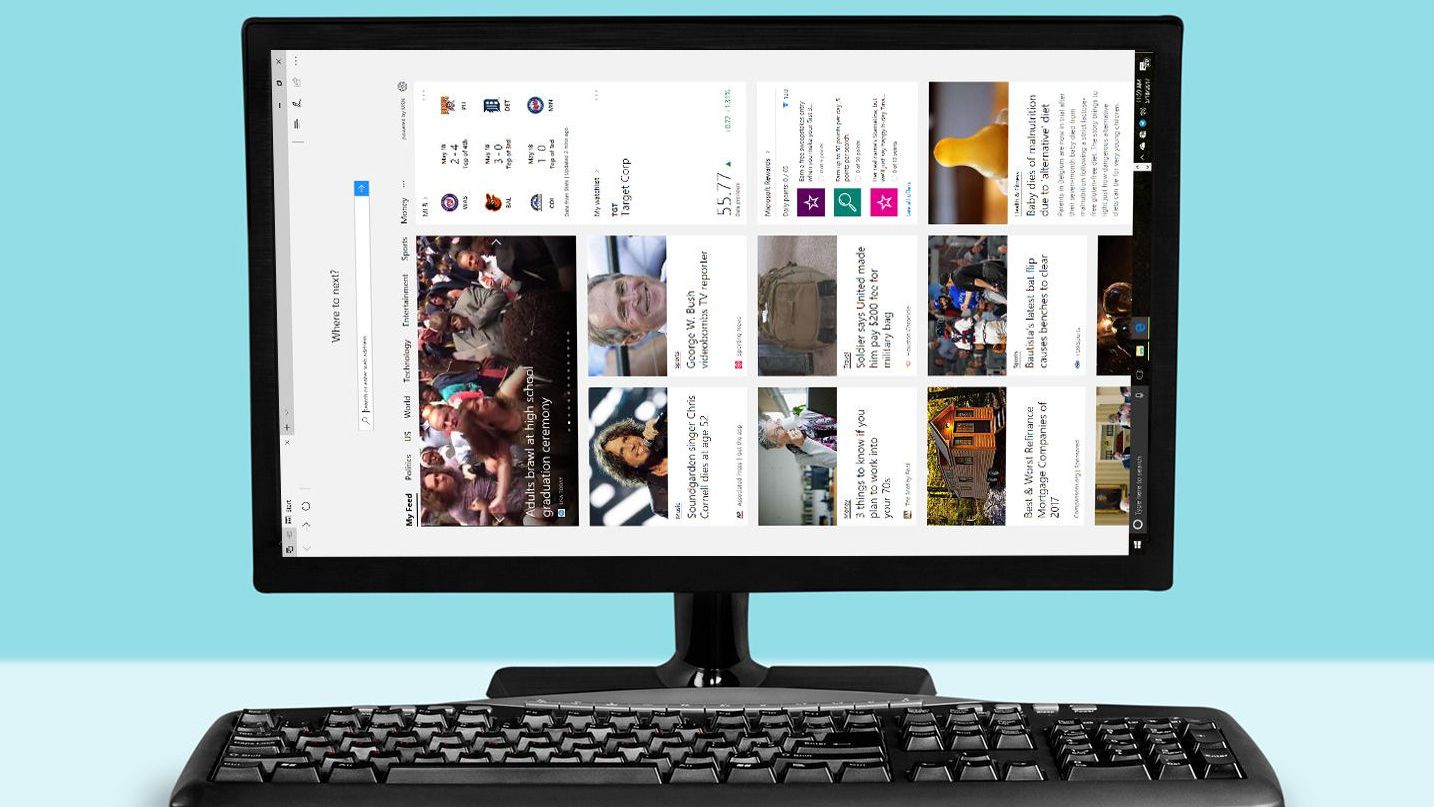
Today we are going to show you how to rotate laptop screen in Windows. We will see how you can fix a relatively common problem. If your screen is rotated in Windows or if it is completely upside down. Don’t worry, because we are going to help you out.
How to rotate laptop screen in Windows?
Using Windows with the screen completely upside down is enormously frustrating because the mouse or touchpad keeps moving the same way and does not correspond to the movement you see on the screen. Luckily, you can fix it easily.
You just need to press three keys at once: Control + Alt + Up Arrow. As soon as you do, the screen will be straight again and your neck will no longer suffer the consequences.

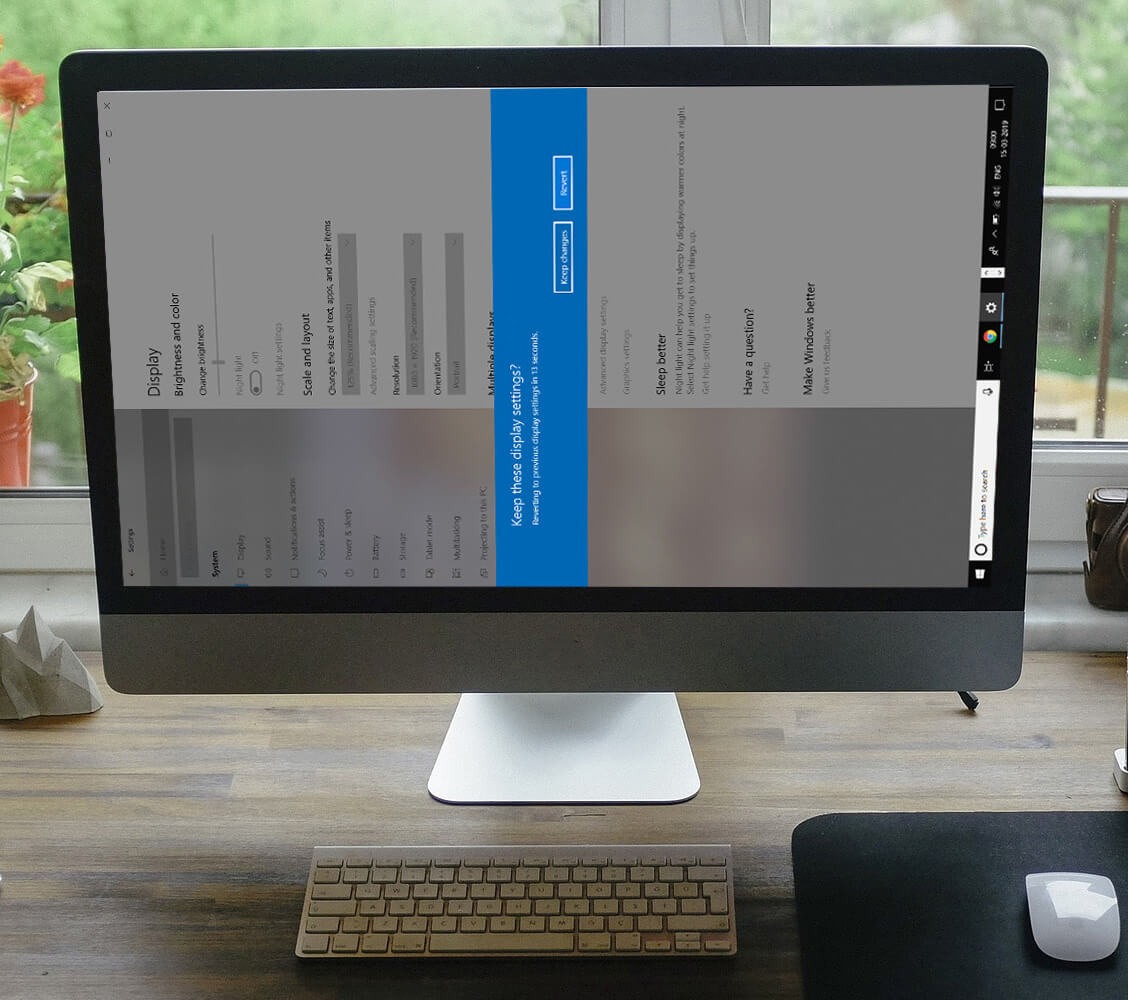
If that doesn’t solve your problem, go to the Windows Desktop, right-click on a blank area (i.e. not on an icon) and choose Display Settings from the drop-down menu.
Under the section called Orientation, find the drop-down list and choose Landscape, which is the default display setting. The screen will return to normal, and Windows will ask you to confirm that you want to keep it that way.
Now that you know how to fix it and your screen is upright, you’re probably wondering why your screen was rotated at first. It’s not a Windows bug, it’s a feature: rotating the screen can be useful in specific cases.

Windows has had key combinations to rotate the screen in all four directions for years. The problem is that these key combinations are common enough that you end up pressing them unintentionally, for example during a game or when trying to press Control-Alt-Delete. These are the hotkeys:
- Control – Alt – Up Arrow: Leaves the screen in its standard orientation.
- Control – Alt – Down Arrow: Turns the screen completely upside down.
- Control – Alt – Left Arrow: Rotates the screen clockwise.
- Control – Alt – Right Arrow: Rotates the screen counterclockwise.


