Today we are going to show you how to enable NVIDIA G-Sync on your PC. Although G-Sync technology has been with us for a long time, some users don’t know how to utilize it. In this article, we will show you the correct way to activate G-Sync.
Although AMD and NVIDIA technologies logically need a driver to work properly, the options and configuration of both technologies have nothing to do with each other. While AMD bases everything on a simple button on the driver, NVIDIA requires a couple more settings if we want G-Sync to work properly.
How NVIDIA G-Sync works?
NVIDIA by launching G-SYNC in 2013 created a precedent in the industry that has later been followed by both VESA and AMD, each in their own way.
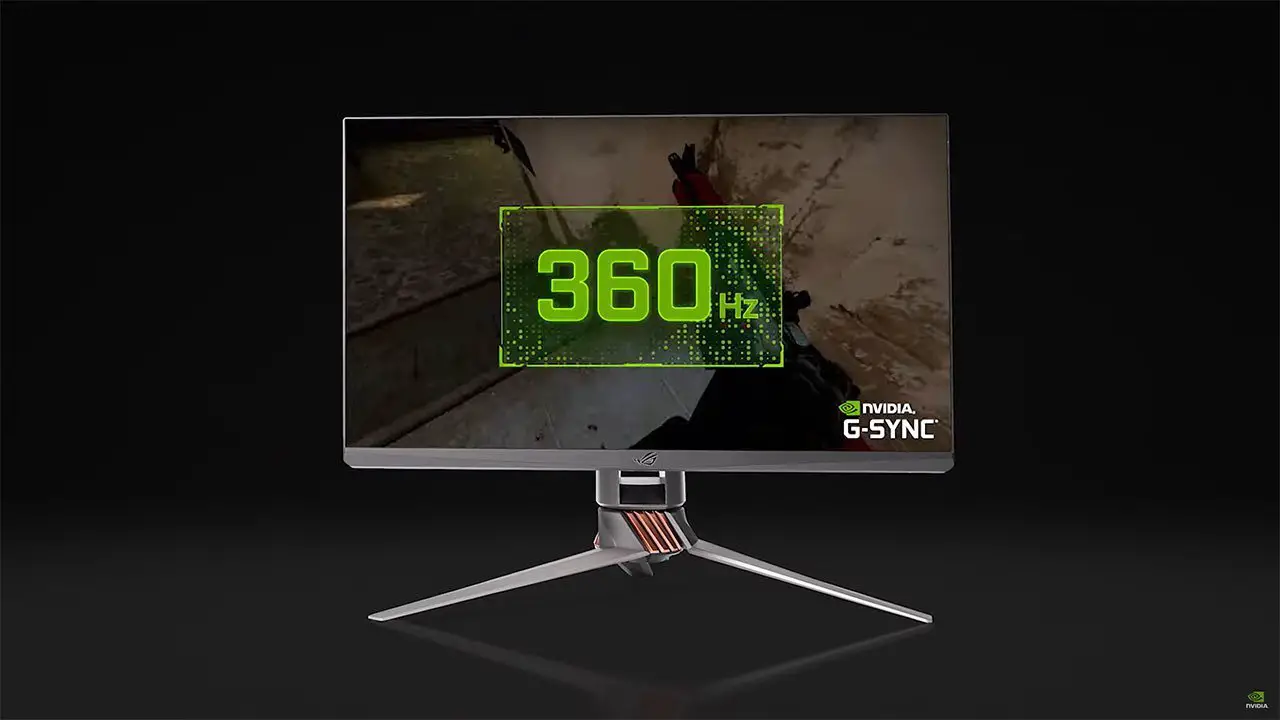
At first, G-Sync was only limited to improving gameplay within the parameters and hertz range that the monitor offered. This means that the maximum frequency rate for G-Sync was limited to the same as what the monitor achieved on its panel, while the minimum was set at the familiar 30 Hz.

Although it goes against all logic, many users complained that NVIDIA did not allow them to go outside these parameters, especially in terms of maximum rates, because they felt that higher refresh rates in games like CS:GO benefited them rather than having G-Sync enabled.
We must know that when installing an NVIDIA driver, the default option is this one, which will not limit us in Hz and will allow us to go out of the G-Sync range, something that is not the right thing to do if we want to take advantage of the benefits of this technology.
How to enable NVIDIA G-Sync on your PC?
Let’s assume that we already have our driver updated and installed on our PC, that we have our gaming monitor plugged in via DisplayPort and that our graphics card is at least an NVIDIA 6 series based on the Kepler architecture.
We will enter the NVIDIA driver through the drop-down menu that is displayed when we click on the desktop with the right mouse button or on the icon of the brand in the system tray, next to the Windows time.
Once we are inside, we will see the menu on the left side, where we will scroll and click on “configure G-Sync”.
Once we are inside and we will only see three selectable options, the first one activates NVIDIA G-Sync technology.

Some players play games in full screen only, while others require windowed modes for various reasons. The only thing to keep in mind is that if we select windowed mode G-Sync will also be activated in some software that requires certain vector instructions for its interface.
Now we will have to go to “control 3D settings”, where we will scroll down to find the “Vertical Synchronization” parameter.
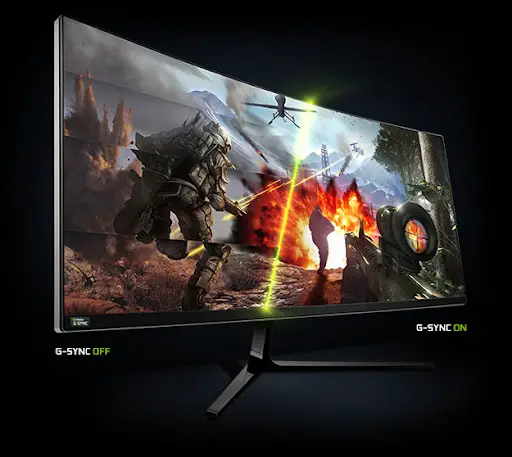
In this parameter, we will select the “On” option, which will limit the FPS to the maximum hertz that the panel can support. This is indistinct to any of the three versions of NVIDIA G-Sync currently available, as it does not make sense to exceed the maximum values of the panel and go out of range, because then we will have tearing and stuttering.
Once the setting is applied we can close the control panel. Finally and also very important, it is worth remembering that in all games we will have to select the vertical synchronization option as disabled, as the driver automatically forces it to synchronize the monitor and graphics card through NVIDIA G-Sync.


