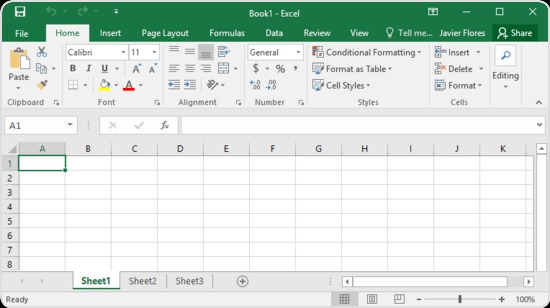
If you don’t know how to delete duplicate rows in Excel, we are going to help you out in this guide. Microsoft Excel 2010 can be a really useful tool if you are working with a lot of data. In Excel, a duplicate row contains the same values as another row.
For example, a family’s home address may have been entered twice or more in the same list. The “Data” tab on the command bar includes a “Remove duplicates” button. This button can filter the selected cells, this way there will be no complications. Removing duplicate rows gives a cleaner appearance to the spreadsheet.
How to delete duplicate rows in Excel?

If you want to delete duplicate rows in Excel you should follow these steps we mention below:
- Open the Excel worksheet.
- Click the “Data” tab on the command bar.
- Select the cells. The fill color changes in the selected cells.
- Click the “Remove duplicates” button in the “Data tools” group. A dialog box will be opened.
- Click the “Select all” button.

- Select the checked boxes for the different columns that Excel should filter. For example, to remove duplicates from all columns, select all checked boxes to display a checkmark in each one.
- Click “OK”. The duplicate rows will disappear. The original row will remain. A “Microsoft Excel” dialog box will show the number of duplicate values that are removed. Excel also shows you the number of unique values remaining.
- Click “OK”. The “Microsoft Excel” dialog box closes and you are free to edit the worksheet.
- Save the Excel file.
This way you’ve learned how to delete duplicate rows in Excel, why don’t you try it out now?


