Today we are going to review the best Android emulators for PC. This way you’ll be able to play your favorite mobile games on a PC. You can even edit photos, chat with your friends, etc.
Best Android emulators for PC
Android Studio
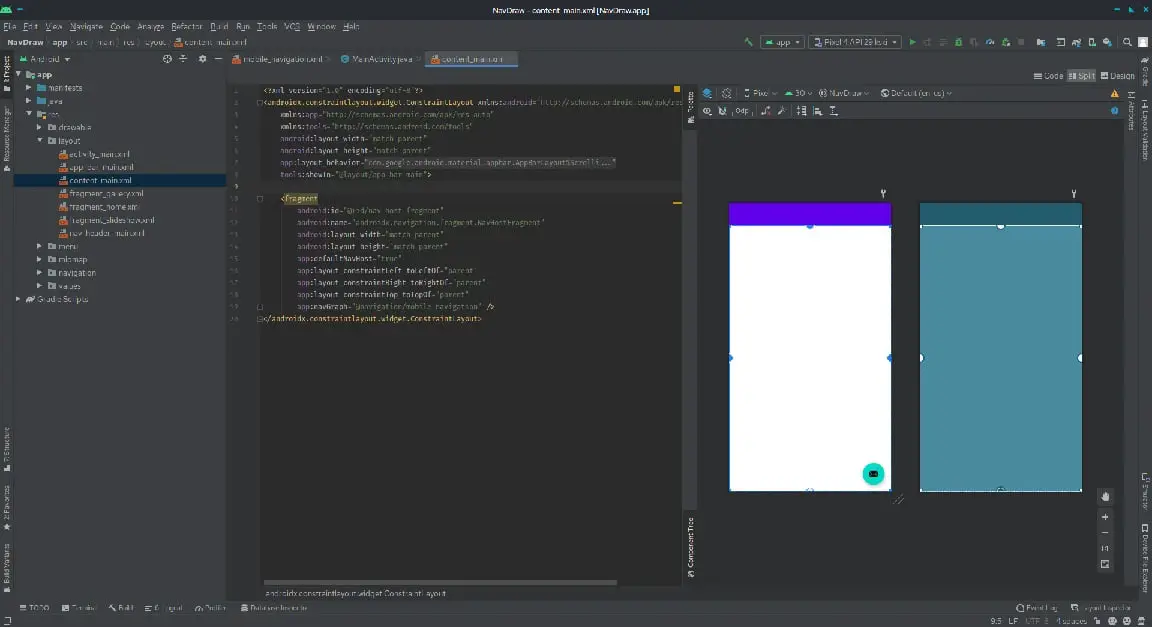
Android Studio is a programming console with which developers can create and test their applications. It comes with an emulator included in which you can test different versions of Google’s operating system.
It is an official tool and you don’t have to worry about adware or getting dozens of pre-installed applications.
But the downside of this program is that it is quite complicated for those who have started to use these types of software for the first time. Therefore, you will have to take your time to learn, but the result will be great.
BlueStacks
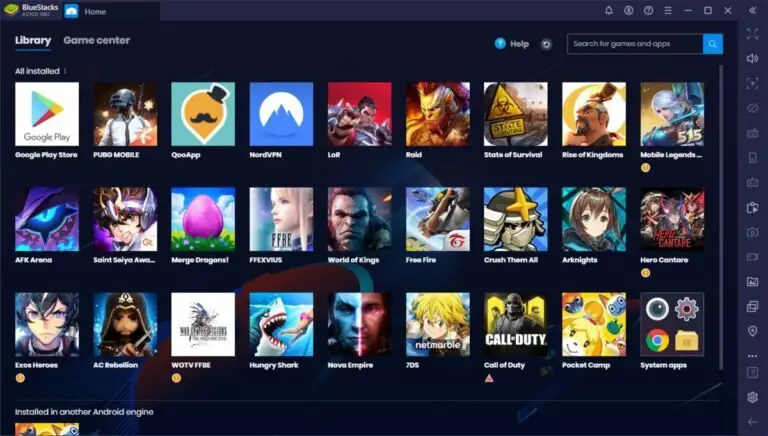
BlueStacks is one of the most veteran and well-known emulators for PC. It also supports the keyboard and mouse in mobile games.
The mission of this emulator is to simplify your experience to the maximum, although precisely this popularity has made them make decisions that some will not like, like putting too many preinstalled applications or make a paid version for if you want to have all the options.
BlueStacks has an interface adapted to the PC desktop, so it does not look like Android, but you will be able to play games from Google Play. You can even play several games at the same time.
MEmu Play
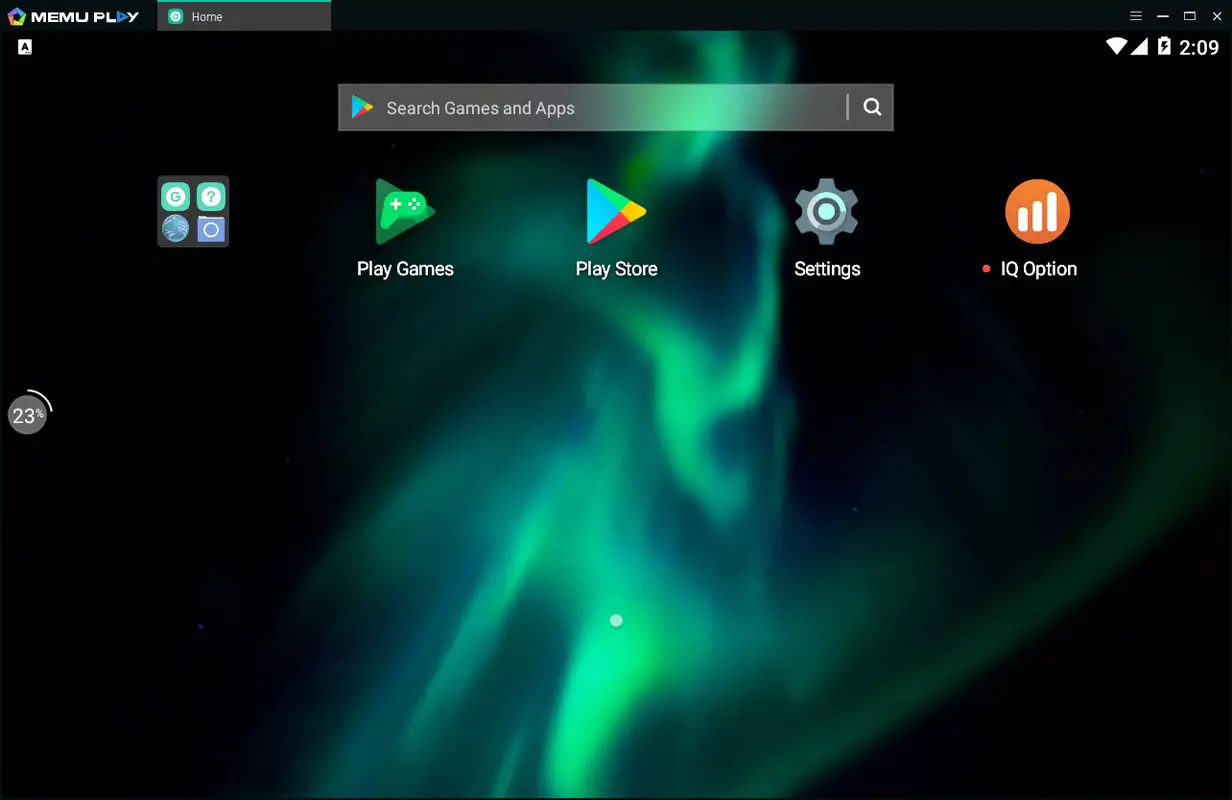
MEmu Play, formerly known simply as MEmu, is a great emulator alternative for PC focused on gaming. This means that the whole experience and interface of this program revolves around allowing you to use Android games as if they were for PC, although that does not prevent you from also being able to use other types of applications.
You can run games several games at the same time and also use the keyboard and mouse. This program is supporting Intel and AMD processors, although it lacks a little behind in terms of Android versions, with support for Jelly Bean, Kit Kat, and Lollipop. Its official website is here.
KO Player
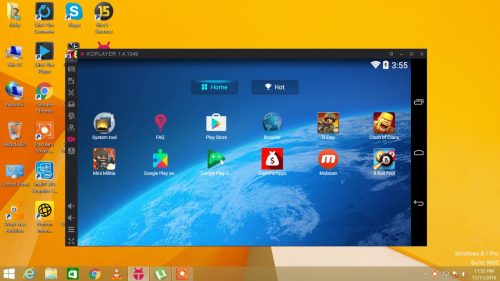
This is a relatively new Android emulator for PC compared to the others, which also focuses on gaming, it offers options such as keyboard mapping, hardware acceleration, and OpenGL graphics engine.
One of the strong points of KO Player is that it allows you to record your games and then upload them wherever you want. This Android emulator has an interface quite faithful to the Android of a few years ago. This emulator for PC is based on Android 6.0 Marshmallow.
Genymotion
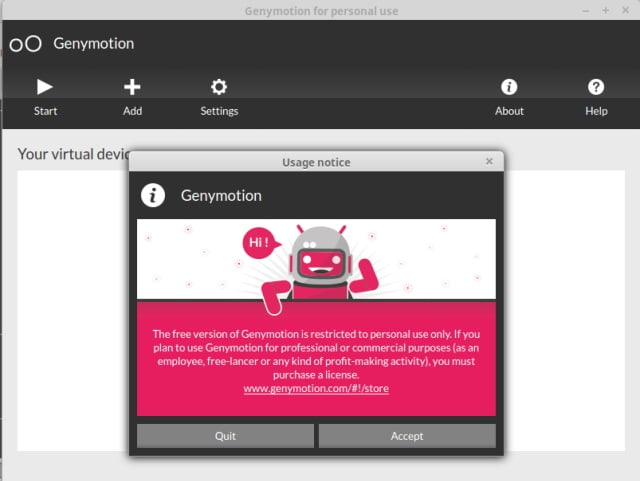
This emulator, in addition to its desktop version, has a cloud version to be able to run Android apps in the cloud, thus consuming much fewer computer resources.
The downside of this Android is that it is focused mainly on developers, so basic users might find it a little complicated.
But if you are a developer, it offers more than 3,000 virtual device configurations. This means that you can use an older mobile phone interface like a Nexus 6.
Tencent Gaming Buddy
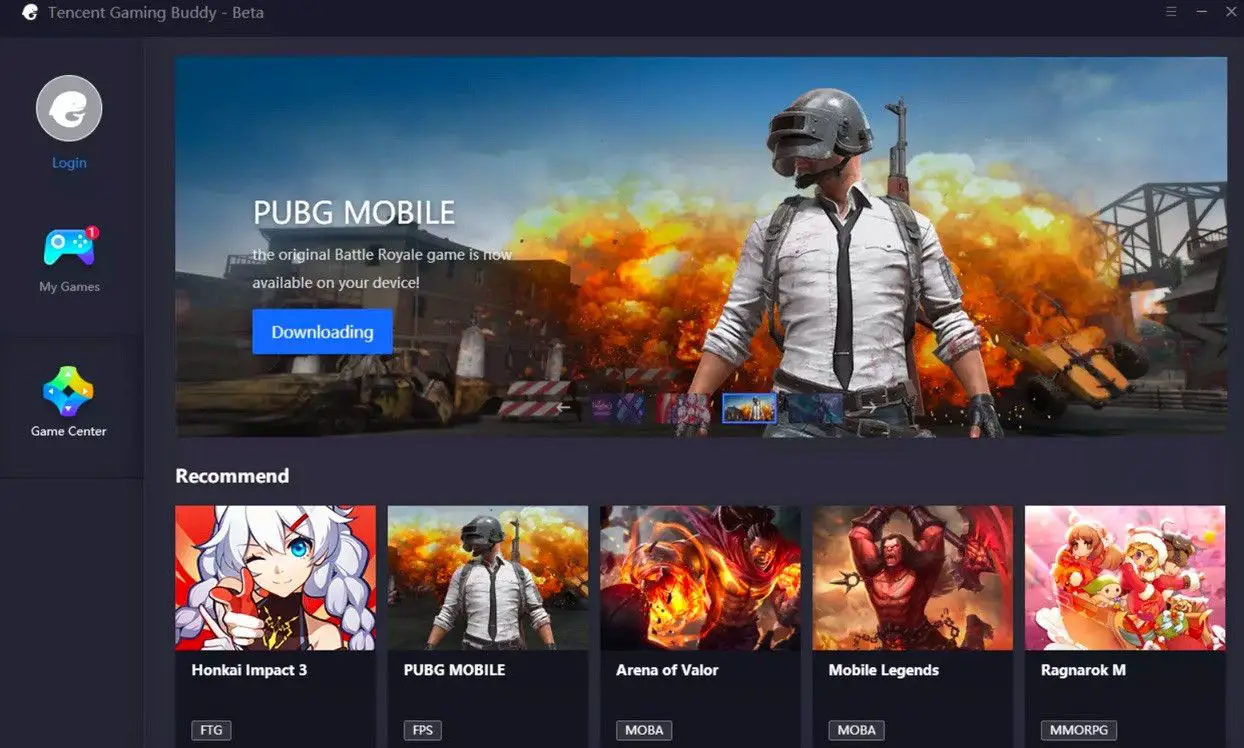
Tencent is a Chinese tech giant. We could call it the largest video game company in the world, being the owner of titles like Fornite or Mobile Legends and owning shares and commercial agreements with Ubisoft, Activision, or Square Enix.
The idea of this Android emulator for PC is to offer a completely different interface in native application format. Basically, they want to offer a Steam-like experience.
The big disadvantage of this Android is that it has its own catalog of games, which greatly limits everything unless you’re a fan of one of their titles, but it’s a project with a lot of potential.
PrimeOS
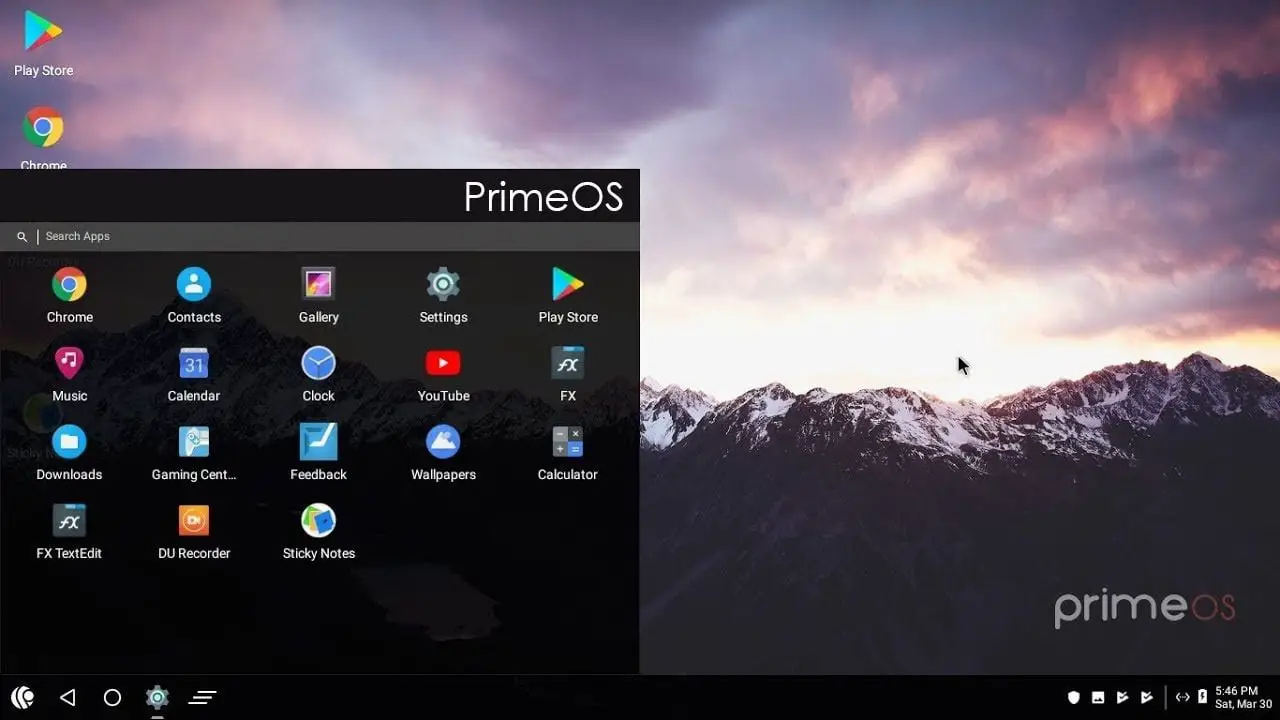
PrimeOS is not an emulator but is an Android-based operating system that you must install on your computer. So, it’s closer to being something like ChromeOS than just another Android emulator.
The advantage is that it gives you a much more native experience when it comes to installing apps. In addition, this emulator for PC offers mouse and keyboard support. Like any operating system, it has a start menu, notification center, taskbar, etc.
BlissOS
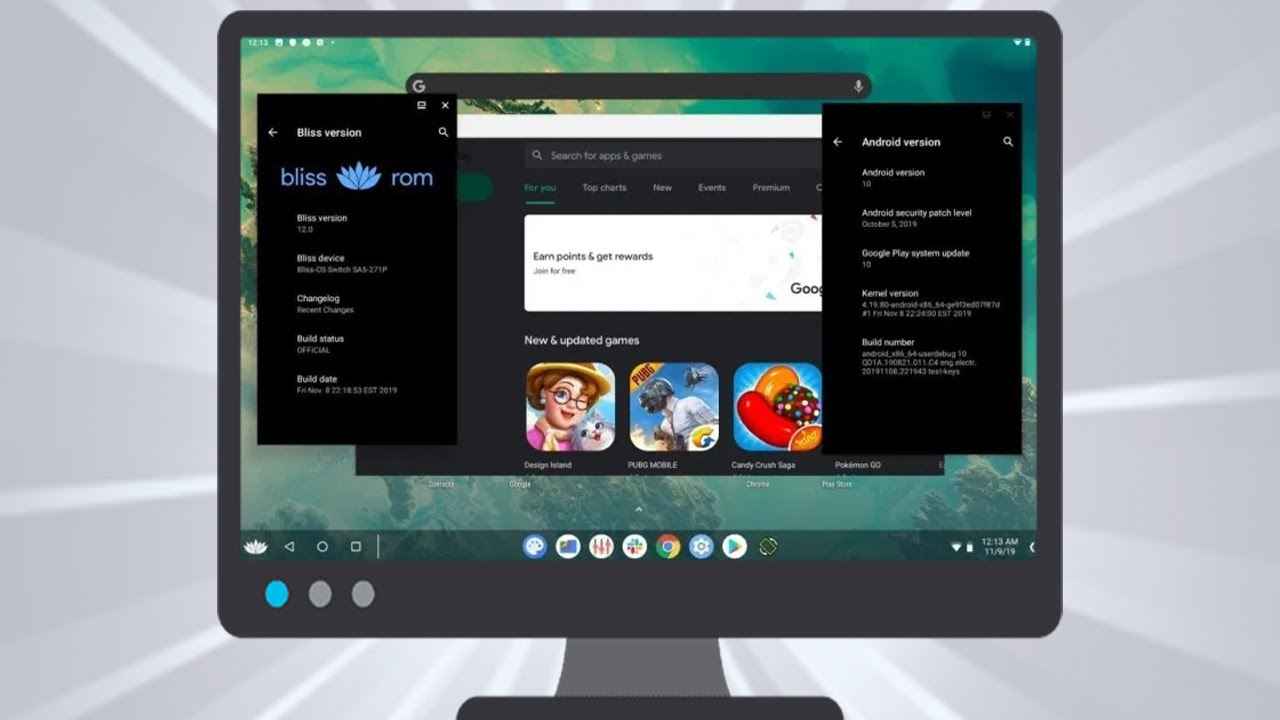
BlissOS is another Android-based operating system that you can install on a computer. It is an open-source project and supports versions like Android Nougat, Oreo, and Pie.
LDPlayer
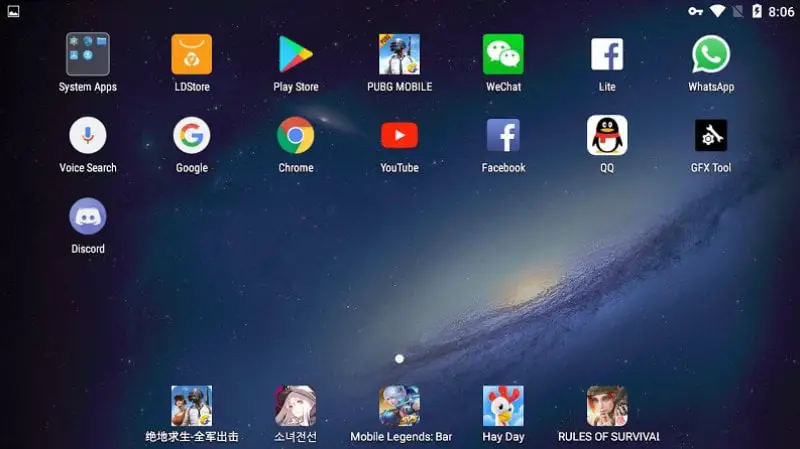
LDPlayer allows us to choose the size of the screen, as well as the amount of RAM memory and capacity of our processor destined for the operation of the program. This comes along with specific optimizations focused on improving the operation of specific applications such as PUGB or Free Fire.
As for the specifications, we can find that this Android emulator requires at least a Dual Core AMD or Intel processor.
This Android emulator for PC needs 2GB RAM in addition to 9GB storage to be installed it. Plus your GPU should have OpenGL 2.0 support.
BlueStacks tricks
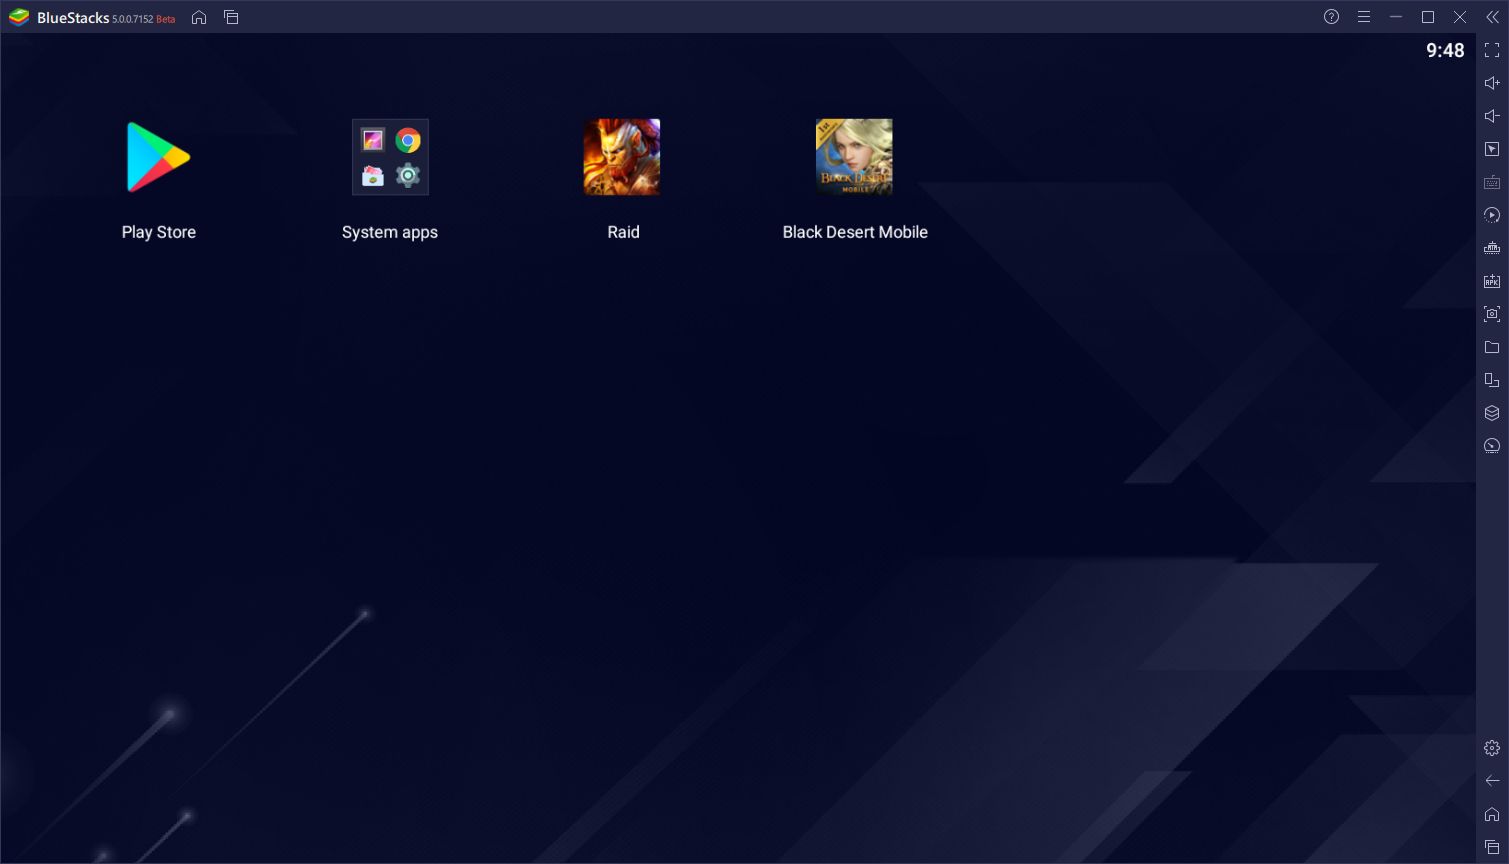
Mobile games have become really popular in the past years. Their graphic quality might not be great, but the mobility of our smartphones makes them great gaming devices. And for the best Android games, we have emulators like BlueStacks.
It is undeniable that the proliferation of increasingly powerful smartphones has made possible high-quality mobile games. And some of those games are only available for iPhone or Android, so to play them you need a smartphone.
With the help of BlueStacks, you will be able to install the best Android games and play them on a PC.
But if you want the BlueStacks Android emulator to perform well, it is not enough to install it on a good PC. It is necessary to make certain changes in its configuration.
How to manage RAM and CPU settings for BlueStacks?
When we talk about emulation, we are talking about reproducing hardware elements through software. In this case, BlueStacks emulates an Android device.
Depending on your computer hardware, the emulator will offer you the performance options associated with the virtualized hardware. From Settings or Preferences, you should go to the Engine tab. There you’ll see that you can manage a number of CPU and RAM settings.
Keep in mind that the more resources you give to the emulator, the fewer resources your computer will have. You should keep things balanced.
You better enable Windows high-performance mode
BlueStacks performs better in the high-performance mode. In Windows 10, you will find this option under Windows Settings > System > Startup/Sleep and Shutdown. There you will see Related settings options and the section called “Additional power settings”. Under Power Options, you’ll see the high-performance option.
Enable hardware virtualization of your CPU
This trick is specific to Windows. If you want to get the most out of BlueStacks graphics performance it will help quite a bit if you enable hardware virtualization. It will depend on your CPU whether you can use this feature or not.
You can check if it is enabled by default in Windows by opening the Task Manager with the CTRL + SHIFT + ESC keys. Then go to the Performance tab. In the CPU section, you will find an option called Virtualization.
If hardware virtualization is not enabled, you should check if your CPU is compatible. For Intel CPUs, you can use their Intel Processor Identification tool.

