If you want to learn how to enable or disable Remote Desktop on Windows 10, we are going to help you out. Windows comes with a remote control software pre-installed on your system. This application will allow users to request remote assistance in case of a problem (for example a friend or a technician).
Basically, this feature allows you to use Windows, Android, or iOS devices to connect to a Windows 10 computer remotely. This allows us to:
- Manage the applications that are installed on the computer.
- Access files and network resources on the computer.
- Leave applications open when terminating the client.
- Due to the level of access that we grant to our PC, it is vital that we only have it activated if we are going to use it or need it. In the rest of the cases, we will have it completely deactivated. In addition, if it is enabled, it should be configured correctly to avoid security problems. It is highly recommended to change the default port, something we will also see in the following paragraphs.
How to enable or disable Remote Desktop on Windows 10?
The configuration in Windows 10 is different from the other versions of this system because the functionality has already been migrated to the new menus. To begin with, we will access the Settings menu and click on the “System” option.
On the side panel look for the “Remote Desktop” option to access its configuration. By default, this function is disabled and we will have to check the option “Enable Remote Desktop” to activate it. The system will display a confirmation message. To disable it, we will do the opposite and disable the option.

Finally, under User Accounts, we will be able to select the users that can have remote access to the computer. It will be enough to click on “Add…” or “Remove…” user accounts so that they can or cannot have access to the equipment.
Once the function is activated, we will have access to different additional options. The most interesting ones can be found under “Advanced settings”. The first option is enabled for our security and it forces us to require computers to use network-level authentication to connect.
Other advanced options available are those that explain how to allow remote connections from outside the local network or the one that tells us what the remote desktop listening port is. Changing the port is not simple and requires advanced knowledge:
- Start the Registry Editor. (Type regedit in the search box).
- Go to the following Registry subkey: HKEY_LOCAL_MACHINESystemCurrentControlSetControlTerminal ServerWinStationsRDP-Tcp
- Search for PortNumber.
- Click Edit > Modify, and then click Decimal.
- Type the new port number, and then click OK.
- Close the Registry Editor and restart the computer.
Some cybersecurity agencies and companies recommend changing the default Remote Desktop port. Many large-scale attacks have been carried out using computers that did not have the default port properly protected.
How to enable or disable Remote Desktop on Windows 8, 7, and other versions?
In older versions of Windows, the operation is different. In this case, everything is done from the traditional Control Panel. The first thing we must do is to open the “My Computer” properties menu.
In this window, we will click on “Advanced System Settings” on the left side of the system and a new configuration window will open. In this window, we will select the “Remote Access” tab in the upper zone.
Here we can see the options corresponding to the remote assistance and the Windows remote desktop. We can enable or disable these services by checking or unchecking the corresponding options that appear. We can also access the advanced configuration menus of these features, for example, in the case of remote assistance we can configure the maximum session times or if we allow the guest to control our system or simply see our screen.

Similarly, in the advanced remote desktop configuration, we must specify the specific users that will be able to use this feature. The “Add…” button will allow us to add them while the “Remove…” button will be used to disable access to these users.
The main difference between remote assistance and Windows remote desktop is that the first one is intended for a user who has problems to ask a second trusted person to help him/her to solve it by sending the corresponding remote assistance request and having control over what the guest does on the system.
The remote desktop, on the other hand, simply requires a login with a user enabled for this function and is specifically programmed so that users can connect from anywhere to their computers or servers without having to install any additional software or make complicated configurations or manage user permissions.
How to use Remote Desktop on Windows, iOS and Android?
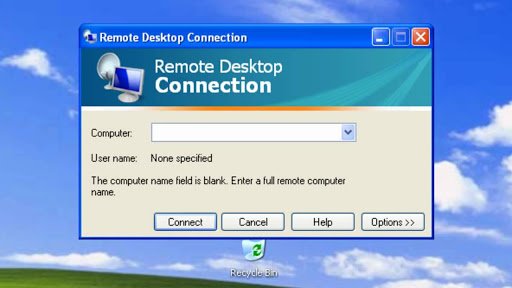
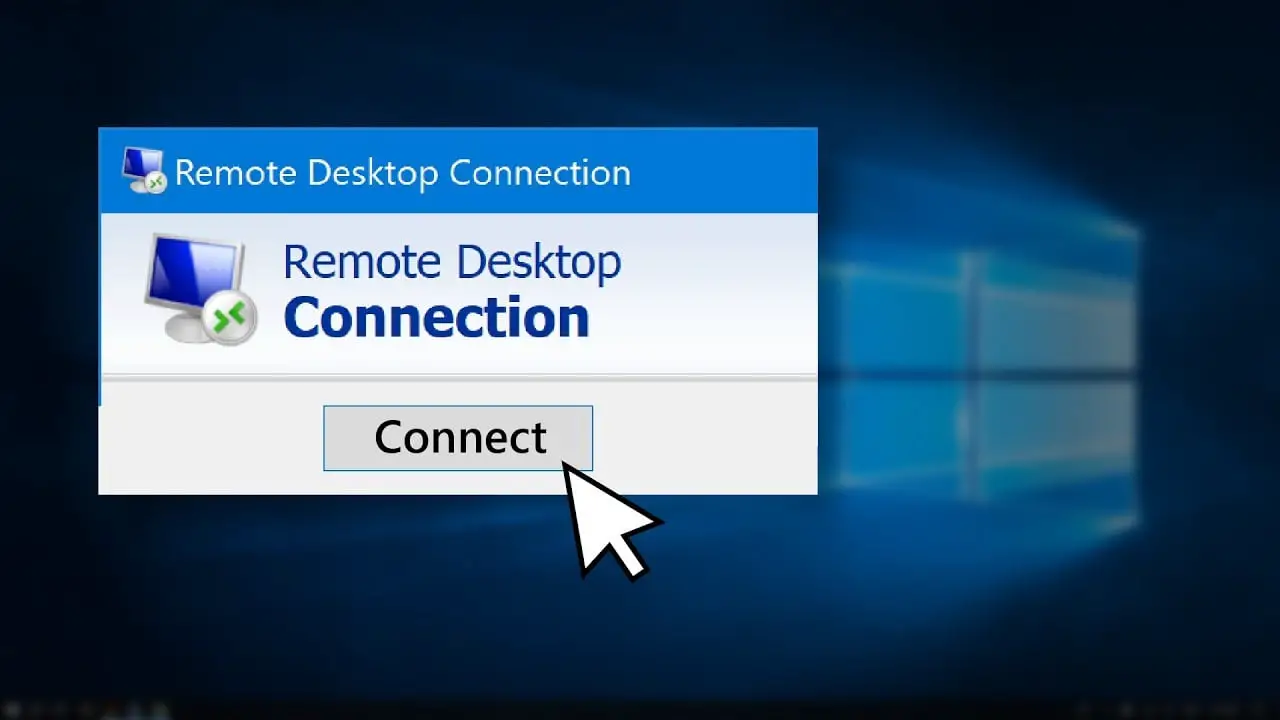
Once we have activated it, using Remote Desktop is not too hard. From the local computer, we can type “Remote Desktop Connection” in the search box in the taskbar, type the name of the PC we want to connect to, and select “Connect”.
On mobile devices, we must open the Remote Desktop application (available for free from the Microsoft Store, Google Play and, App Store) and then add the name of the computer we want to connect to. Select the name of the added remote computer and wait for the connection to complete.


