If you want to learn How to use the Google Translate widget to translate faster with shortcuts, you’ve come to the right place. When you use this app frequently for different types of translations and different language combinations, it is a bit cumbersome to open it and change its settings each time. But you can always use widgets.
Luckily, Google Translate has a customizable widget that you can use as a shortcut for a specific type of translation. This way, you can create a bunch of shortcuts for different types of translations.
How to use the Google Translate widget to translate faster with shortcuts?
Google Translate has a single widget on Android, although it is customizable so in practice, it acts as four widgets or shortcuts. Using the widget is exactly the same as for any other widget. You will need a launcher that supports widgets, which is standard and open the list of widgets available in the system. The process may vary between brands, but typically you will need to do a long tap on the home screen and then tap or pull down the widgets section. Find the Translate widget and, with a long tap, drag it to where you want to place it.
The difference between the Google widget and others is that dragging the widget to the home screen does not end the process. Instead, it opens the widget’s settings screen, where you can choose what you want this shortcut to link to.
Here you basically have to choose two things: the type of translation and the language pairs. The widget you create will be a shortcut to open the Google translate with these settings directly applied. The types of translations available are as follows:
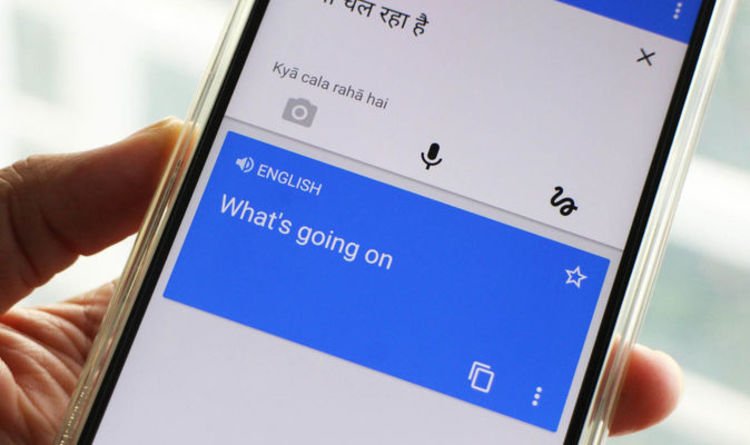
- Written translation, with a keyboard icon. Opens the app in the standard, written mode.
- Camera translation, with a camera icon. Opens the app directly in camera translation mode.

- Conversation, with the icon of two microphones. Opens the app in conversation translation mode.
- Written translation, with a pencil icon. Opens the app in handwritten translation mode.
Also, one of the main advantages of this widget is that you can choose both the source and target language, so you don’t need to change it every time you open Google Translate. When you are done, click Save and a widget will be created with the icon corresponding to the mode, and the chosen languages in its text.
These shortcuts will be very useful if you need several different types of translations on specific occasions. As you can see the process is really easy too. Why don’t you try it out now?


