In this tutorial we explain in a simple way how to make an animated GIF with Adobe Photoshop.
We love GIFs and we see hundreds and hundreds daily on social media and the Internet. In this tutorial you will learn how to make a GIF in a simple way with Photoshop. As you already know, GIFs are still images or animations that take up very little space and are perfect to use on Facebook, Twitter, Instagram or as banners on web pages.
- How to end all spam mails in Outlook?
- How to schedule tweets, without installing anything on Twitter?
- WiFi printer doesn’t work? Try these tips…
How to make an animated GIF with Adobe Photoshop?
As you can see, in a few simple steps that we will explain below, you will have a small animation ready.
Upload your images
The first thing you should do is load the images you are going to use in your GIF from your computer. To do this you must open Photoshop , click on the action menu in File> Scripts> Load files. This action will take you to a small panel where you must choose the images you want to load, select them and load them.
Timeline
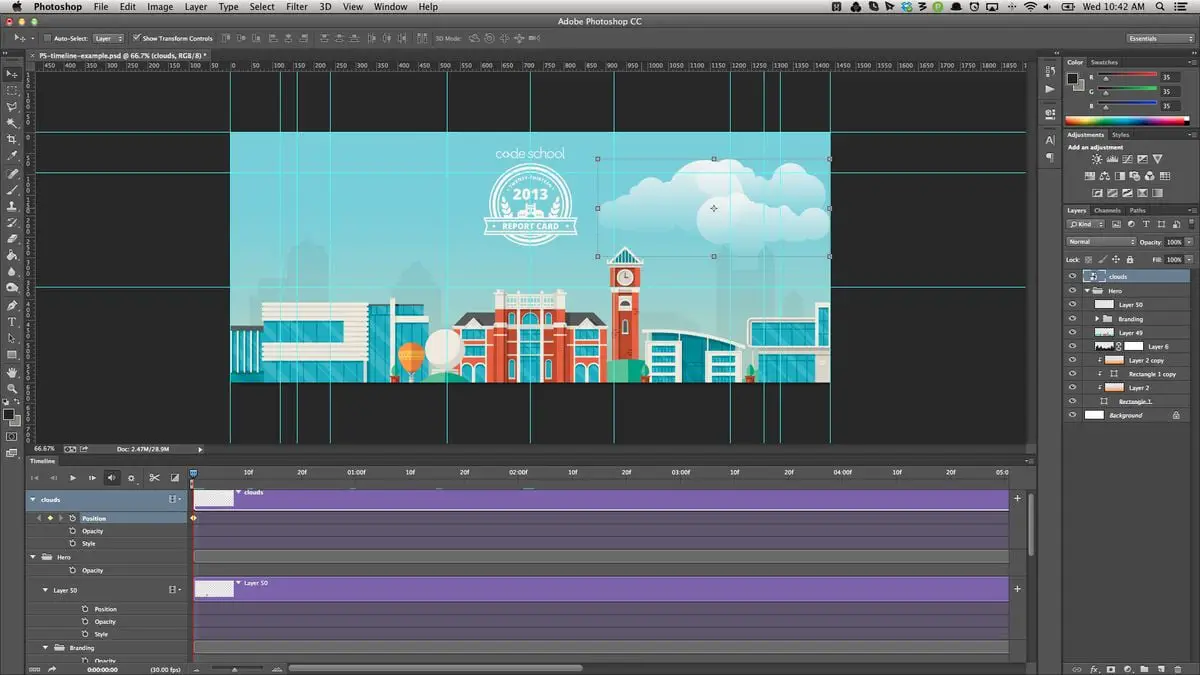
Once your images are loaded following the previous action, you will see that each image has been loaded in a different layer. Name each layer so you can work better and in order. Then the next step is to open the Timeline. To do this you just have to go to the top action menu and click on Window> Timeline. You will see that a small lower panel with own video actions will be immediately displayed in the left area of this new work panel.

Frame animation
The next step is to display a small tab that appears in the center of the Timeline panel. When clicking on the tab, two options appear: Create video timeline and Create frame animation. In our case, we must select Create frame animation and a frame will appear with our first layer on the left side of the Timeline.
Create boxes from layers
The next action that we must do is to add the following frames. We already have the first one, which was automatically generated when we click on the Create frame animation option explained in the previous step. In each frame or frame a different layer must go and for this we must click on a small drop-down menu that is located to the right of our timeline panel. Once deployed, we must click on the option Create frames from layers and, automatically, all the frames will be generated with the images we have housed in the different layers.
Set the duration for each frame
Once we have all the active frames at the bottom of the Timeline panel, we can determine how long we want them to appear. We can set a different time for each frame or give the same value to all. In this case, we will choose to set the same duration to all the frames so that we have a uniform sequence. For this we must select all the frames by clicking one by one and with the Shift key pressed for selection. Once all are selected, click on the bottom tab of any frame and a small menu will be displayed where we can choose the time: 0.1 seconds, 0.2 seconds, 0.5 seconds, etc.
And we wouldn’t be talking about a GIF if it didn’t loop. For this we will have to select a small drop-down that appears below the frames and select the Infinity option.
Once the duration time of each frame and the number of repetitions (in this case an infinite loop) have been determined, we can preview our animation by clicking on the Play icon that appears in the small lower control panel of the Timeline.
Export to GIF
Made the five previous steps, we only have to export our little animation. For this we click on the top menu File> Export> Save for Web . Then a new panel opens where we must select what type of file we want to create. We click on the dropdown that we find in the upper right area of this menu and choose GIF . Below we see the Save option, click, name our file, choose where to save it and we would have our animated GIF ready to use.
As you have seen, it is a very simple operation, which does not require a lot of time and gives a very interesting result. Especially if you want to use this type of animation with a logo and use it on social networks. It is simple but striking, much more than a still image. It is also very useful to make any type of advertising banner and insert it on a website. They are files that weigh little and are very easy to upload and download, which makes them very attractive.


