How to edit Medical ID on iPhone is a crucial skill to possess in today’s fast-paced world, where your health information needs to be dynamic and accurate. Your Medical ID serves as a digital lifeline, providing vital information in emergencies, but its effectiveness relies on regular updates. Just like maintaining your physical health, keeping your Medical ID current is essential to ensuring that responders and caregivers have the most accurate and actionable information at their fingertips.
Understanding how to edit Medical ID on your iPhone becomes a convenience and a critical aspect of responsible self-care.

How to edit Medical ID on iPhone
Editing your Medical ID on an iPhone is crucial to keeping your medical information updated and accurate. You have two methods to use to edit Medical ID on iPhone:
- Using the Health App
- Using the Settings App
Here’s a detailed guide for both ways to edit Medical ID on iPhone:
Using the Health App
- Launch the Health App: Locate and open the Health app on your iPhone. It’s typically a white app icon with a red heart.
- Access your profile: Tap on your profile picture or initials located in the top right corner of the screen. This will take you to your personal Health profile.
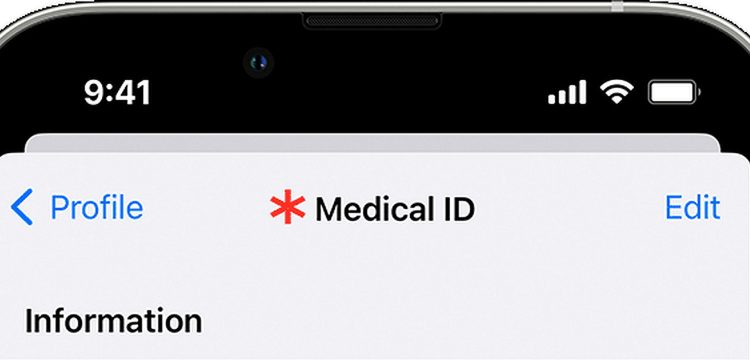
- Select Medical ID: Scroll down and locate the option labeled “Medical ID.” Tap on it to access your existing medical information.
- Edit medical information: Once inside the Medical ID section, you’ll find an “Edit” button in the top right corner. Tap on it to begin editing your medical details.
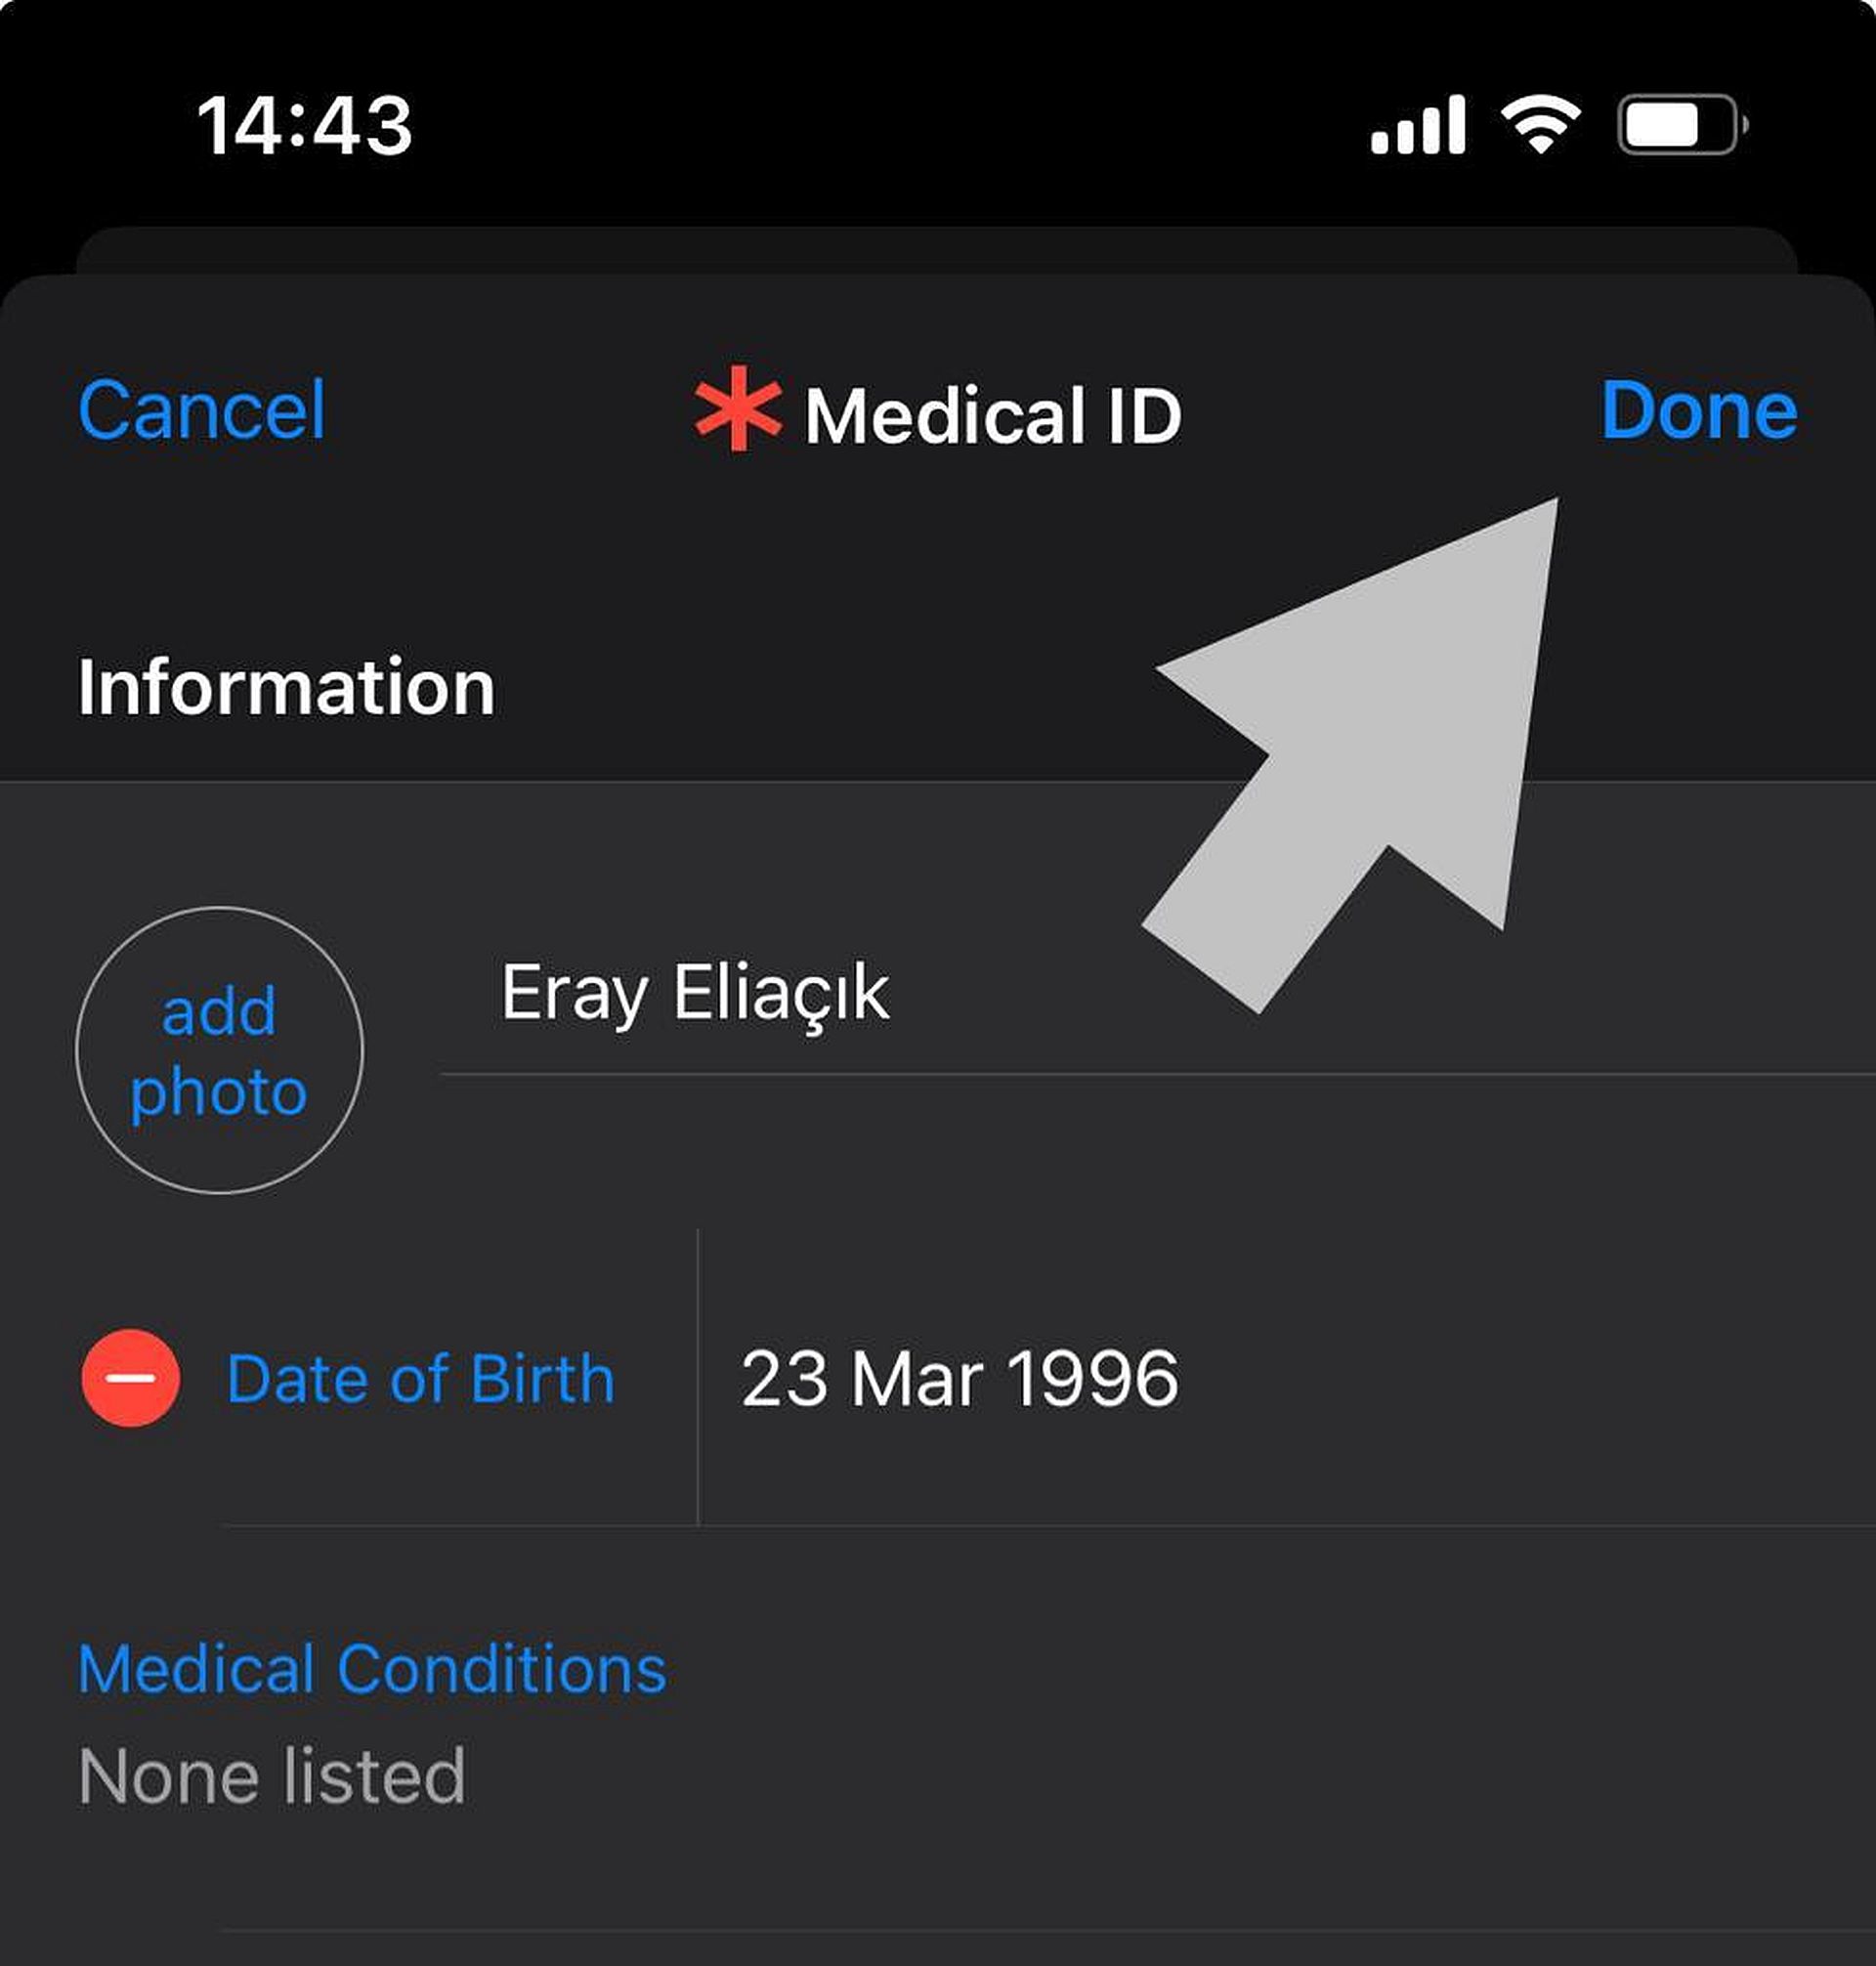
- Update medical information: You can now add, modify, or delete various medical details, such as your birthdate, medical conditions, allergies, medications, emergency contacts, blood type, organ donor status, and more.
- Save changes: After making the necessary updates, scroll to the bottom of the screen and tap “Done” to save your changes.

Using the Settings App
- Open settings: Navigate to your iPhone’s home screen and tap on the “Settings” app, which resembles a gear icon.
- Access health settings: Scroll down the Settings menu and select “Health.”
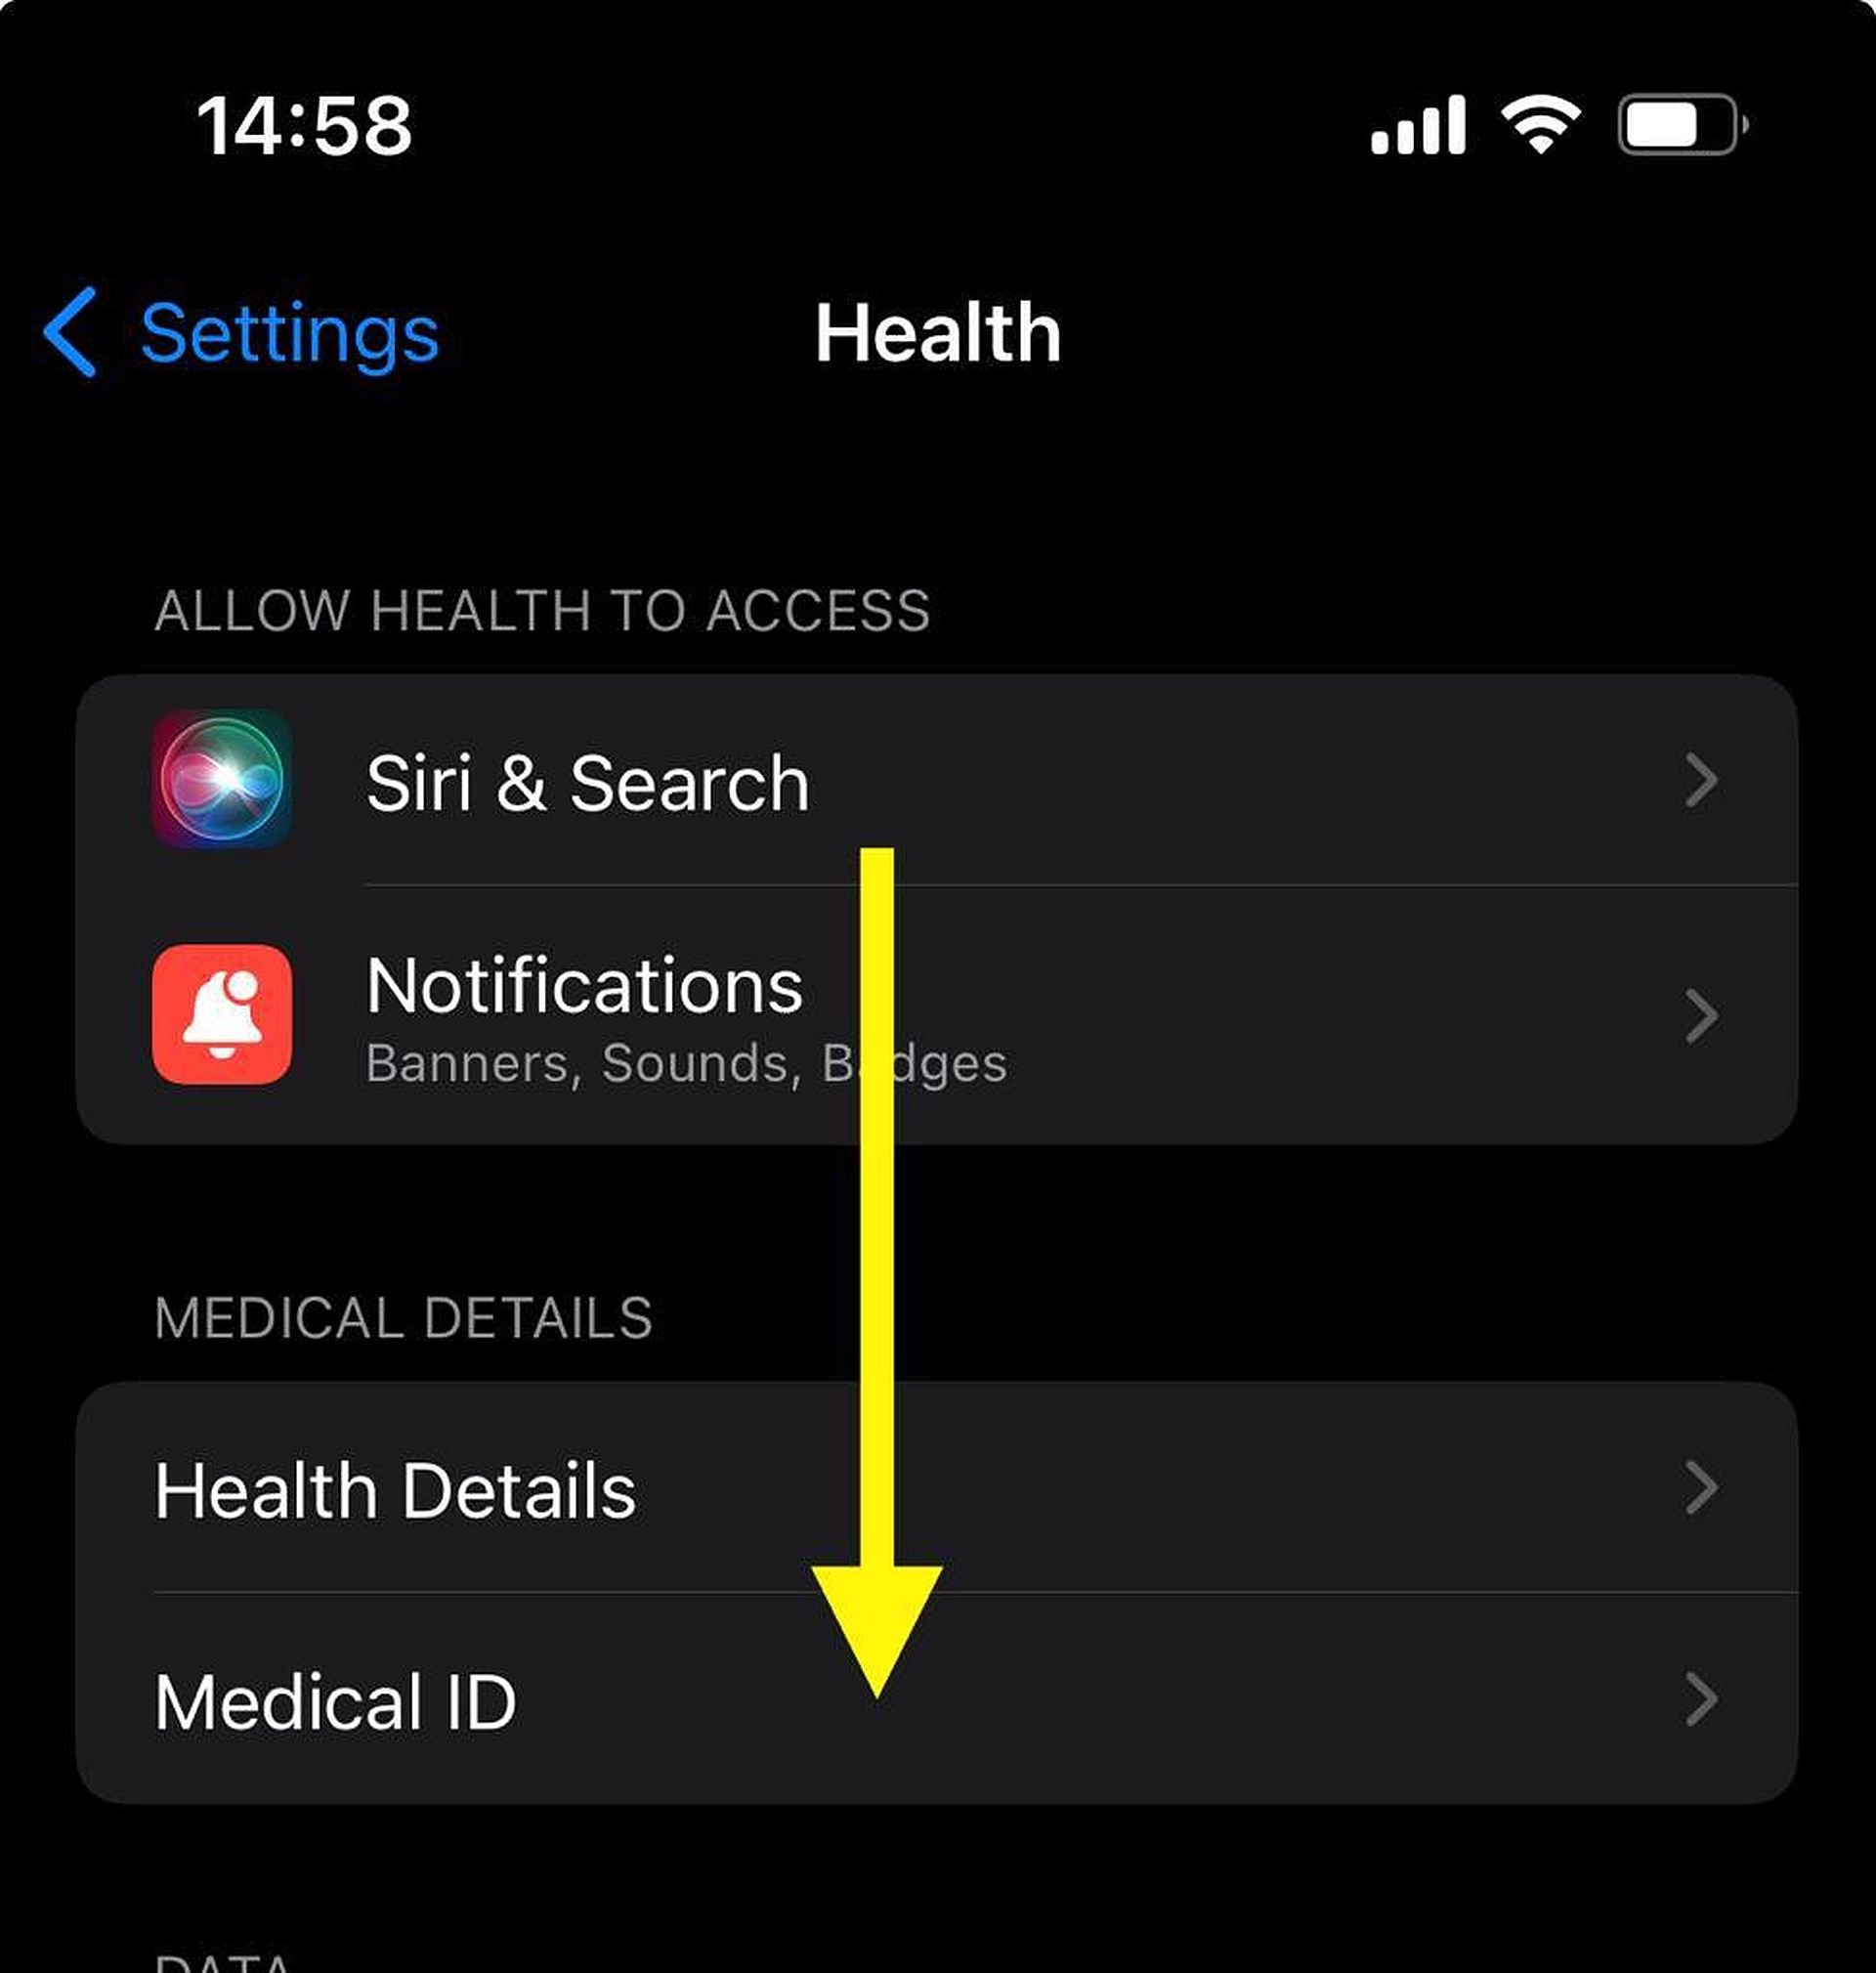
- Find Medical ID: Within the Health settings, locate and tap on “Medical ID” under the “Health Details” section.

- Edit medical information: Tap on “Edit” in the top right corner of the Medical ID screen to start editing your medical details.
- Modify information: Similar to using the Health app, you can now update and modify various medical information fields according to your current health status.
- Save changes: Once you’ve made the necessary edits, scroll down to the bottom of the screen and tap “Done” to save your changes.
Ensure that the information you input is accurate and up-to-date, especially critical details like allergies, medications, and emergency contacts.
While having pertinent medical information available is essential, consider the privacy implications. Share your Medical ID details judiciously.
Periodically review and update your Medical ID to reflect any changes in your health status or emergency contact information.
By following these steps, you can easily edit and maintain your Medical ID on your iPhone, ensuring that your vital medical information is readily available and accurate when needed.
Looking for more iPhone guides? Check out these too:
- How to check microphone usage on iPhone
- How to unlock the iPhone without sliding the screen
- How to remove the home screen search bar on iOS 16
- How to remove home screen search button in iOS 16
- How to transfer data from Android to iPhone without resetting
With these guides, you can elevate your iPhone experience!
Featured image credit: Apple


