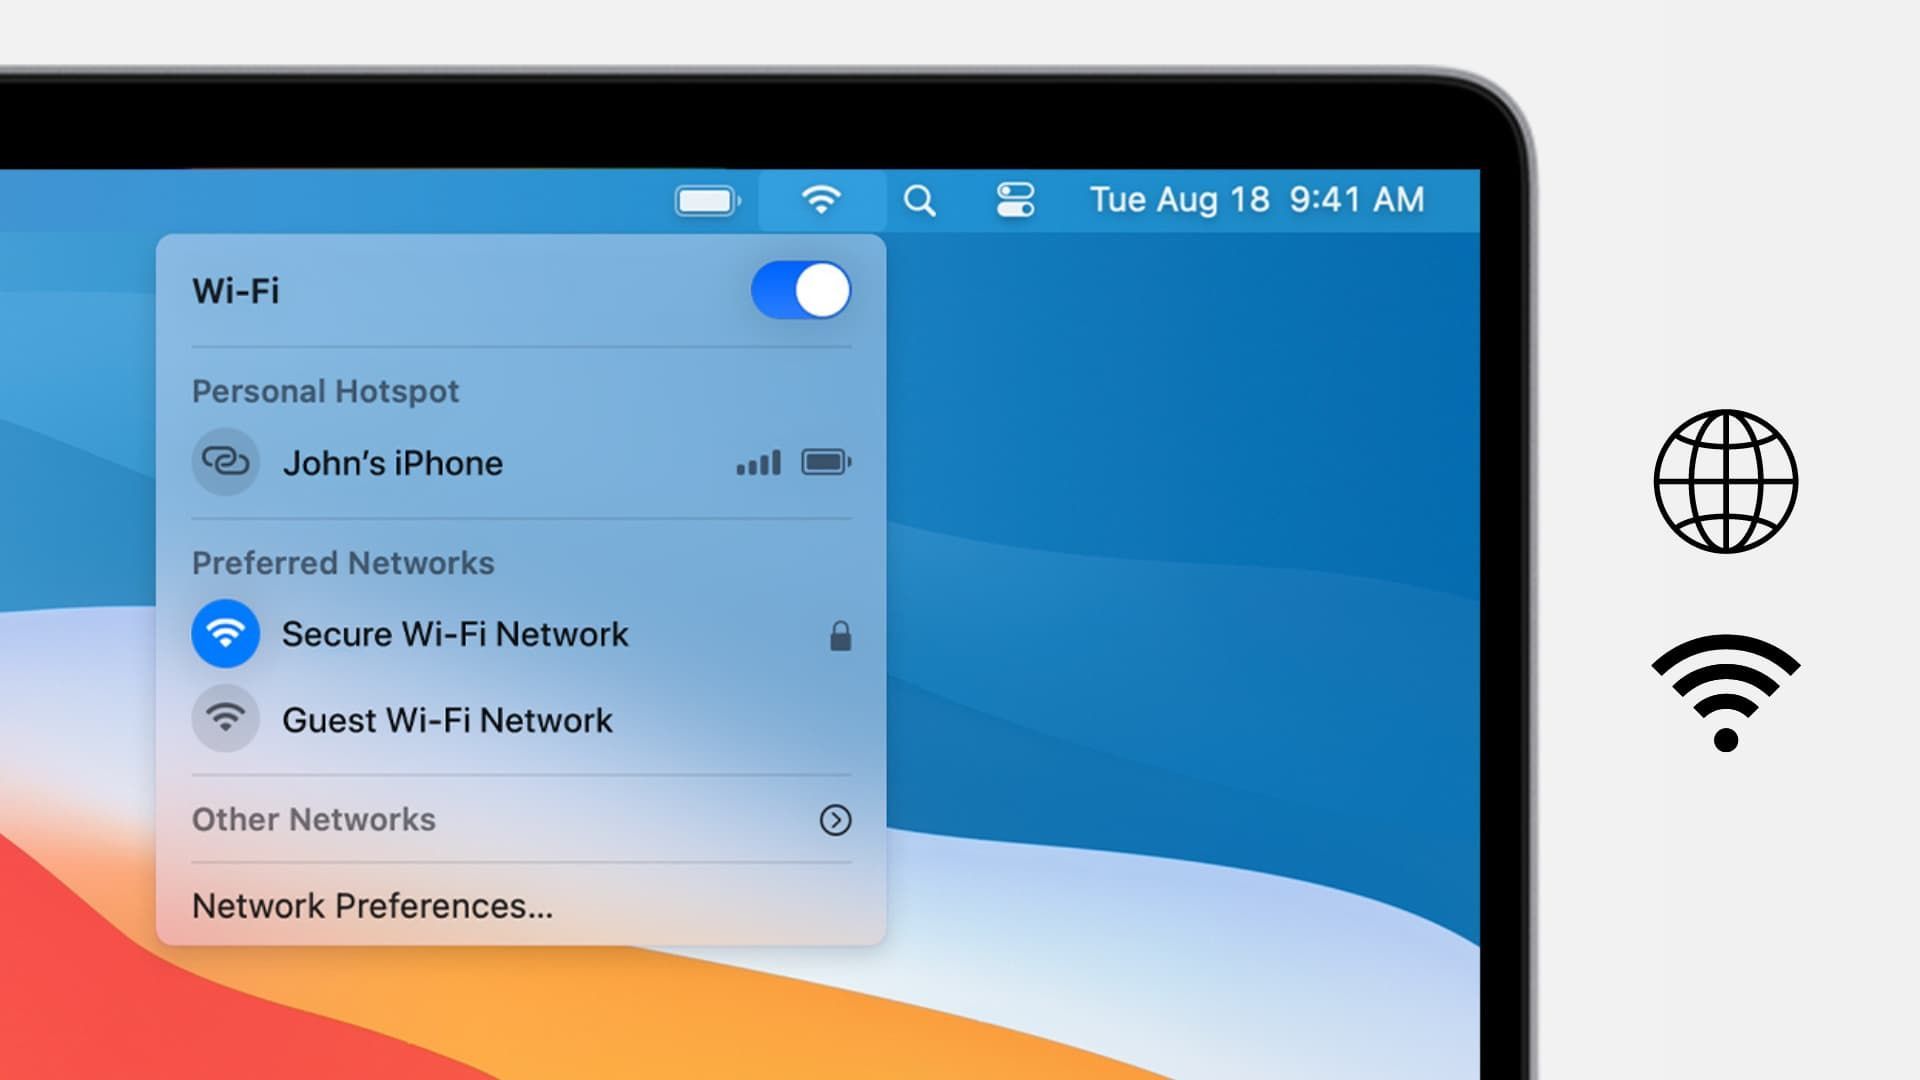
Having trouble with your Wi-Fi on macOS Sonoma and wondering why is macOS Sonoma WiFi not working? Well, you’re not alone. Despite the buzz around the release, many users are encountering similar Wi-Fi issues.
We rely on Wi-Fi for so much these days, from checking into hotels to working in a new office or just hanging out with friends. It’s our connection to the digital world. So when it acts up on macOS Sonoma, it’s a real inconvenience.

No need to worry though, because in this article, we are going to explain why is your macOS Sonoma WiFi not working and what are the steps you can take to fix it.
Why is macOS Sonoma WiFi not working?
The first thing to do in order to fix the macOS Sonoma WiFi not working issue is figure out the extent of the problem. Is it affecting just one app, your Mac, or all your connected devices? Is the Wi-Fi slow or not working at all?
Understanding the nature of the issue is the first step toward finding a solution, and here’s how you can determine:
- Restart the application: Start with the simplest fix: Give the affected application a restart. For web browsers, you might also want to consider clearing the cache from the privacy and security settings if needed.
- Reboot your Mac: If the problem persists beyond a single application or a restart doesn’t do the trick, it’s time to reboot your Mac. This action clears out temporary files and can address potential boot disk issues, especially on Apple silicon Macs.
- Check other devices: Next, determine if the Wi-Fi issue is isolated to your Mac or if it’s affecting other devices on the same network. If multiple devices are experiencing the problem, shift your focus to the Wi-Fi router and broadband connection.

How to fix the macOS Sonoma WiFi not working issue?
Let’s tackle macOS Sonoma Wi-Fi problems head-on. Once you’ve pinpointed the issue, it’s time to zero in on solutions tailored to your Mac. Here are some steps you can take to address the Wi-Fi not working on macOS Sonoma problem:
- Restart your router
- Flush the DNS cache
- Change DNS server
- Renew DHCP lease
- Delete and reconnect to Wi-Fi network
- Turn off the firewall
- Clear out old Wi-Fi networks
- Run wireless diagnostics
Now, let’s check out how you can apply these fixes step-by-step.
How to restart your router
Restarting your router is a straightforward process:
- Disconnect your router from the power source.
- Wait for at least 30 seconds.
- Reconnect the router to the power source.
- Allow your router to restart, which might take a few minutes.

Once it’s up and running, attempt to reconnect to it and check if this resolves the macOS Sonoma WiFi not working issue.
How to flush the DNS cache
Here’s how you can flush the DNS cache on macOS Sonoma:
- Launch a Terminal window.
- Enter the command:
sudo dscacheutil -flushcache. - Hit Enter and provide your password if prompted.
This action will clear your DNS cache, potentially resolving network problems on your macOS Sonoma.
How to change the DNS server
hanging the DNS server in macOS Sonoma is a straightforward process:
- Click on the Apple menu and select System Preferences.
- Go to Network.
- Choose your Wi-Fi network from the list of connections.
- Click on the Advanced button.
- Navigate to the DNS tab.
- Click the + button and input the IP addresses of your preferred DNS servers. Here are some options you can consider:
- Google Public DNS (8.8.8.8, 8.8.4.4)
- Cloudflare DNS (1.1.1.1, 1.0.0.1)
- Quad9 (9.9.9.9, 149.112.112.112)
- OpenDNS (208.67.222.222, 208.67.220.220)
- CleanBrowsing (185.228.168.9, 185.228.169.9)
- Click OK to save your changes.
This will establish a connection to the internet via your new DNS server. If the DNS was the culprit behind your macOS Sonoma Wi-Fi issue, this change might just be the fix you need.
How to renew the DHCP lease
Here’s how to renew the DHCP lease in macOS Sonoma:
- Launch a Terminal window.
- Enter the command:
sudo ipconfig renew. - Press Enter and provide your password when prompted.
This action will renew your DHCP lease. Test your connection by visiting a website to see if your internet is back up and running on macOS Sonoma.
How to delete and reconnect to a Wi-Fi network
To delete and reconnect to a Wi-Fi network in macOS Sonoma, follow these steps:
- Click on the Apple menu and choose System Preferences.
- Navigate to Network.
- Select your Wi-Fi network from the list of connections.
- Click the ‘-‘ button to remove the network.
- Click the ‘+’ button and choose Wi-Fi from the list of connection types.
- Enter the name of your Wi-Fi network and the password when prompted.
- Click Create.

After completing these steps, try opening a website to confirm if the issue is resolved. If not, proceed to the next troubleshooting step.
How to turn off the firewall
Here’s how you can disable the firewall in macOS Sonoma:
- Click on the Apple menu and go to System Preferences.
- Select Security & Privacy.
- Go to the Firewall tab.
- Click on the lock icon in the bottom corner of the window and enter your password when prompted.
- Uncheck the box next to “Turn on firewall”.
Click the lock icon again to save your changes. Check if this resolves the Wi-Fi issue on macOS Sonoma.
How to clear out old Wi-Fi networks
To remove old Wi-Fi networks in macOS Sonoma, follow these steps:
- Open a Terminal window.
- Type the following command:
sudo rm /Library/Preferences/SystemConfiguration/NetworkInterfaces.plist. - Press Enter and enter your password if prompted.
This action will clear out the old Wi-Fi networks from your system.

Addressing Wi-Fi issues on macOS Sonoma can significantly enhance the overall user experience. By following the outlined steps, including router restarts, DNS cache flushes, and network reconfigurations, you can effectively troubleshoot and resolve connectivity problems.
And once you do so, make sure to check out our article on how to use the macOS Sonoma Game Mode to enjoy the new release even better.
Featured image credit: Apple


