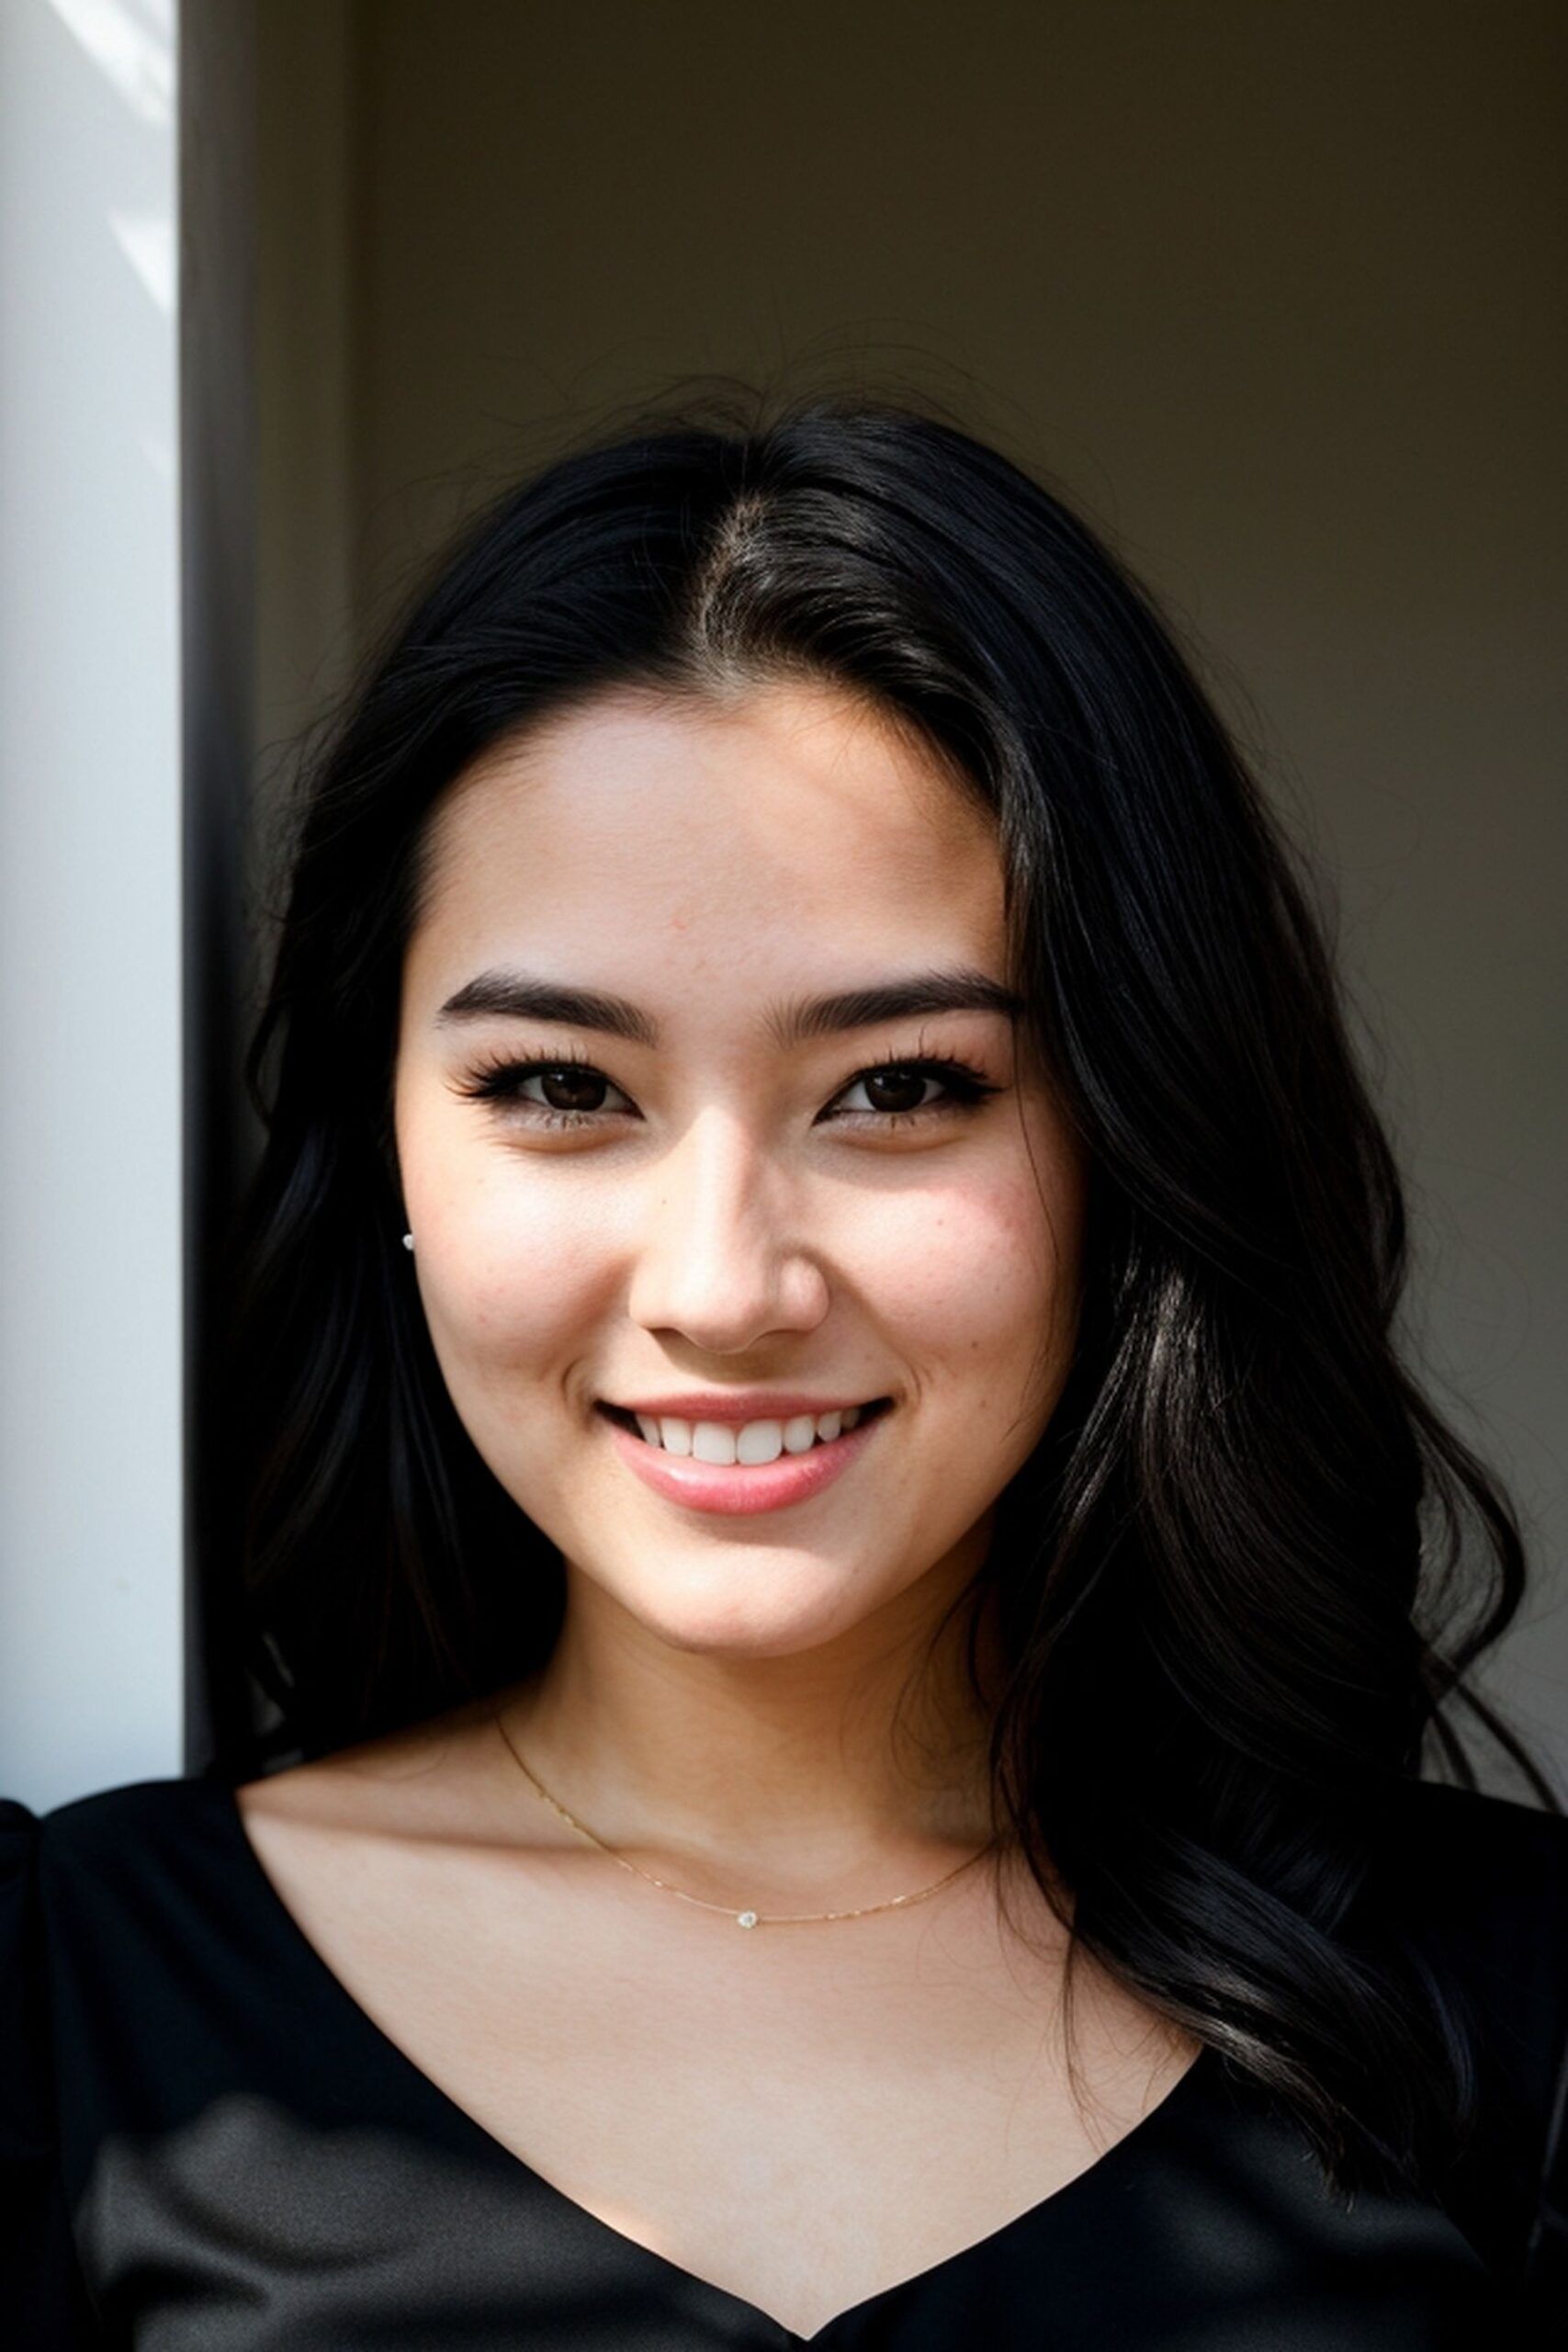
Stable diffusion models are a type of generative model that can be used to create realistic images, text, and even music. They work by starting with a random noise image or text and then gradually adding detail to it, guided by a diffusion process. This process ensures that the model does not create unrealistic or unstable images.
Stable Diffusion models work by first creating a random noise image. Then, they use a diffusion process to gradually refine the image, taking into account the text description.
The diffusion process starts with a high-level description of the image, such as “a cat sitting on a couch”. As the process continues, the description becomes more detailed, such as “a tabby cat sitting on a blue couch in front of a fireplace”.
What are the best Stable Diffusion models?
Stable Diffusion models have been shown to be able to generate high-quality images of a variety of objects and scenes. They have also been used to create images that are indistinguishable from real photographs.
Selecting the best Stable Diffusion models actually depends on your needs. Each Stable Diffusion model is specialized for a unique generation style and it all depends on your visual to be generated.
Waifu Diffusion
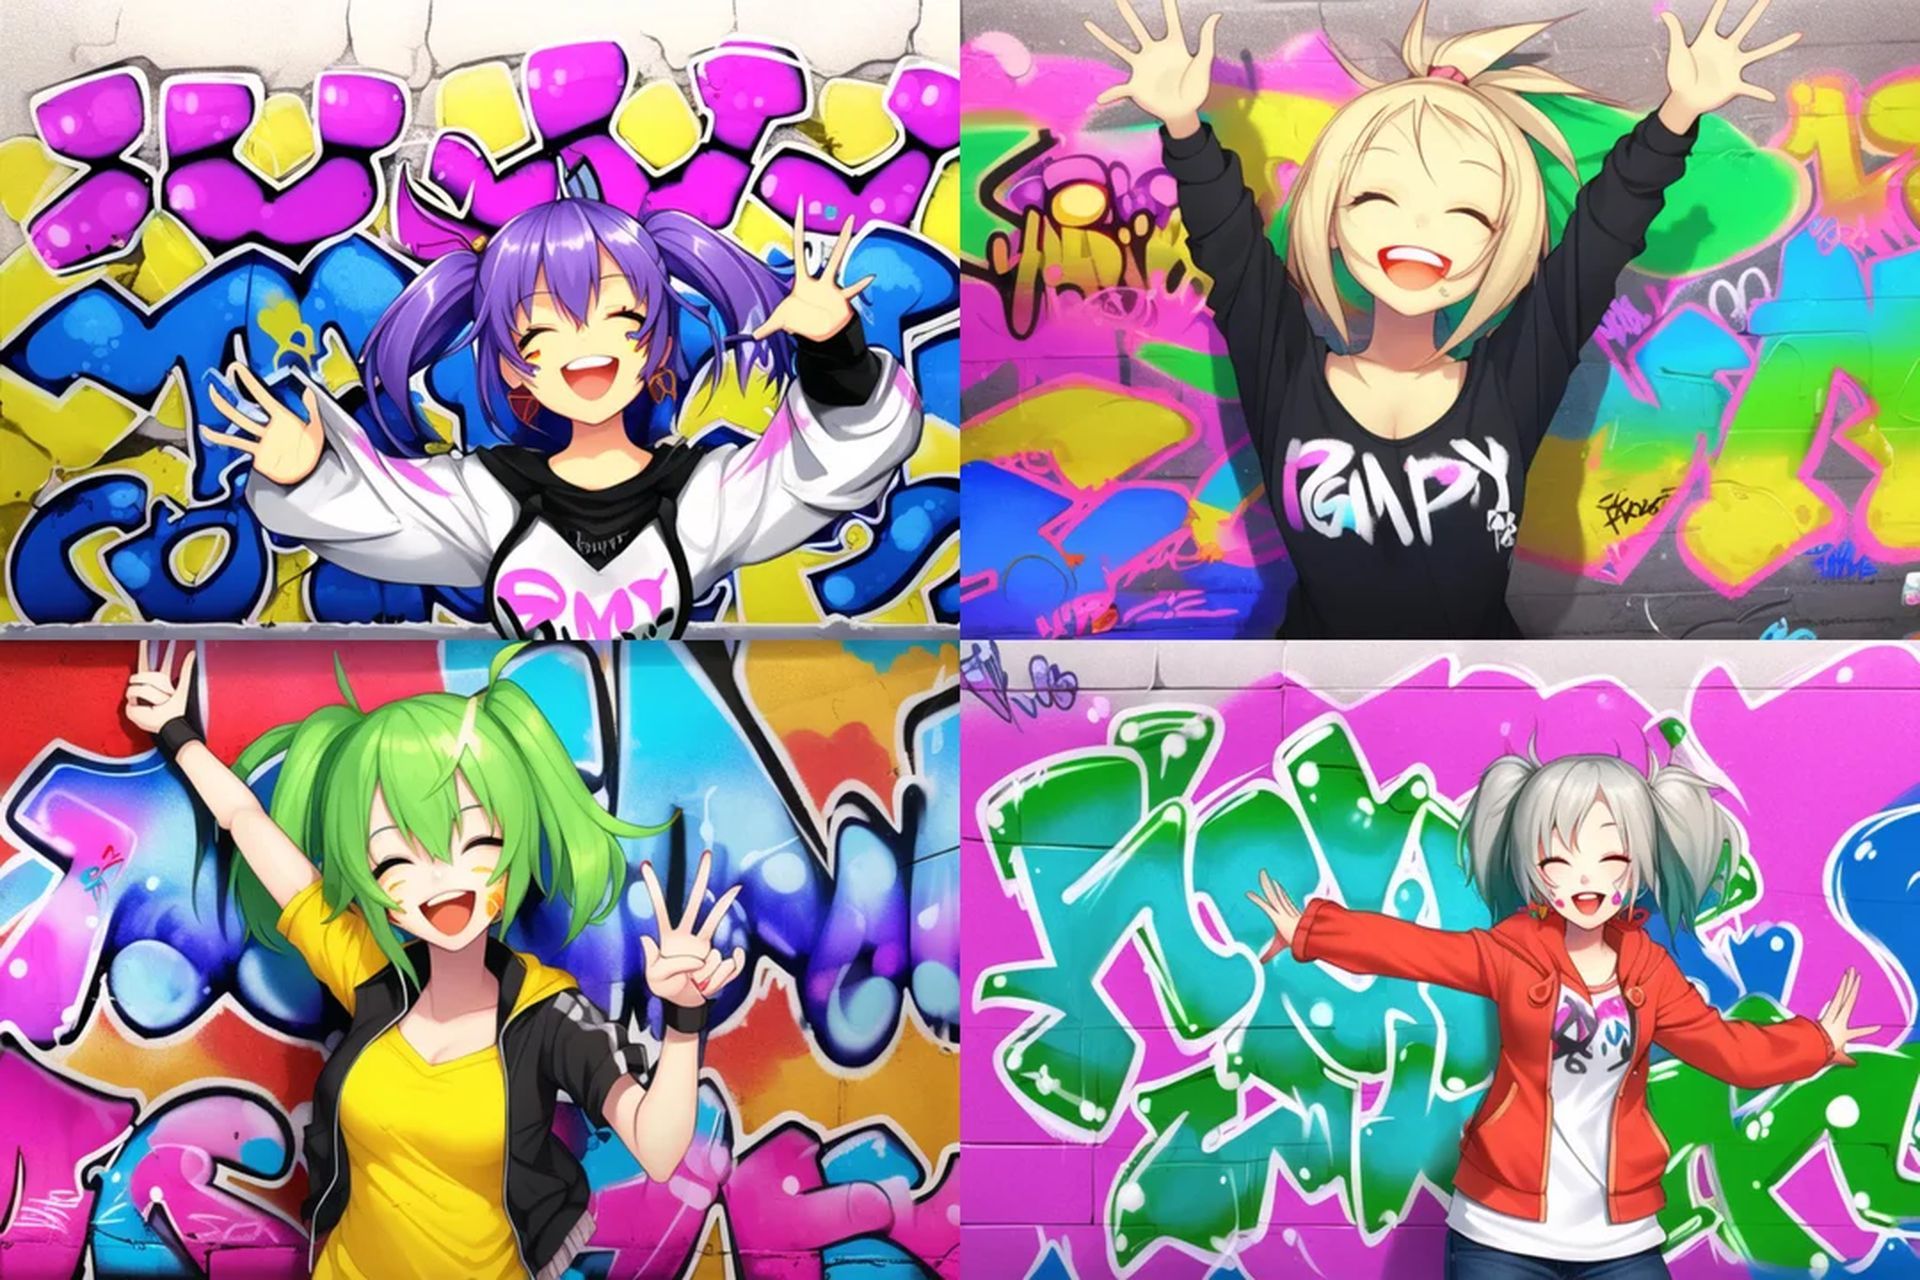
Since its release, Waifu Diffusion has become a well-known adaptation of the anime Stable Diffusion. By continuing training the model on a smaller dataset that piques your interest, you can fine-tune one that has been trained on a huge dataset. Waifu Diffusion v1.4, the most recent version, is an upgrade from Stable Diffusion v2 and makes use of 5,468,025 text-image samples from the well-known anime imageboard Danbooru.

Realistic vision
Realism is one of the most challenging aspects in teaching machines to create images. It is difficult for computers to create genuinely lifelike images due to our capacity to detect even the smallest imperfections and subtleties. However, the results provided by the trained model of Realistic Vision are outstanding.
The “white backdrop” was the only area of difficulty for the model, who was able to produce a realistic image of a woman that came remarkably close to matching our challenge. On the other hand, the view is breathtaking and captures the beauty of the setting well. The final graphic demonstrates Realistic Vision’s attention to minute details in digital art.

DreamShaper
DreamShaper is more akin to illustration because of its wonderful digital art style. This model did a fantastic job on the portrait assignment, creating a gorgeous piece that perfectly captures the personality and aesthetic qualities of the person being portrayed. Over the countryside, DreamShaper was able to create beautiful, vibrant artwork with intriguing details. The image has a variety of geometric shapes that give it depth and dimension, along with eye-catching colors.
This model is what you need if you want your Stable Diffusion models to be able to produce graphics. Additionally, you can change a few settings to make the finished products look like digital artwork.

Anything model
The Anything model was developed primarily to reproduce anime-style scenes.This is particularly evident in the case of our portrait challenge, which gave rise to a young protagonist with a variety of subtle design choices. Anything, despite its comical aspect, created a wonderful setting with soft tones. The example also illustrated Anything’s ability to create intricate structures and components.
Any subject can serve as the basis for anime-style artwork. We strongly advise trying out VAE in order to get the most out of this fantastic Stable Diffusion model.

How to install Stable Diffusion models
To use stable diffusion models, you first need to acquire the necessary tools, or the Automatic111 SD web UI to be precise. To install Automatic111, you will need:
Once you have these, you can follow these steps to install Automatic111:
- Clone the Automatic111 repository
- Open a terminal window and navigate to the directory where you want to install Automatic111. Then, run the following command: git clone https://github.com/AUTOMATIC111/web-ui.git
- Run Automatic111. In the terminal window, navigate to the directory where you cloned the Automatic111 repository
- Then, run the following command: python webui.py
This will start the Automatic111 web interface. You can use the web interface to create images and text with the stable diffusion model.
Once you have done that all you have to do is to visit Civit.AI and download a model you liked and heading over to the ”Models” folder inside the Stable Diffusion’s installation directory and paste the model to there.
To use the model you have to open the Automatic111’s SD web UI and select the model from the top-left corner. Remember, every model is good at generating a unique style so trying out different Stable Diffusion models for unique generations is the key to success in creating stunning visuals using Stable Diffusion.
Once you have chosen a model from our list of the best Stable Diffusion models, make sure to learn how to use ControlNet Stable Diffusion to generate better images.
Featured image credit: chandlervid85/Freepik.


