Roblox has always been a playground for creativity and self-expression, and now it’s making its users wonder how to use Roblox Face Tracking feature.
From customizing avatars to building virtual worlds, the platform caters to millions of gamers worldwide. However, as you know, an exciting new feature has taken character customization to a whole new level – animated heads! Now, you can breathe life into your Roblox avatars by incorporating your very own face. Let’s dive into this comprehensive guide to get you started on figuring out how to use Roblox Face Tracking.
How to use Roblox Face Tracking feature to animate your head?
Animated heads have revolutionized the way players connect with their virtual personas. These dynamic faces imbue your in-game character with personality, charisma, and individuality. Whether you’re navigating a mysterious virtual realm, embroiled in epic battles, or participating in friendly competitions, animated heads ensure your avatar stands out from the crowd, making your gaming experiences even more immersive.
Avatar chat using your camera is now live on #Roblox. When enabled, Roblox will track your facial animations and expressions in real-time and mimic them on your avatar. Check it out! 👇 pic.twitter.com/zQ4qDai9gb
— Bloxy News (@Bloxy_News) July 31, 2023
While the assortment of preset animated heads has been enjoyable, Roblox has stepped up its game by introducing a groundbreaking feature that allows you to capture your face using a camera and animate your avatar’s expressions. Let’s explore how you can easily embark on this exciting venture.

Step-by-step guide on how to use Roblox Face Tracking for Animated Heads:
Find a well-lit room where your face is clearly visible. Position yourself close enough to the camera, ensuring your face is at the center of the recording frame. This optimal setup enables your camera to distinguish you from the surroundings, providing accurate puppeteering for your avatar and ensuring top-notch animations.
To begin the process of recording and creating an animation, follow these simple steps:
- Open the Animation Editor:
- Navigate to the Avatar tab in the menu bar.
- Click on the Animation Editor in the Animations section. This action will bring up the Animation Editor window, featuring media and playback controls, a timeline, and a track list.

- Select the rig and name the animation:
- In the Explorer window, choose the rig that you want your video to animate. A dialog box will appear.
- Enter a new animation name in the designated field, and then click the Create button. The Animation Editor window will now display your selected rig and other essential controls.
- Activate the face recorder:
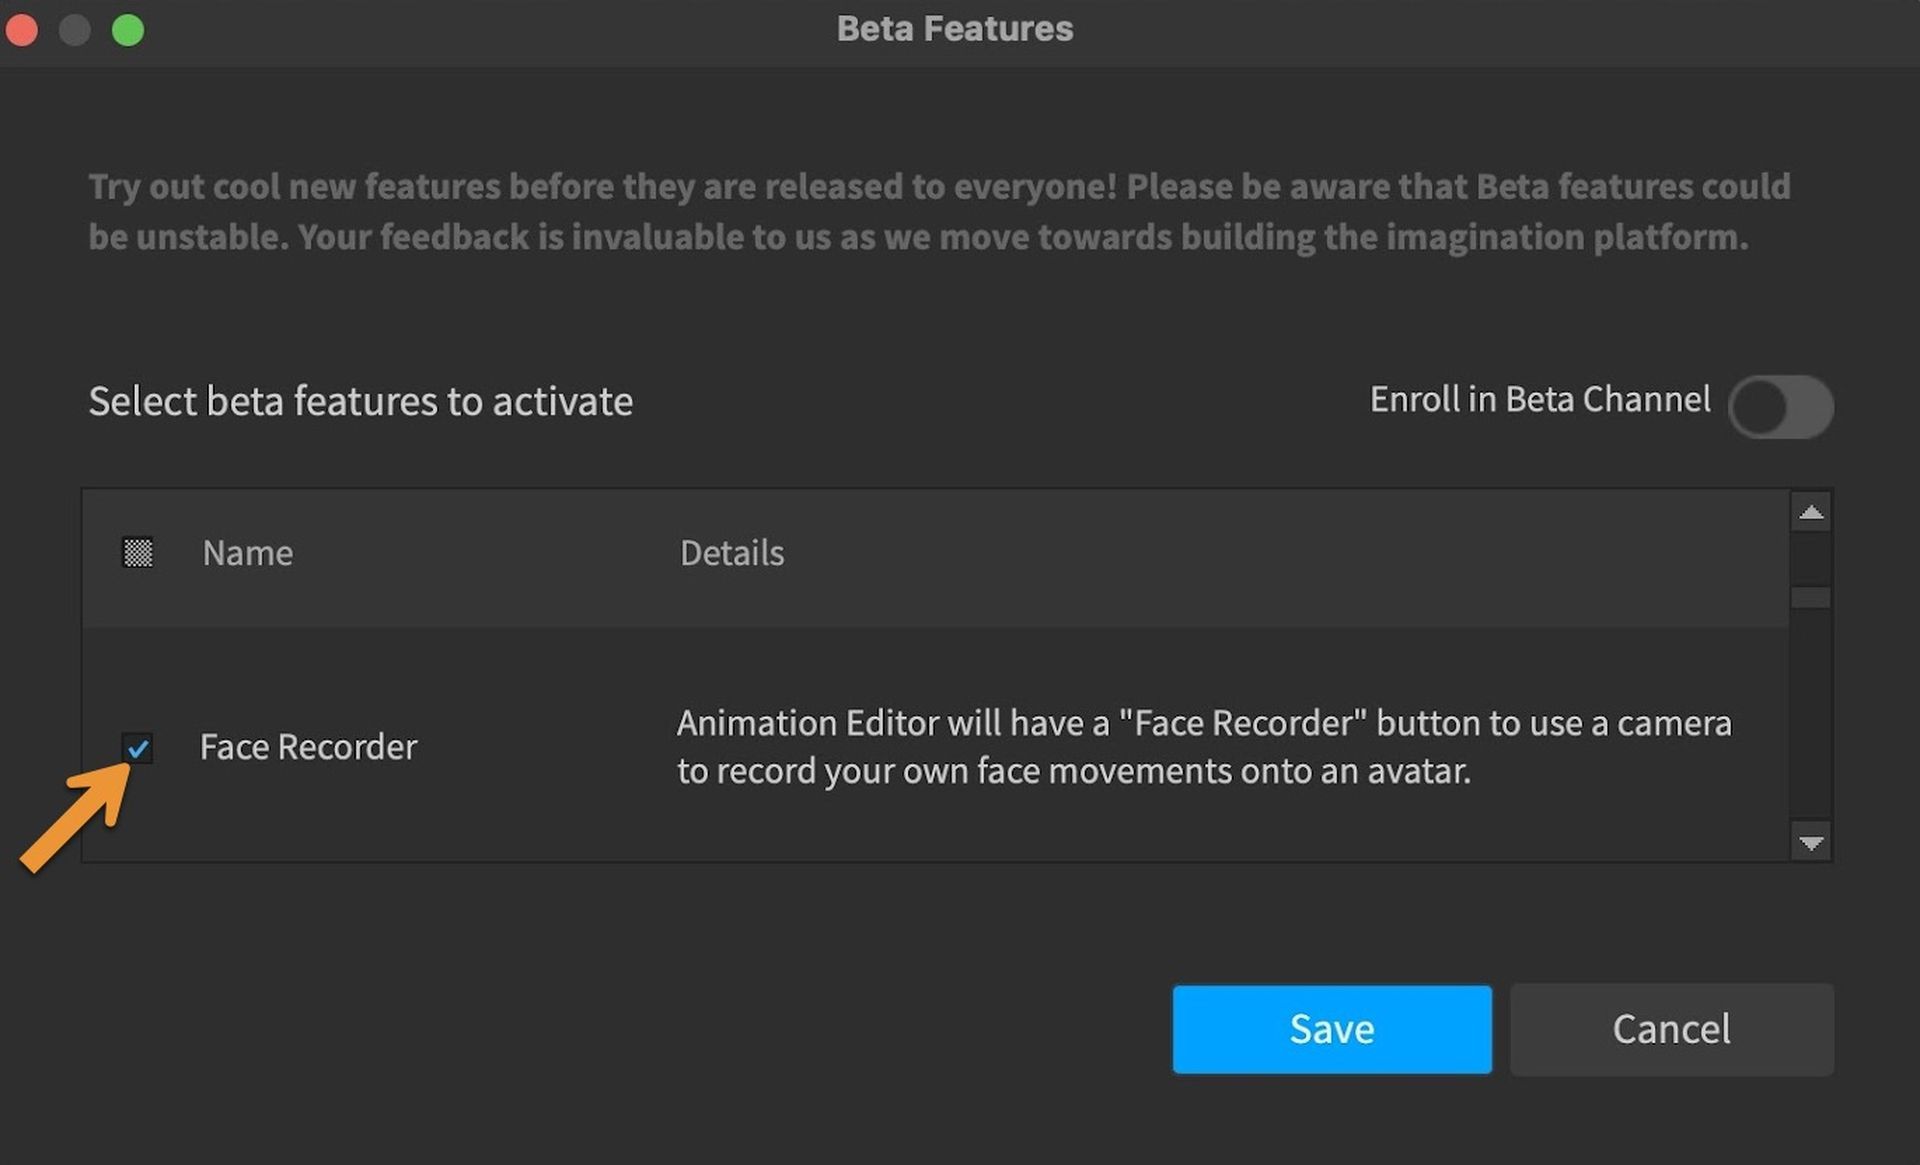
- Locate the track list in the Animation Editor and click on the Face Recorder button. A pop-up will appear, asking you to consent to the collection of your facial movements and granting camera access to enable this feature.

- Choose the camera (Optional):
- If you have multiple cameras, you can select the one you prefer for recording.
- Click on the three dots (…) button to open the Select a camera dialog.
- Choose the desired camera from the dropdown list.
- Confirm your selection by clicking the Confirm button.

- Start recording:
- Begin recording your facial movements by clicking the red circle button. Your camera will capture your expressions during this session.
- Finish Recording and Add Keyframes:
- Once you’re satisfied with your recording, click either the red square or the countdown timer to stop recording. Keyframes that correspond to your facial movements will now be visible within the timeline.
- Re-record (Optional):
- Should you wish to redo the recording, click the Re-Record button to start over.
- Fine-tune and save:
- After completing your recording, you have the opportunity to fine-tune the keyframes for precision.
- Save your animation to preserve your hard work.
- Export your creation:
- Now, you can export your animation to use across all your Roblox experiences, adding that extra touch of personalization to your virtual adventures.
By following these simple instructions, you’ll be well on your way to unleashing your creative potential and making your avatar truly unique through facial animation in Roblox. Embrace this exciting feature and let your imagination run wild!
Figuring out how to use Roblox Face Tracking for animated heads in Roblox is an enchanting experience that allows you to personalize your virtual identity like never before. With this innovative feature, you can breathe life into your avatars, making them an extension of yourself in the virtual universe. So, what are you waiting for? Dive into the world of animated heads and unleash the magic of self-expression in Roblox!
Meanwhile, if you are a dedicated Roblox fan, make sure to check out how to vote in Roblox Innovation Awards 2023 and make your voice heard!
Featured image credit: Roblox


