In the exciting world of Pokemon GO, Trainers can embark on thrilling adventures by following predefined paths called Pokemon GO Routes. These Routes are created by various entities, including Niantic, official partners, and fellow Trainers.
As you follow a Route, you’ll encounter Pokemon, discover valuable items, and receive special rewards, along with a unique Route Badge featuring a custom photo from the start or end point of your journey.
If you are ambitious in the game, you can also check out our other guides on Pokemon GO, such as how to beat Leader Cliff in Pokemon Go.
How to start exploring Pokemon GO Routes?
To begin your Route exploration, tap on the Binoculars menu and select the Route tab. You’ll see a list of nearby locations that act as starting points for various Routes. Tap “See Nearby Routes” to view available Routes on the map. You can sort the list by distance, with the closest Pokemon GO Routes displayed first.
Getting route details
Each Route provides important information, such as the number of Trainers who have followed it, the distance, the estimated completion time, and any additional notes provided by the creator. You can also find details like Route Tags, elevation changes, and the identity of the original creator.

Starting your adventure
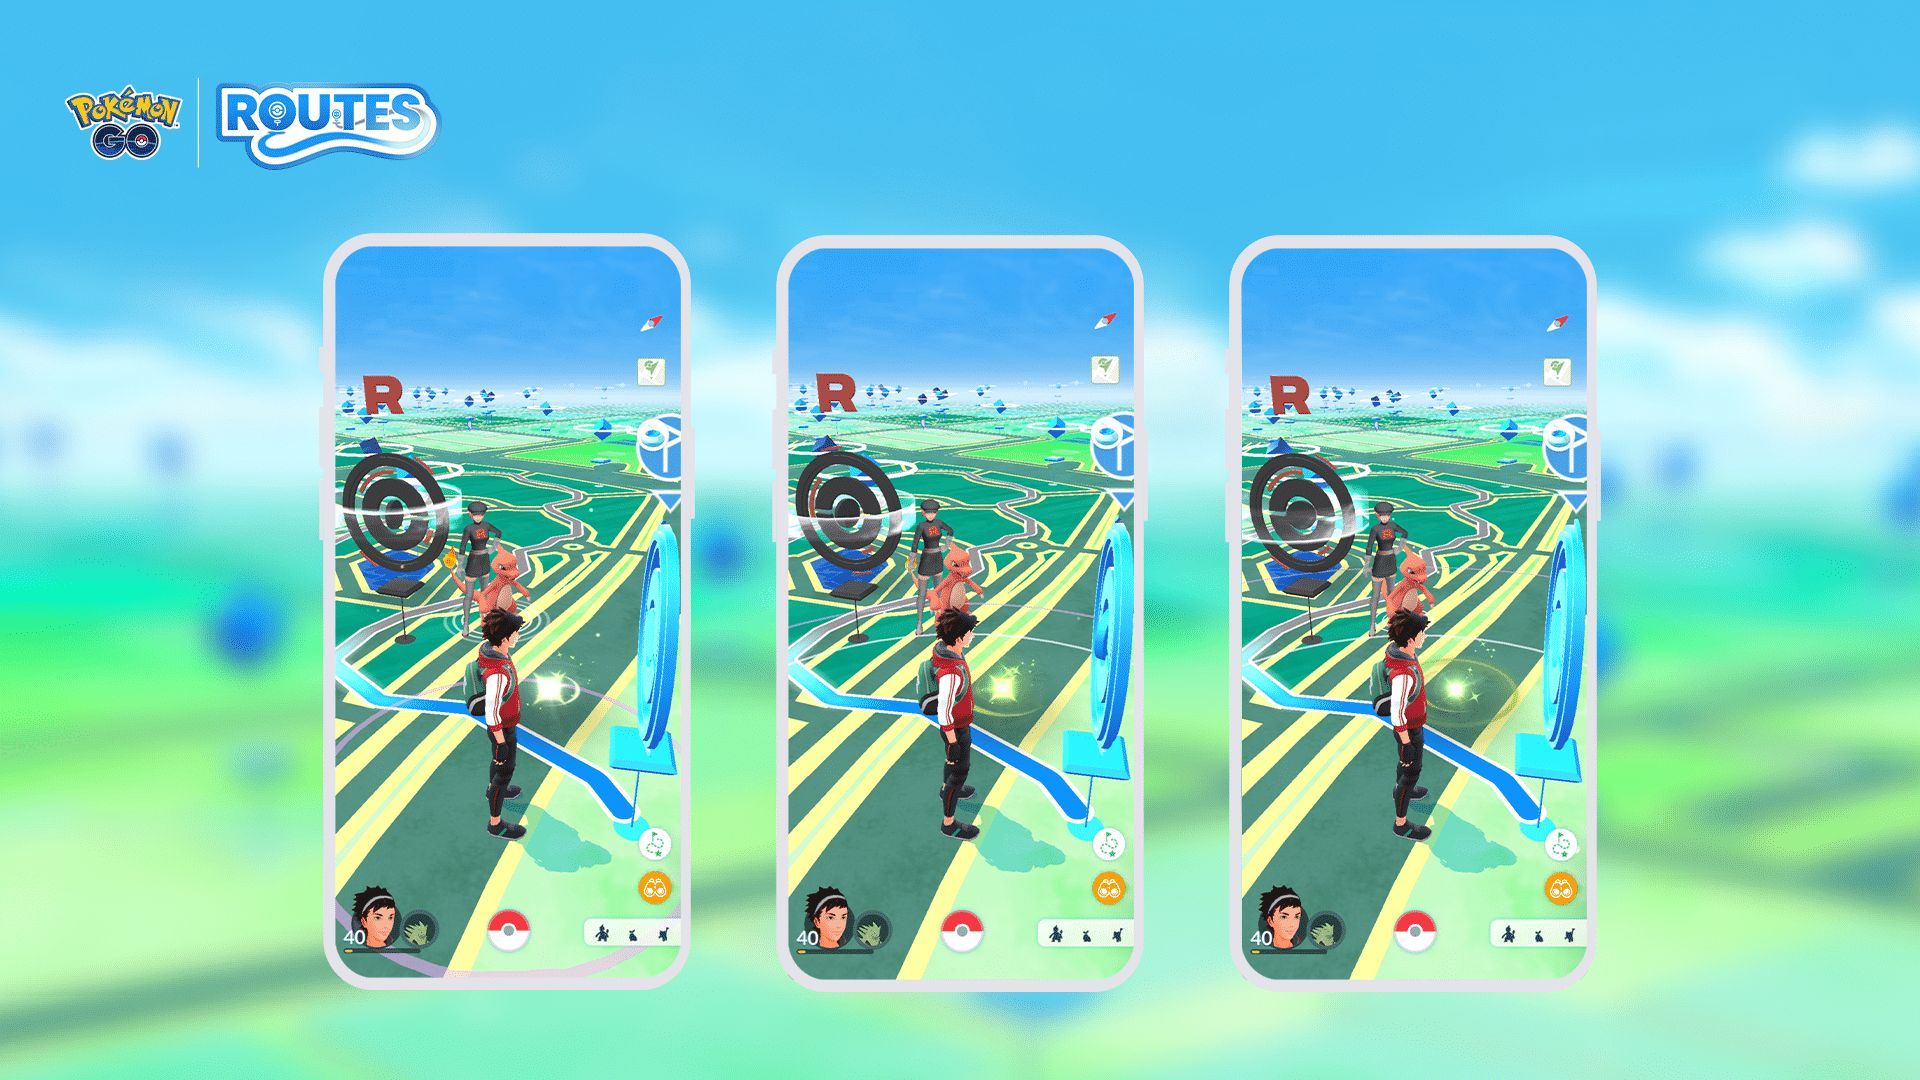
Once you find a Route that interests you, tap the “Follow” button to begin. The Route will activate when you approach the designated start point. If you’re too far away, a message will notify you. When you’re in range, a blue flag above the Poké Stop marks the start point, and the Route will automatically begin. For Pokemon GO Routes you’re already close to, the journey starts right away.
How to follow a Route in Pokemon GO?
As you progress along the Route, the color on the Map View will change to indicate your completion status. Some Pokemon GO Routes are designed as one-way journeys, while others form loops or allow reverse following, depending on the creator’s preferences. You can always review your active Route’s details by tapping the Route icon above the Binoculars menu.

How to make Routes in Pokemon GO?
You might already have a potential Route in mind and looking for a way to make it happen in the game. Well, you can follow the instructions below to make your own Pokemon GO Route.
- Select the starting and ending points:
- Choose the locations that will serve as the start and end points of your Route.
- Walk the Route:
- Follow the path from the start point to the end point on foot, exploring the areas in between.
- Name and describe the route:
- Give your Route a unique name and provide a description that adheres to appropriate content guidelines. Routes cannot have inappropriate descriptions or purposes.
- Set the Route distance:
- Ensure that your Route’s distance falls within the range of 0.5km to 20km.
- Safety and access considerations:
- Ensure the Route is in a safe area, free from potential hazards.
- Make sure the Route path does not cross into private property without permission.
- Highlight points of interest with pins:
- As a Pokemon Go player, you can place pins along the Route to highlight points of interest or special locations.
- Placement of pins:
- Place pins no more than 15 meters away from the actual Route path.
- Maintain a minimum distance of 20 meters between each pin to avoid crowding.
- Submit and await review:
- Once your Route is ready, submit it for review by Niantic.
- Niantic will review your submission and either accept or reject the Route.
- If your Route is rejected, you may have the opportunity to make necessary edits and resubmit it for further review.
Managing your Route journey
Feel free to pause your Route by tapping the “Pause Route” button if needed. When paused, you can easily resume your adventure by tapping the button again. To exit a Route, scroll to the bottom of the Route details screen and tap “Quit Route.” A confirmation screen will appear, and once you confirm, you’ll exit the Route.
Earning Route Badges
Upon reaching the end point (or the start point if it’s a loop), you’ll be rewarded with a unique Route Badge, featuring a photo from the start or end location. Each Route has its own individual Badge, and you can level it up by completing the same Route multiple times. You can view all your Route Badges in your Trainer Profile under the Routes section. After completing a Route, you’ll receive confirmation and details about any item rewards earned during the journey, all recorded in your Journal.

Giving feedback and reporting Routes
Don’t forget to rate the Pokemon GO Routes after completion. Your rating helps assess the quality of the Route, although it won’t be made public. If you come across a Route that violates Niantic’s Terms of Service or Player Guidelines, you can report it from within Pokemon GO. Simply scroll to the bottom of the Route details screen and tap “Report Route.”
Follow the prompts and answer the questions to aid Niantic in their investigation. Rest assured that Niantic will review your report and take appropriate action if necessary. You can also report a Route from the rating screen by giving it a 1-star rating and tapping “Report Route.”
Once you are done with Pokemon GO routes and go back to the game, make sure to take a look at how to get Turtonator in Pokemon GO.
Featured Image: Credit


