Elden Ring story progression route is relatively straightforward, although it contrasts with the game’s expansive map. If your main goal is reaching the end, there is a clear route you can follow. However, you will still encounter several challenges along the way.
In this article, we are going to offer you a comprehensive guide to navigate yourself through the game, which can be quite confusing if you are new to open-world games, especially ones that are as big as Elden Ring. You can decide which location to go next and which quest to complete in this guide, however, if you also want to acquire the best weapons during your adventure, you can also check out our list of best Elden Ring swords once you’ve figured out your path.
Before embarking on Elden Ring story progression route
While the Elden Ring story progression route can be direct, it is advisable to explore the surrounding areas in each region. This is because formidable bosses await you in each region. You can either confront them head-on or explore the area first to gather runes, powerful weapons, and sturdy armor sets. By doing so, you can increase your strength and capabilities.
Every region in Elden Ring harbors catacombs, caves, tunnels, and forts that are ripe for exploration. These locations may hold valuable items that will aid you on your upcoming journey.
For instance, if you find yourself in need of Smithing Stones or Somber Smithing Stones, be sure to explore the tunnels. There are at least one or two tunnels to be found in each region.
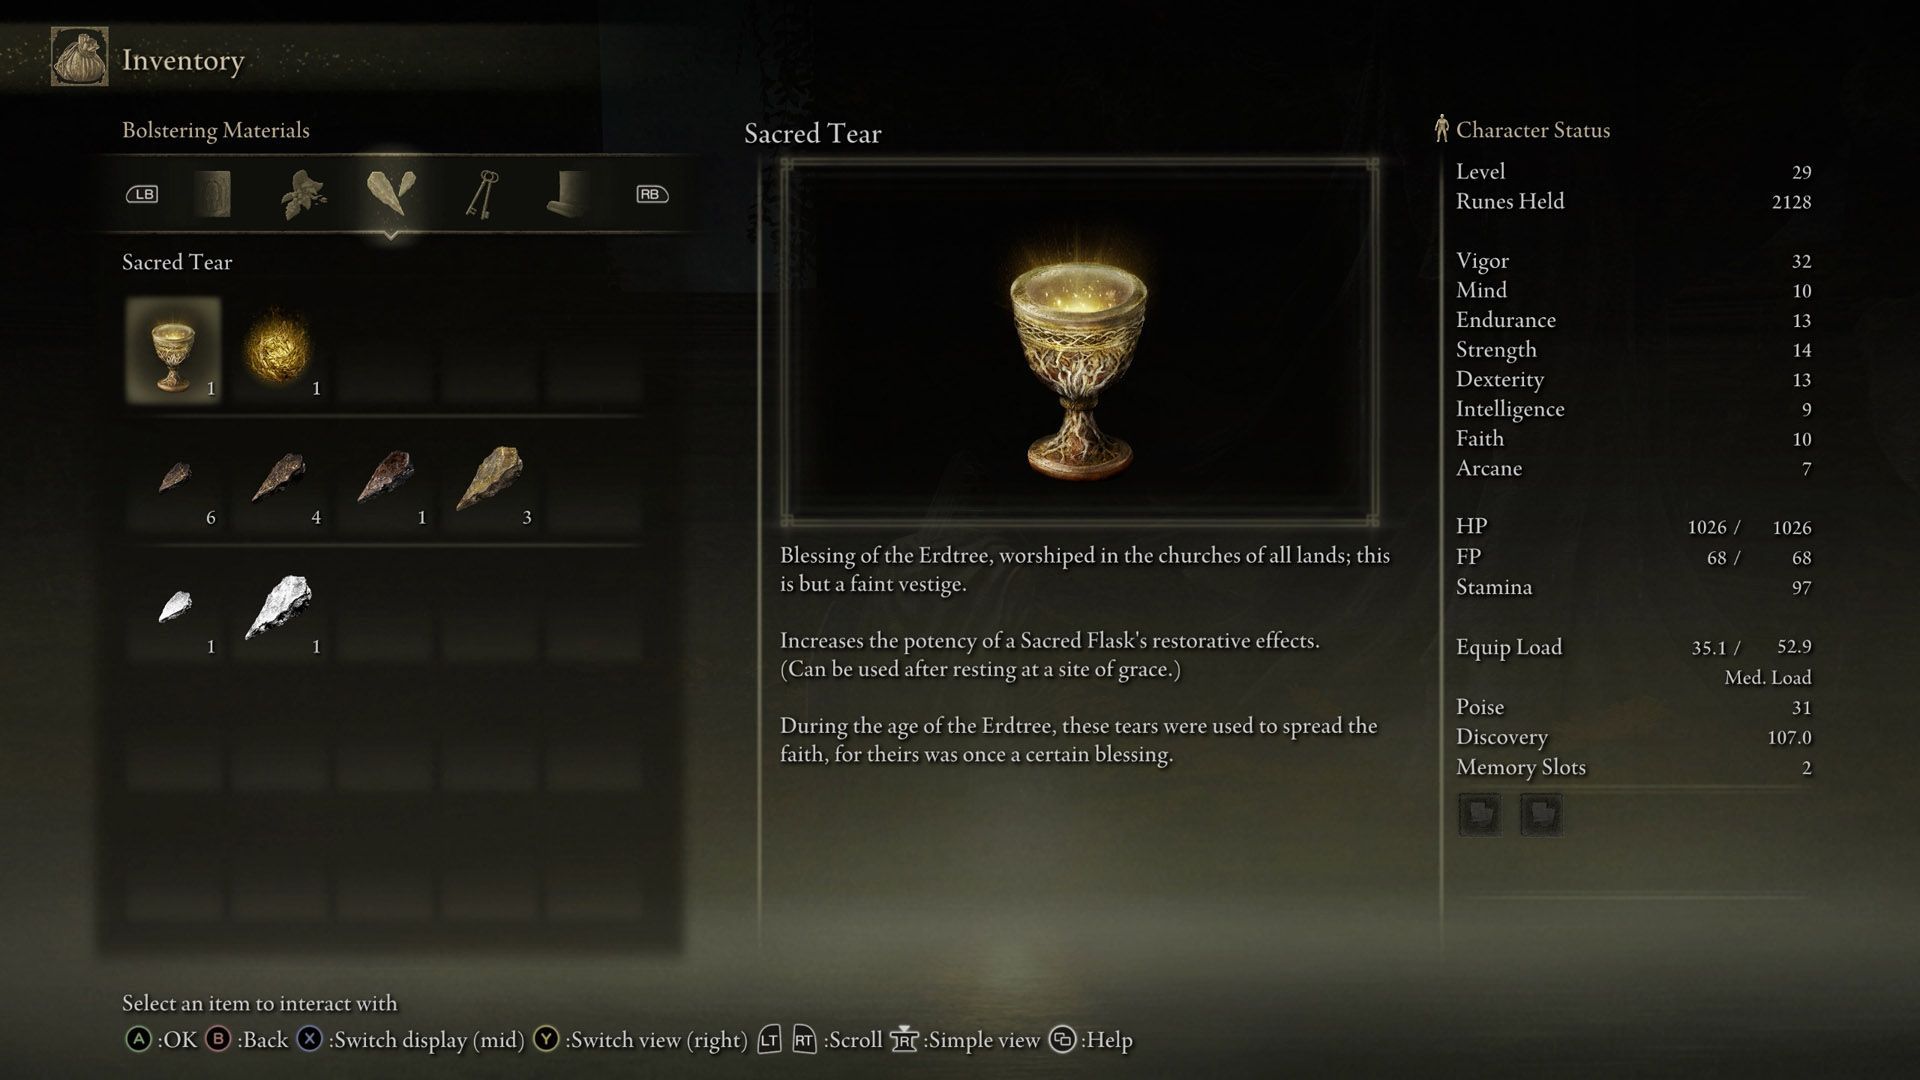
Additionally, you can search for churches and Minor Erdtrees, as these often yield Sacred Tears and Crystal Tears.
Once you have sufficiently leveled up and acquired decent equipment, you can challenge the main boss of the area to progress further.
Progressing through the main storyline
If you are a player who simply wishes to follow the main story of Elden Ring, you can certainly do so. However, be prepared for a formidable challenge.
While you have the freedom to breeze through each area, your overall game experience will be enhanced if you reach the recommended level and weapon proficiency. It is also advisable to collect certain items in each region before moving forward, as they will greatly assist you in your subsequent battles.
With that in mind, before you proceed, ensure that you acquire the following items during the main story progression:
- Smithing Stones: Used to upgrade regular weapons
- Somber Smithing Stones: Used to upgrade unique weapons
- Grave Gloveworts: Enhance regular Spirit Ashes
- Ghost Gloveworts: Enhance elite Spirit Ashes
- Golden Seed: Increases flask charges
- Sacred Tears: Increases flask potency
- Map Fragments: Reveals the map
Furthermore, take the time to explore caves, catacombs, and tunnels within each region. Make sure you reach the recommended level and weapon proficiency before advancing to the next area.
Limgrave
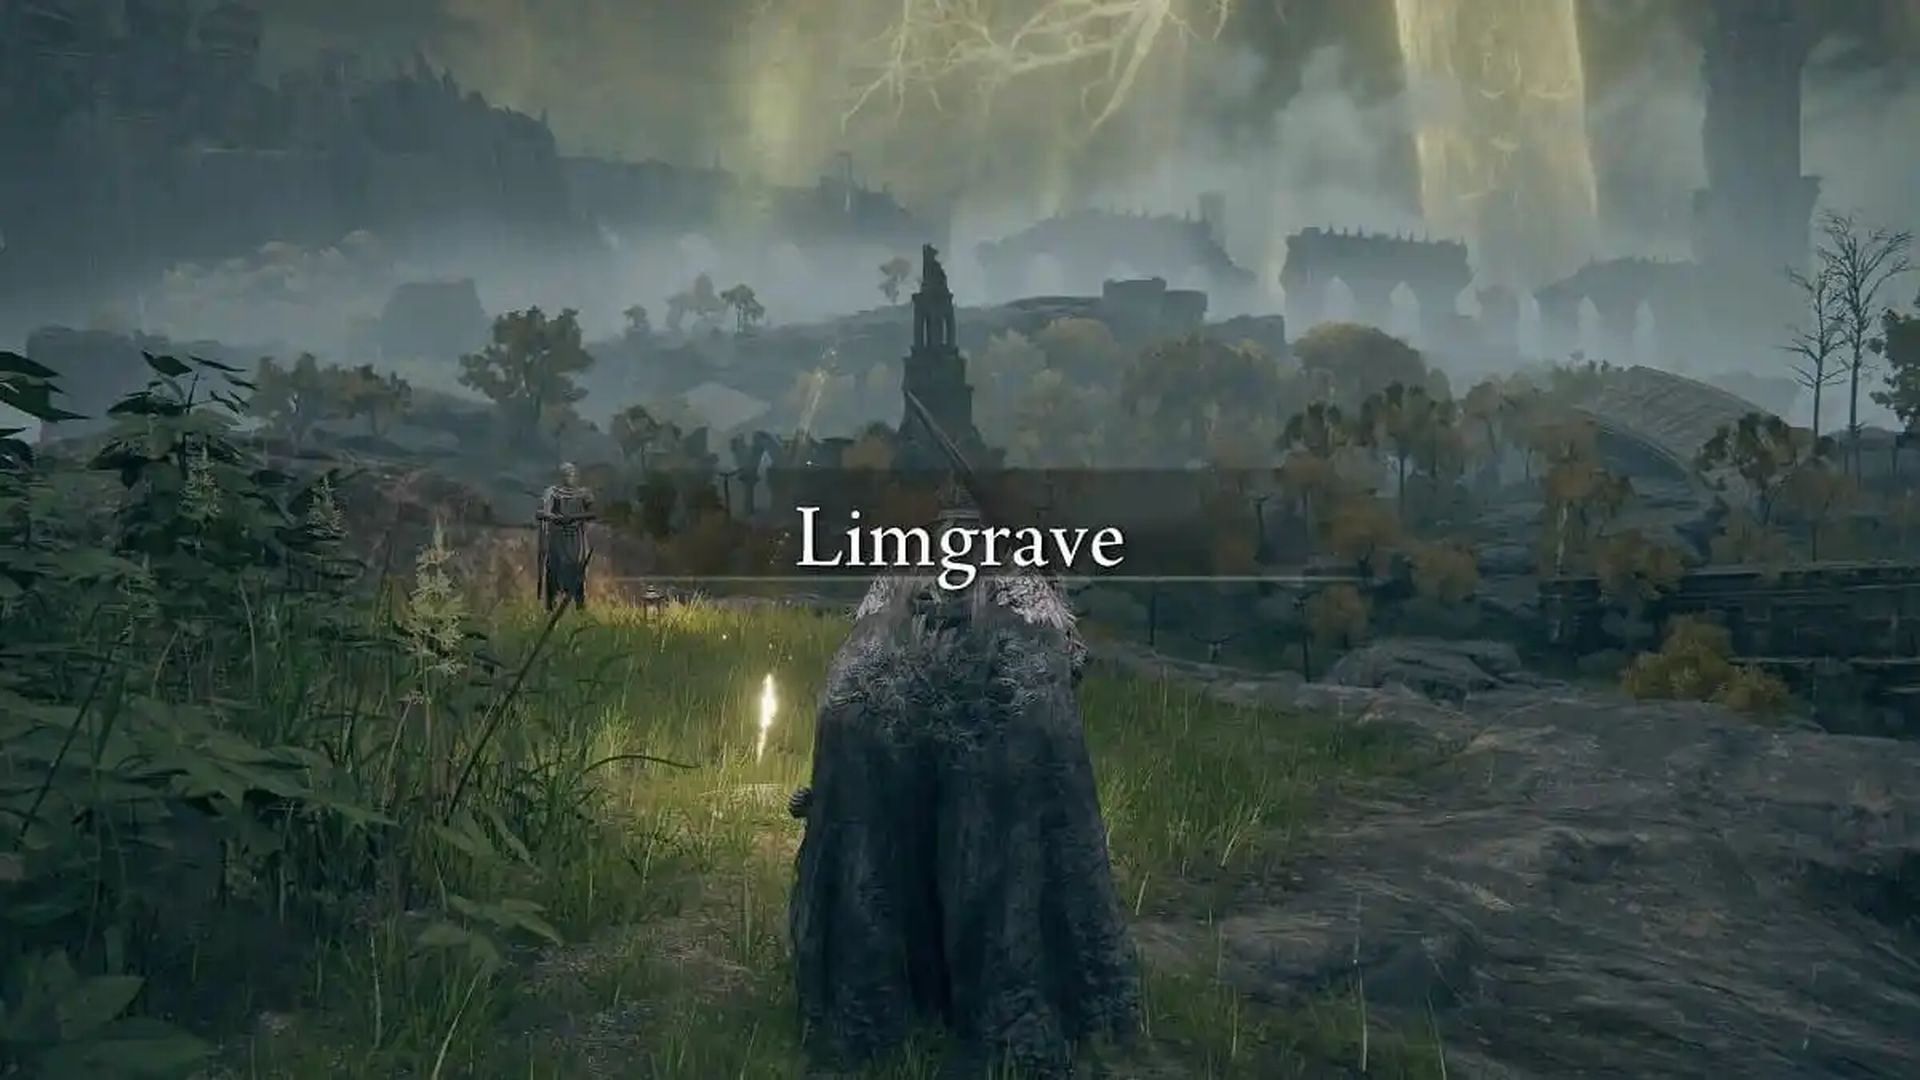
To make progress in Limgrave, it is recommended to be at a minimum level of 1 to 20.
For regular weapons, a minimum weapon level of 1 to 3 is advised, which can be achieved by upgrading them with Smithing Stones. Unique weapons should have a minimum level of 1 to 2 and can be upgraded using Somber Smithing Stones.
To advance further, here are the tasks you should focus on while in Limgrave:
- Purchase the Crafting Kit from Merchant Kale located at the Church of Elleh.
- Obtain the Spirit Calling Bell from Renna at the Church of Elleh. She can be found at this location during nighttime.
- Meet Melina at the Gatefront Site of Grace and acquire the Spectral Steed Whistle from her.
Stormhil and Stormveil Castle
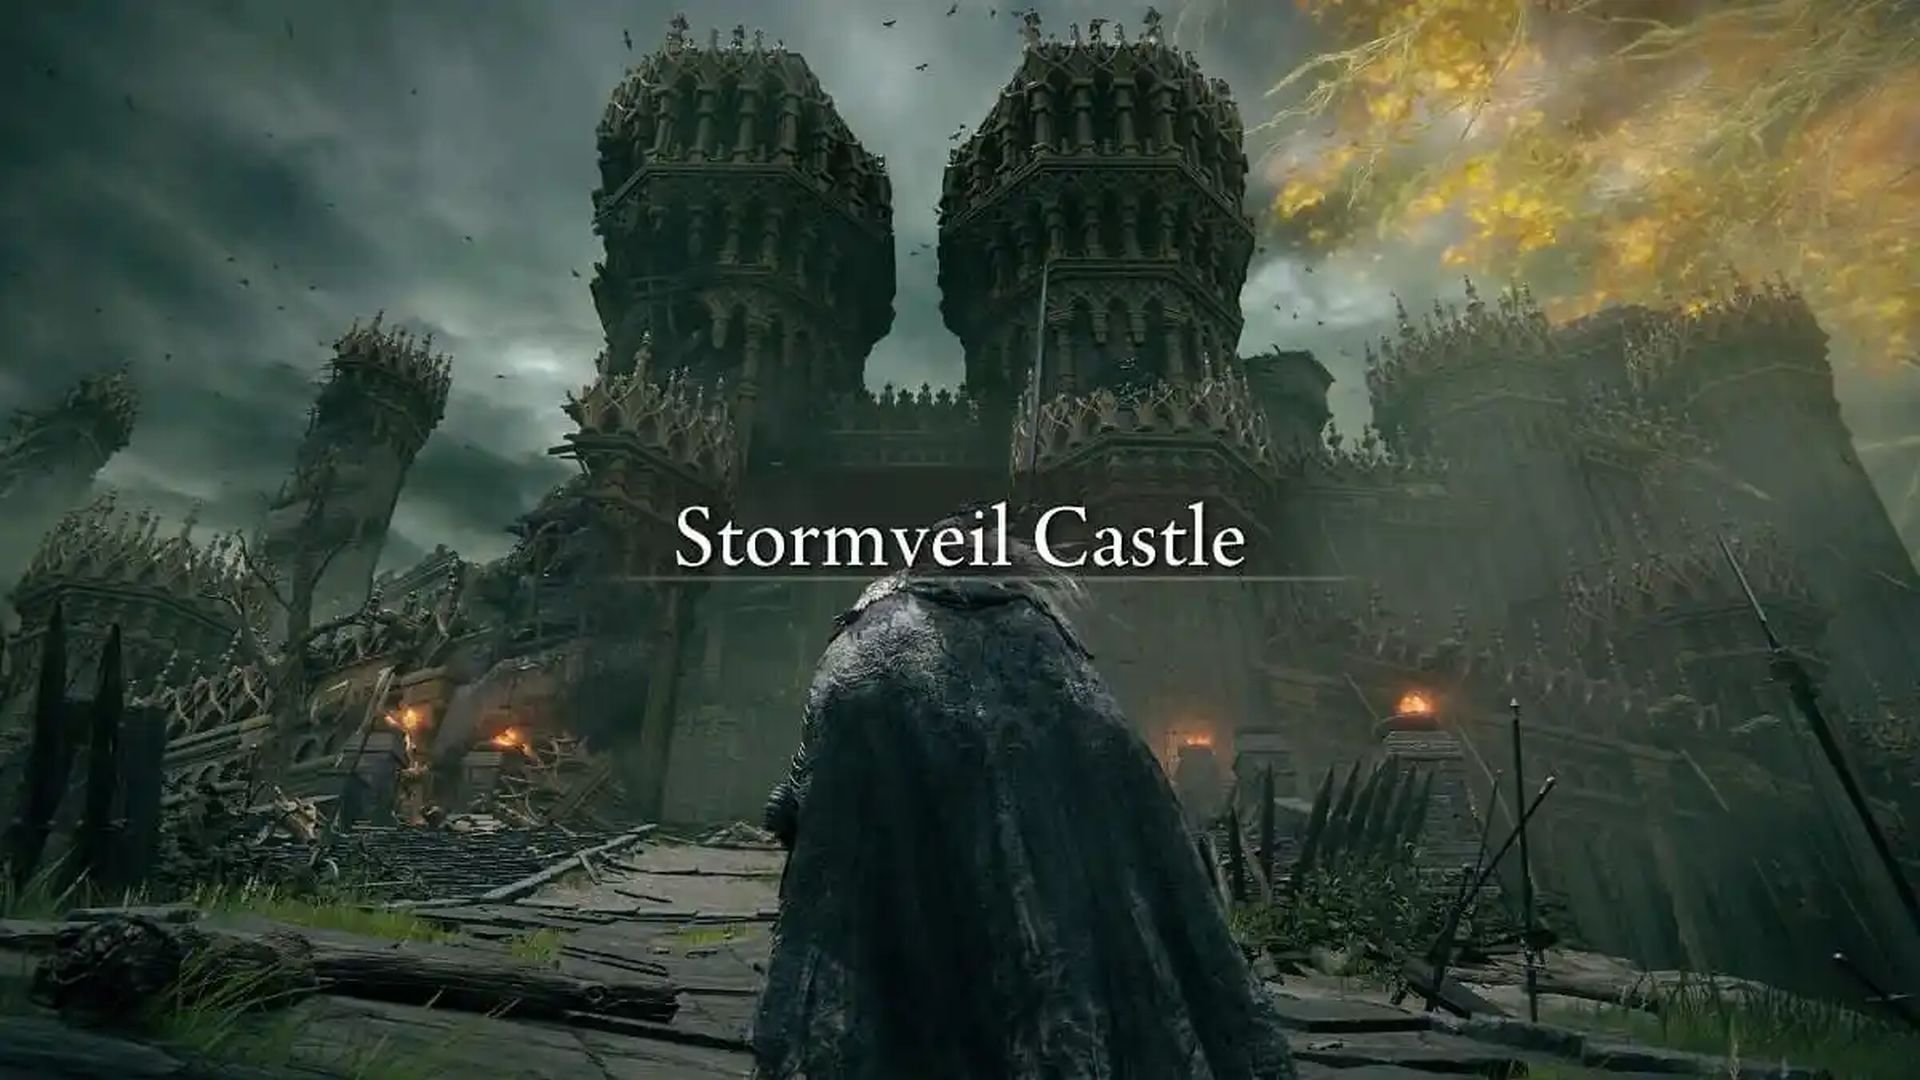
To make progress in Stormhill and Stormveil Castle, it is recommended to be at a minimum level of 20 to 40.
For regular weapons, a minimum weapon level of 4 to 6 is advised, and for unique weapons, a minimum level of 3 to 4 is recommended.
To advance further, here are the tasks you should focus on:
- Enter Stormveil Castle.
- Engage in battle and defeat Margit, the Fell Omen.
- Visit the Roundtable Hold.
- Confront and defeat Godrick the Grafted.
Liurnia of the Lakes
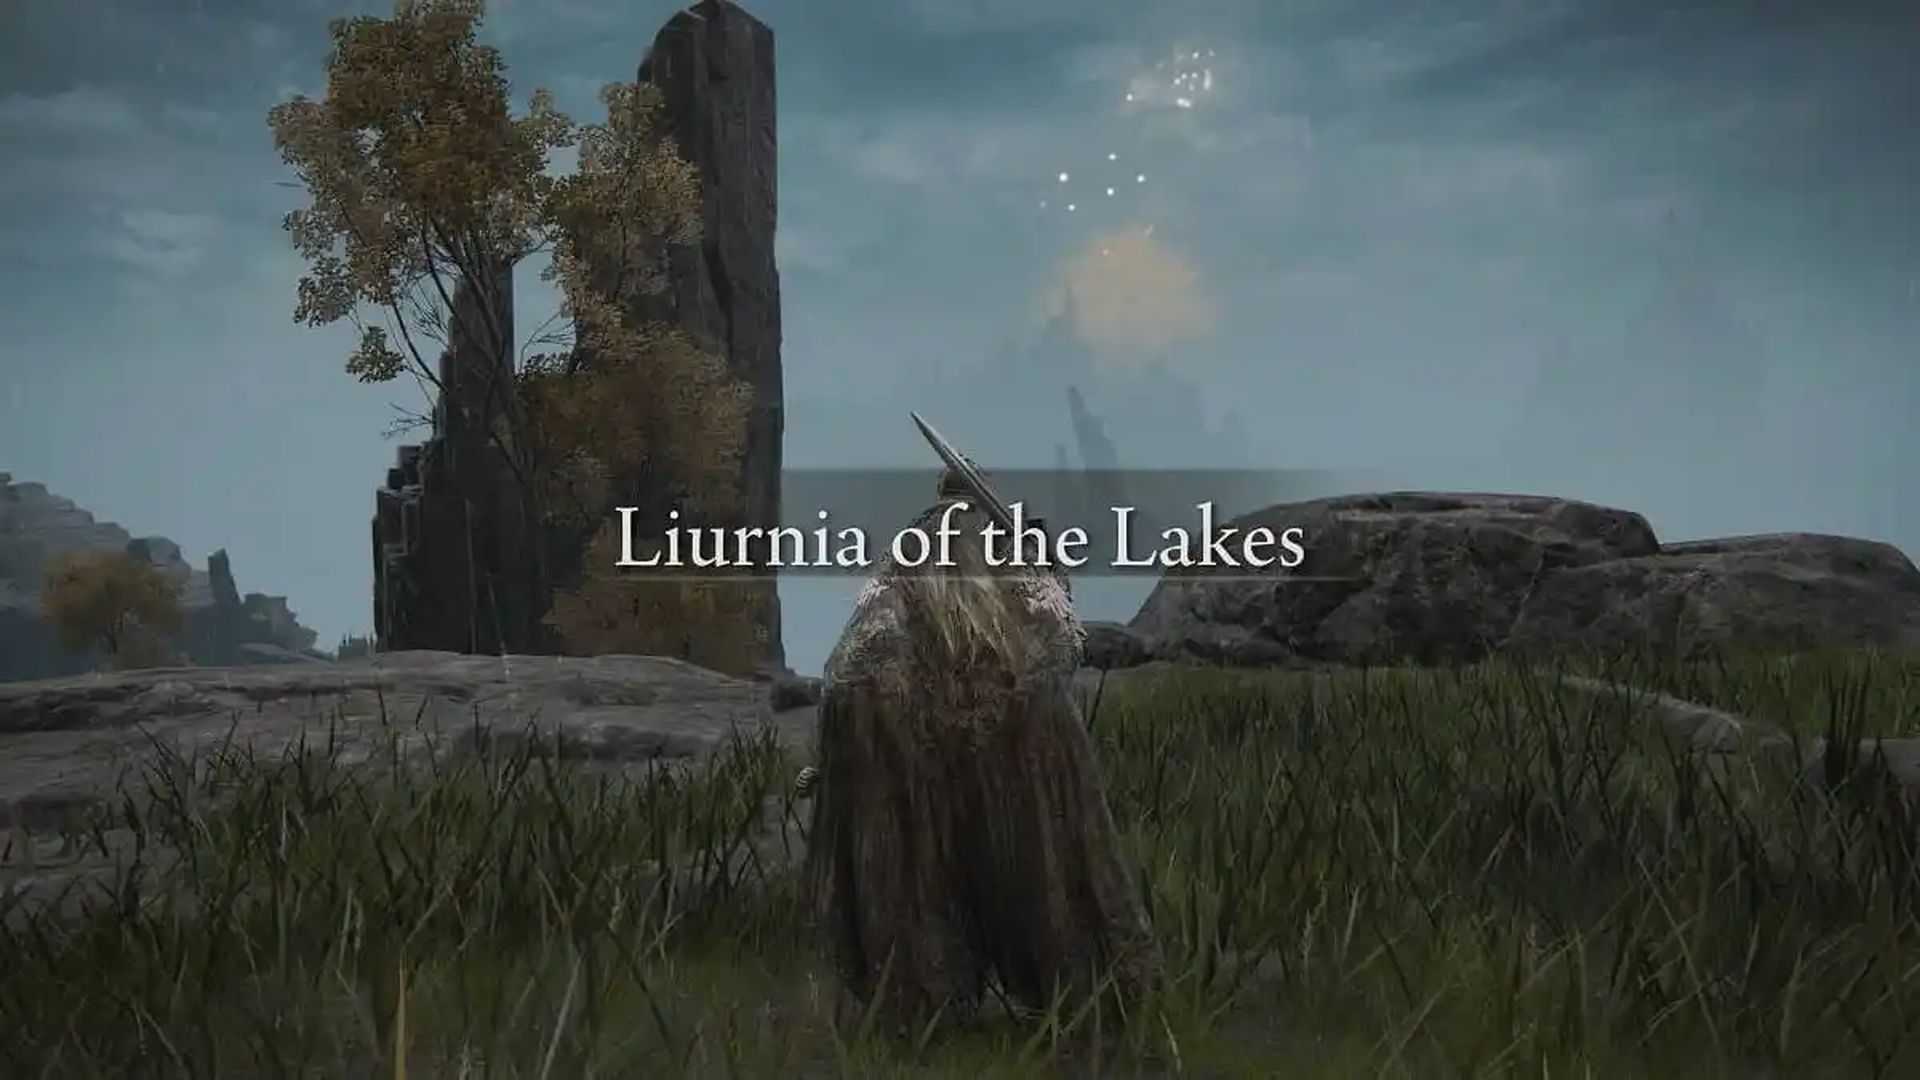
To progress in Liurnia, it is recommended to be at a minimum level of 40 to 50.
For regular weapons, a minimum weapon level of 4 to 6 is advised, while unique weapons should be at a minimum level of 3 to 4.
To make further progress, focus on the following tasks:
- Obtain the Academy Glintstone Key.
- Enter Raya Lucaria.
Academy of Raya Lucaria

To progress in the Academy of Raya Lucaria, it is recommended to be at a minimum level of 50 to 60.
For regular weapons, a minimum weapon level of 7 to 9 is advised, while unique weapons should be at a minimum level of 5.
To make further progress, focus on the following tasks:
- Defeat the Red Wolf of Radagon.
- Confront and defeat Rennala, Queen of the Full Moon.
Bellum Highway

To make progress in this area, there are a few tasks you’ll want to focus on:
- Pass through the Ruin-Strewn Precipice.
- Engage in battle and defeat Magma Wyrm Makar.
Altus Plateau
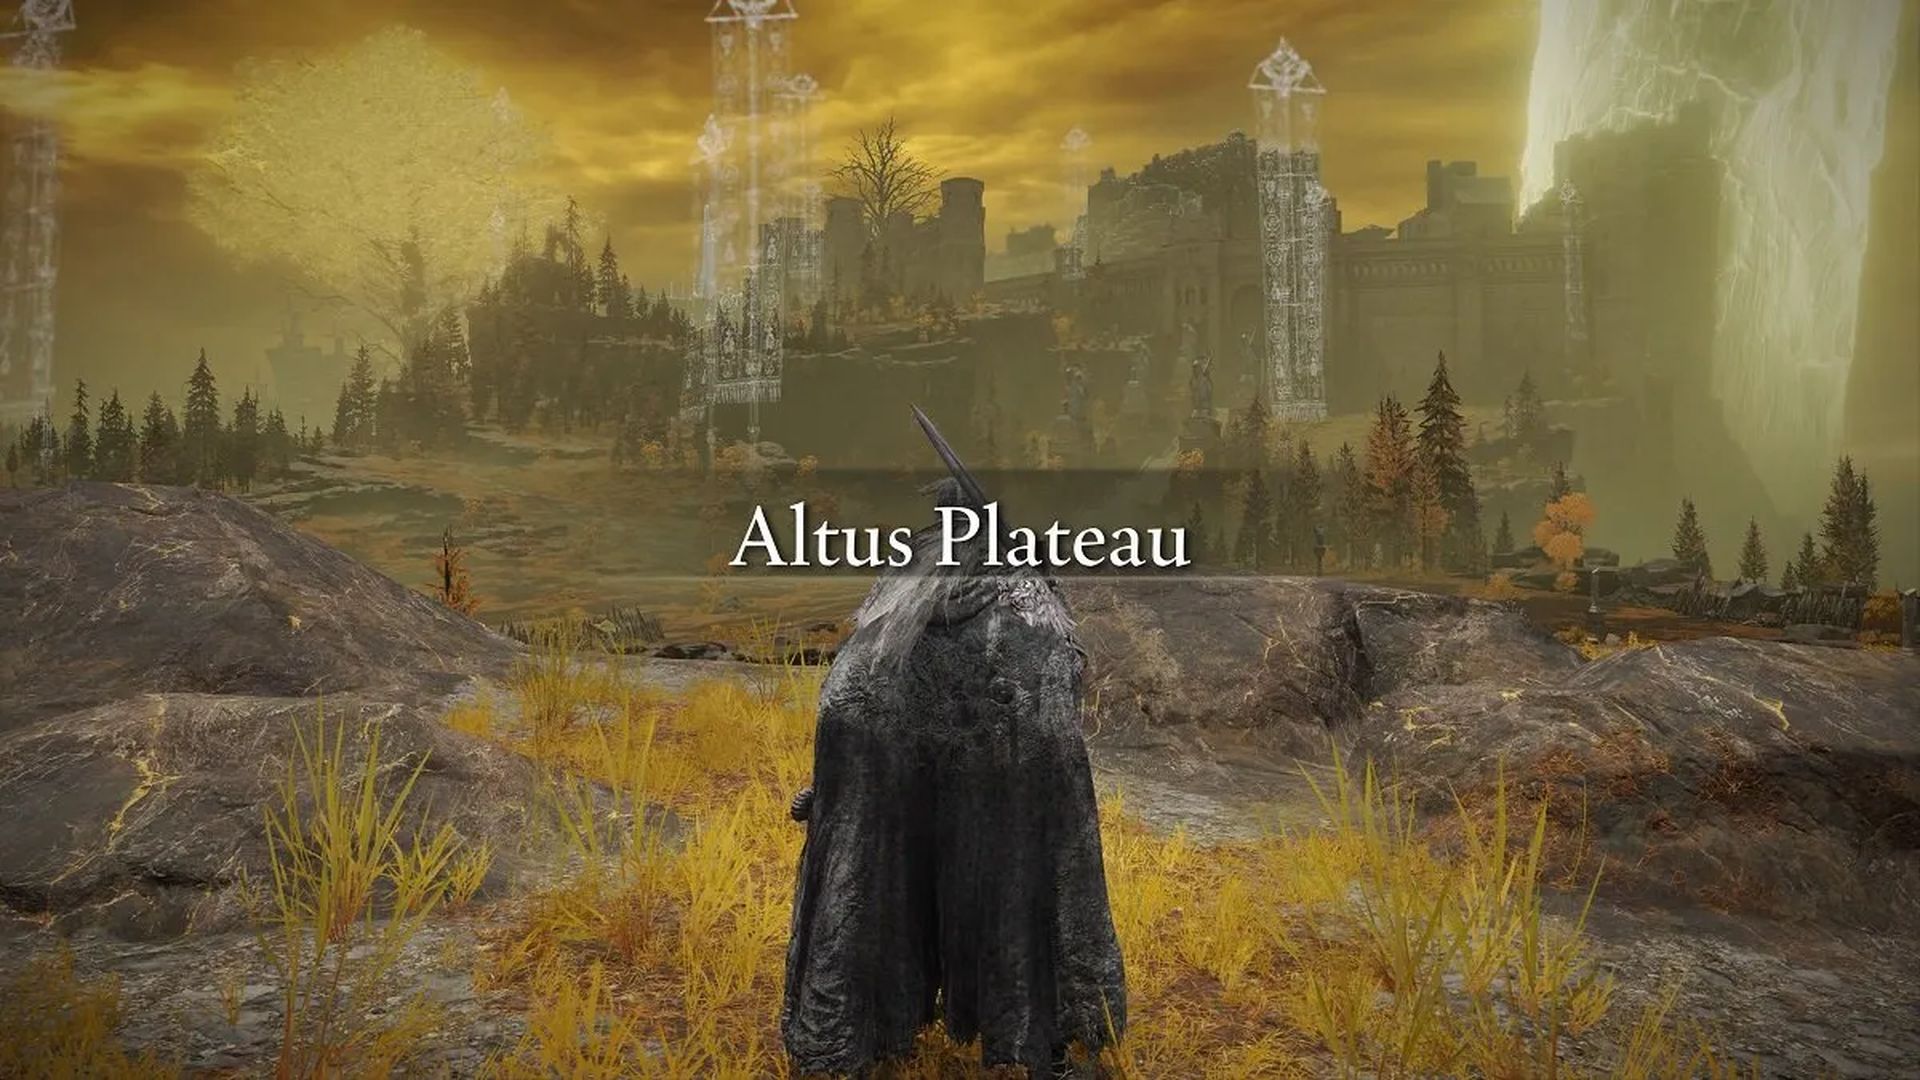
To make progress in Altus Plateau, it is recommended to be at a minimum level of 60 to 80.
For regular weapons, a minimum weapon level of 13 to 15 is advised, while unique weapons should be at a minimum level of 6.
To continue progressing, focus on the following tasks:
- Make your way to the Capital Outskirts.
- Engage in battle and defeat the Draconic Tree Sentinel.
- Enter Leyndell.
Leyndell, Royal Capital

To make progress in Leyndell, it is recommended to be at a minimum level of 80 to 100.
For regular weapons, a minimum weapon level of 16 to 18 is advised, while unique weapons should be at a minimum level of 7 to 8.
To continue progressing, focus on the following tasks:
- Defeat Godfrey, the First Elden Lord.
- Obtain the Bolt of Gransax. It’s important to do this now as it is a missable item. Once Leyndell becomes the Capital of Ash, you won’t be able to obtain it later.
- Defeat Morgott, the Omen King.
- Attempt to enter the Erdtree.
- Pass through the Forbidden Lands to reach the Mountaintops of the Giants.
Mountaintops of the Giants

To make progress in the Mountaintops of the Giants, it is recommended to be at a minimum level of 100 to 120.
For regular weapons, a minimum weapon level of 22 up to the maximum level is advised, while unique weapons should be at a minimum level of 9.
To continue progressing, focus on the following tasks:
- Defeat the Fire Giant.
- Set the Erdtree ablaze at the Forge of the Giants.
Crumbling Farum Azula
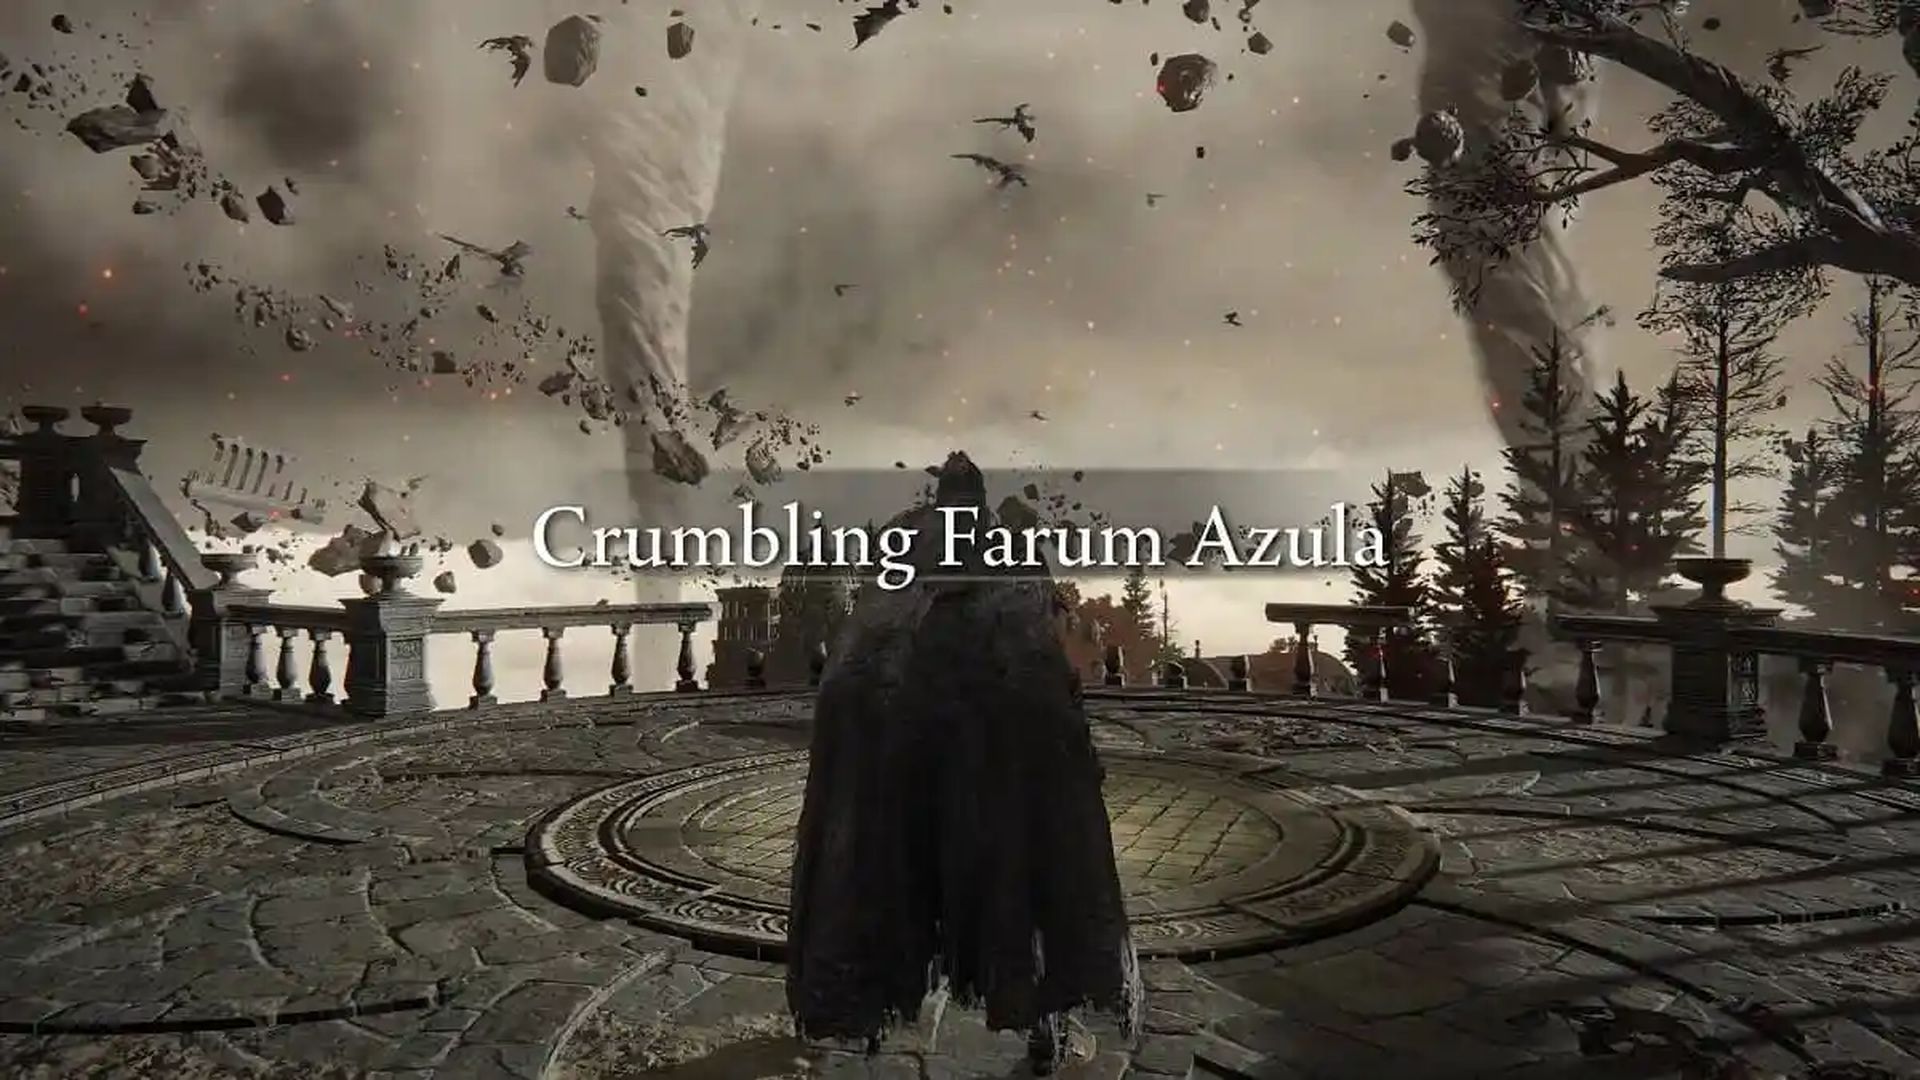
To make progress in Crumbling Farum Azula, it is recommended to be at a minimum level of 100 to 120.
For weapons, it is recommended to have them at their maximum level.
To continue progressing, focus on the following tasks:
- Defeat the Godskin Duo.
- Defeat the Beast Clergyman / Maliketh, the Black Blade.
Leyndell, Capital of Ash

To make progress in Leyndell for the second time, it is recommended to be at a minimum level of 100 to 120.
For weapons, it is recommended to have them at their maximum level.
To continue progressing, focus on the following tasks:
- Defeat Sir Gideon, the All-Knowing.
- Defeat Godfrey, the First Elden Lord / Hourah Loux, Warrior.
- Enter the Erdtree.
- Defeat Radagon of the Golden Order / Elden Beast.
- Mend the Elden Ring.
Ending
If you have followed the game’s main story progression, there is one ending that you can unlock: Age of Fracture. The Age of Fracture represents the “normal” ending of the game. This ending can be achieved by simply defeating the final boss, without any additional requirements. By accomplishing this, you are going to become one of the rare players that have successfully completed Elden Ring.
However, there are many more tasks that you can do in the game. Below, you can check out every single thing to do to reach the various endings of the immensely large game.
Completionist Elden Ring progression route
If you want to fully immerse yourself in the game and experience everything Elden Ring has to offer, you can take the completionist’s route. This involves aiming for 100% completion by obtaining all achievements or trophies before reaching the ending.
It’s important to note that achieving 100% completion or earning the game’s platinum trophy doesn’t necessarily require exploring every location, defeating every boss, or obtaining every item. However, you have the freedom to pursue these optional objectives if you wish to do so.
Limgrave

In Limgrave, it is recommended to be at a minimum level of 1 to 20. For regular weapons, a minimum weapon level of 1 to 3 is advised, while unique weapons should be at a minimum level of 1 to 2.
To progress and achieve certain trophies or achievements in Limgrave, it is necessary to undertake the following actions:
- Purchase the CraftingKit from Merchant Kale at the Church of Elleh.
- Obtain the Spirit Calling Bell from Renna at the Church of Elleh.
- Meet Melina at the Gatefront Site of Grace and acquire the Spectral Steed Whistle from her.
- Find Sellen in the basement of Waypoint Ruins.
- Head towards the Weeping Peninsula.
Weeping Peninsula
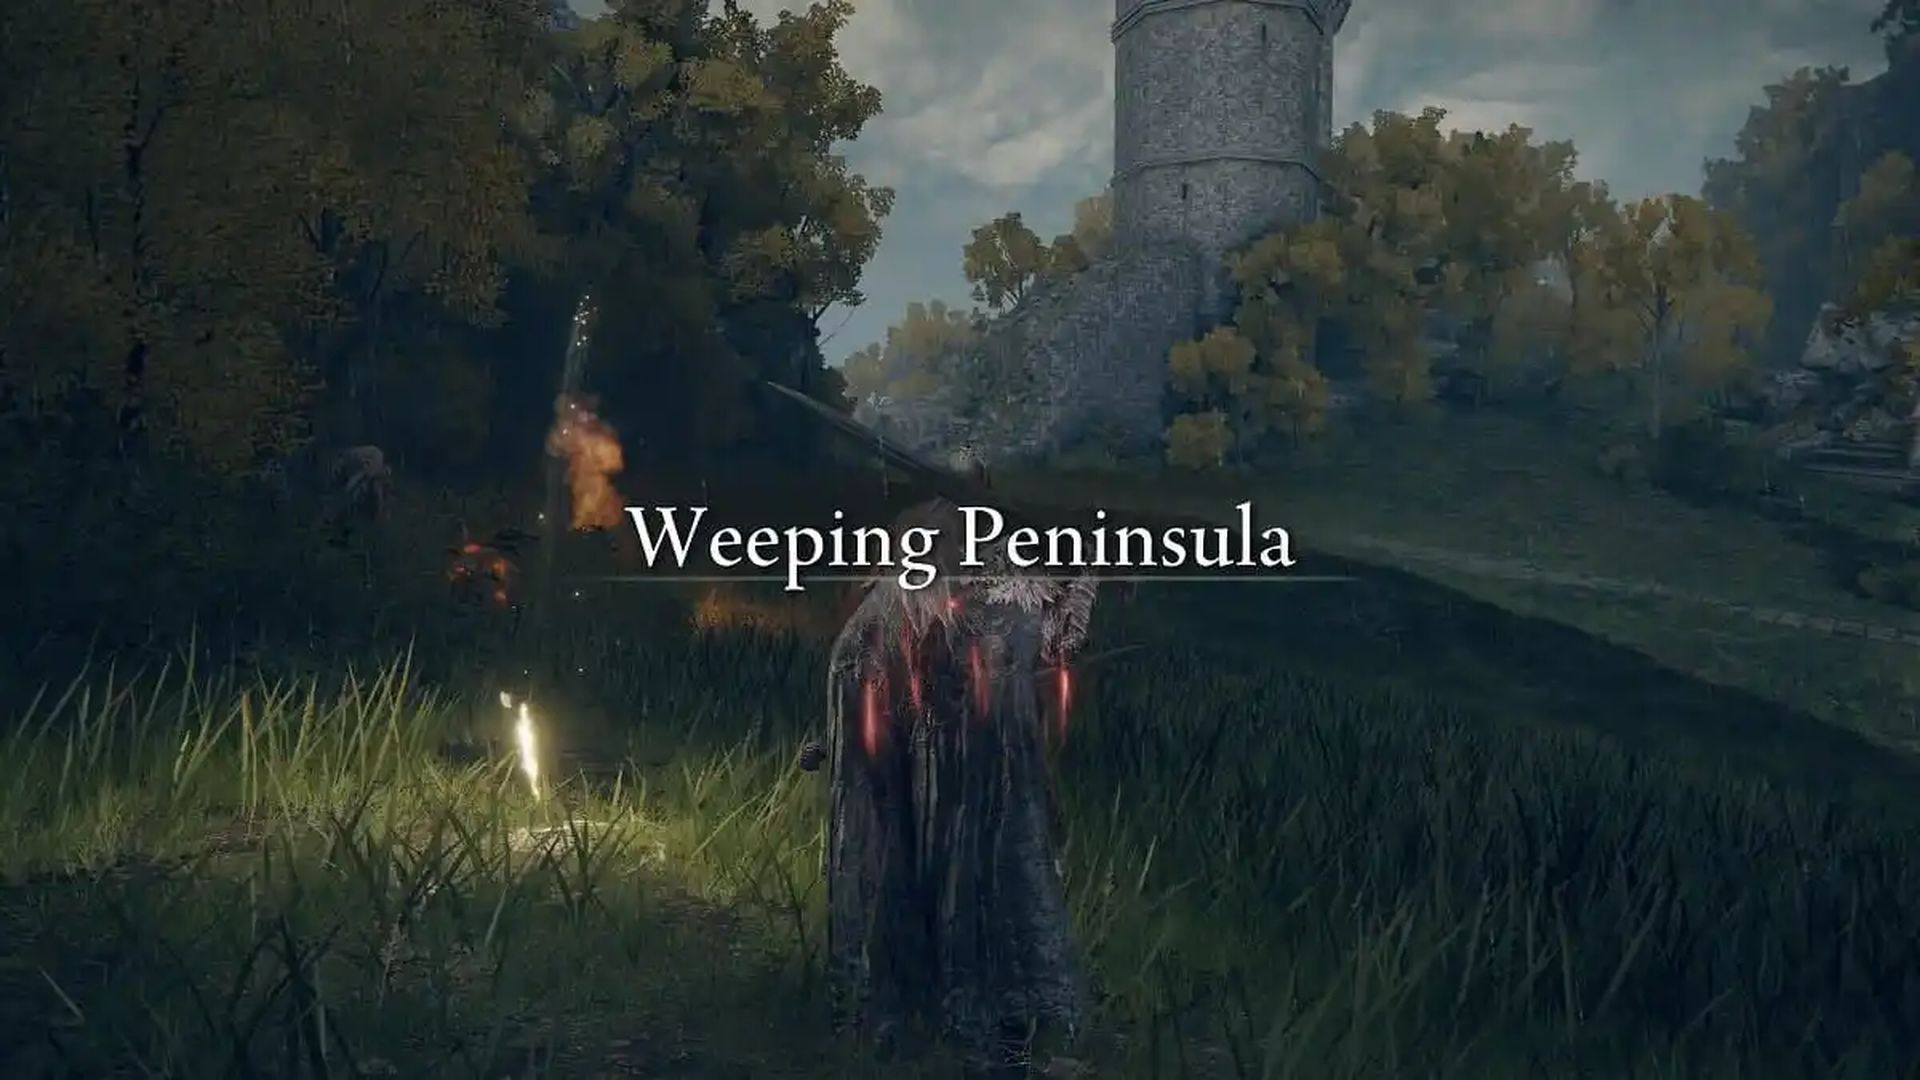
To tackle the challenges in the Weeping Peninsula region of Elden Ring, it is recommended to be at a minimum level of 20 to 30. For regular weapons, a minimum weapon level of 1 to 3 is advised, while unique weapons should be at a minimum level of 1 to 2.
In order to progress and achieve specific trophies or achievements in the Weeping Peninsula, it is necessary to undertake the following actions:
- Make your way to the Tombsward Catacombs and obtain the Lhutel the Headless Spirit Ashes.
- Proceed to Castle Morne.
- Defeat the Leonine Misbegotten and acquire the Grafted Blade Greatsword.
Stormhill and Stormveil Castle
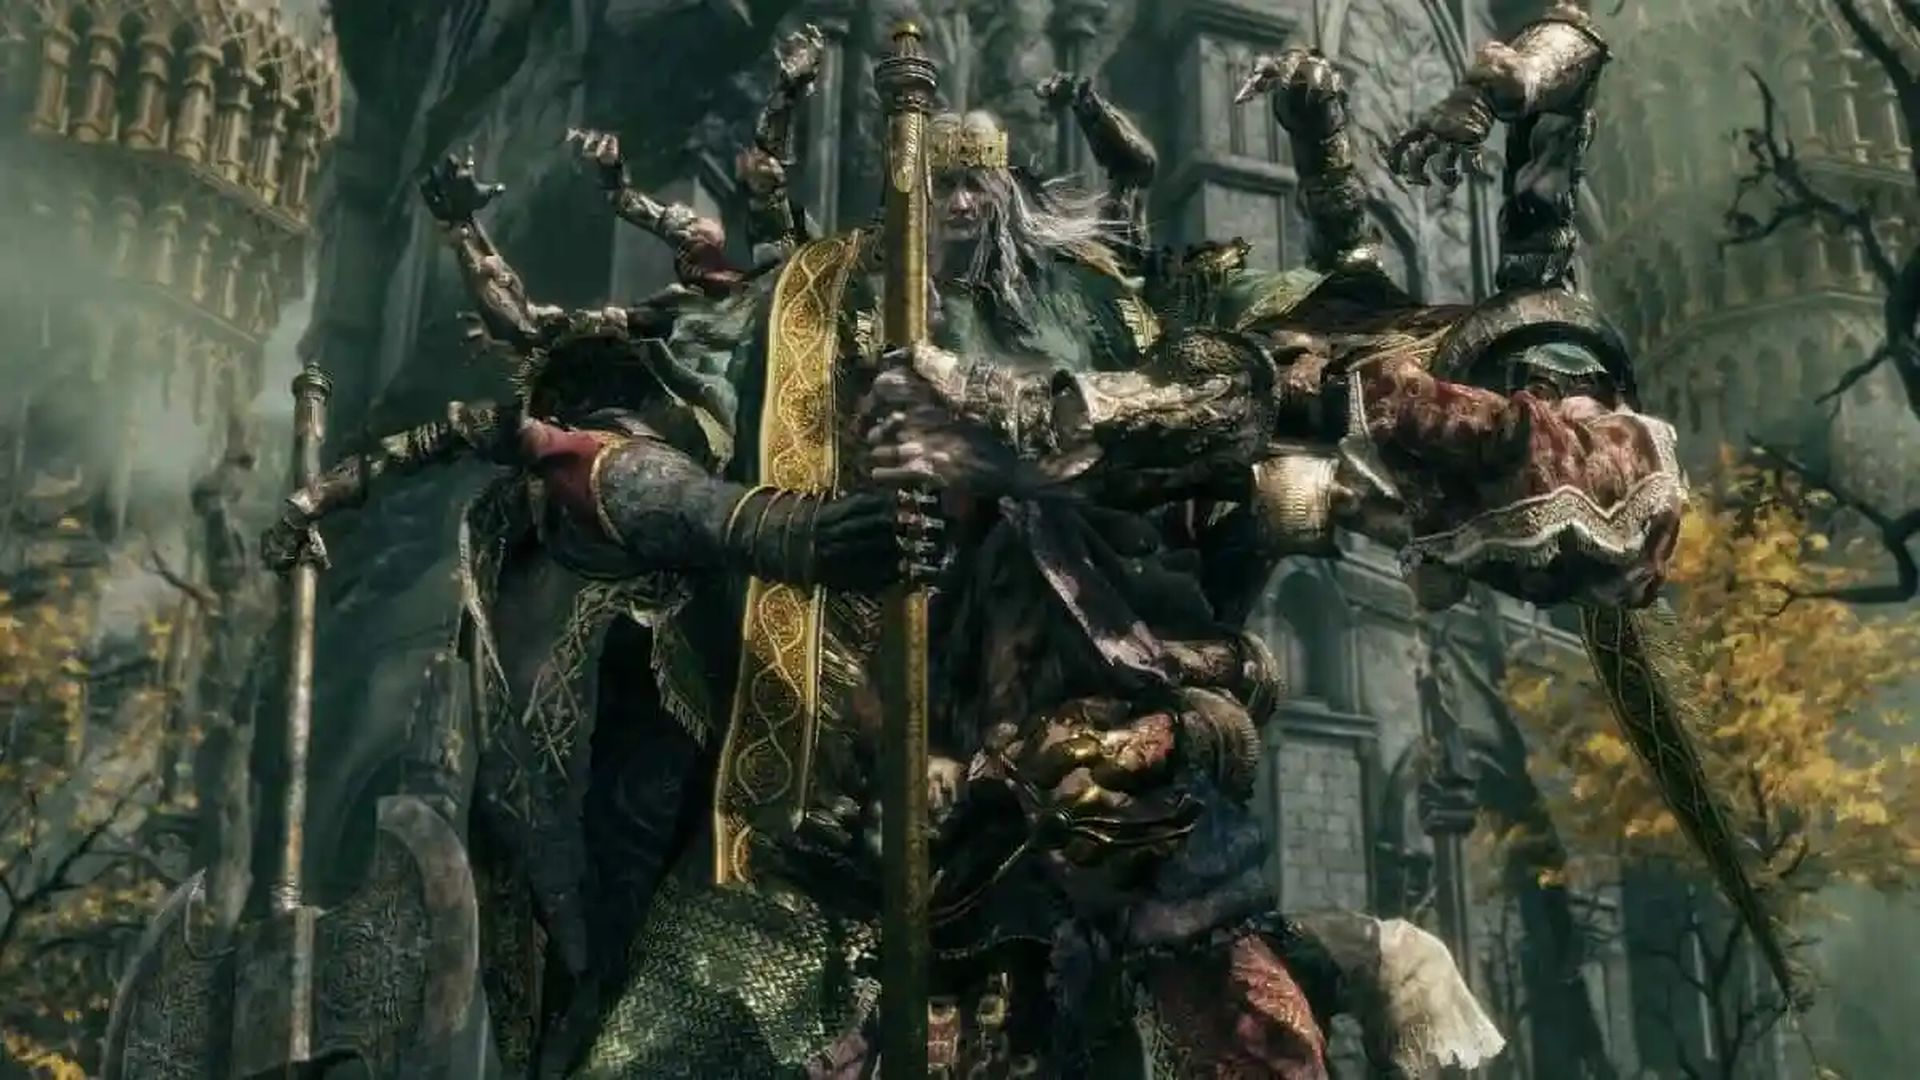
To effectively progress in the Weeping Peninsula region of Elden Ring, it is recommended to have a minimum level of 20 to 40. Regular weapons should ideally be at a level of 4 to 6, while unique weapons should be at a level of 3 to 4.
In order to achieve certain trophies or achievements in the Weeping Peninsula, it is necessary to undertake the following actions:
- Reach Stormveil Castle.
- Defeat Margit, the Fell Omen.
- Defeat Godrick the Grafted.
- Proceed to the Divine Tower of Limgrave.
- Restore Godrick’s Great Rune.
Roundtable Hold

The Roundtable Hold serves as the central hub area in Elden Ring. If you’re pursuing the completionist route, it is crucial to interact with various NPCs here multiple times. The following actions are necessary to make progress and achieve certain trophies or achievements:
- Speak to Brother Cohryn.
- Engage in conversation with D, Hunter of the Dead.
- Interact with Fia and allow her to hold you.
- Have a conversation with Sir Gideon.
- Visit Hewg and have him upgrade your weapons.
- Follow Roderika’s quest line to enable her to upgrade your Spirit Ashes.
Regularly interacting with these NPCs in the Roundtable Hold will not only contribute to your completionist journey but also provide you with valuable upgrades and advancements in Elden Ring.
Liurnia of the Lakes
To effectively progress in the Village of the Albinaurics and the Academy of Raya Lucaria, it is recommended to have a minimum level of 40 to 50. Regular weapons should ideally be at a level of 4 to 6, while unique weapons should be at a level of 3 to 4.
To achieve specific trophies or achievements in this area, the following actions are necessary:
- Head to the Village of the Albinaurics.
- Obtain the Haligtree Secret Medallion (Right).
- Proceed to the Malefactor’s Evergaol and defeat Adan, Thief of Fire to obtain the Flame of the Fell God incantation.
- Acquire the Academy Glintstone Key.
- Make your way to the Academy of Raya Lucaria.
Academy of Raya Lucaria

To effectively progress in the Academy of Raya Lucaria in Elden Ring, it is recommended to have a minimum level of 50 to 60. Regular weapons should ideally be at a level of 7 to 9, while unique weapons should be at a level of 5.
To achieve specific trophies or achievements in this area, the following actions are necessary:
- Defeat the Red Wolf of Radagon.
- Obtain the Radagon’s Icon Talisman.
- Defeat Rennala of the Full Moon.
Northern Liurnia and Caria Manor
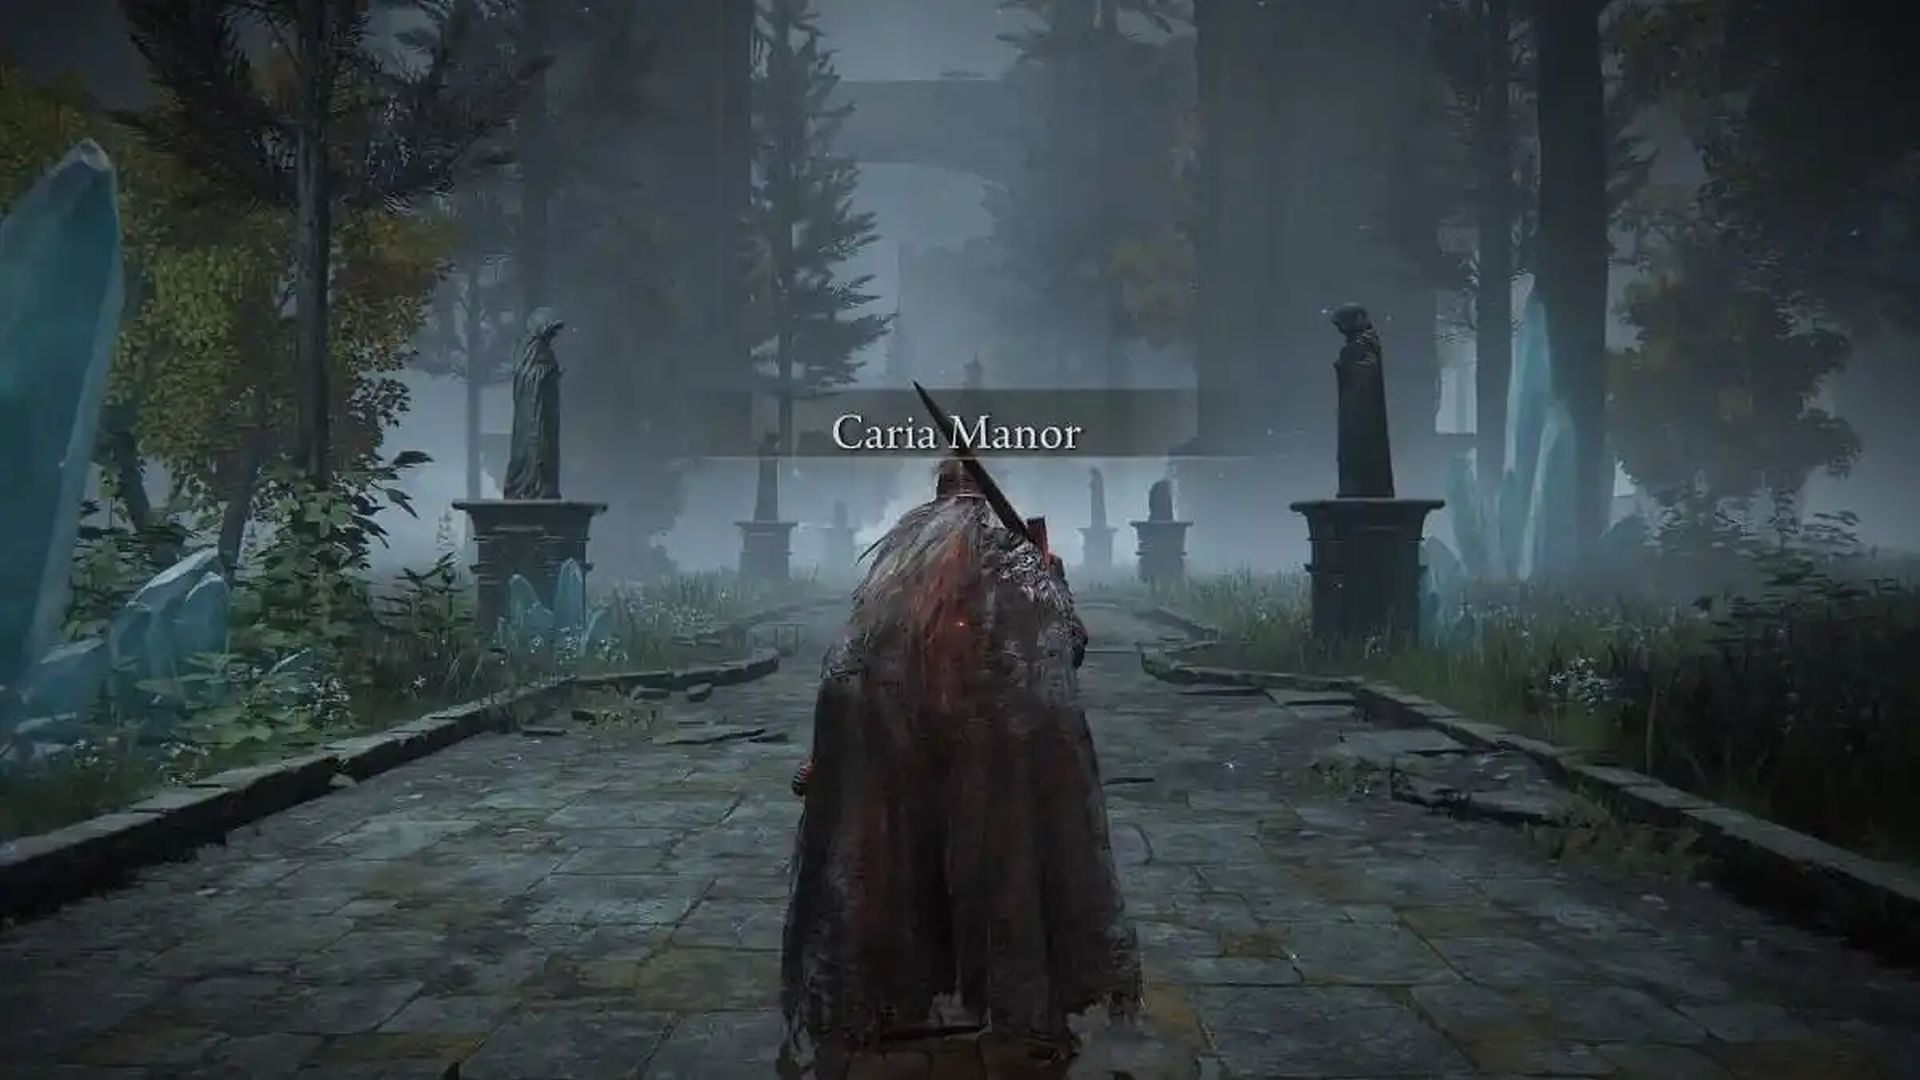
To effectively progress in Northern Liurnia and Caria Manor in Elden Ring, it is recommended to have a minimum level of 50 to 60. Regular weapons should ideally be at a level of 7 to 9, while unique weapons should be at a level of 5.
To achieve specific trophies or achievements in this area, the following actions are necessary:
- Make your way to Caria Manor.
- Obtain the Sword of Night and Flame.
- Defeat Royal Knight Loretta.
- Meet Ranni the Witch and begin her quest line.
Siofra River (Main)
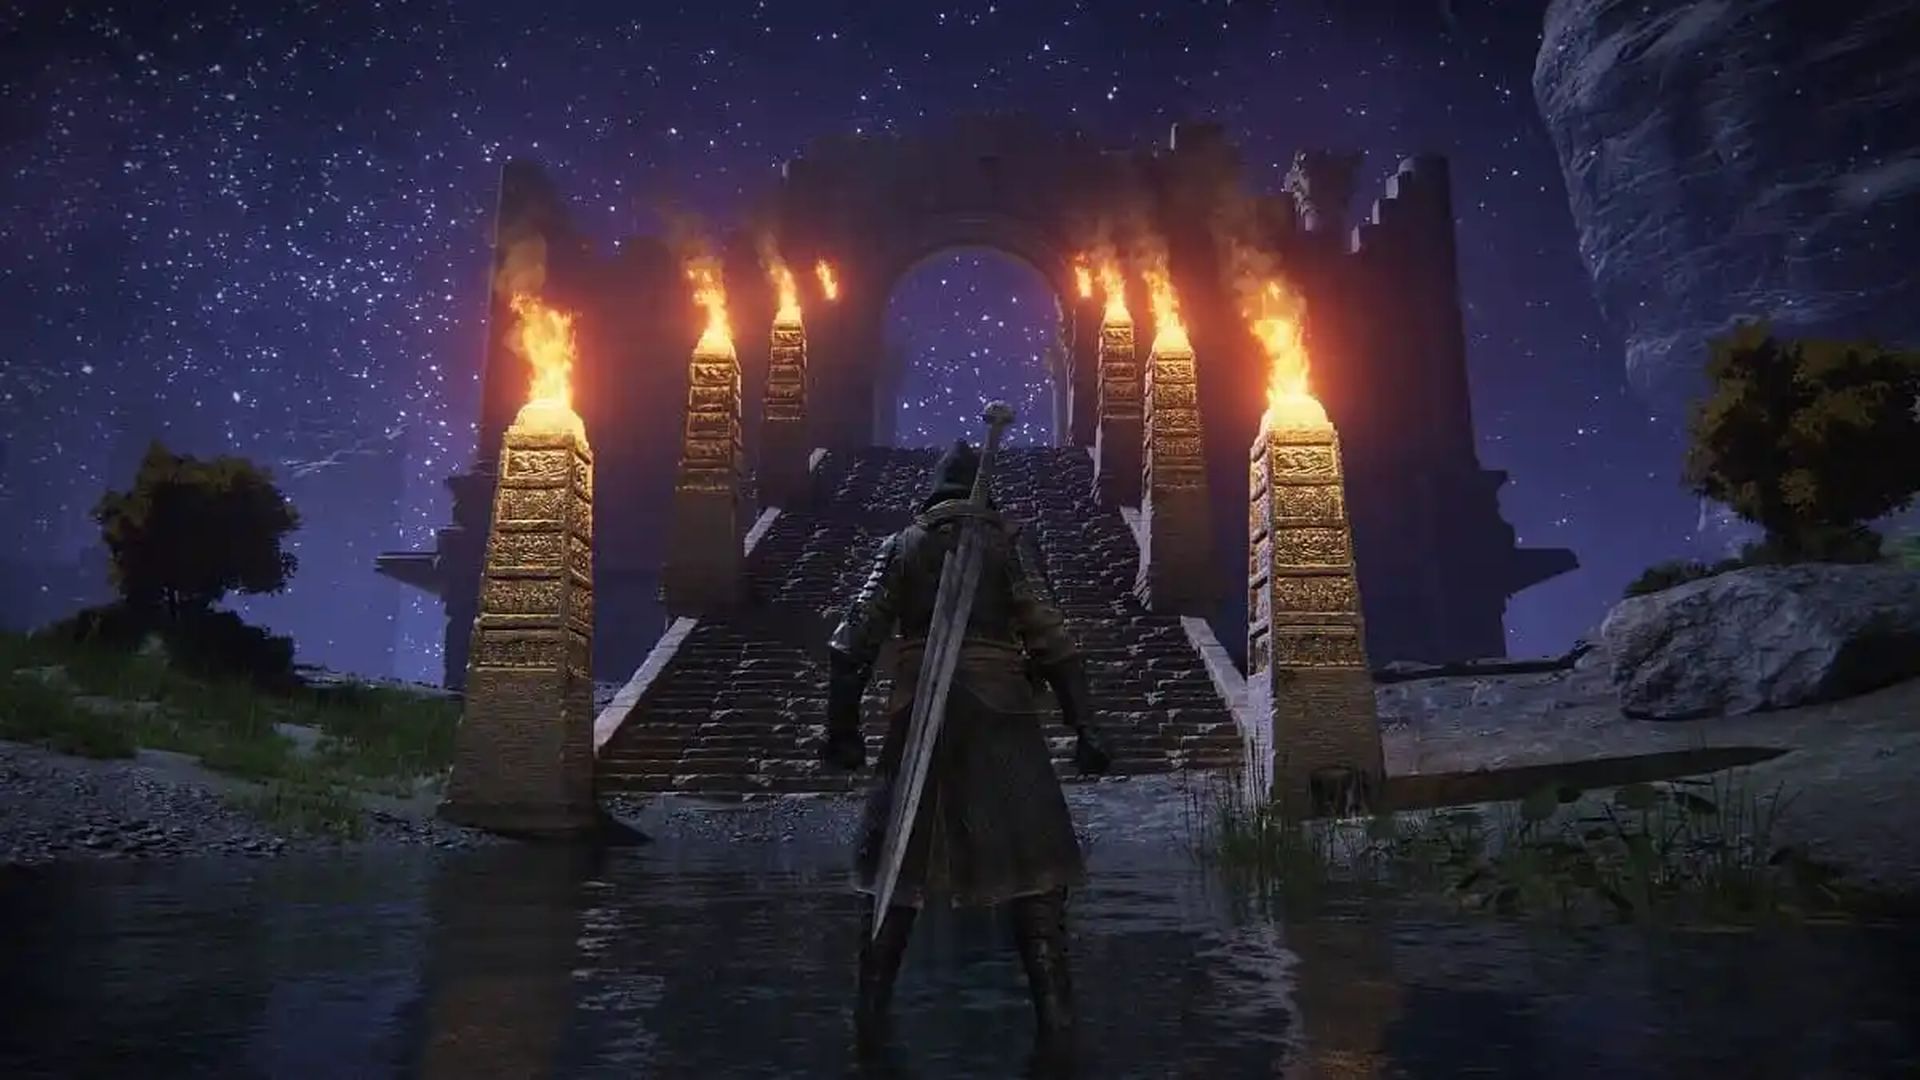
To effectively progress in the Siofra River area (Main) in Elden Ring, it is recommended to have a minimum level of 50 to 60. Regular weapons should ideally be at a level of 7 to 9, while unique weapons should be at a level of 5.
To achieve specific trophies or achievements in this area, the following actions are necessary:
- Light the eight pillars.
- Interact with the deer carcass at the Hallowhorn Grounds.
- Defeat the Ancestral Spirit.
- Speak to Blaidd.
Additionally, to further progress Ranni’s questline and gain a better understanding of what you need to do, you should:
- Return to the Three Sisters at Caria Manor and speak to Seluvis.
- Talk to Sellen at Waypoint Ruins.
Caelid (South)
To effectively progress in the Caelid (South) area of Elden Ring, it is recommended to have a minimum level of 60 to 80. Regular weapons should ideally be at a level of 10 to 12, while unique weapons should be at a level of 5 to 6.
To achieve specific trophies or achievements in this area, the necessary action is:
- Make your way to Redmane Castle.
Redmane Castle

To progress and achieve specific trophies or achievements in Redmane Castle in Elden Ring, it is recommended to have a minimum level of 60 to 80. Regular weapons should be at a level of 10 to 12, while unique weapons should be at a level of 5 to 6.
The necessary actions for trophies or achievements in Redmane Castle are as follows:
- Defeat Starscourge Radahn: Engage in a boss battle and defeat Starscourge Radahn.
- Head to the War Dead Catacombs: Explore the War Dead Catacombs and defeat the Putrid Tree Spirit to obtain the Redmane Knight Ogha Spirit Ashes.
- Re-enter the castle via the waygate at the Impassable Greatbridge: After defeating Radahn, use the waygate at the Impassable Greatbridge to re-enter the castle.
- Make your way to the castle plaza: Progress through the castle and reach the castle plaza area.
- Defeat the Leonine Misbegotten Warrior & Crucible Knight boss duo: Engage in a boss battle against the Leonine Misbegotten Warrior & Crucible Knight duo and defeat them to obtain the Ruins Greatsword.
Nokron Eternal City
To progress and achieve specific trophies or achievements in Nokron Eternal City in Elden Ring, it is recommended to have a minimum level of 60 to 80. Regular weapons should be at a level of 13 to 15, while unique weapons should be at a level of 7 to 8.
The necessary actions for trophies or achievements in Nokron Eternal City are as follows:
- Enter Nokron via the crash site at Mistwood in Limgrave: Find the crash site located at Mistwood in Limgrave and enter Nokron from there.
- Defeat the Mimic Tear: Engage in a battle with the Mimic Tear and defeat it.
- Light the six pillars around Nokron: Discover and activate six pillars located around Nokron by lighting them.
- Interact with the deer carcass at the Hallowhorn Grounds: Find a deer carcass at the Hallowhorn Grounds and interact with it.
- Defeat the Regal Ancestor Spirit: Engage in a battle with the Regal Ancestor Spirit and defeat it.
- Head to the Night’s Sacred Ground: Progress to the Night’s Sacred Ground area.
- Obtain the Mimic Tear Spirit Ashes: Acquire the Mimic Tear Spirit Ashes within Nokron.
- Obtain the Fingerslayer Blade: Find and obtain the Fingerslayer Blade.
- Make your way to Siofra Aqueduct: Proceed to the Siofra Aqueduct area.
- Defeat the Valiant Gargoyle: Engage in a battle with the Valiant Gargoyle and defeat it.
Returning to Liurnia
To progress Ranni’s questline and achieve completion in Liurnia, follow these steps:
- Return to Ranni: Go back to Ranni and give her the Fingerslayer Blade you obtained earlier. In return, she will give you the Carian Inverted Statue.
- Visit the Carian Study Hall: Make your way to the Carian Study Hall in Liurnia.
- Place the Carian Inverted Statue: Find the altar in the Carian Study Hall and place the Carian Inverted Statue on it.
- Proceed to the Divine Tower of Liurnia: After placing the statue, proceed to the Divine Tower of Liurnia.
- Obtain the Cursemark of Death: Inside the Divine Tower, you will need to locate and obtain the Cursemark of Death.
Ainsel River, Nokstella Eternal City, and Lake of Rot

To navigate Ainsel River, Nokstella Eternal City, and Lake of Rot, it is recommended to have the following levels and weapon levels:
- Recommended minimum level: 80
- Recommended minimum weapon level: 13 to 15 for regular weapons, 7 to 8 for unique weapons.
To progress through Ainsel River, Nokstella Eternal City, and Lake of Rot, follow these steps:
- Enter Ainsel River: Access Ainsel River by using the Ainsel River Well in Liurnia.
- Defeat the Dragonkin Soldier of Nokstella: Encounter and defeat the Dragonkin Soldier in Nokstella.
- Enter Ainsel River from Renna’s Rise: Return to Renna’s Rise and access Ainsel River through the waygate.
- Obtain Miniature Ranni: Locate and obtain the Miniature Ranni item.
- Talk to Miniature Ranni: Interact with the Miniature Ranni at the Ainsel River Main Site of Grace.
- Head to Nokstella, Eternal City: Proceed to Nokstella, the Eternal City.
- Obtain the Moon of Nokstella: Acquire the Moon of Nokstella legendary talisman.
- Defeat the Baleful Shadow: Engage and defeat the Baleful Shadow enemy.
- Proceed to the Lake of Rot: Move on to the Lake of Rot area.
- Return to the Grand Library: Take the time to return to the Grand Library at the Academy of Raya Lucaria and obtain the Dark Moon Ring from a chest in the room.
- Cross the Lake of Rot: Traverse the Lake of Rot to progress further.
- Interact with the coffin: Find and interact with the coffin south of the temple at the Grand Cloister.
- Defeat Astel, Naturalborn of the Void: Engage in a battle against Astel, the Naturalborn of the Void.
- Use the elevator: After defeating Astel, use the elevator located past the boss arena to reach the Moonlight Altar.
Moonlight Altar
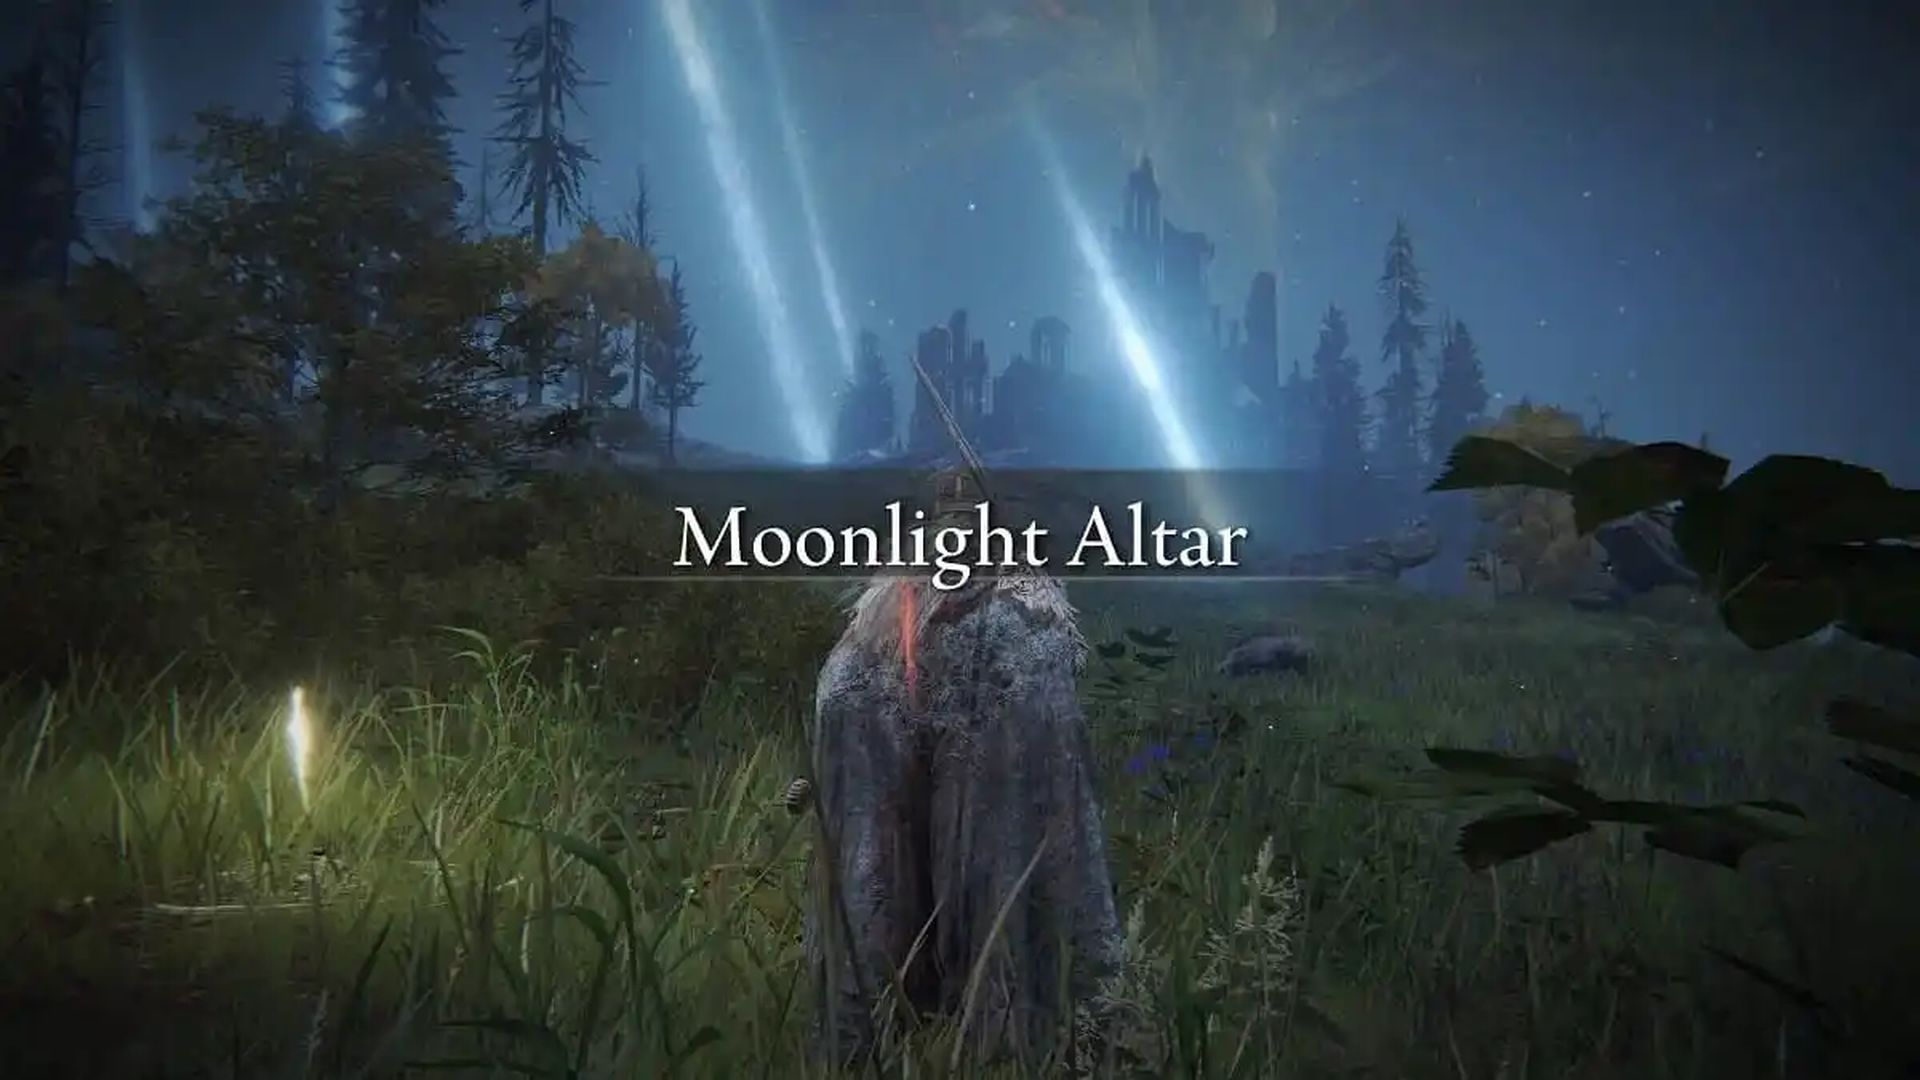
To navigate the Moonlight Altar and progress through the necessary actions, it is recommended to have the following levels and weapon levels:
- Recommended minimum level: 80
- Recommended minimum weapon level: 13 to 15 for regular weapons, 7 to 8 for unique weapons.
Here are the necessary actions to progress and achieve trophies or achievements in the Moonlight Altar:
- Head to the Cathedral of Manus Celes: Make your way to the Cathedral of Manus Celes in the Moonlight Altar area.
- Complete Ranni’s questline: Follow Ranni’s questline and complete all the required tasks. This will lead to obtaining the Dark Moon Greatsword as a reward.
- Go to the Ringleader’s Evergaol: Proceed to the Ringleader’s Evergaol and confront Alecto, the Black Knife Ringleader.
- Defeat Alecto, Black Knife Ringleader: Engage in battle and defeat Alecto to obtain the Black Knife Tiche Spirit Ashes.
Bellum Highway
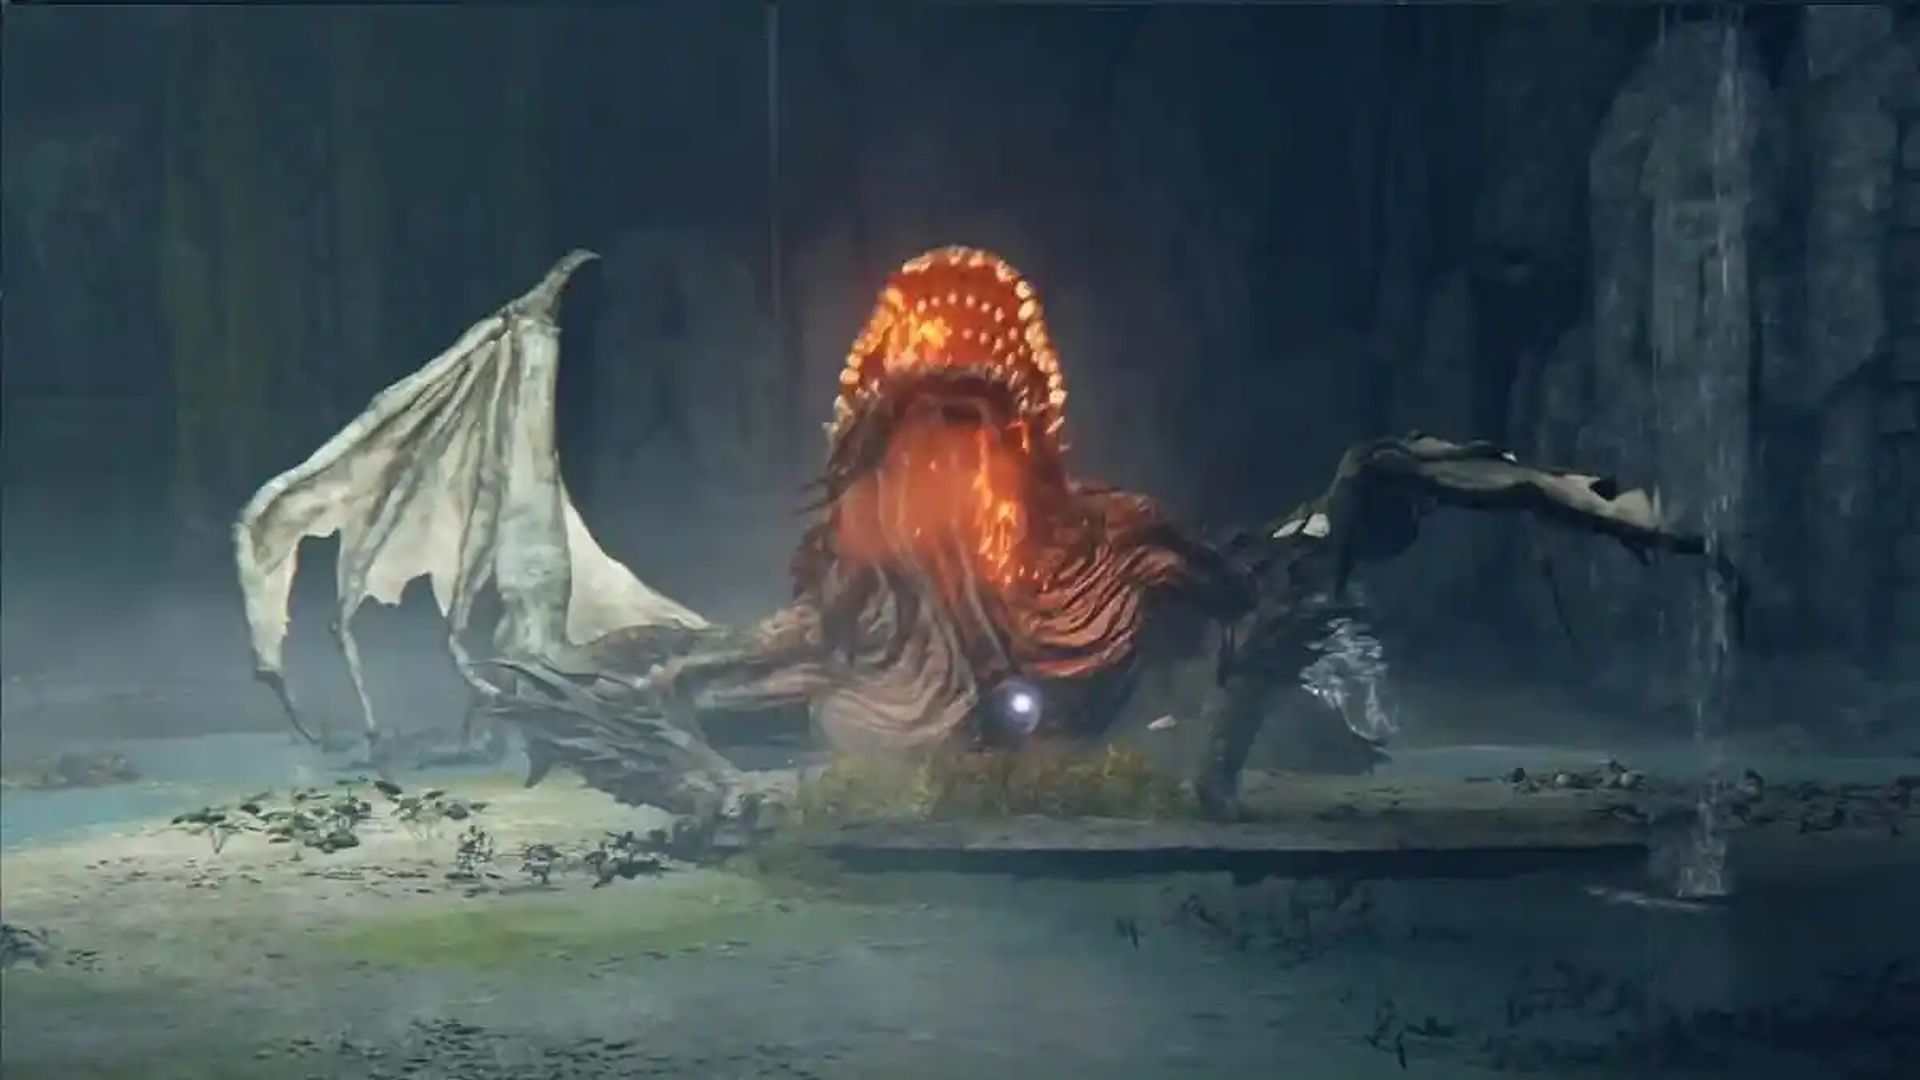
To traverse the Bellum Highway and accomplish the necessary actions for trophies or achievements, it is recommended to have the following levels and weapon levels:
Recommended minimum level: 60 – 80
Recommended minimum weapon level: 13 to 15 for regular weapons, 7 to 8 for unique weapons.
Here are the necessary actions to progress in the Bellum Highway:
- Make your way to the Ruin-Strewn Precipice: Begin your journey and head towards the Ruin-Strewn Precipice area along the Bellum Highway.
- Defeat Magma Wyrm Makar: Engage in combat with Magma Wyrm Makar and defeat it.
- Proceed to Altus Plateau: Continue your exploration and progress towards Altus Plateau.
Roundtable Hold
Upon reaching the Roundtable Hold in Altus Plateau, it is recommended to interact with the following NPCs to either initiate or progress their questlines:
- Brother Cohryn: Speak to Brother Cohryn and engage in a conversation with him. This interaction will likely trigger the start of his questline.
- Fia: Seek out Fia and have a conversation with her. This interaction may lead to the initiation or advancement of her questline.
- Dung Eater: Approach Dung Eater and engage in dialogue. This interaction could potentially initiate or progress Dung Eater’s questline.
Altus Plateau
In Altus Plateau, it is recommended to have a character level between 60 and 80 and possess weapons with a minimum level of 13 to 15 for regular weapons, or 7 to 8 for unique weapons. This ensures that you are adequately prepared to face the challenges and enemies within the area.
In Altus Plateau, it is recommended to perform the following actions to progress through the area and potentially earn trophies or achievements:
- Make your way to the Shaded Castle: Navigate to the Shaded Castle location within Altus Plateau.
- Defeat Elemer of the Briar: Engage in combat with Elemer of the Briar and emerge victorious to obtain the Marais Executioner’s Sword.
- Meet Brother Cohryn: Locate Brother Cohryn north of the Altus Highway Junction Site of Grace and initiate a conversation with him.
- Meet Goldmask: Find Goldmask within Altus Plateau and interact with them.
- Inform Brother Cohryn of Goldmask’s whereabouts: Return to Brother Cohryn and provide him with information regarding Goldmask’s location.
- Head to the Sainted Hero’s Grave: Proceed to the Sainted Hero’s Grave and face off against the Ancient Hero of Zamor. Defeating them will yield the Ancient Dragon Knight Kristoff Spirit Ashes.
- Head to the Golden Lineage Evergaol: Journey to the Golden Lineage Evergaol and defeat Godefroy the Grafted. This will grant you the Godfrey Icon talisman.
- Proceed to Mt. Gelmir: Access Mt. Gelmir by taking the Road of Iniquity Side Path.
Mt. Gelmir
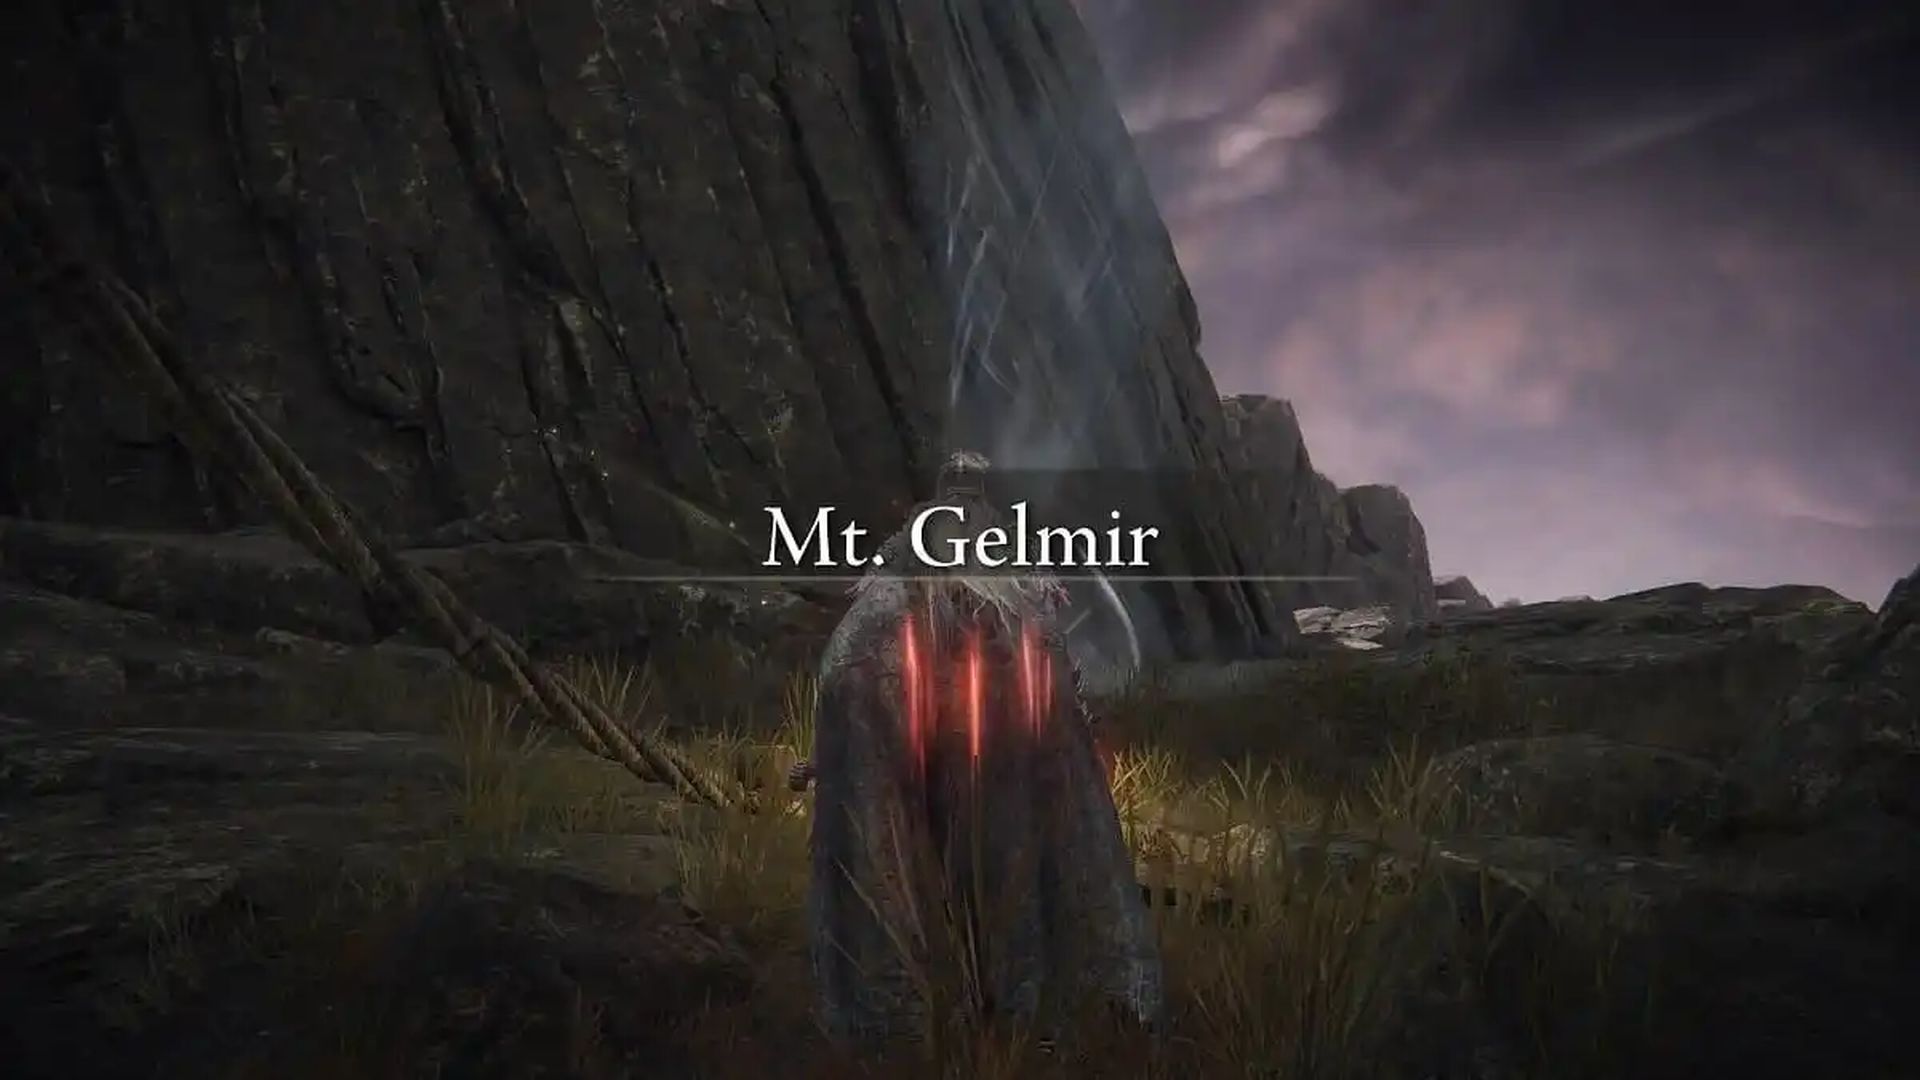
In Mt. Gelmir, it is recommended to have a character level between 60 and 80 and possess weapons with a minimum level of 13 to 15 for regular weapons, or 7 to 8 for unique weapons.
To progress and potentially earn trophies or achievements, you should:
- Obtain Comet Azur by defeating Primeval Sorcerer Azur.
- Proceed to Volcano Manor.
Limgrave and Caelid Detour
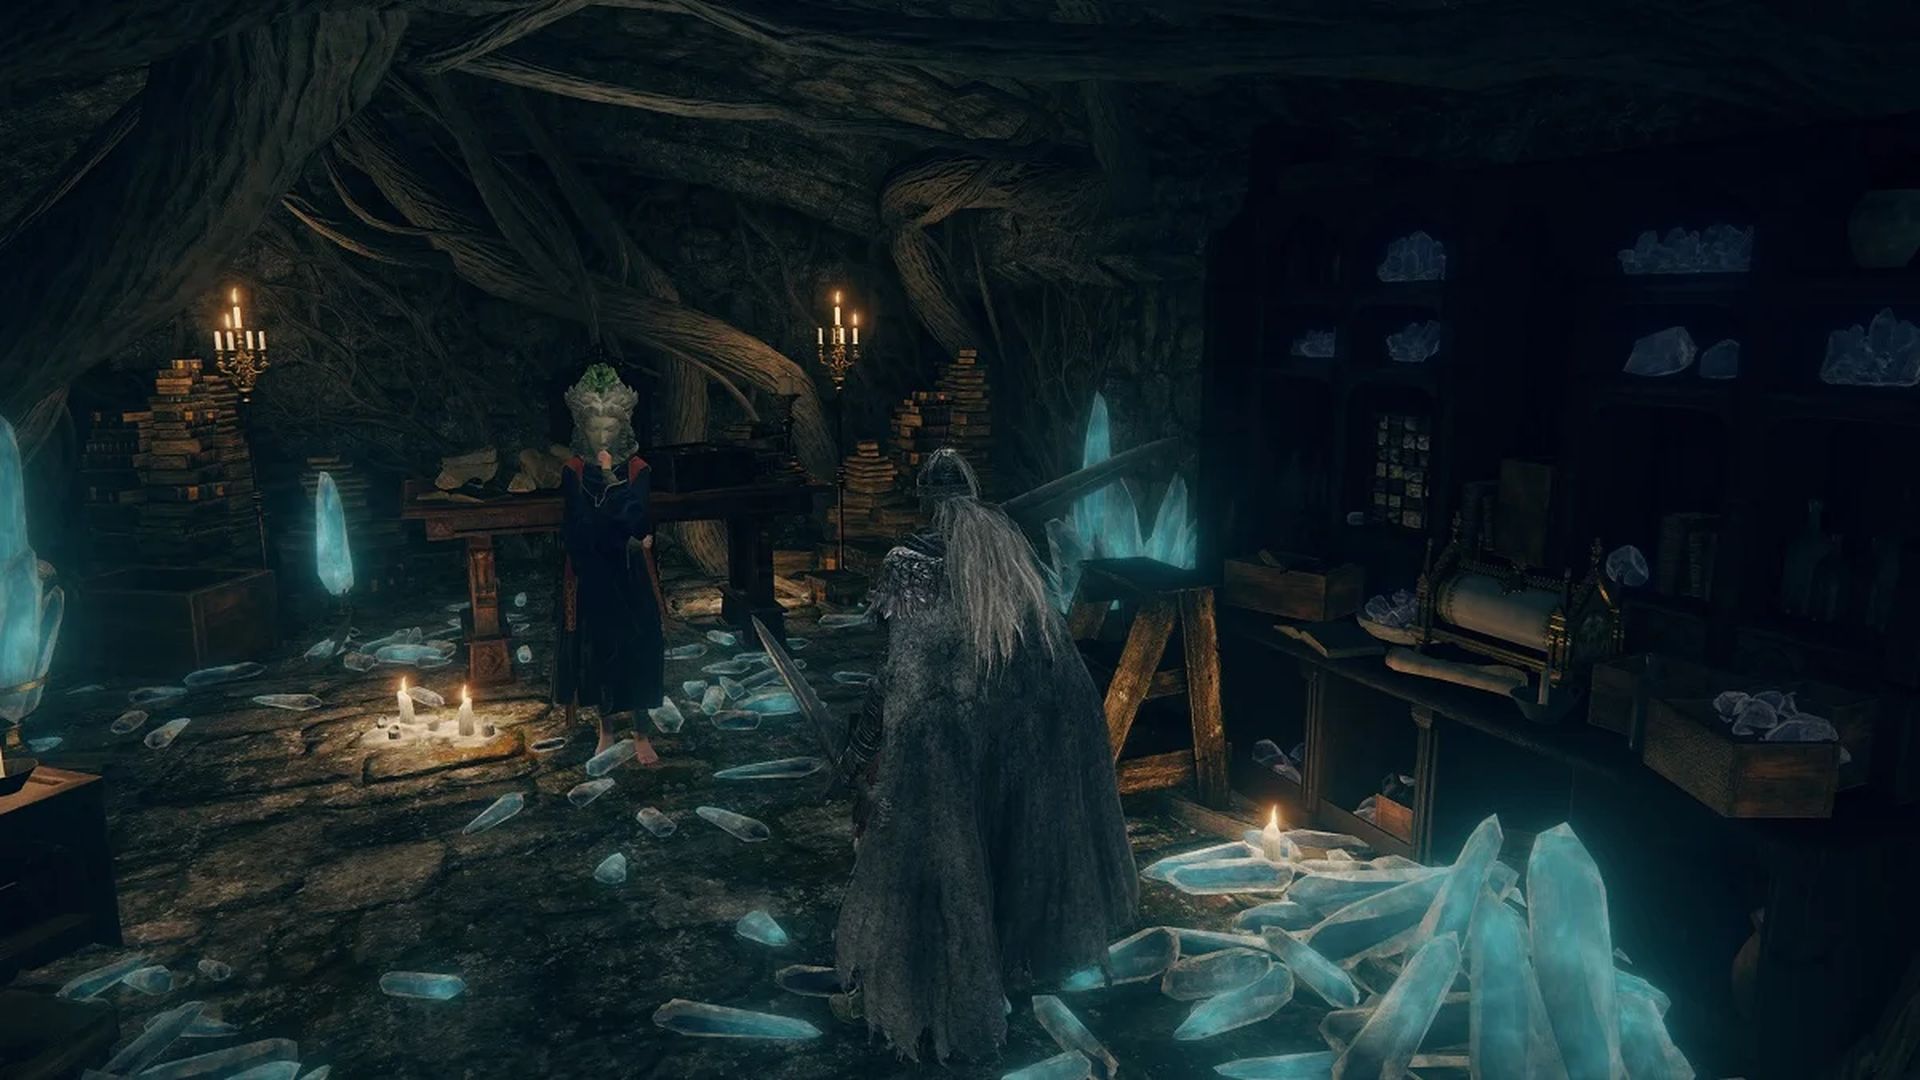
To complete this detour and obtain the legendary spell Stars of Ruin, follow these steps:
- Return to Sellen at the Waypoint Ruins. She will request you to find Master Lusat and give you the Sellian Sealbreaker key.
- Head to Sellia Hideaway in Caelid. Use the Sellian Sealbreaker to remove the seal in the second pit, granting you access to Master Lusat.
- Interact with Master Lusat to receive the Stars of Ruin legendary sorcery spell.
Completing this detour will enhance your completionist journey and provide you with the powerful Stars of Ruin sorcery spell.
Volcano Manor

Volcano Manor is a challenging area, and it is recommended to have the following levels and weapon levels to tackle it:
- Recommended minimum level: 60 to 80
- Recommended minimum weapon level: 13 to 15 for regular weapons, 7 to 8 for unique weapons.
To progress in Volcano Manor and fulfill the necessary actions for trophies or achievements, follow these steps:
- Speak to Tanith and join Volcano Manor. This will allow you to take on assassination contracts.
- Complete Volcano Manor assassination contracts by eliminating the designated targets. You can find the targets marked with red icons on the map.
- After fulfilling one Volcano Manor contract, speak to Bernahl.
- Fulfill Bernahl’s contract.
- Progress through the game until you reach Leyndell and the Mountaintops of the Giants.
- Fulfill each contract in Leyndell and the Mountaintops of the Giants and return to Volcano Manor afterward.
- Defeat Godskin Noble at the Temple of Eiglay.
- Obtain a Seedbed Curse.
- Once you have completed every contract for Volcano Manor, defeat Rykard, Lord of Blasphemy.
Capital Outskirts
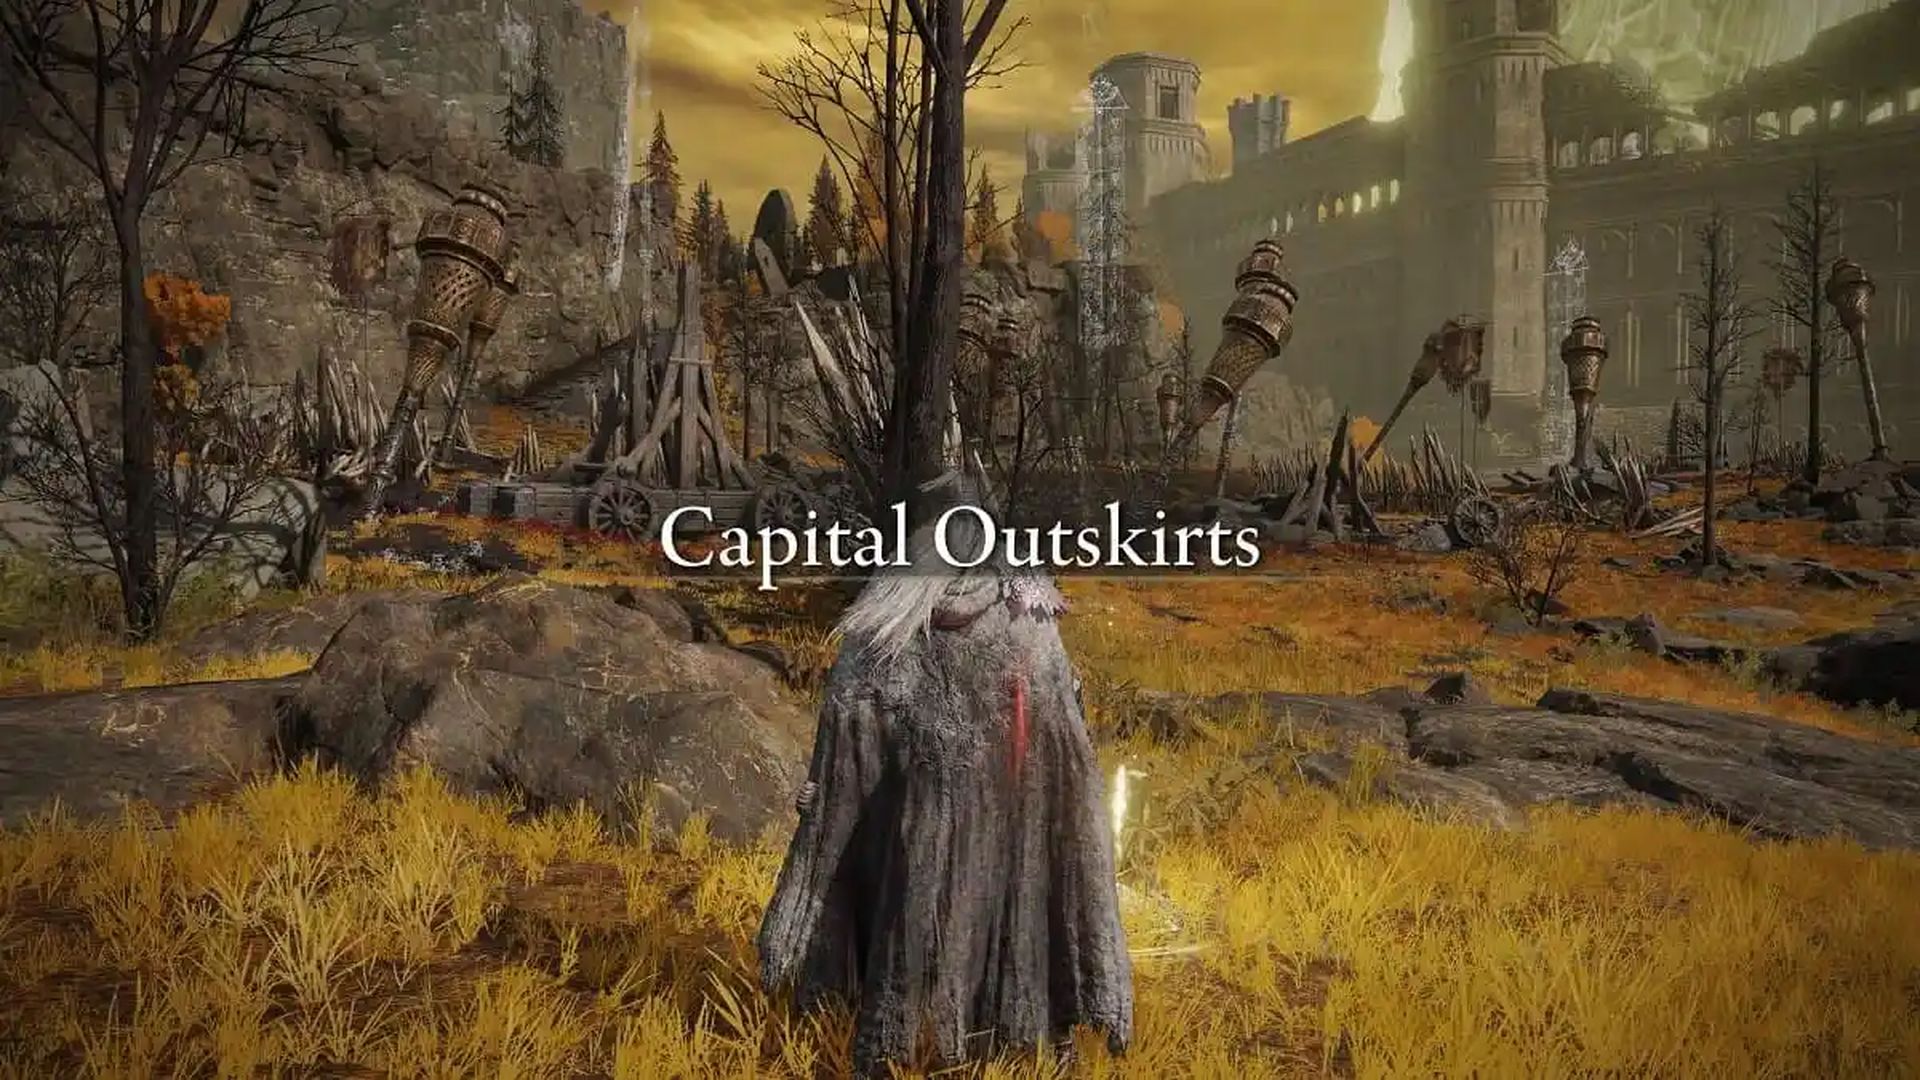
Capital Outskirts is a challenging area, and it is recommended to have the following levels and weapon levels to tackle it:
- Recommended minimum level: 60 to 80
- Recommended minimum weapon level: 13 to 15 for regular weapons, 7 to 8 for unique weapons.
To progress in the game and earn trophies or achievements, you need to defeat the Draconic Tree Sentinel guarding the northeastern gate to Leyndell and enter Leyndell. These actions are necessary to advance the storyline and explore new areas.
Leyndell, Royal Capital

Leyndell, Royal Capital is a challenging area in the game, and it is recommended to have the following levels and weapon levels to tackle it:
- Recommended minimum level: 80 to 100
- Recommended minimum weapon level: 16 to 18 for regular weapons, 7 to 8 for unique weapons.
To progress in the game and earn trophies or achievements in Leyndell, you need to accomplish the following actions:
- Obtain the Seedbed Curse past the East Capital Rampart Site of Grace.
- Obtain the Seedbed Curse in the Fortified Manor.
- Defeat Godfrey, First Elden Lord.
- Obtain the Golden Order Principia.
- Give the Golden Order Principia to either Brother Cohryn or Pastor Miriel and learn the Law of Regression Incantation.
- Use the Law of Regression across the statue of Marika, northwest of the Erdtree Sanctuary.
- Speak to Cohryn and Goldmask in Leyndell and reveal the secret regarding Radagon and Marika.
- Defeat Morgott, the Omen King.
- Attempt to enter the Erdtree.
Dragonbarrow

Dragonbarrow is a challenging region in the game, and it is recommended to have the following levels and weapon levels to tackle it:
- Recommended minimum level: 100 to 120
- Recommended minimum weapon level: 19 to 21 for regular weapons, 9 to maximum for unique weapons.
To achieve 100% completion of the platinum trophy in Dragonbarrow, you need to perform the following actions:
- Head to Fort Faroth and obtain Radagon’s Soreseal.
- Kill Elder Dragon Greyoll.
- After defeating Greyoll, go to the Cathedral of Dragon Communion in Caelid and purchase the Greyoll’s Roar incantation.
Subterranean Shunning-Grounds
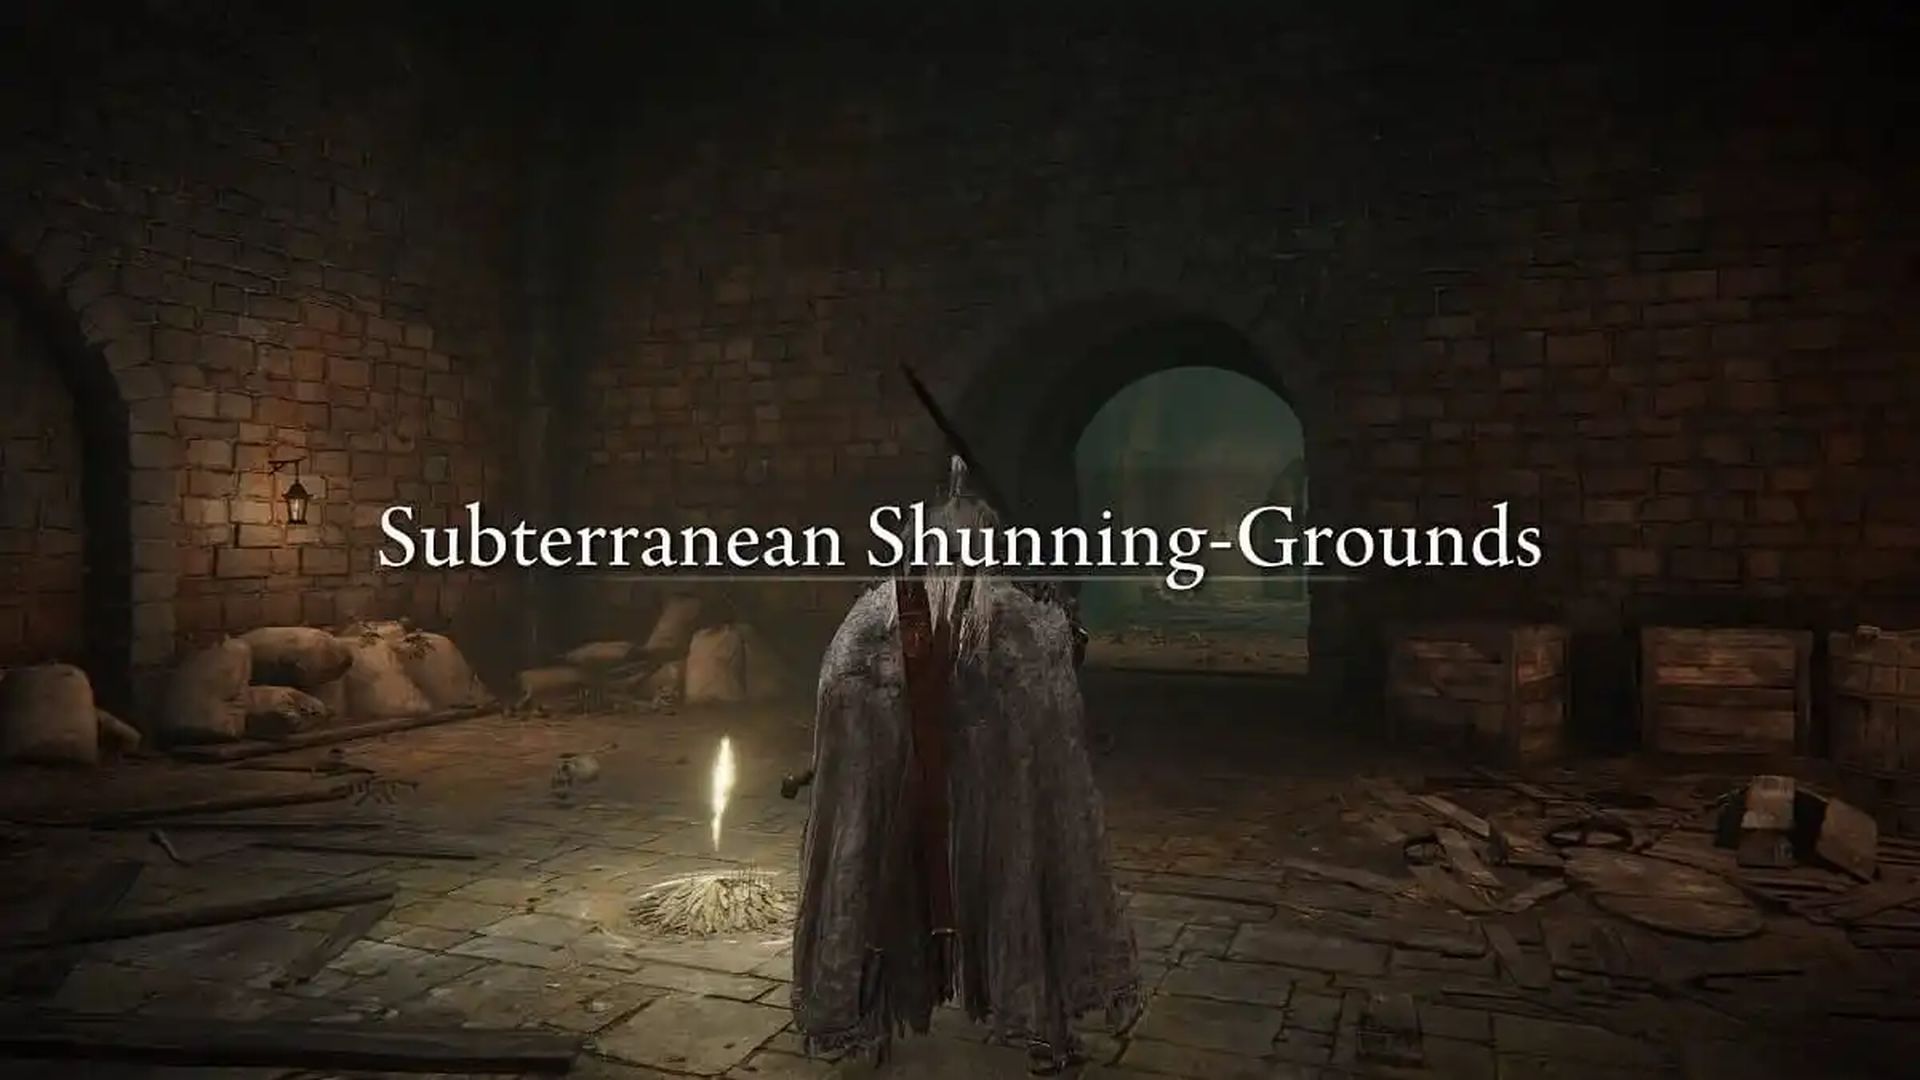
The Subterranean Shunning-Grounds is a challenging area in the game, and it is recommended to have the following levels and weapon levels to tackle it:
- Recommended minimum level: 100 to 120
- Recommended minimum weapon level: 19 to 21 for regular weapons, 9 to maximum for unique weapons.
To progress and complete necessary actions for trophies or achievements in the Subterranean Shunning-Grounds, follow these steps:
- Find the Dung Eater’s physical body.
- Give the Dung Eater five Seedbed Curses and obtain the Mending Rune of the Fell Curse from him.
- Descend to the Forgotten Chapel.
- Defeat Mohg, the Omen.
- Continue descending until you reach the Frenzied Flame Proscription.
- Activate the Site of Grace but do not enter the room of the Three Fingers yet.
Deeproot Depths
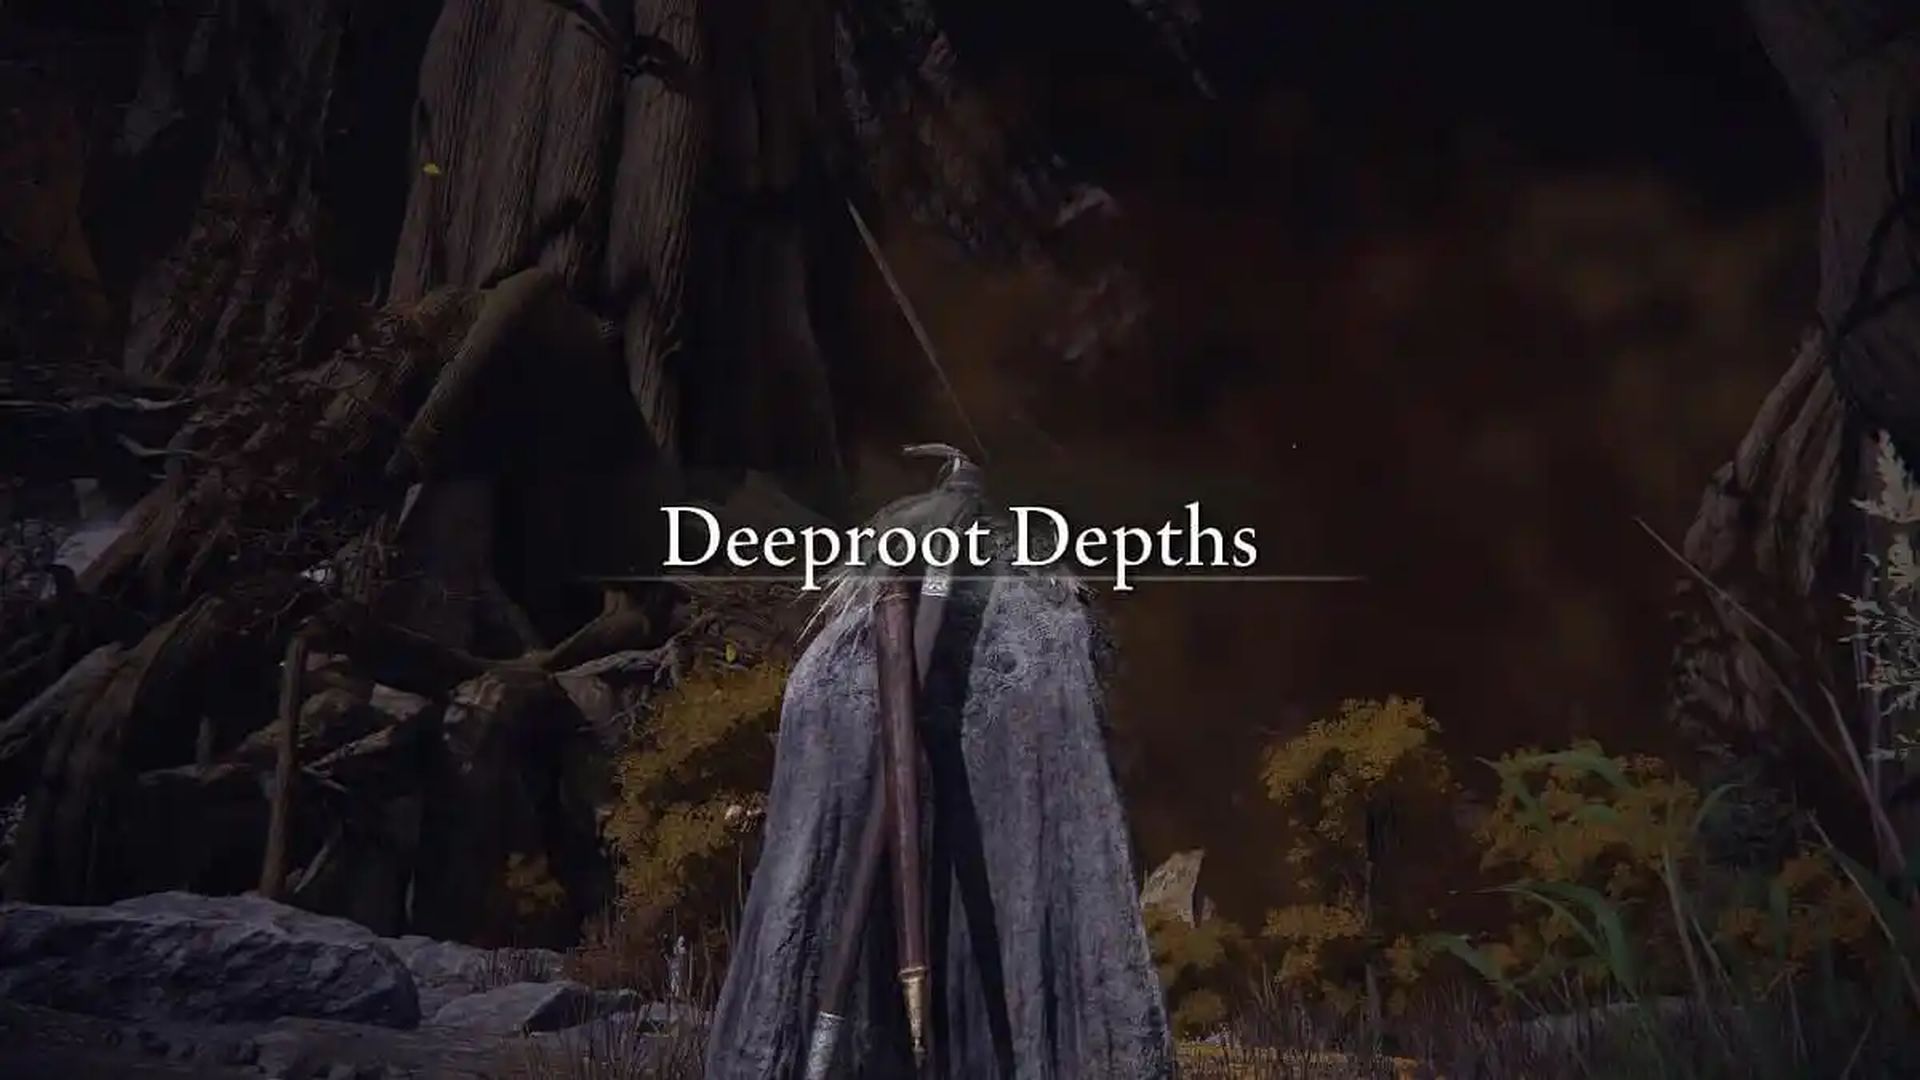
- Recommended minimum level: 100 to 120
- Recommended minimum weapon level: 19 to 21 for regular weapons, 9 to maximum for unique weapons.
To progress through Deeproot Depths and complete the necessary actions for trophies or achievements, follow these steps:
- Arrive at Deeproot Depths by either interacting with the coffin at the Valiant Gargoyles’ boss room in Siofra Aqueduct or via the hidden entrance at the Frenzied Flame Proscription.
- Obtain the Elden Stars incantation.
- Make your way to the Prince of Death’s Throne.
- Defeat Fia’s Champions.
- Speak to Fia, be held by her, and give her the Cursemark of Death.
- Enter Fia’s dream.
- Defeat Lichdragon Fortissax.
- Receive the Mending Rune of the Death Prince.
Mountaintops of the Giants
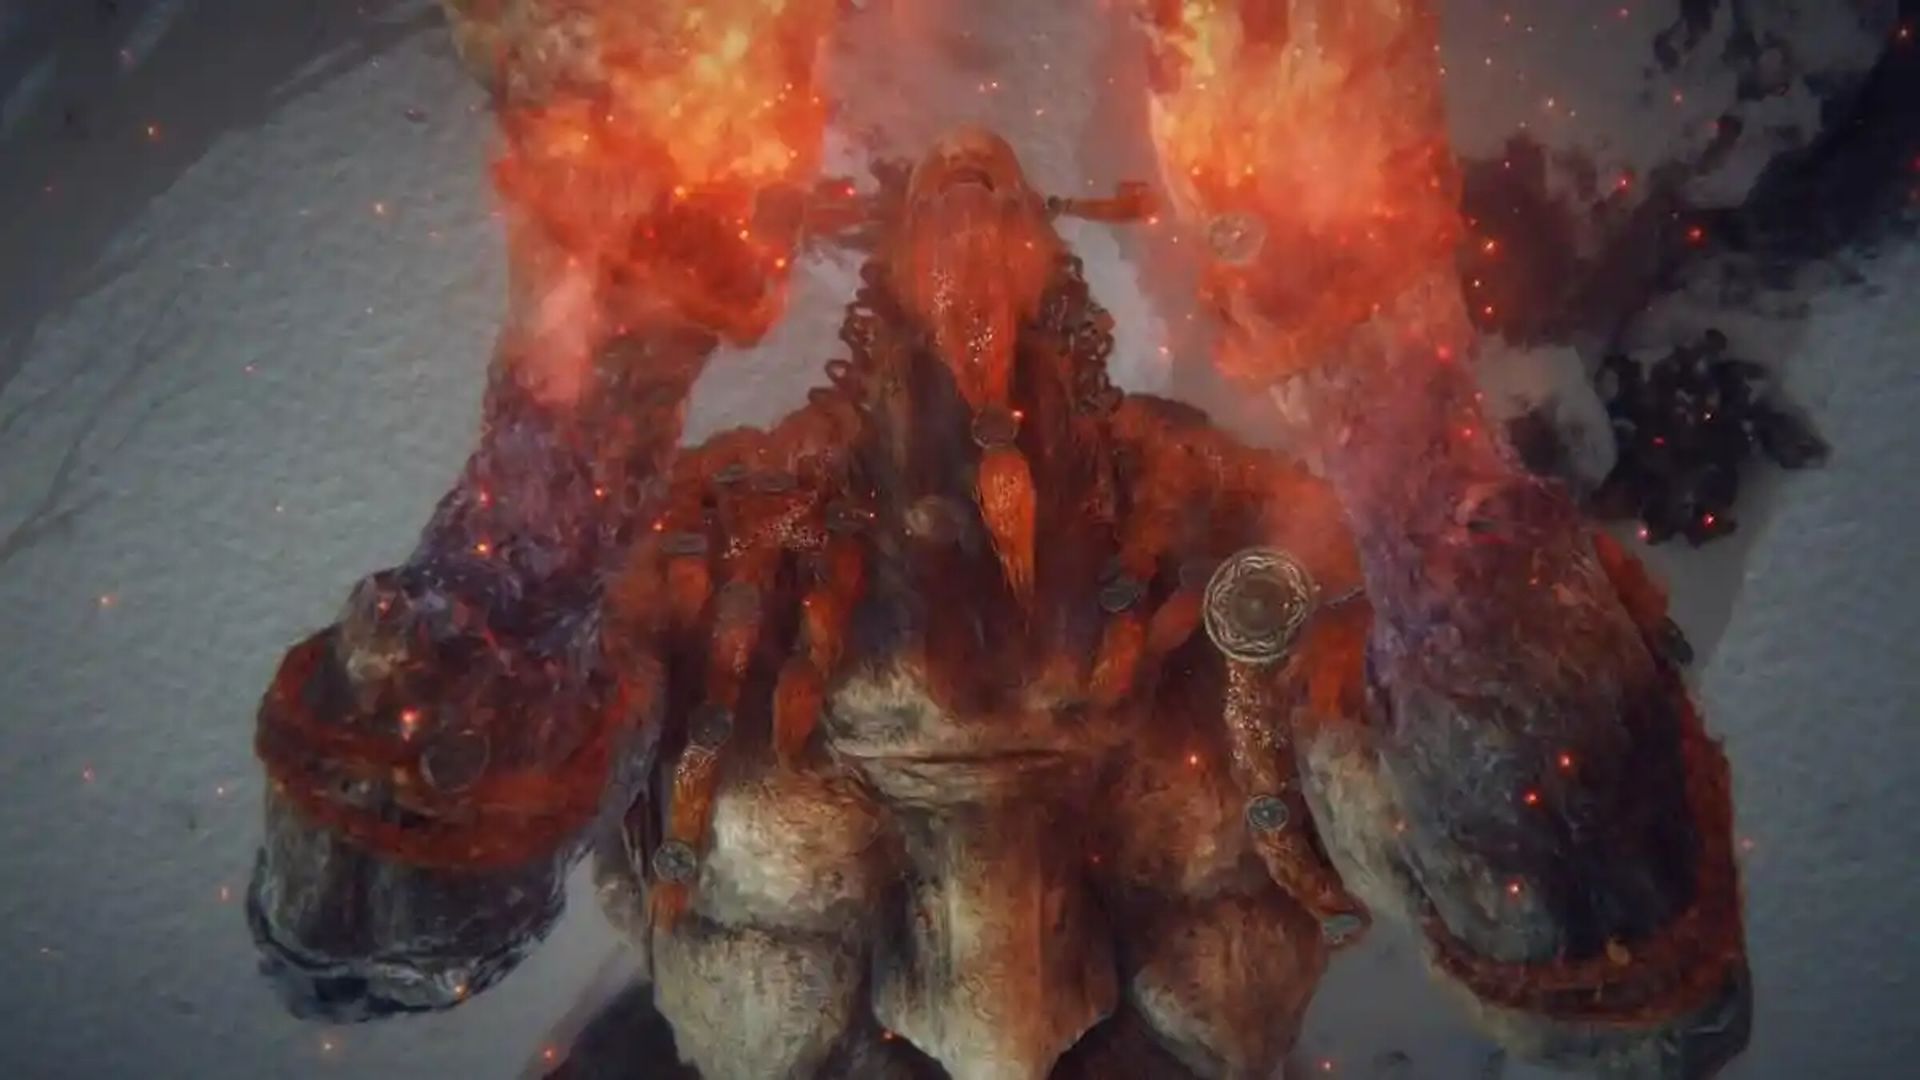
- Recommended minimum level: 100 to 120
- Recommended minimum weapon level: 22 to maximum level for regular weapons, maximum for unique weapons.
To progress through Mountaintops of the Giants and complete necessary actions for trophies or achievements, follow these steps:
- Make your way to the Grand Lift of Rold.
- Find and speak to Goldmask and Brother Cohryn.
- Proceed to Castle Sol.
- Obtain the Eclipse Shotel.
- Defeat Commander Niall.
- Obtain the Haligtree Secret Medallion (Left).
- Head to Heretical Rise and acquire the Founding Rain of Stars sorcery.
- Defeat the Fire Giant.
- Set the Erdtree aflame at the Forge of the Giants.
Crumbling Farum Azula
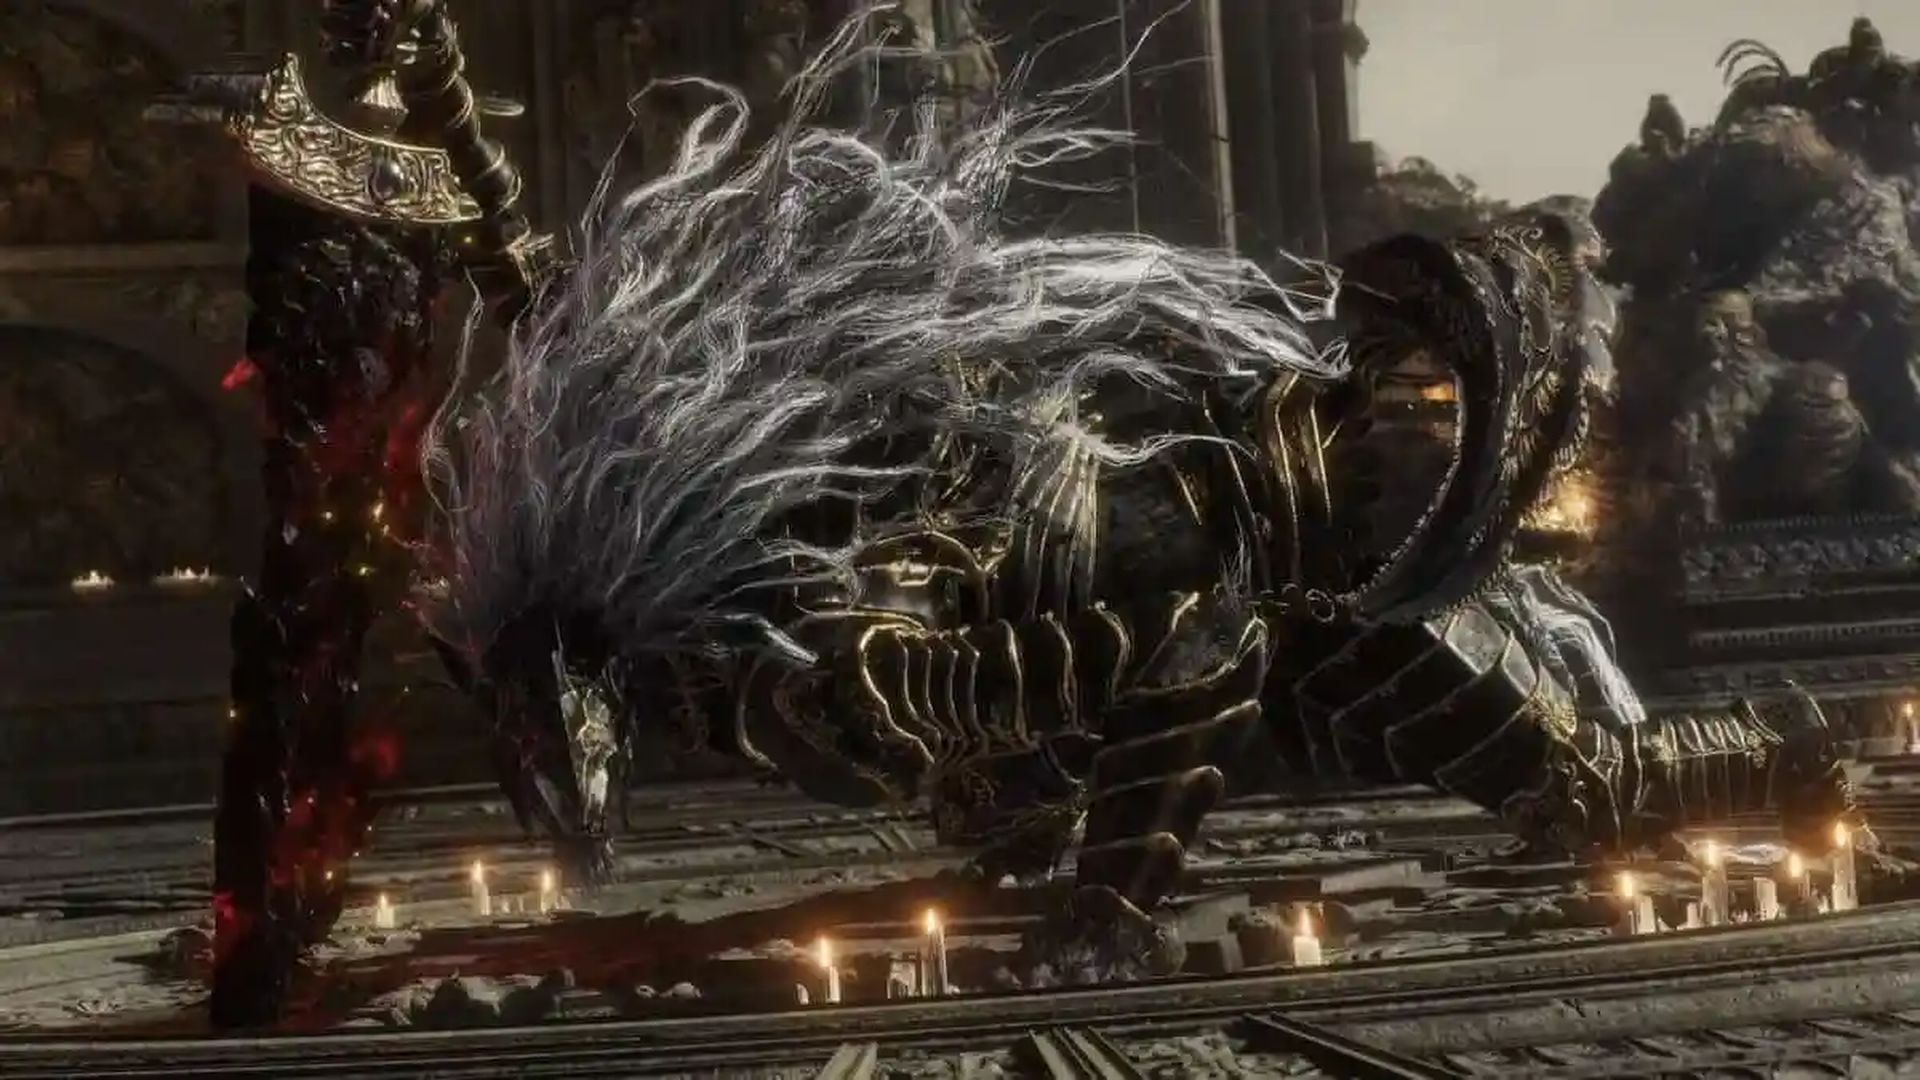
- Recommended minimum level: 100 to 120
- Recommended minimum weapon level: Max level for any weapon.
To progress through Crumbling Farum Azula and achieve certain trophies or achievements, follow these steps:
- Confront and defeat the formidable Godskin Duo.
- Engage in a challenging battle against Recusant Bernahl and claim the Devourer’s Scepter as your reward.
- Seek out and obtain the ancient Old Lord’s Talisman.
- Navigate through the treacherous corridors and reach the boss room of Dragonlord Placidusax.
- Face the mighty Dragonlord Placidusax in an epic showdown.
- Finally, overcome the formidable Beast Clergyman or Maliketh, the Black Blade, in a decisive battle.
Leyndell, Capital of Ash

- Recommended minimum level: 100 to 120
- Recommended minimum weapon level: Max level for any weapon.
To progress through Leyndell and achieve certain trophies or achievements, follow these steps:
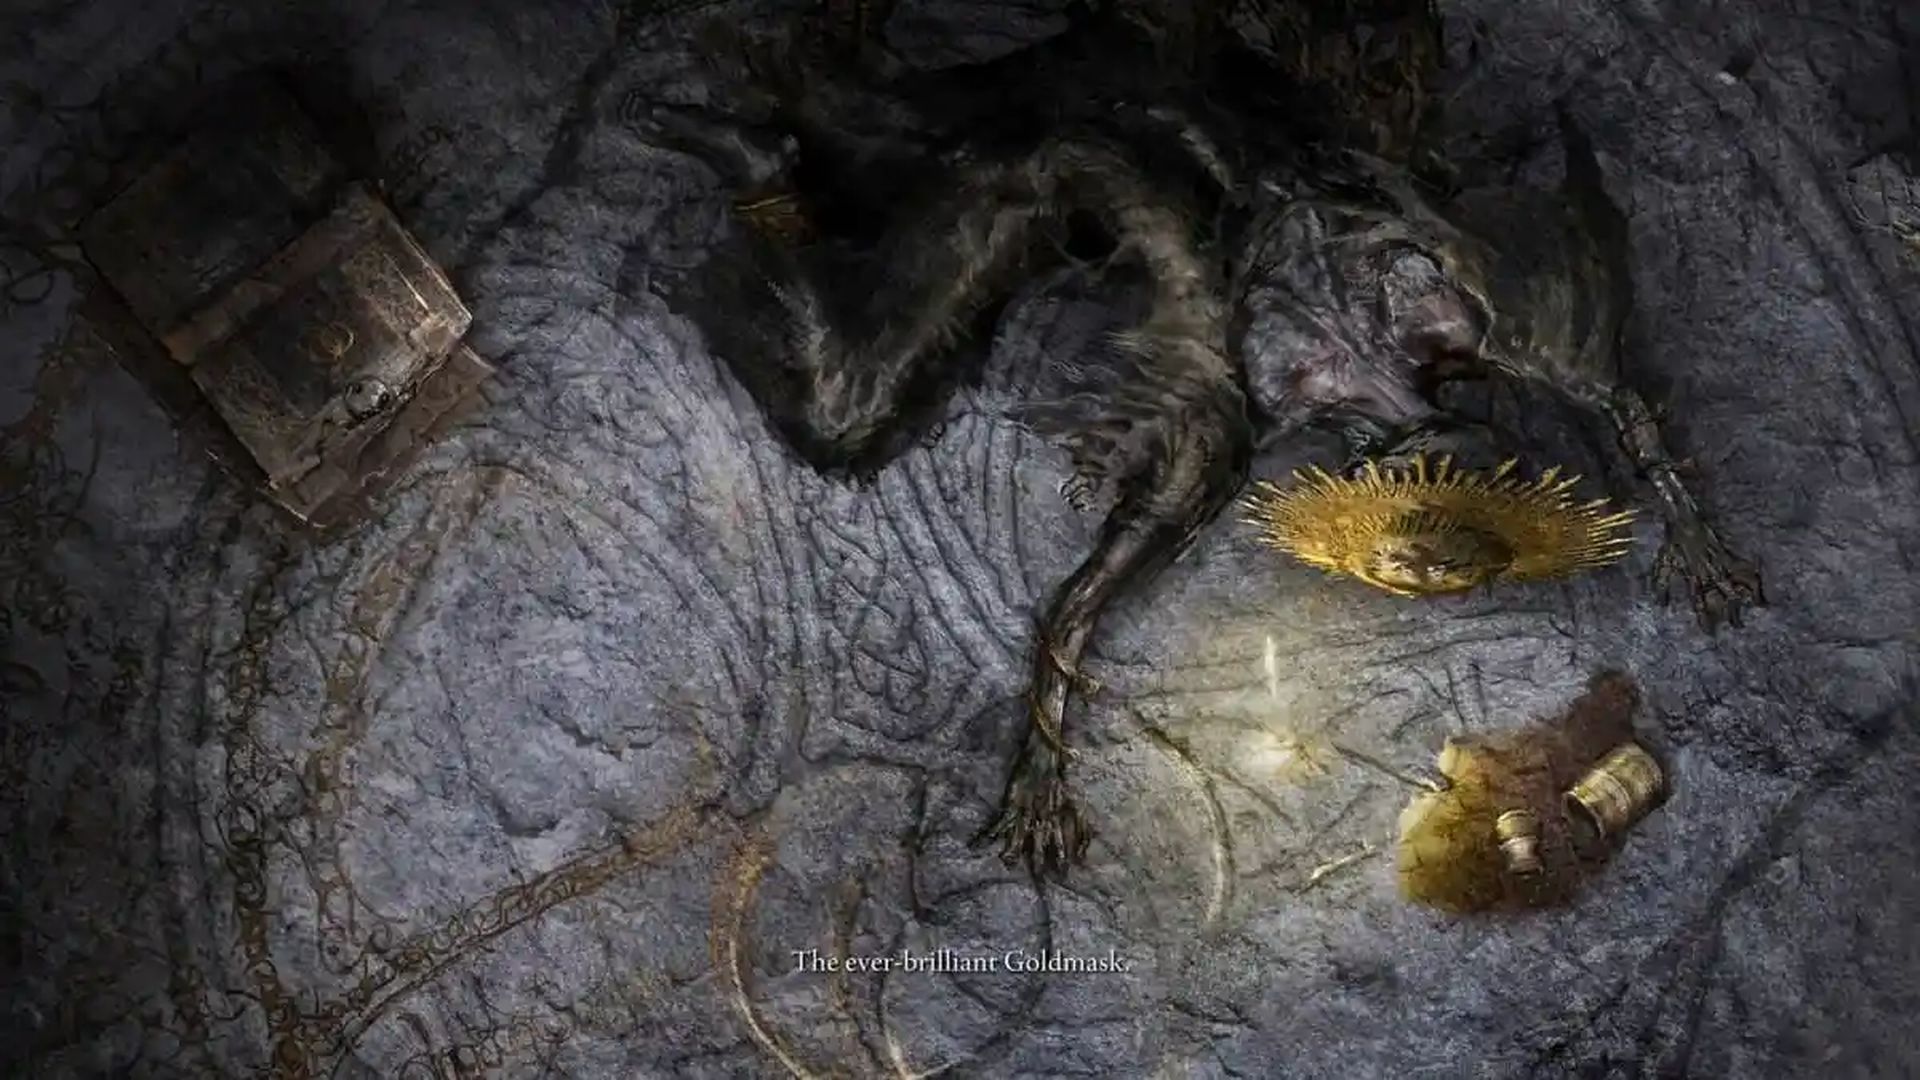
- Search for Goldmask’s body and retrieve the powerful Mending Rune of Perfect Order.
- Obtain the Erdtree’s Favor +2 talisman, which will enhance your abilities.
- Engage in a challenging battle against Sir Gideon, the All-Knowing, a formidable opponent.
- Face the ultimate showdown against Godfrey, First Elden Lord or Hourah Loux, Warrior, depending on the chosen path.
- Access the heart of the Erdtree and confront Radagon of the Golden Order or Elden Beast in a final battle.
- Reach the Stone Platform, a critical juncture. However, hold off on mending the Elden Ring by interacting with Marika’s body, as there are still more tasks to be completed before concluding the game.
Consecrated Snowfield
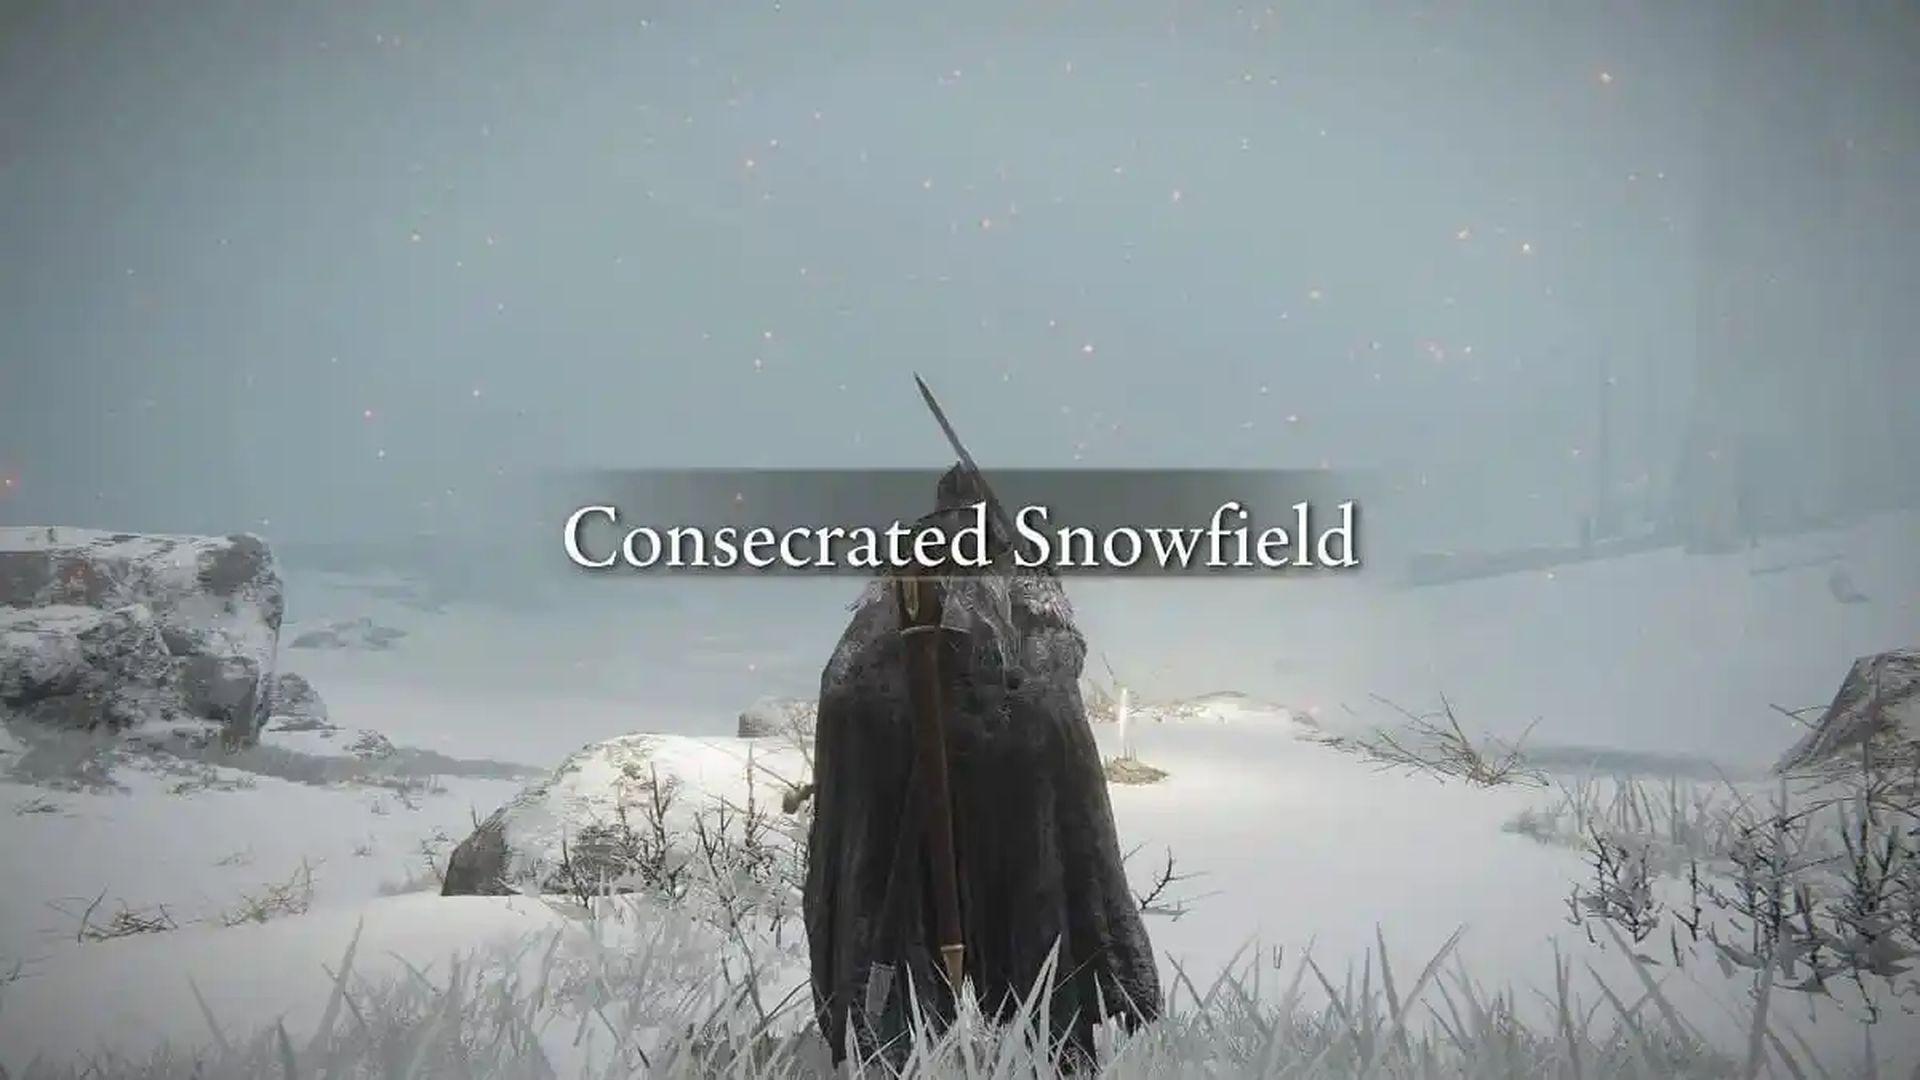
- Recommended minimum level: 100 to 120
- Recommended minimum weapon level: Max level for any weapon.
To progress through the Consecrated Snowfield and achieve certain trophies or achievements, follow these steps:
- Make your way to the Grand Lift of Rold and interact with it to hoist the secret medallion.
- Use the waygate that teleports you to Mohgwyn Palace, a significant location in the region.
- Proceed to Ordina, Liturgical Town, and face a puzzle that needs to be solved to gain access to the waygate leading to Miquella’s Haligtree.
- Explore the Cave of the Forlorn and obtain the powerful Golden Order Greatsword, a legendary weapon of immense strength.
Mohgwyn Palace
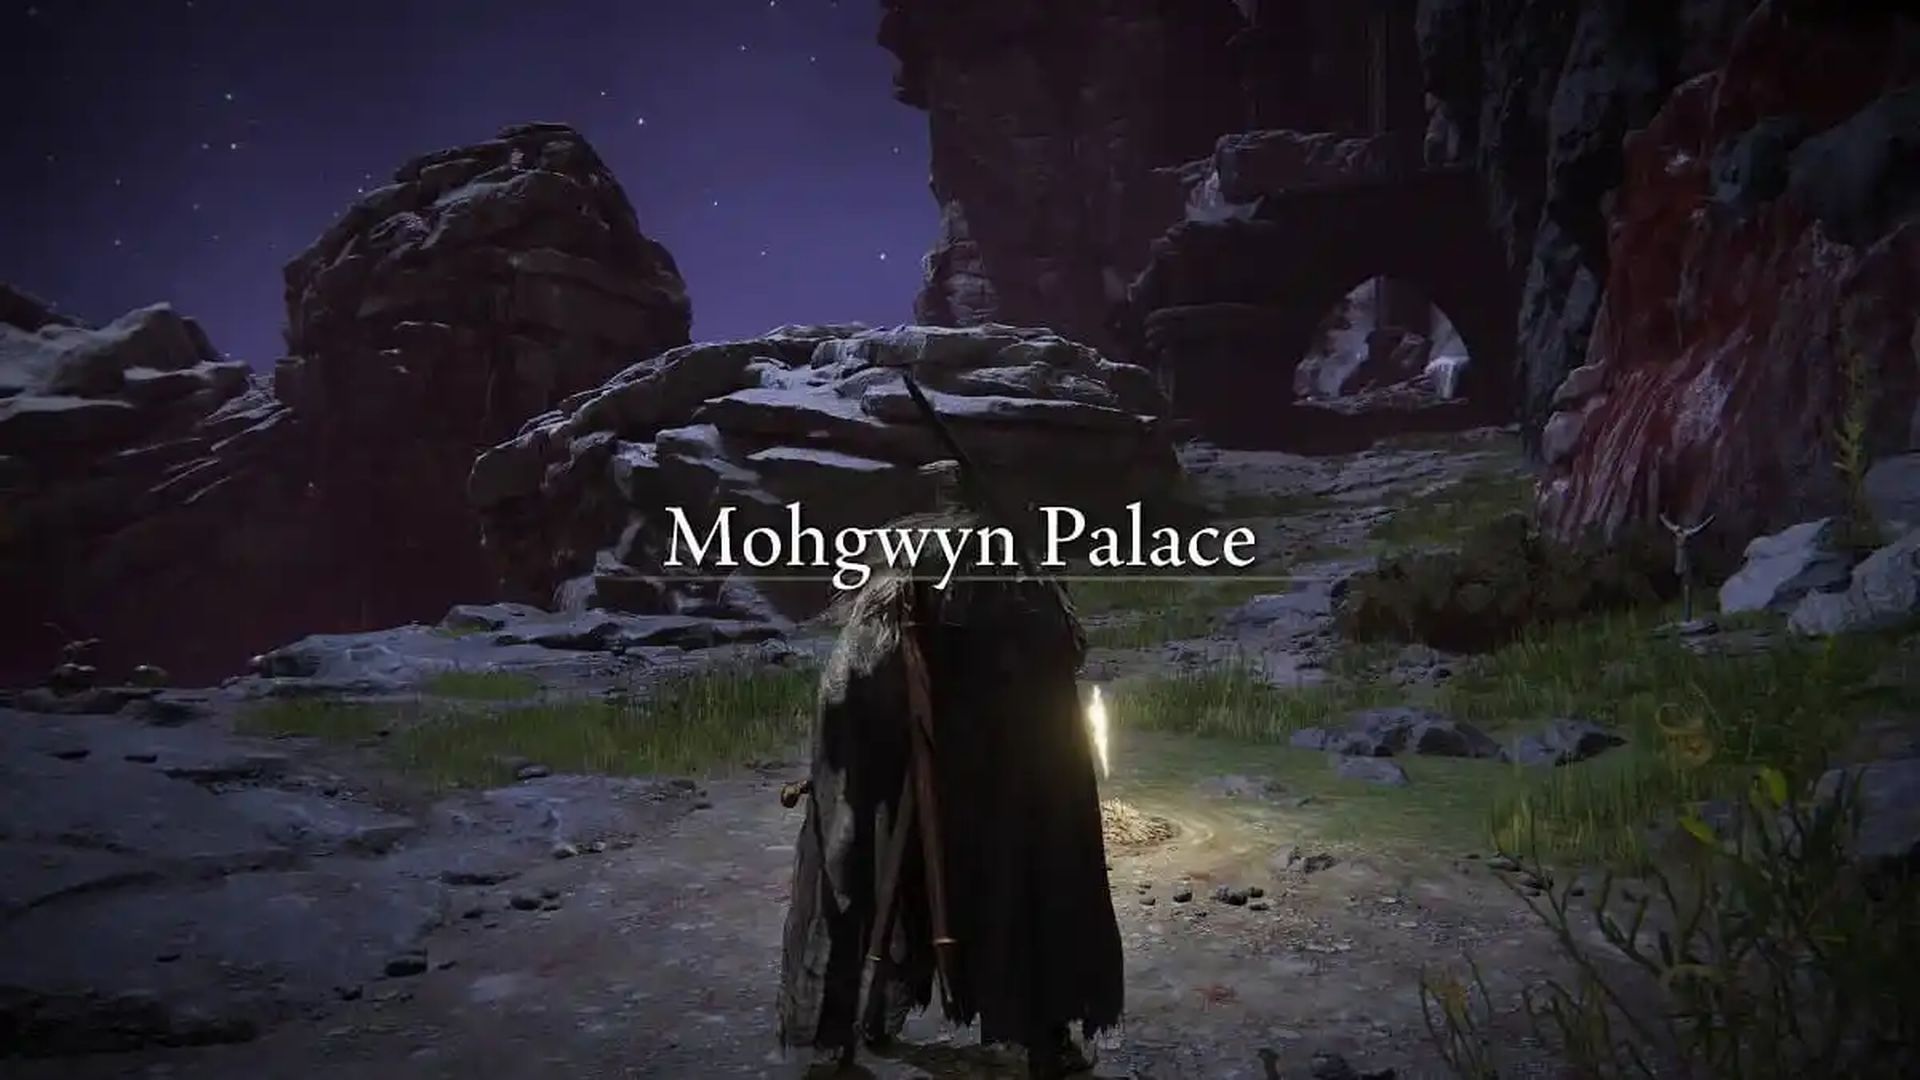
- Recommended minimum level: 120 to 150
- Recommended minimum weapon level: Max level for any weapon.
To progress through the Mohgwyn Palace and achieve certain trophies or achievements, follow these steps:
- Defeat Mohg, Lord of Blood.
Miquella’s Haligtree

- Recommended minimum level: 120 to 150
- Recommended minimum weapon level: Max level for any weapon.
To progress through Miquella’s Haligtree and achieve the associated trophy or achievement, you need to complete several necessary actions. Here is a breakdown of the actions you need to take:
- Obtain two Seedbed Curses: Search the area and collect two Seedbed Curses, which are likely hidden or guarded.
- Defeat Loretta, Knight of the Haligtree: Engage in combat with Loretta, a formidable knight guarding the Haligtree. Utilize your combat skills and strategies to defeat her.
- Obtain the Cleanrot Knight Finlay Spirit Ashes: Defeat the Cleanrot Knight Finlay and obtain his Spirit Ashes.
- Obtain the Marika Soreseal Talisman: Locate and acquire the Marika Soreseal Talisman, which may be hidden or require solving a puzzle.
- Get the Dragoncrest Greatshield Talisman: Find and obtain the Dragoncrest Greatshield Talisman, which may require exploration or defeating a specific enemy.
- Defeat Malenia, Blade of Miquella: Engage in battle with Malenia, a powerful adversary known as the Blade of Miquella. Employ your combat prowess and strategies to overcome her.
Completing these necessary actions will progress your journey in Miquella’s Haligtree and contribute to earning the corresponding trophy or achievement.
All endings
To achieve 100% completion or the platinum trophy in Elden Ring, you’ll need to unlock every ending in the game. The process involves save scumming, which means uploading your save data to the cloud or transferring it to an external drive, then reloading it later on. Here’s a step-by-step guide to unlocking the endings:
- Head to the Stone Platform in the game.
- Exit the game and upload your save data or transfer it to an external drive.
- Return to the game and unlock one of the endings.
- Once you’ve earned the achievement or trophy for that ending, reload your save file from the cloud or external drive.
- Unlock another ending by making different choices or following a different path.
- Repeat the process one more time to unlock the third and final ending tied to an achievement or trophy.
Keep in mind that there are seven endings in total, but only three of them are directly tied to achievements or trophies: the Elden Lord ending, the Lord of Frenzied Flame ending, and the Age of the Stars ending. The other four endings, namely the Age of Fracture, Blessing of Despair, Age of the Duskborn, and Age of Order, are variations of the Elden Lord ending.
By save scumming and following this guide, you’ll be able to unlock all the necessary endings for 100% completion or the platinum trophy in Elden Ring. As we’ve mentioned, Age of Fracture is the normal ending of the game. Here are all the other endings:
- Blessing of Despair: This ending is associated with Dung Eater, and can be achieved by bestowing five Seedbed Curses upon his physical form.

- Age of the Duskborn: This ending is connected to Fia and Godwyn. To unlock this ending, you must successfully complete Fia’s quest line and obtain the Mending Rune.
- Age of Order: Goldmask is tied to this ending. By successfully traversing his quest line, you will obtain the Mending Rune of Perfect Order and reach the Age of Order ending.
- Lord of Frenzied Flame: Upon inheriting the Frenzied Flame from the Three Fingers, you will attain this ending. However, obtaining Miquella’s Needle and utilizing it on yourself in Dragonlord Placidusax’s boss chamber is required to unlock other endings.

- Age of the Stars: Ranni the Witch is associated with this ending. If you complete her quest line, you will have the opportunity to summon Ranni at the Stone Platform and unlock the Age of the Stars ending.

If you’ve made your way to the end of this entire guide on Elden Ring story progression route and endings guide, now you should be familiar with almost all aspects of our beloved game, Elden Ring. Make sure to be thorough with all the tasks you undertake, in order not to waste any precious time. Check out our other articles about the game to ensure that you are getting all the help you need:

