How to collect beacon data Star Rail is a question that players struggle with a lot. Honkai: Star Rail is an exciting game that offers a wide range of quests and challenges for players. One such quest is the Signs of Fragmentum, which requires players to collect data from beacons called Wubbaboos. However, finding these beacons and collecting the data can be challenging without clear instructions. In this guide, we’ll provide step-by-step instructions on how to collect data from each beacon in all three stages of the Signs of Fragmentum quest.
Whether you’re a seasoned player looking to complete the quest or a newcomer to Honkai: Star Rail, this guide will help you successfully collect data from all beacons and earn rewards along the way.

How to collect beacon data Star Rail quest
To collect data from beacons in Honkai: Star Rail, players must first trigger the Signs of Fragmentum.
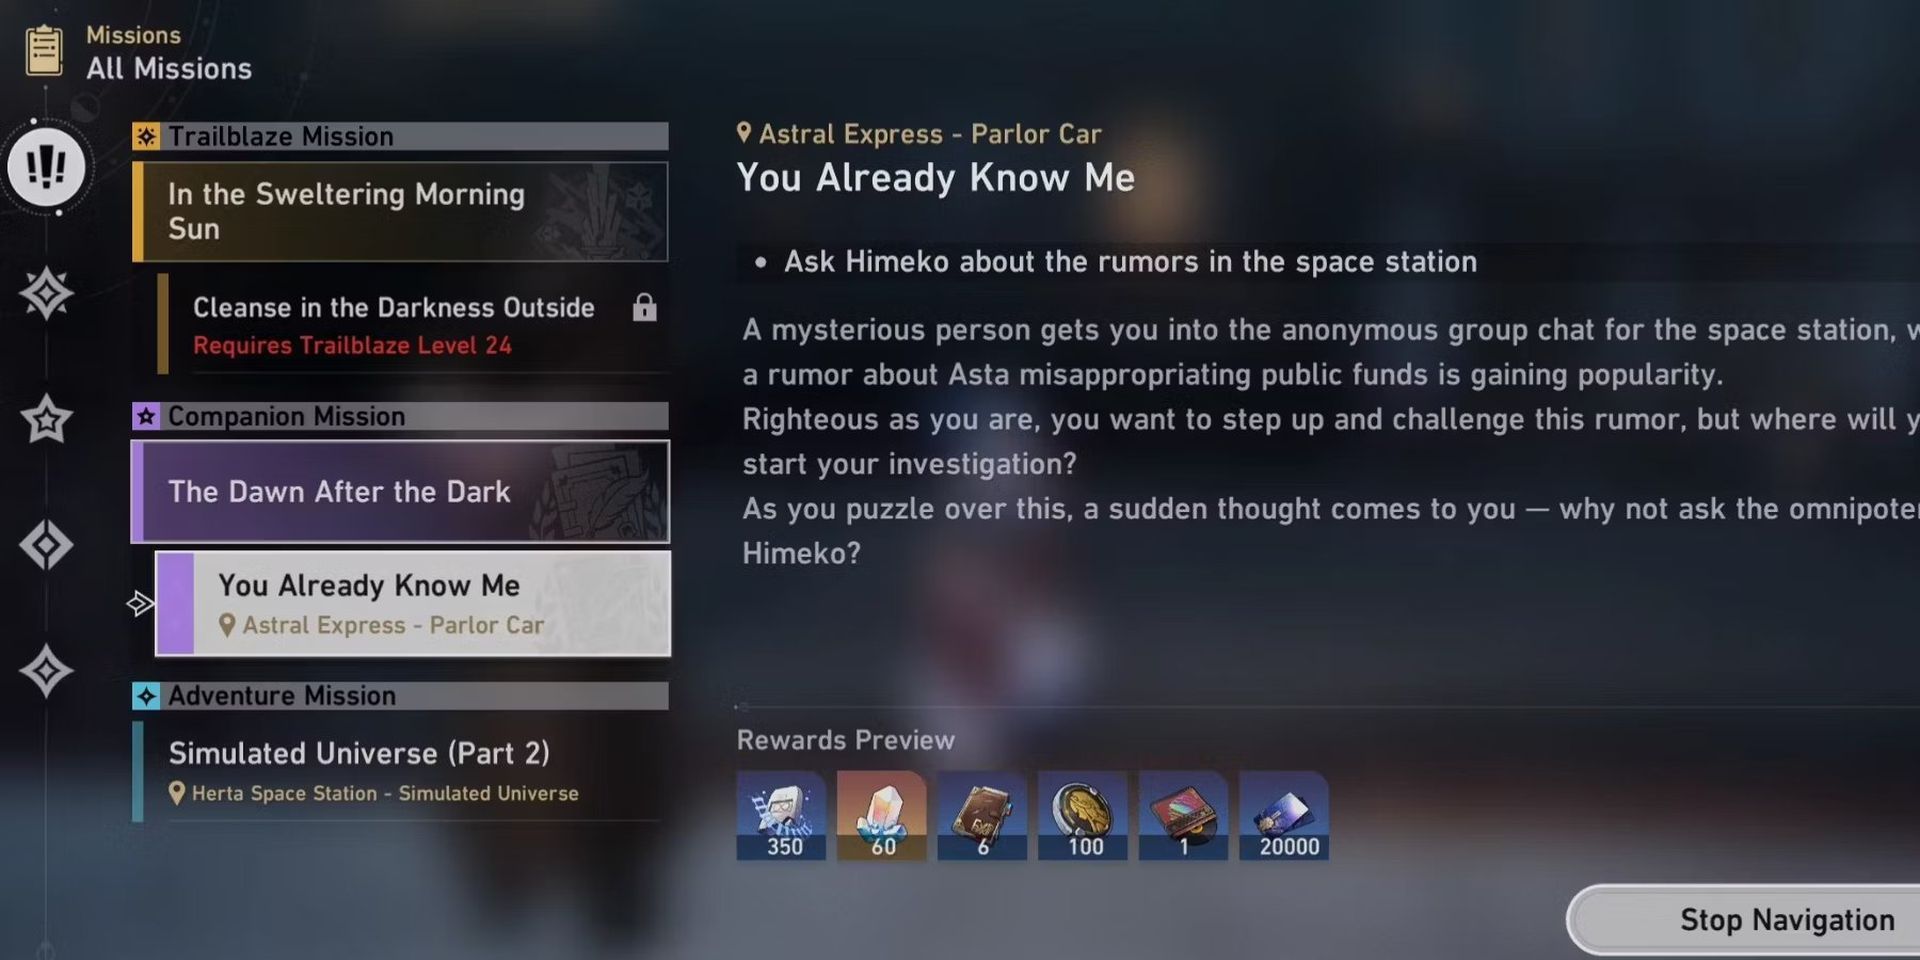
To trigger the Signs of Fragmentum quest, players must first finish Asta’s Companion Mission You Already Know Me. Once they have completed this quest, the Signs of Fragmentum mission will appear in the player’s quest log.
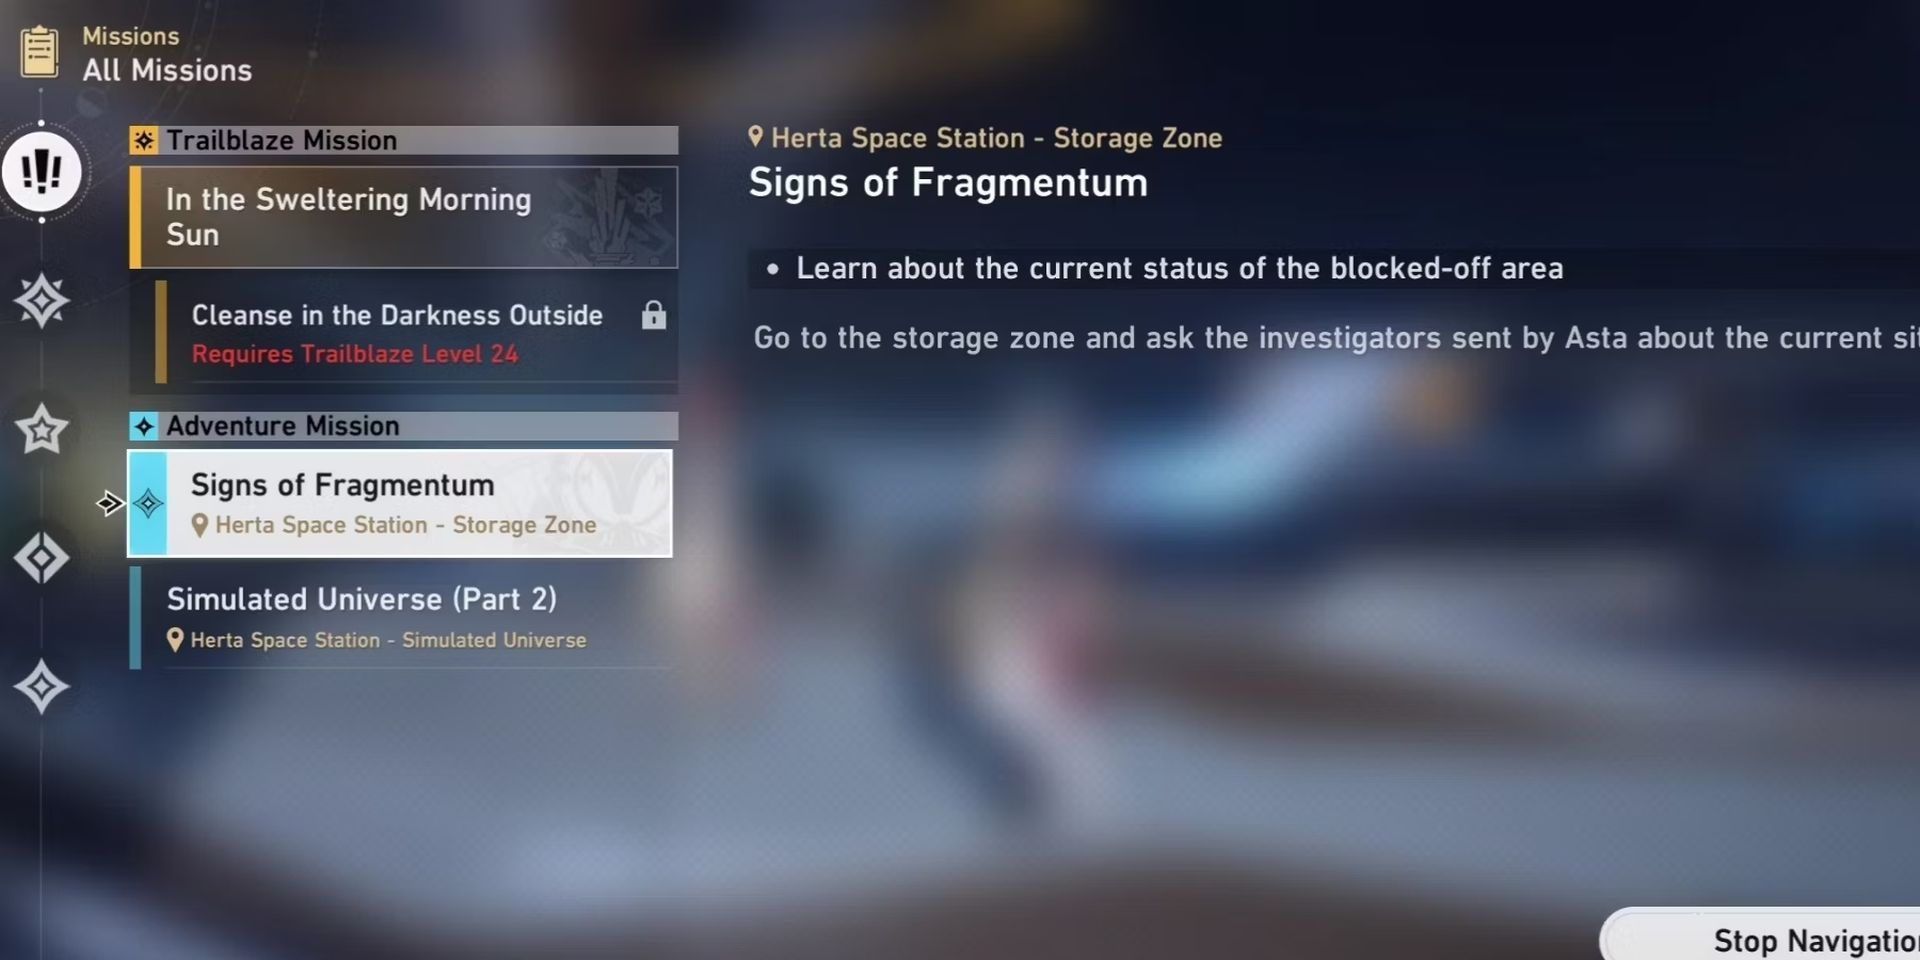
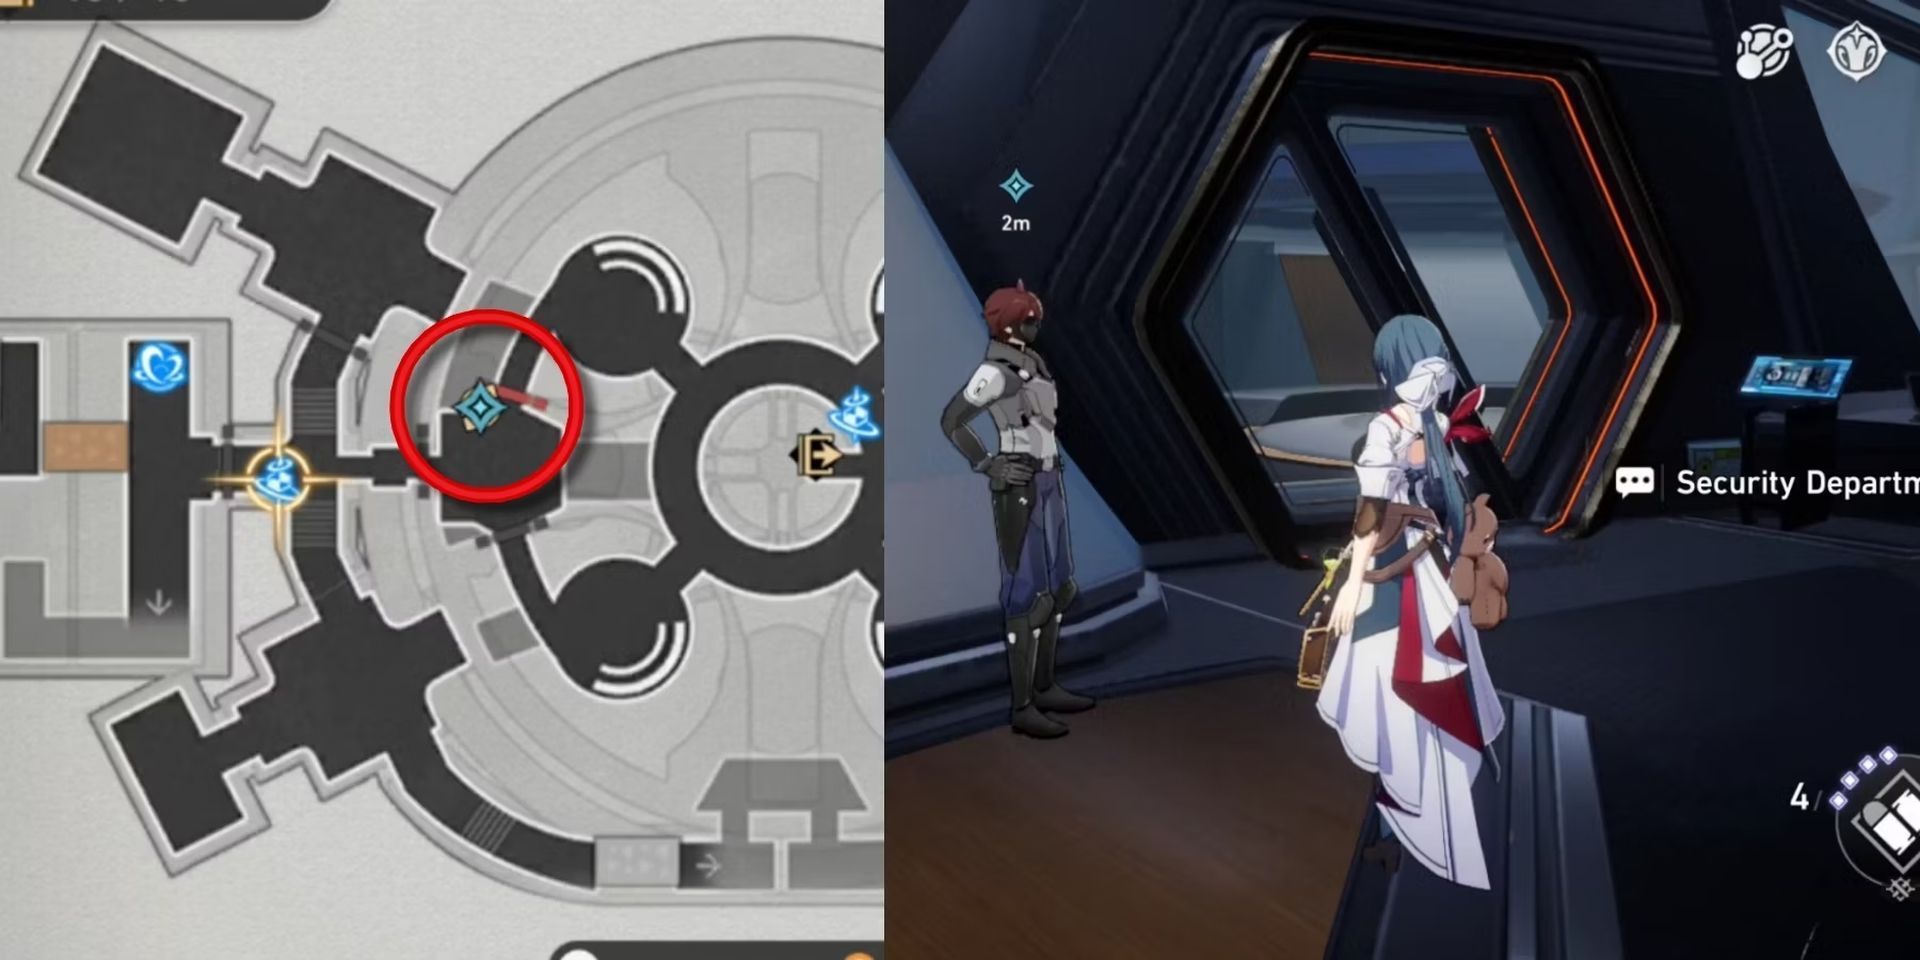
Players can head to the Storage Zone and talk to the Security Department guy to start the Signs Of Fragmentum quest in Honkai: Star Rail. There are a total of three difficulties for this challenge, each demanding Trailblazers to find some Beacon Data by capturing Wubbaboo with the camera.
The Signs Of Fragmentum Stage 1
For Signs Of Fragmentum stage 1, there are four Wubbaboo to collect Beacon Data from. The first is in plain sight for players to learn the mechanic.
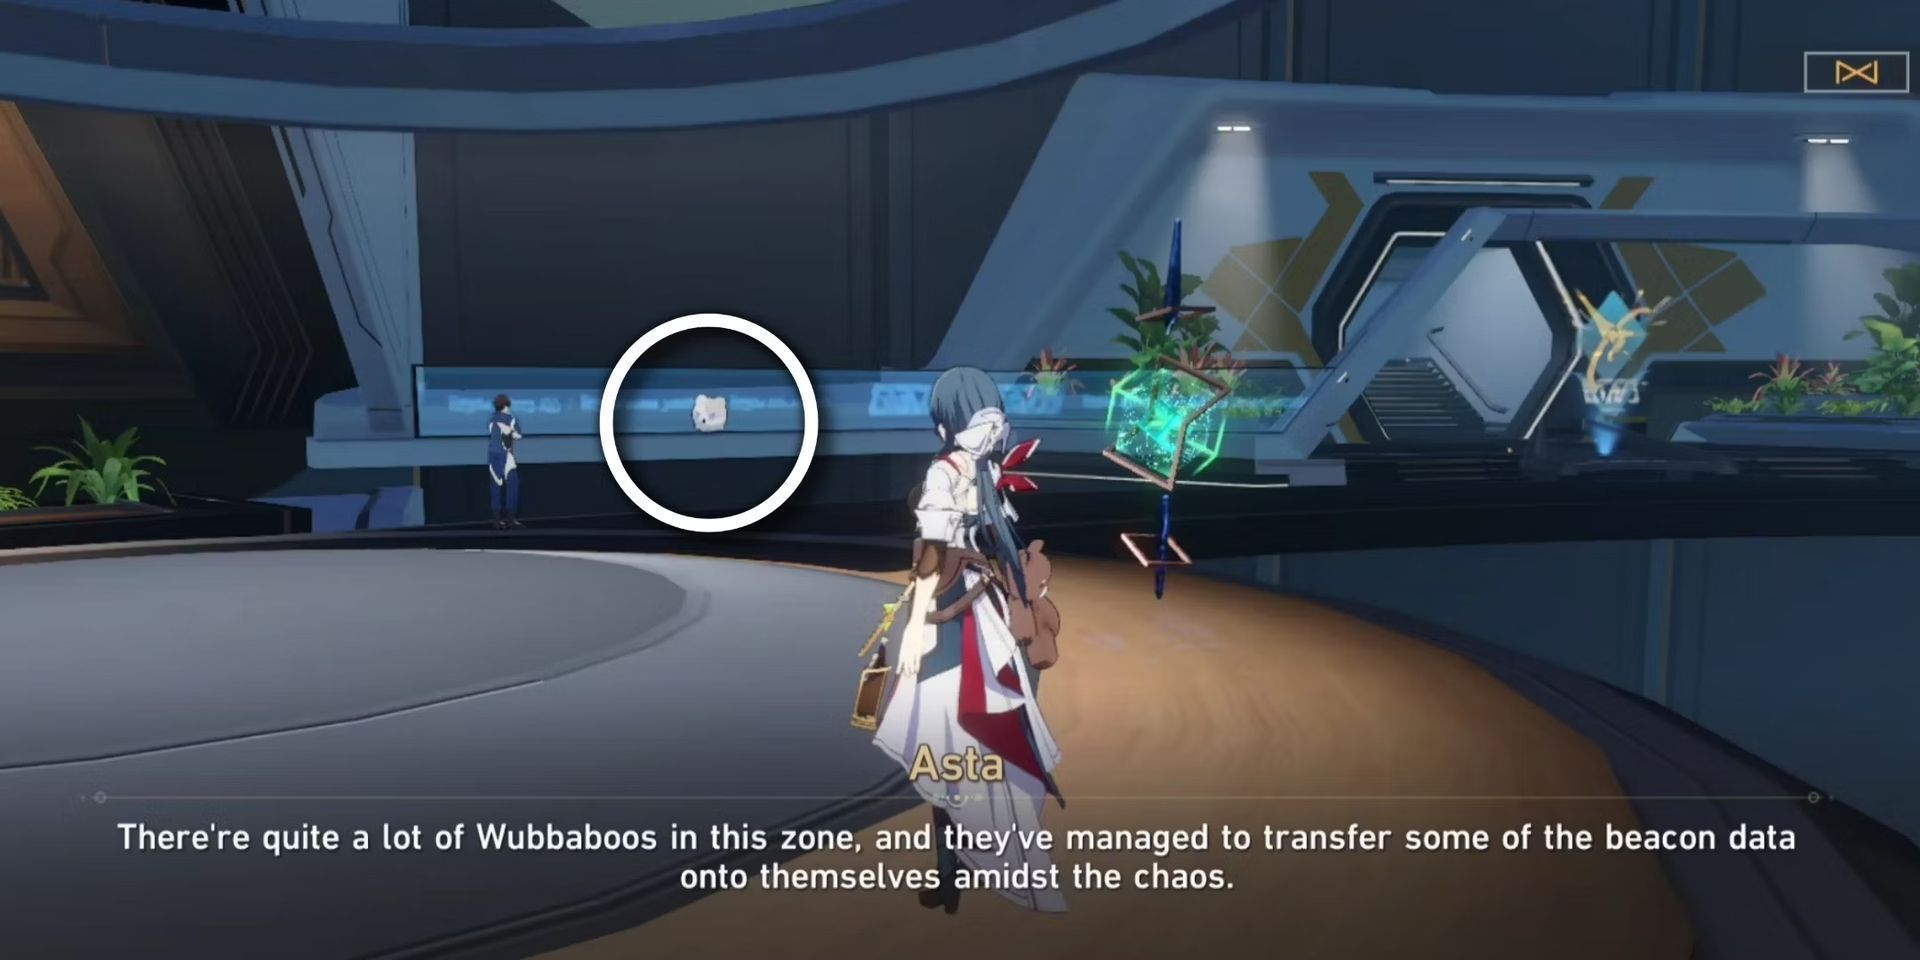
The Camera button will flash when there’s a Wubbaboo or enemy nearby, so pay attention to this indicator to easily find a hidden Wubbaboo. Meanwhile, capturing enemies with the camera will cause them to take 50% more DMG in battle. Here are the instructions for each beacon:
Beacon number 1:
- From the starting point, look directly northeast.
- Next to the Maintenance Staff in blue, players will find Beacon Number 1.
Beacon number 2:
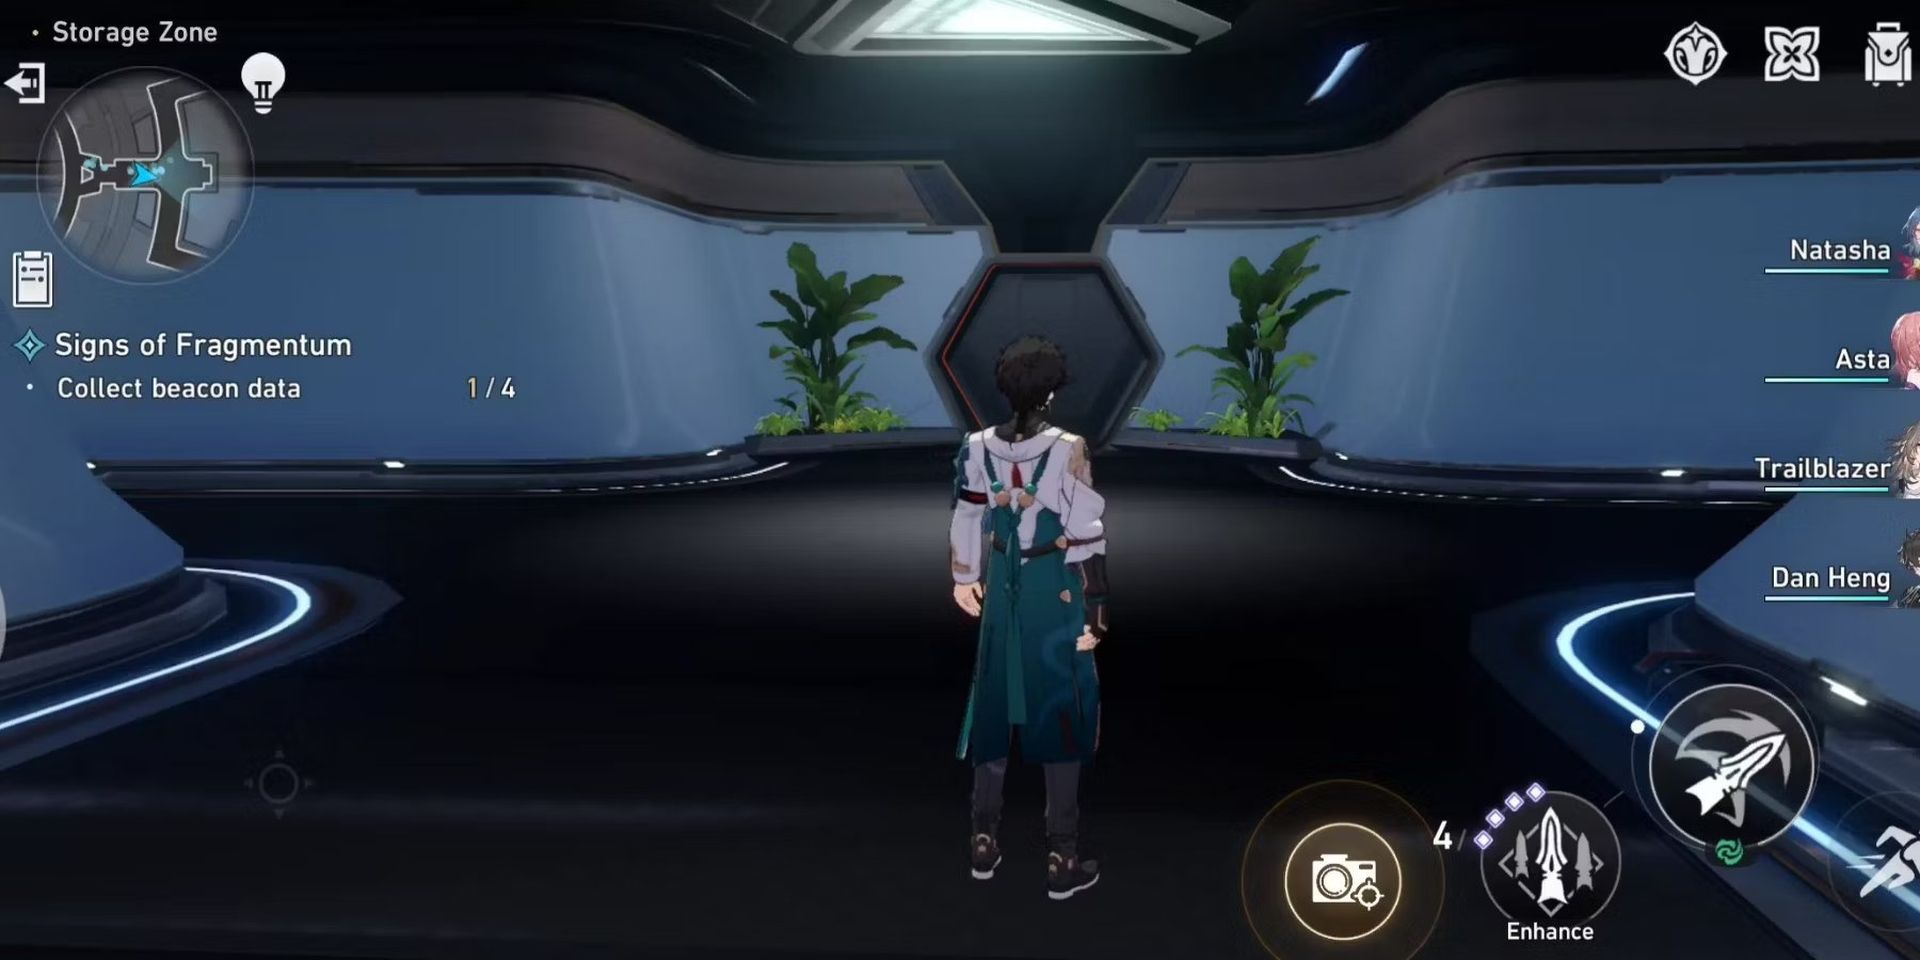
- Head to the right from the starting point.
- Turn left when you reach the next corridor.
- Enter through the doorway and immediately turn around.
- Beacon Number 2 is located above the entrance.
Beacon number 3:
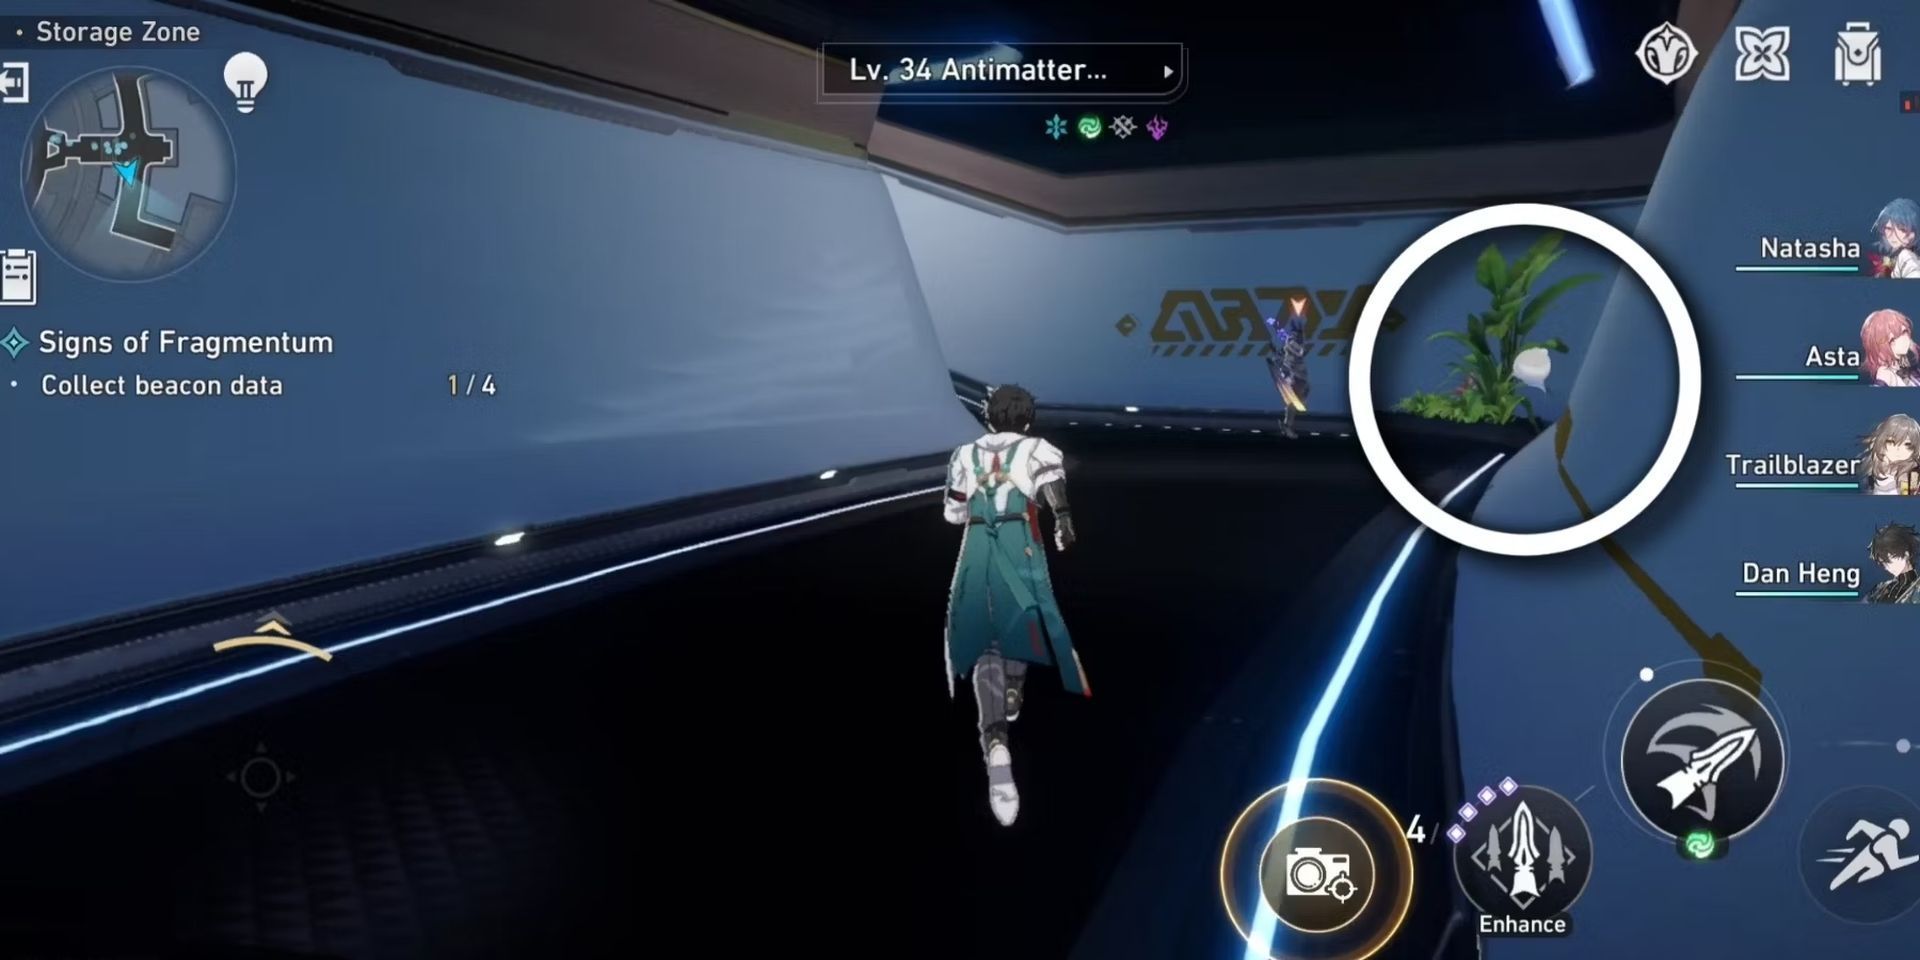
- After collecting Beacon Number 2, go back to the starting point.
- Turn left and head partially down the corridor.
- Beacon Number 3 is located in front of you.
Beacon number 4:
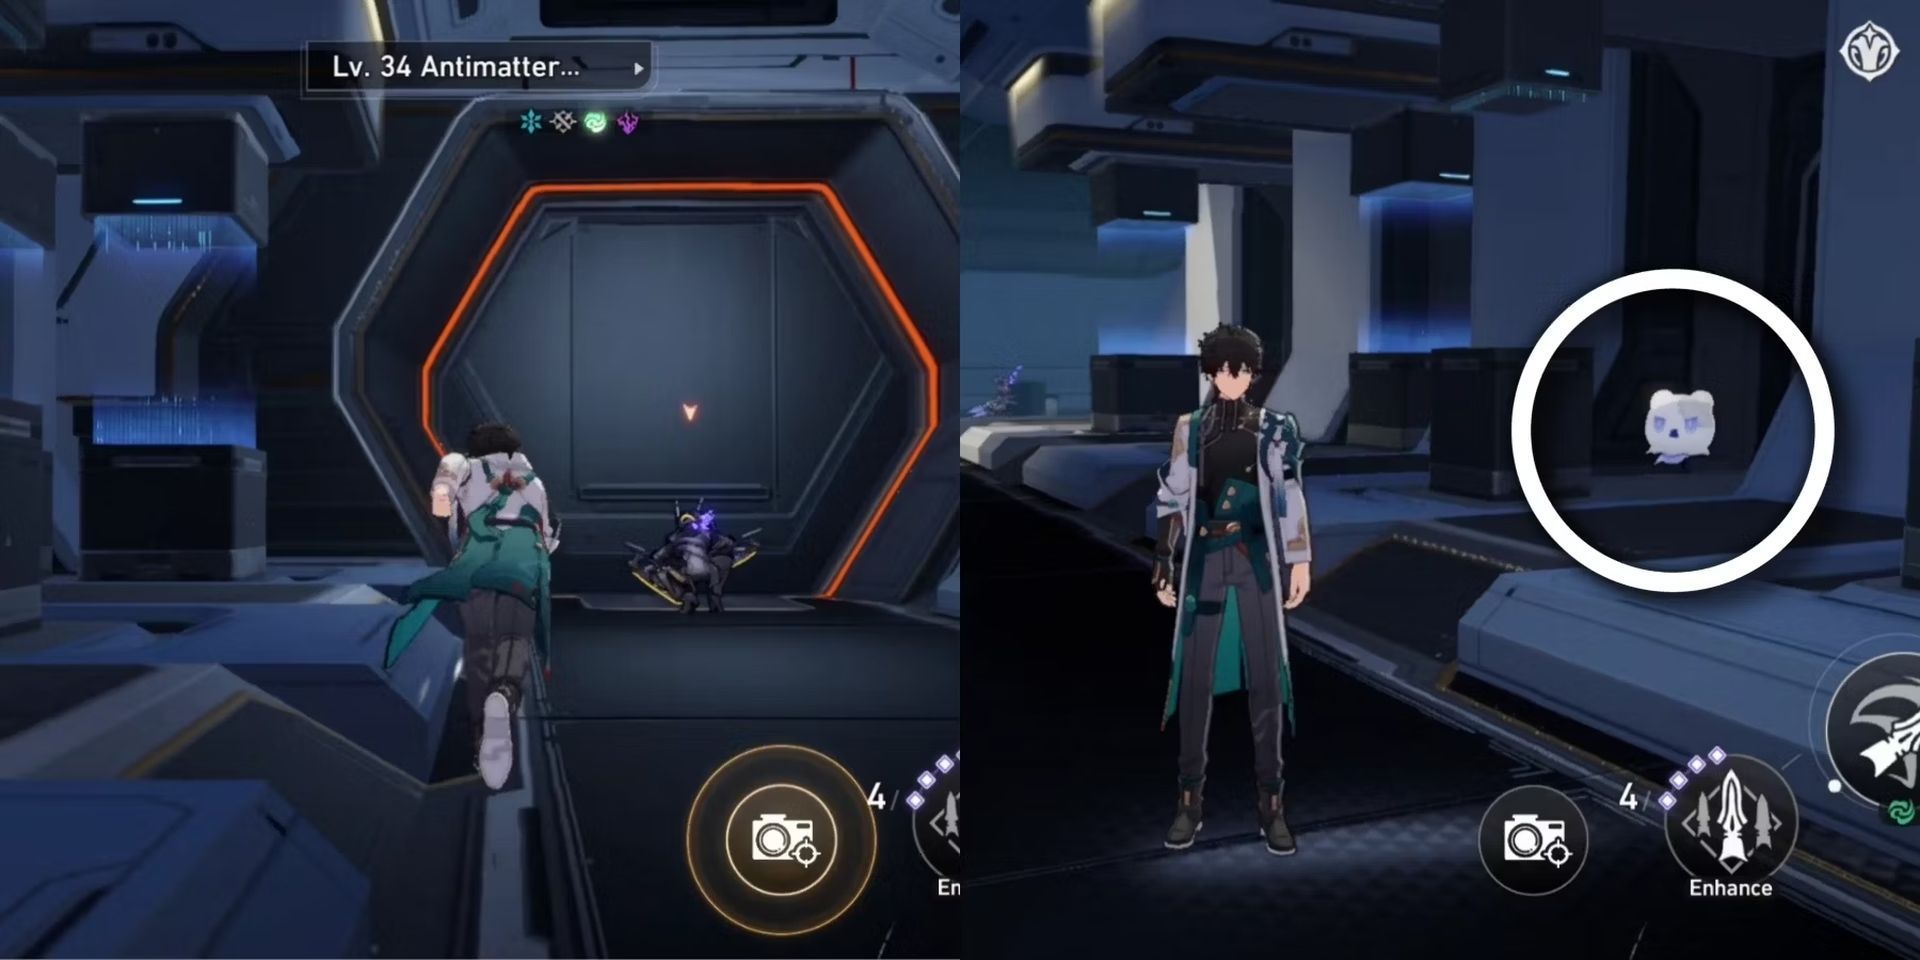
- Head out of the room where you found Beacon Number 3.
- Go back to where you found Beacon Number 2.
- Instead of leaving, turn left and head partially down the corridor.
- Beacon Number 4 is located in front of you next to the giant plant.
The Signs Of Fragmentum Stage 2
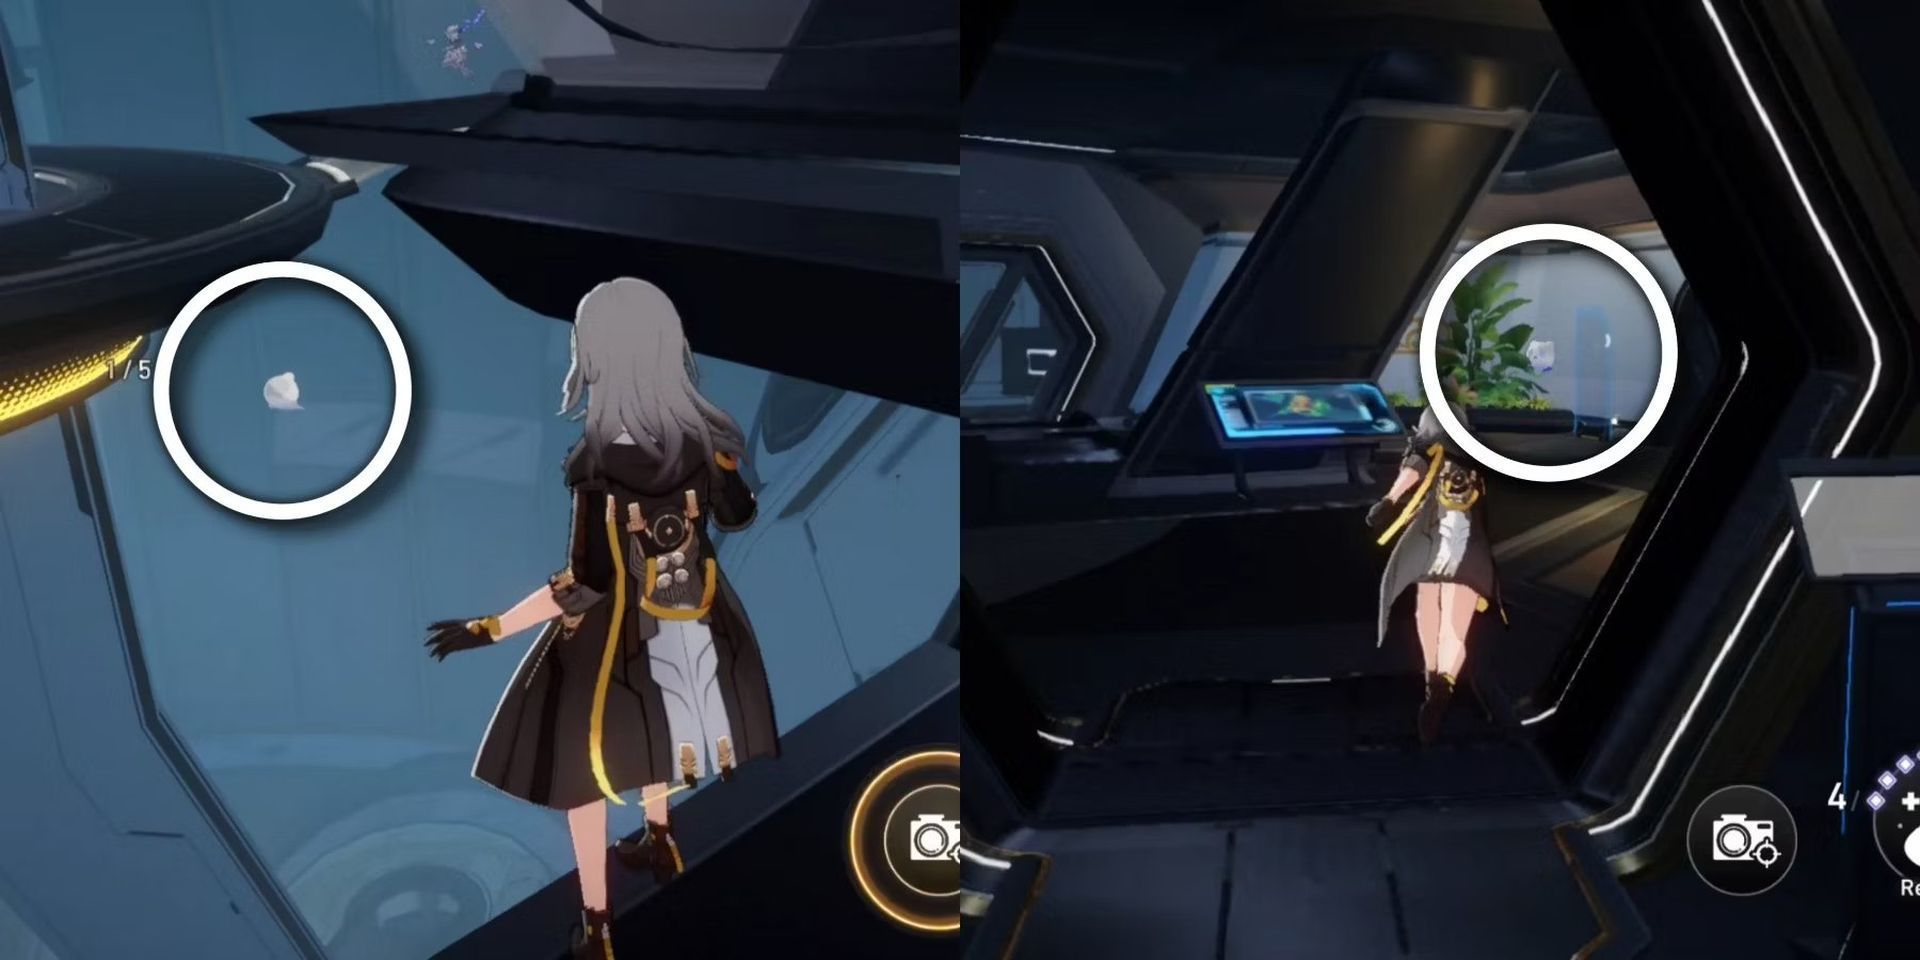
The second stage of the Signs of Fragmentum quest has five beacons to collect data from. Here are the instructions for each beacon:
Beacon number 1:
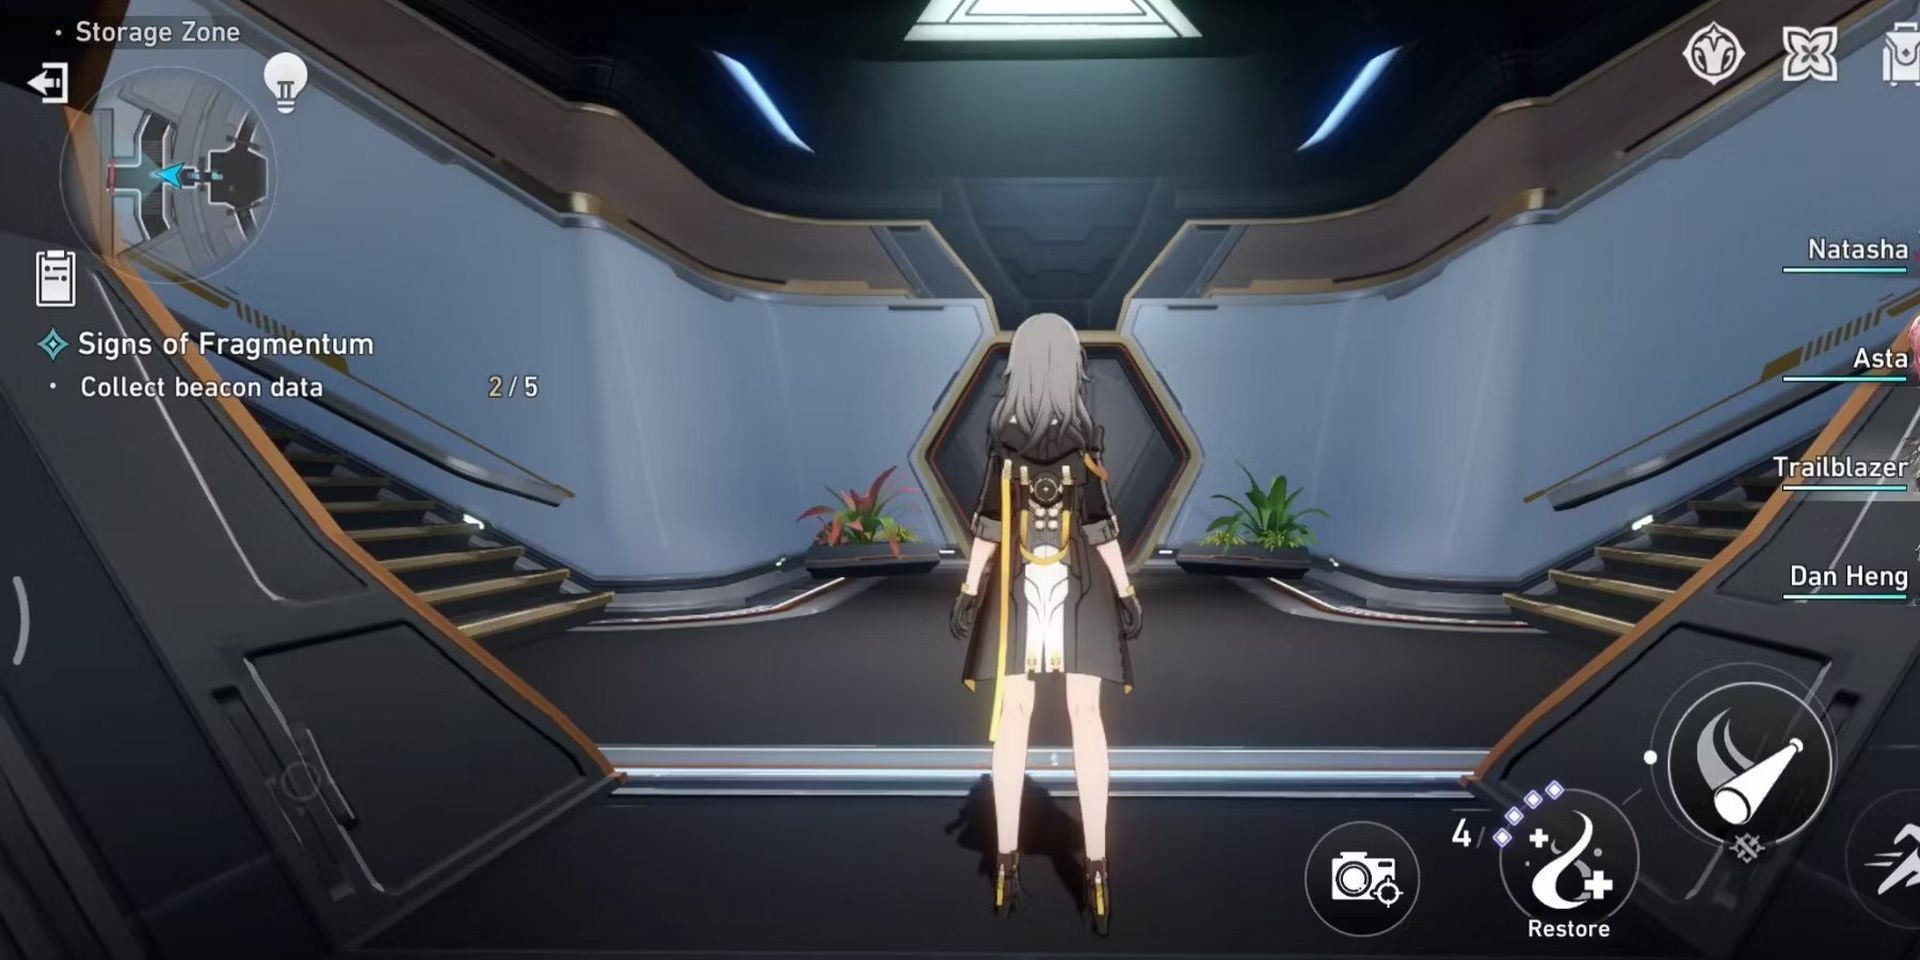
- From the starting point, head to the holographic blue sign.
- Take the left and right stairs.
- Head right to find the first Wubbaboo under the platform.
Beacon number 2:
- From the first Wubbaboo, take the right stairs and follow the halls to an Unearthly Marvel puzzle.
- Cross the platform to find a Wubbaboo hiding in the corner.
Beacon number 3:
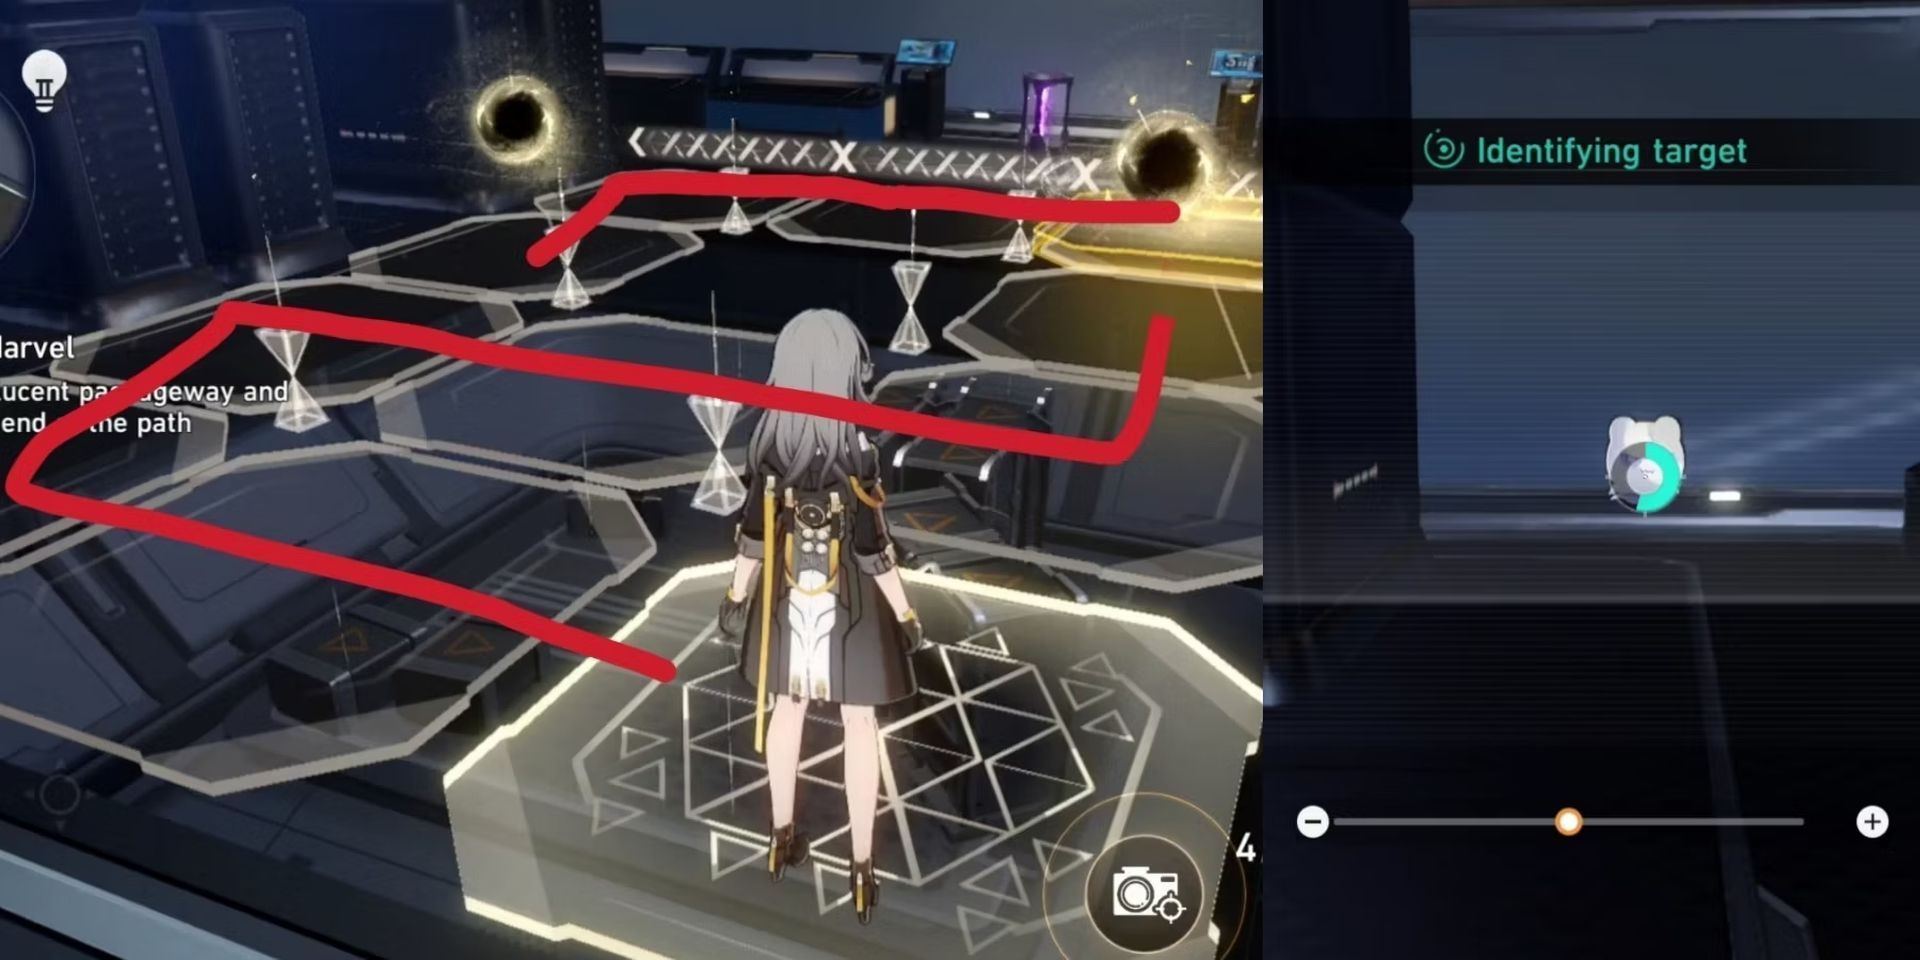
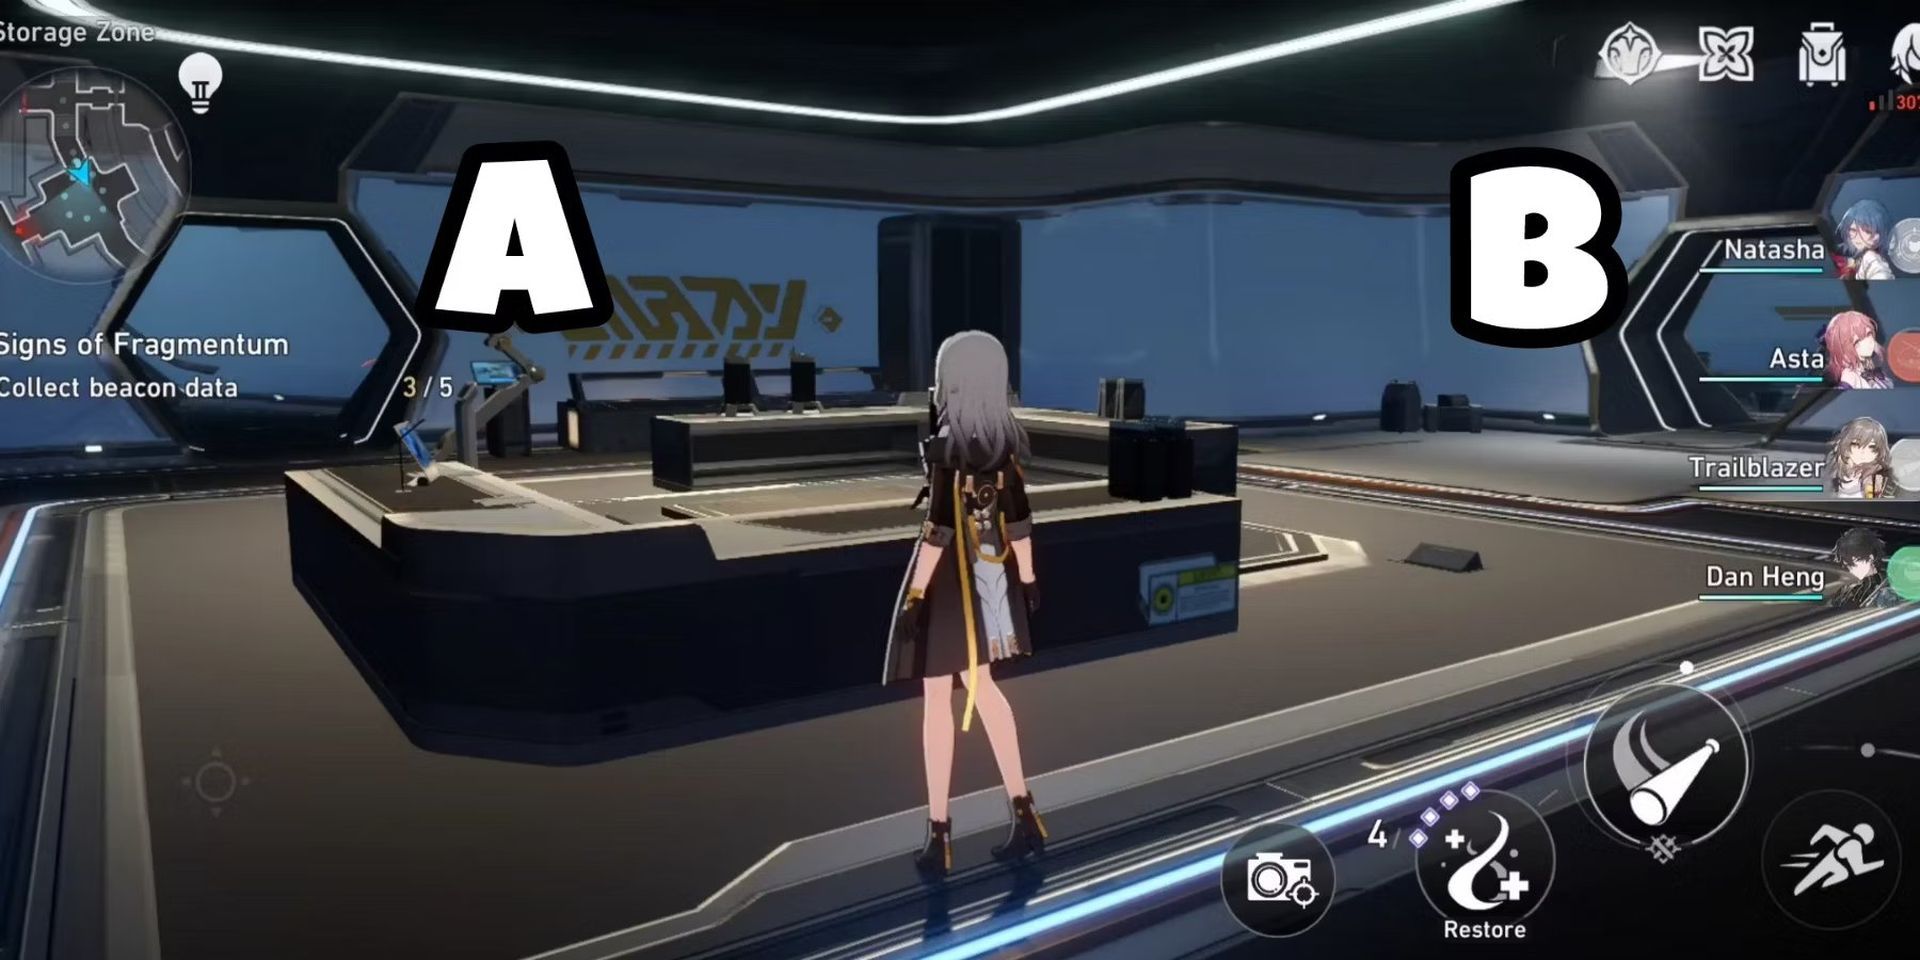
- Return to the second Wubbaboo’s spot and take the left stairs.
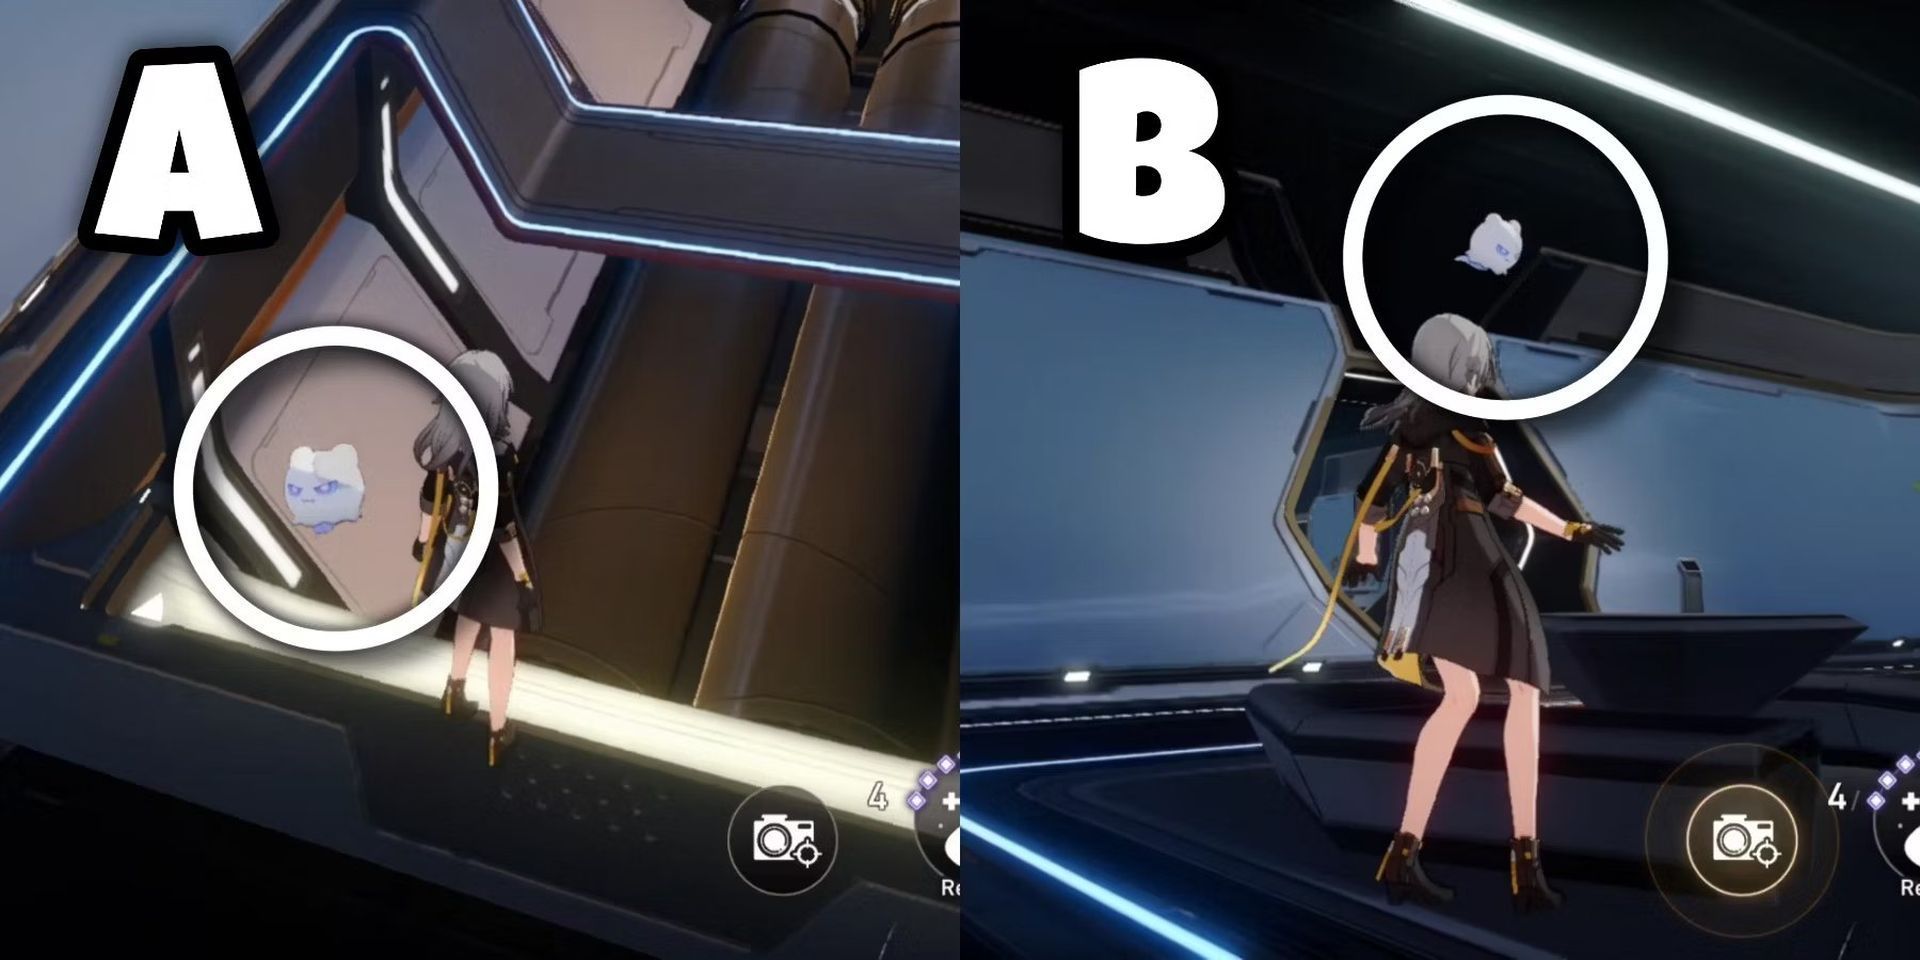
- There are two doors in the room, and each has one Beacon Data Wubbaboo.
- Beacon Number 3 is located on door A, hiding under a bridge.
Beacon number 4:
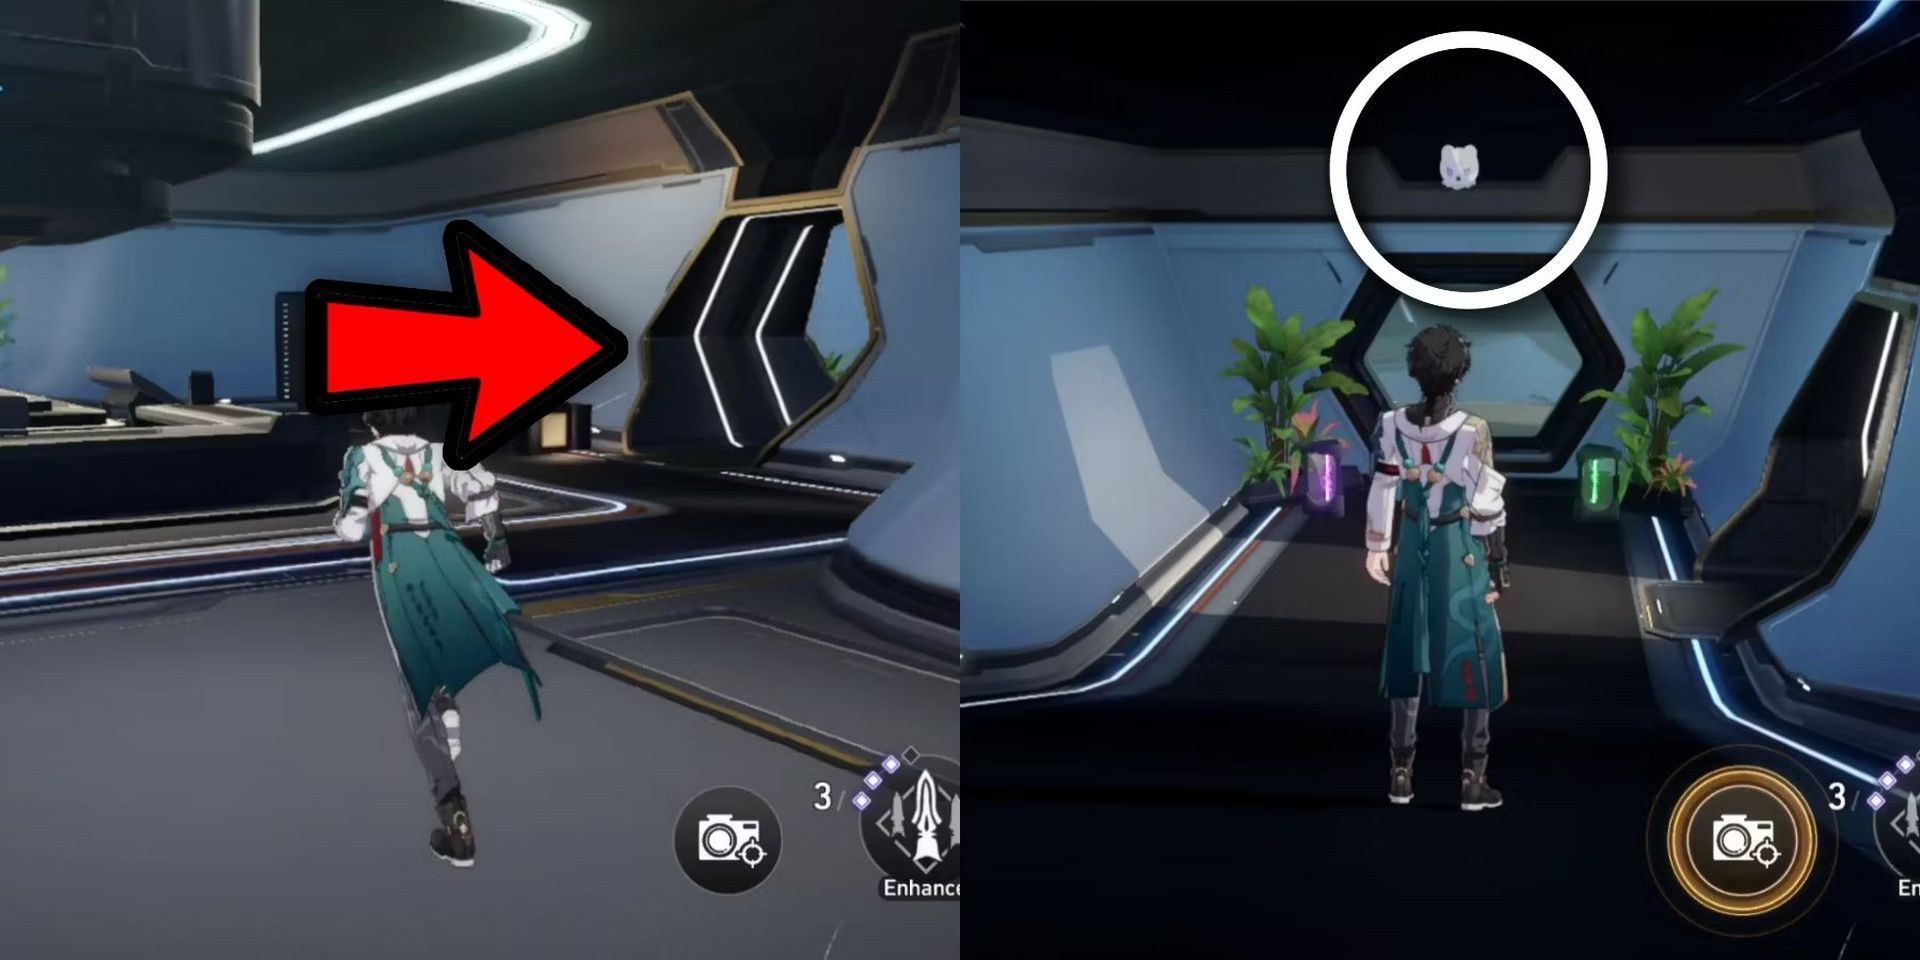
- For Beacon Number 4, head to door B.
- The Wubbaboo is located right on top of the passageway.
Beacon number 5:
- For the final beacon of this stage, head to the green and purple breakable object.
- Beacon Number 5 is waiting near the object.
The Signs Of Fragmentum Stage 3
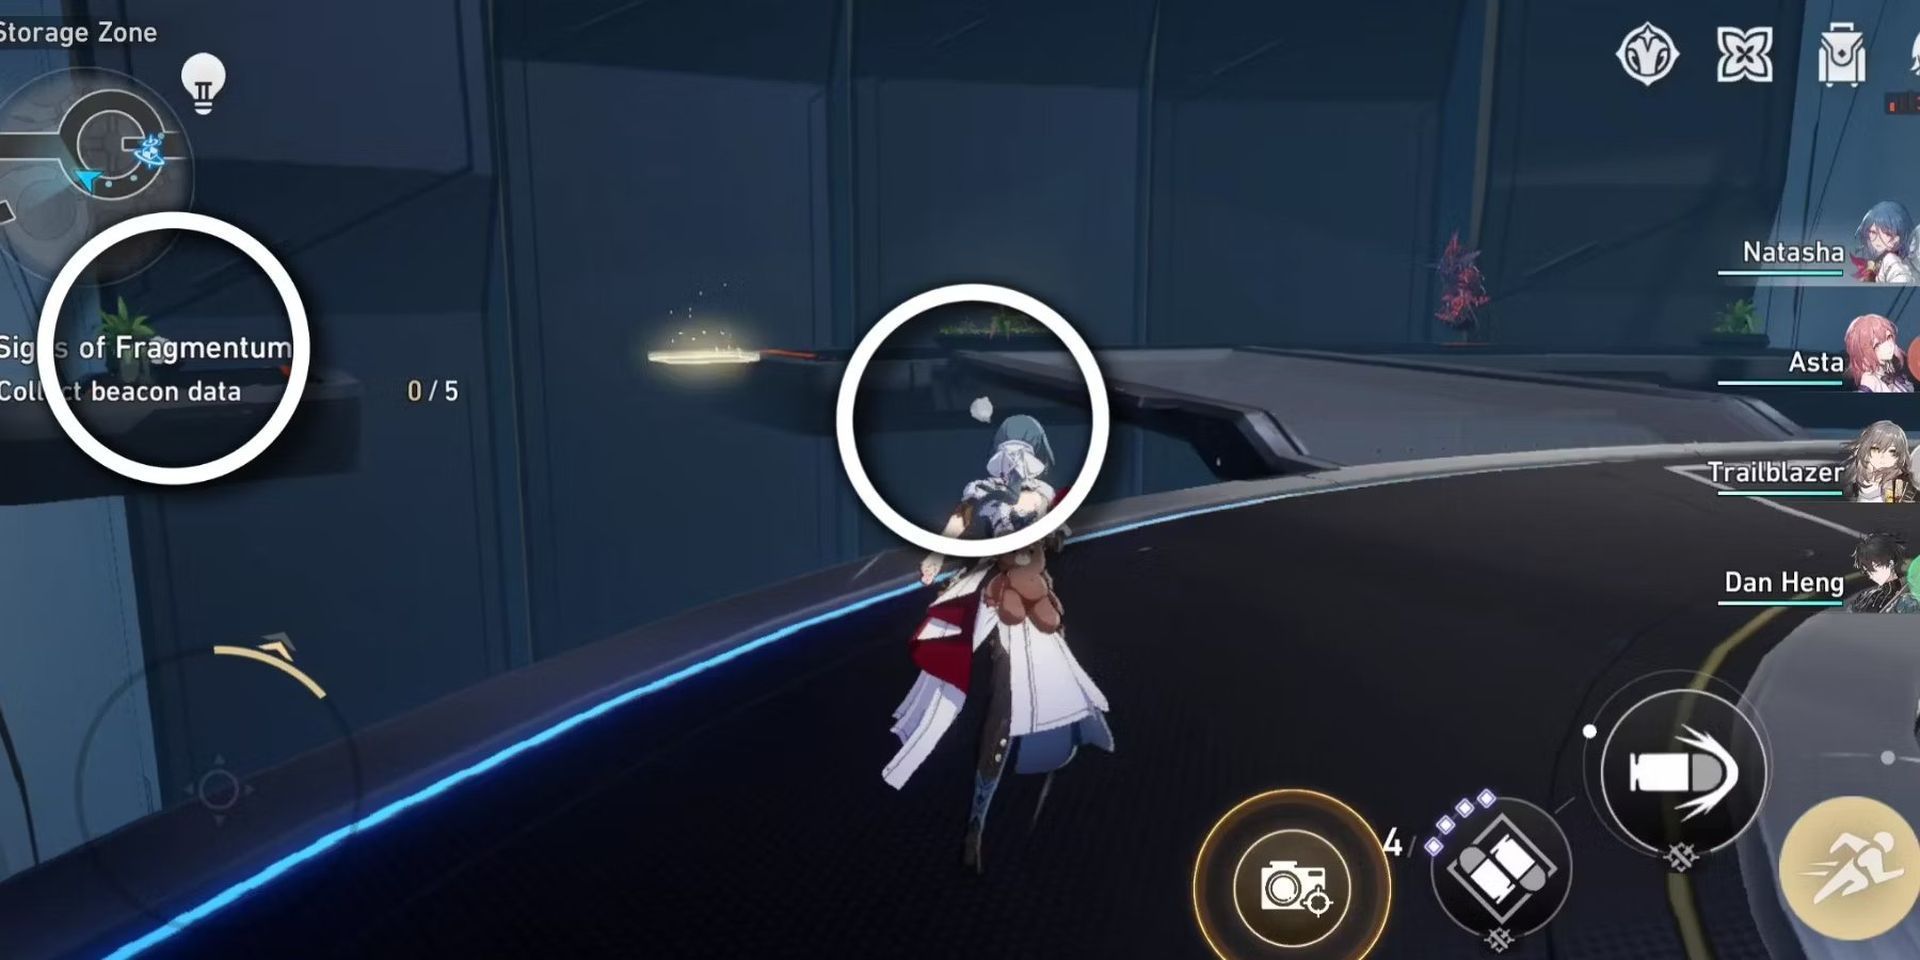
The final stage of the Signs of Fragmentum quest has four beacons to collect data from. Here are the instructions for each beacon:
Beacon number 1:
- Head west to find the first Wubbaboo.
- It is located under the bridge.
Beacon number 2:
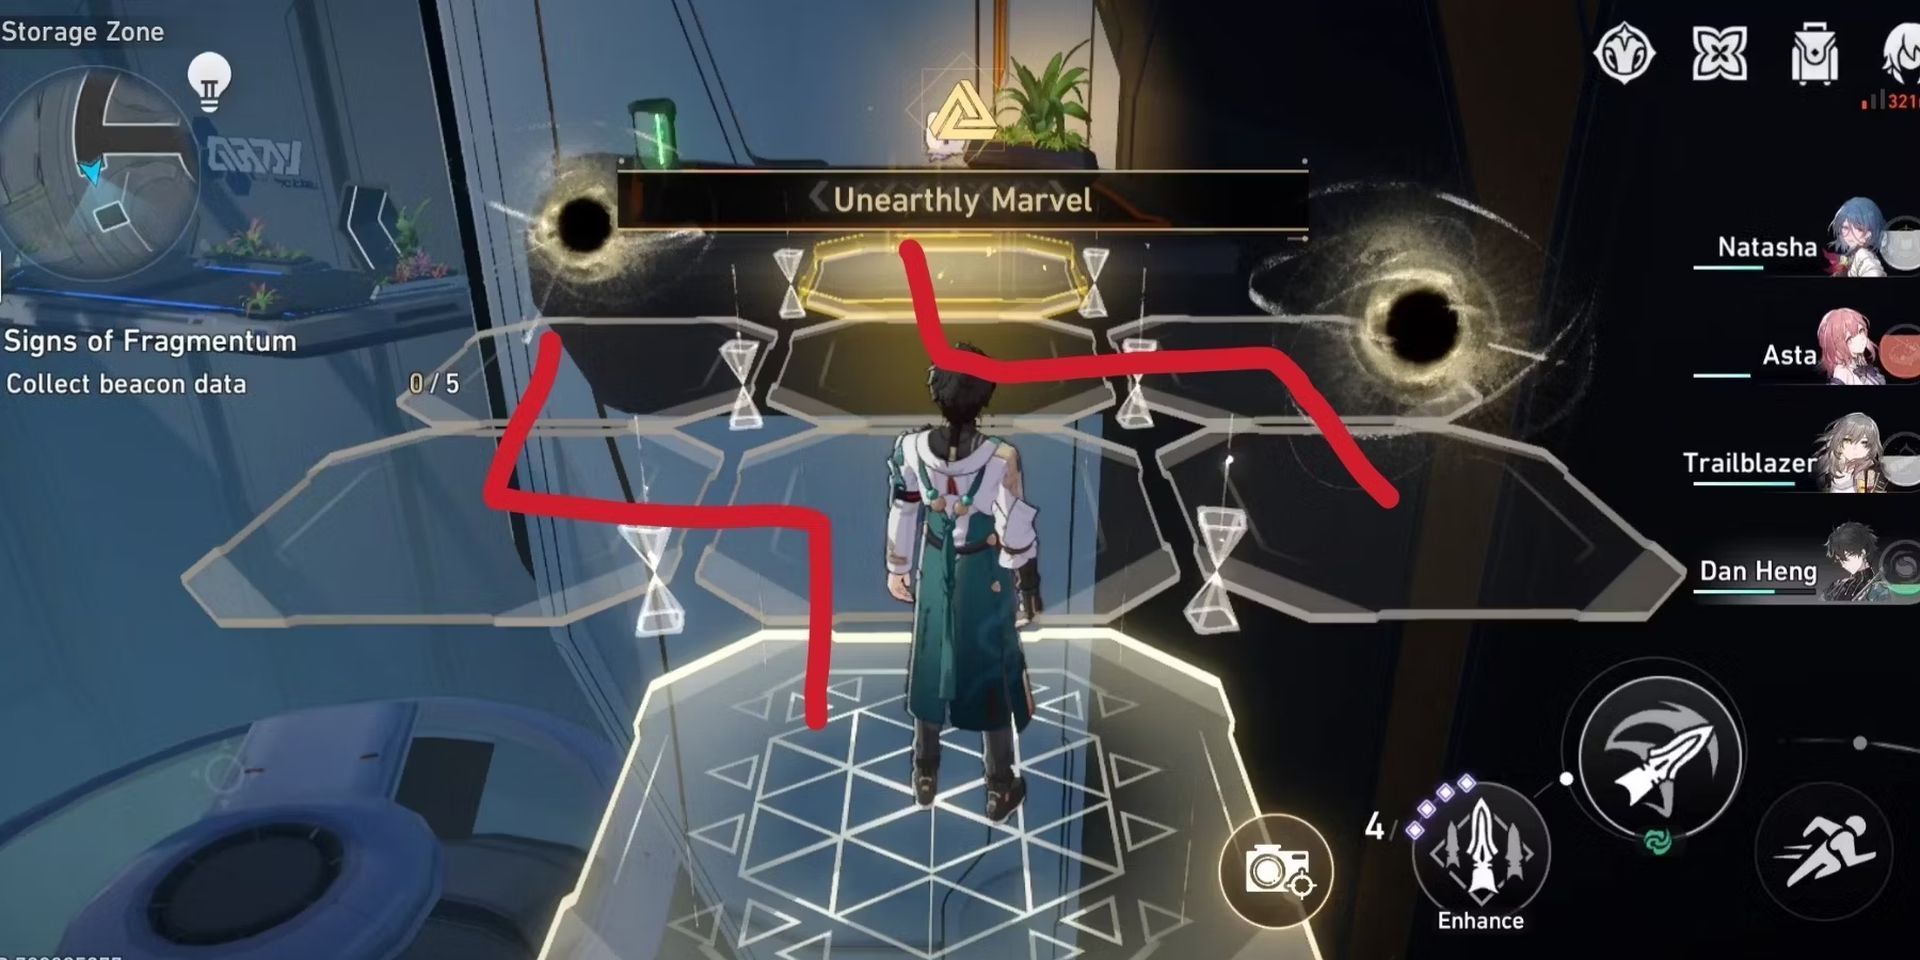
From the first Wubbaboo, head across the Unearthly Marvel puzzle to find the second Wubbaboo.
Beacon number 3:
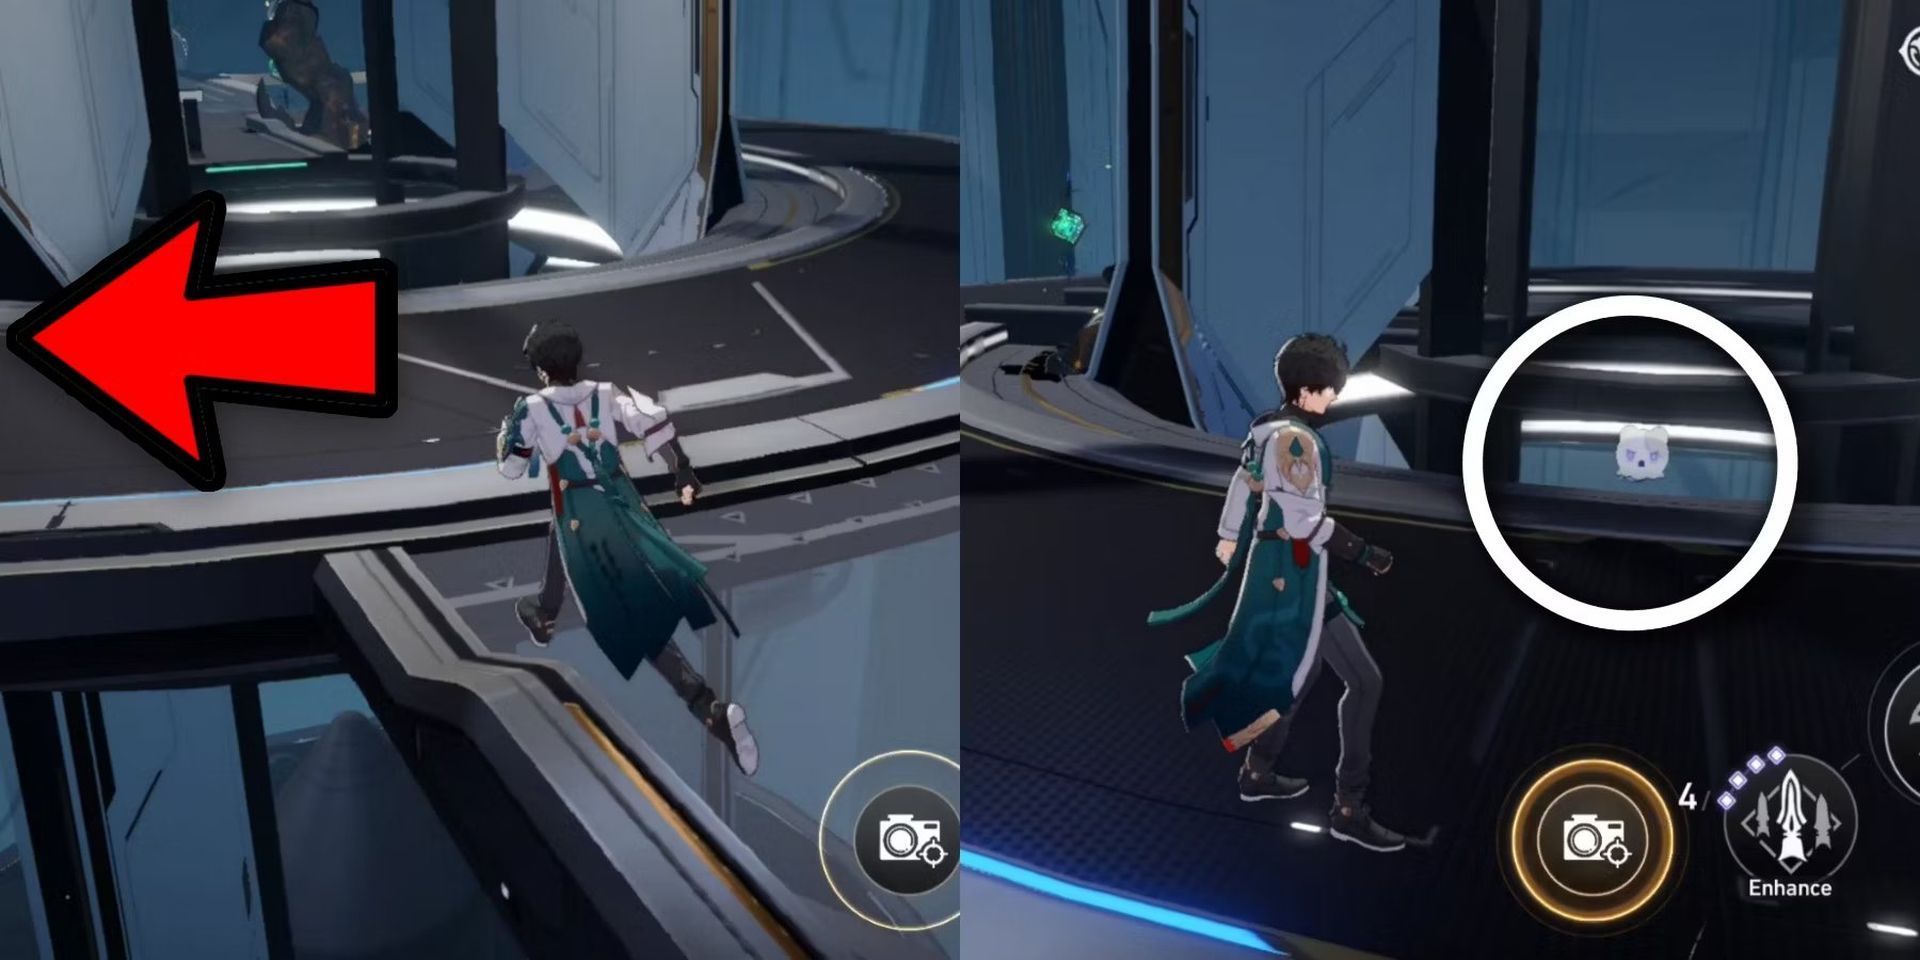
- Capture the third Wubbaboo using the camera under the elevator in the middle.
- Head to the east route to find two doors, A and B.
Beacon number 4:
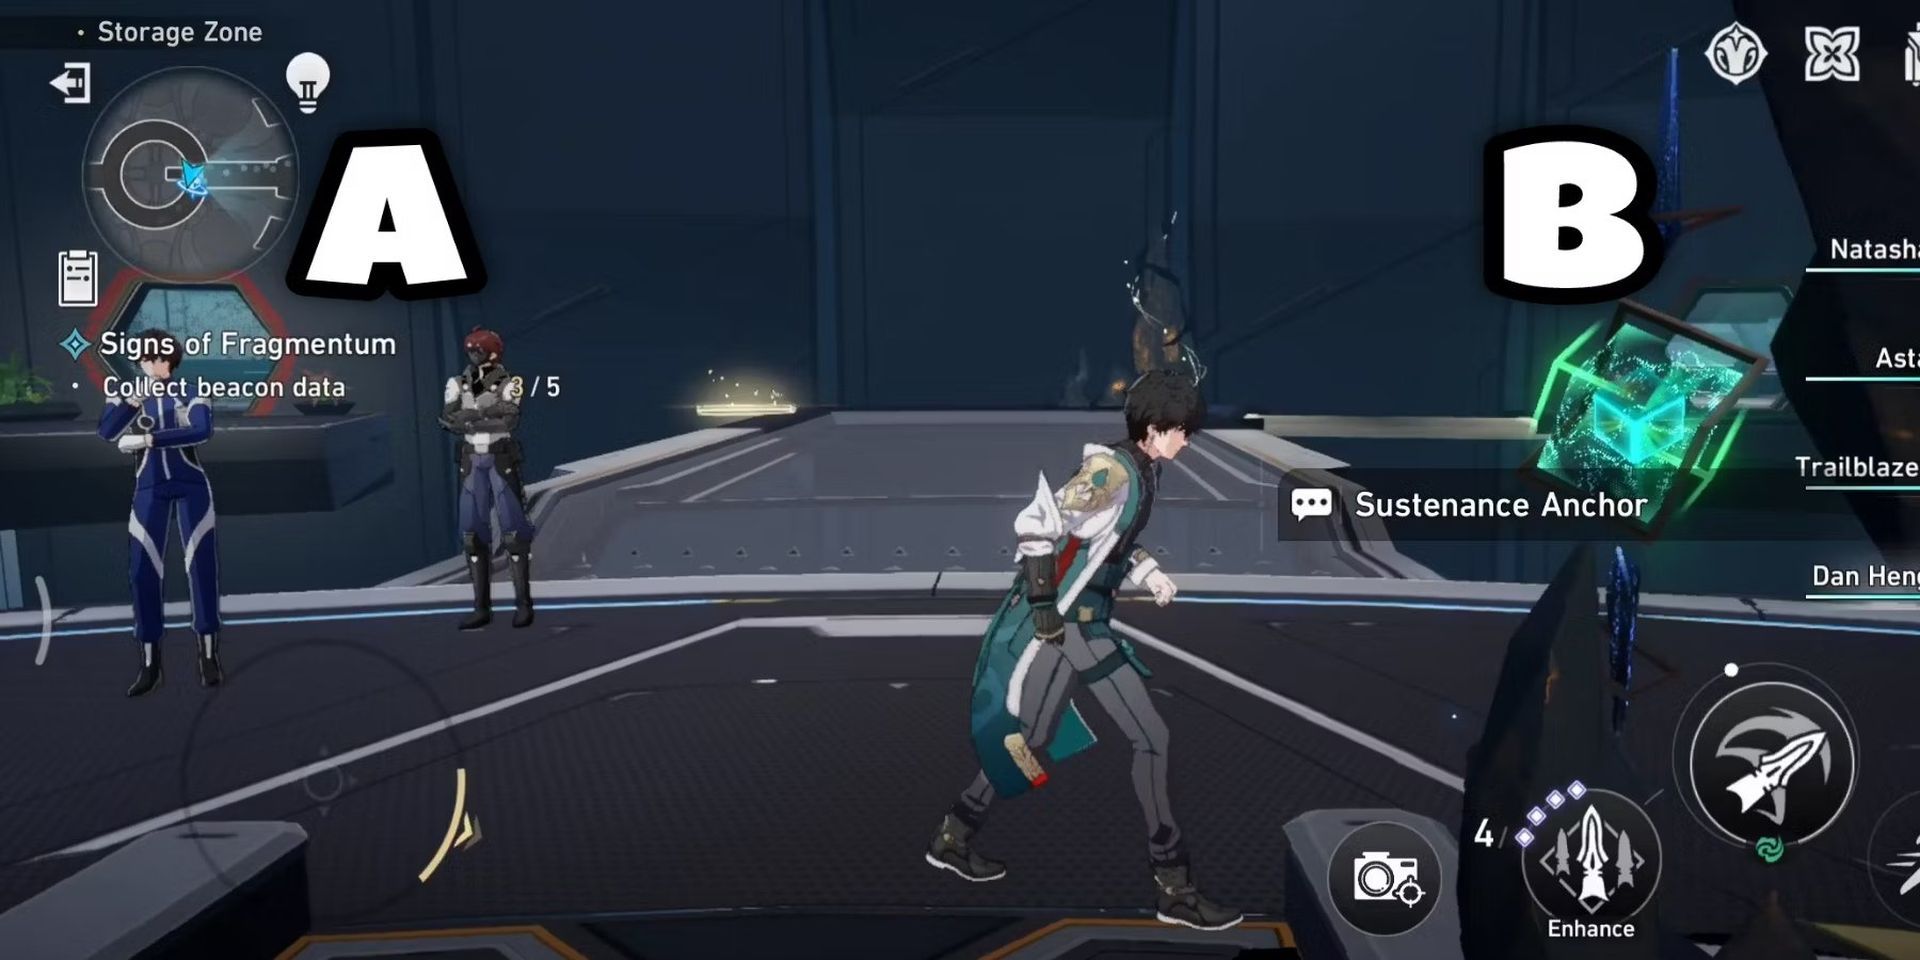
- Door A is home to one Beacon Data Wubbaboo.
- After completing the Unearthly Marvel, immediately turn around after entering the door.
- For the final Wubbaboo, head to door B.
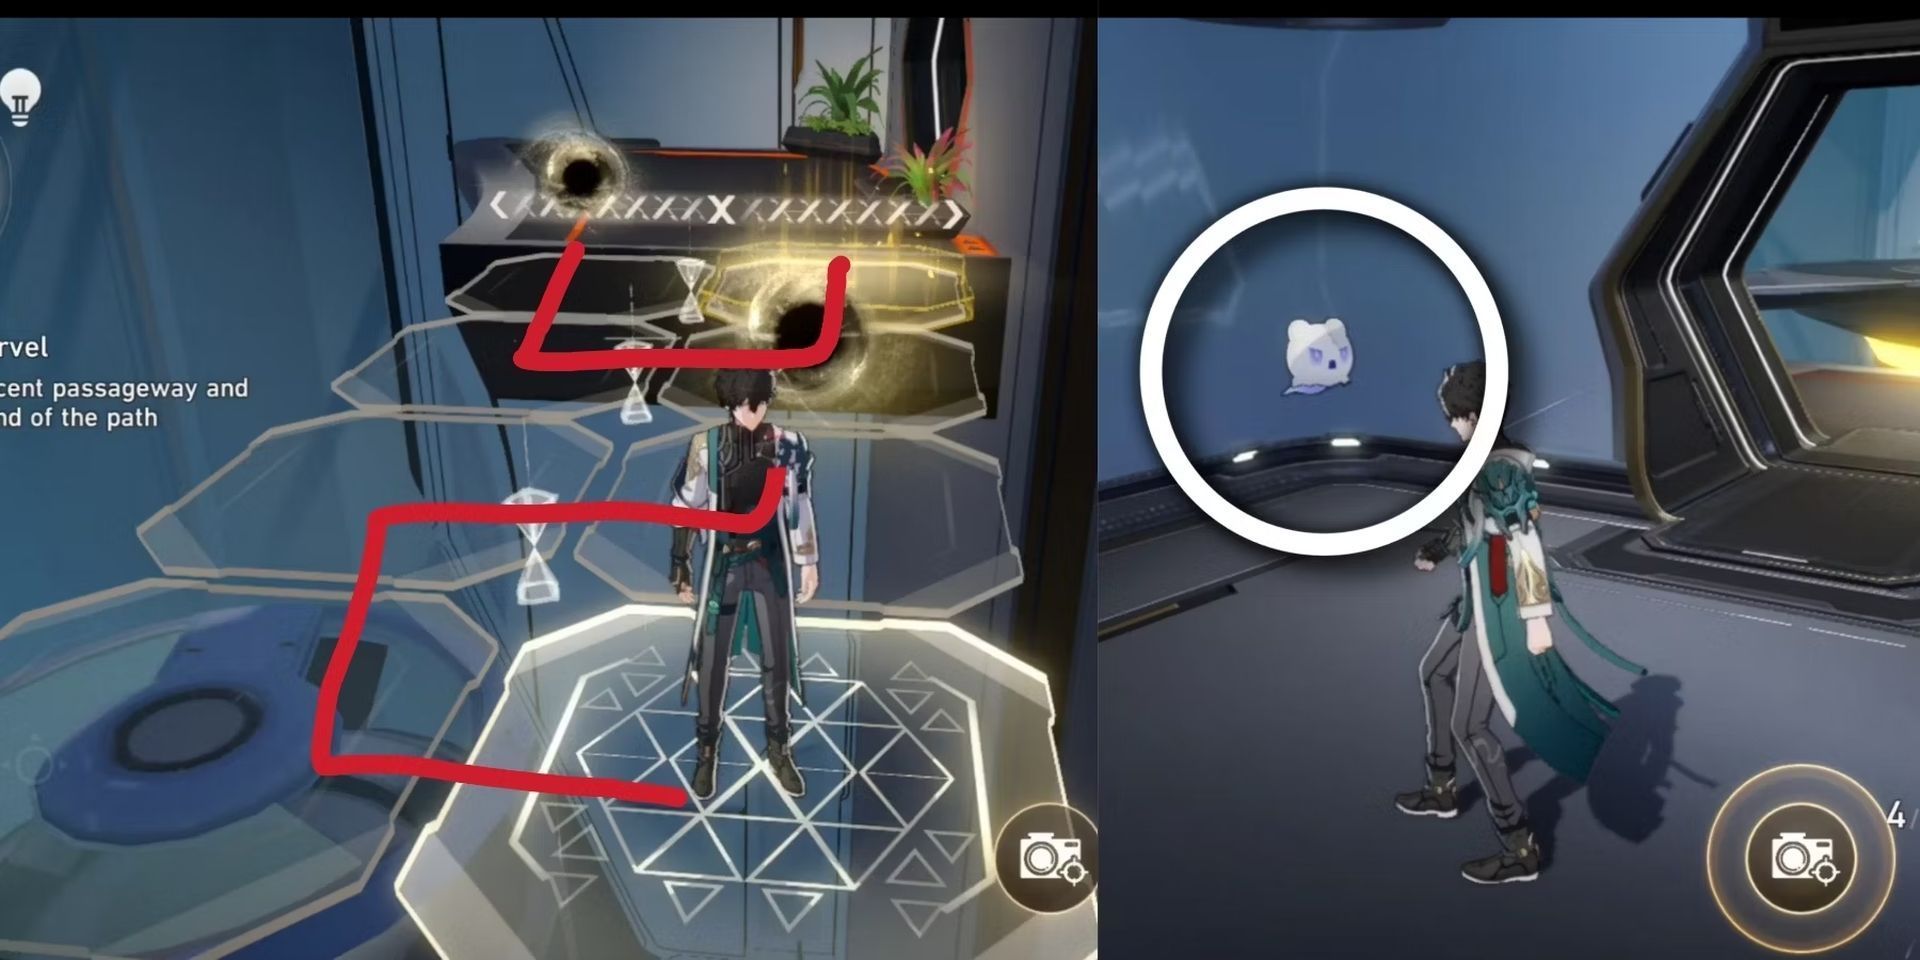
4. The Wubbaboo is waiting near a green and purple breakable object. Be careful while traversing through the halls as there is enemy players need to beat here.
Collecting the data from all beacons in the Signs of Fragmentum quest will allow players to earn credits and continue on their journey in Honkai: Star Rail. With this guide, players can easily locate and collect data from each beacon in all three stages of the quest. While Honkai: Star Rail offers many challenging missions and quests, this guide should help players successfully complete the Signs of Fragmentum quest and earn rewards.
Another challenging quest in the game is the Honkai: Star Rail Fleeting Lights quest, for which you can refer to our article.


