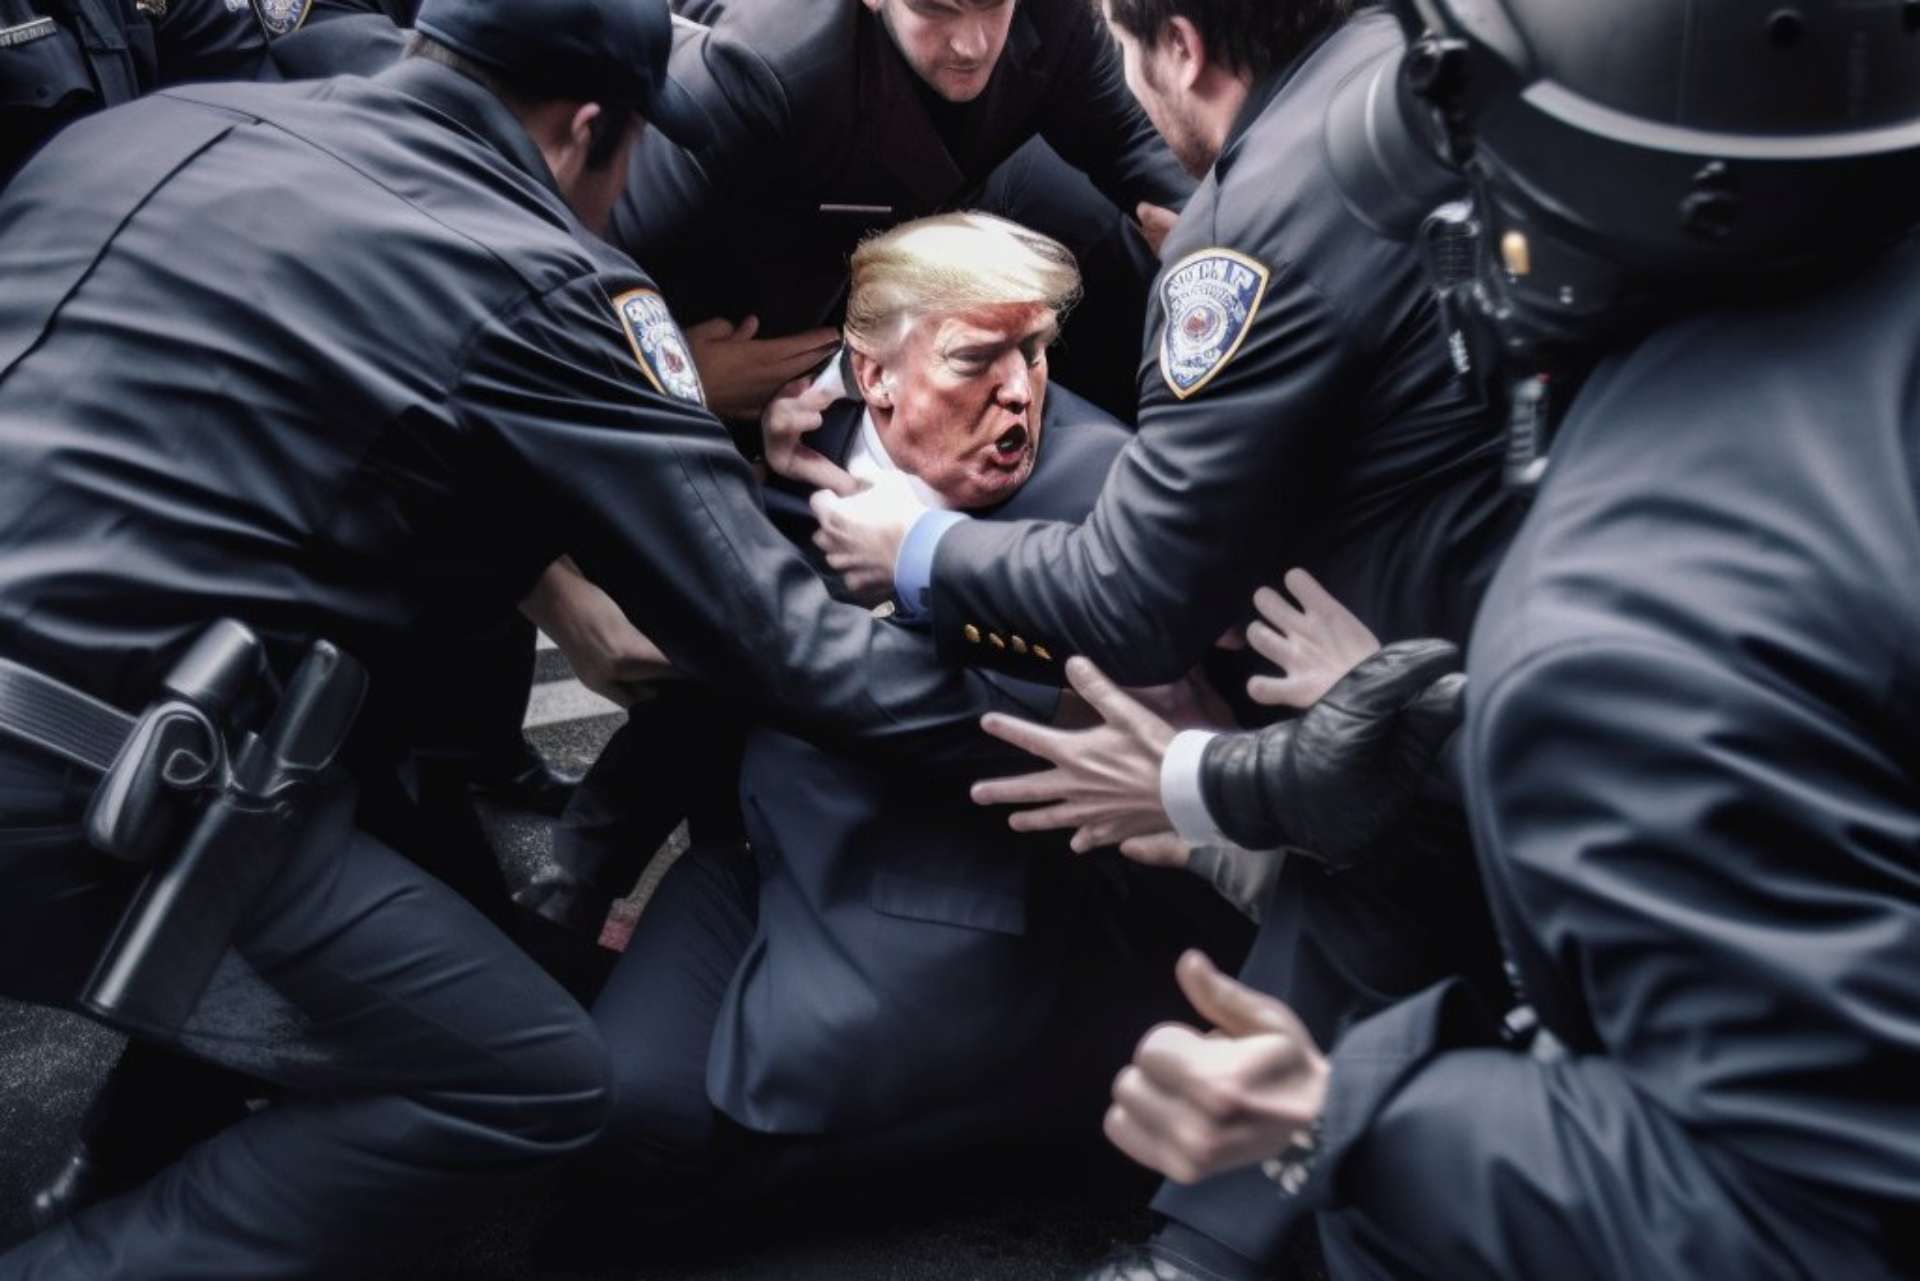
Making photorealistic Midjourney images is one of the main aspects that users find Midjourney extremely entertaining and helpful, especially since the viral AI pictures of Trump being arrested. However, not many users are aware of how to create these photorealistic Midjourney images, therefore we decided to explain the process to those who wish to join the fun.
There are three main aspects of creating photorealistic Midjourney images, which are:
- Choosing the most suited prompts
- Using effective negative prompts
- Describing the weights, aspect ratios, permutations, and chaos values correctly
In this article, we are going to explain the practical applications of these aspects in Midjourney and show you a couple of examples of the process. If you are unclear about how to use Midjourney effectively, we recommend you refer to that article before proceeding.
How can you create photorealistic Midjourney images?
Making AI art on Midjourney can be entertaining at first, but if the AI tool doesn’t accurately reproduce what you had in mind, it might become irritating. You will need to get the skill of properly scripting your prompts if you want to make photorealistic Midjourney images. Below, you can see several ways of creating beautiful and photorealistic Midjourney images. So let’s dive in.
Kind prompts open all doors
Learning what prompts you can utilize to achieve the desired outcomes is the first thing to keep in mind when you’re prepared to make photorealistic Midjourney images. Any work you produce on Midjourney is considered art, but if you want to produce realistic images, you must be more precise in your input.
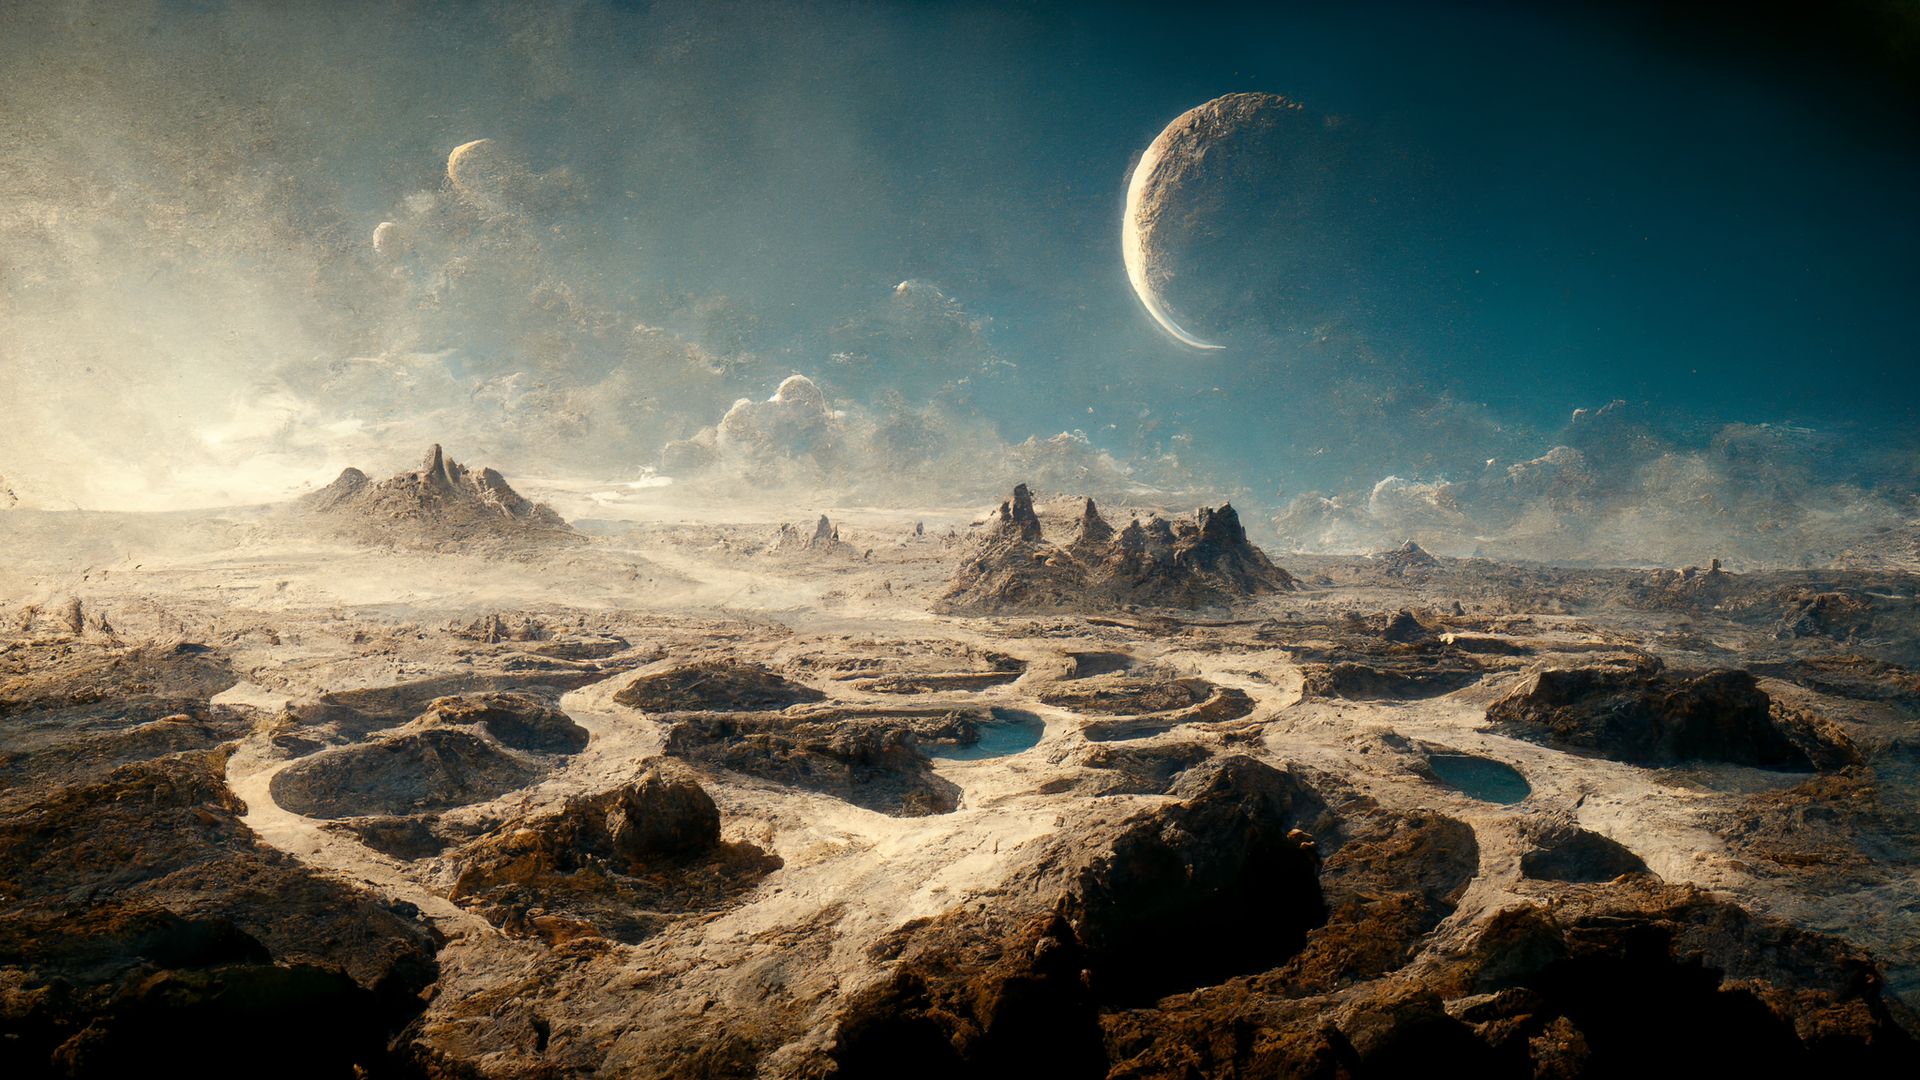
You need to have a basic understanding of photography in order to create photorealistic Midjourney images because it will help you explain your idea more clearly. You must decide on the photography style you want to use for your production if you want to produce natural, more realistic photographs.
When creating prompts for a photorealistic image, keep the following in mind:
- Image type: You must first specify the type of photograph you want to produce using one of the following keywords: portrait, realistic image, photorealistic image, personal portrait, macro shot, candid shot, close-up portrait, etc.
- Camera model: You can experiment with various camera brands and models to produce photographs in order to compel Midjourney to produce the type of image you anticipated. Such terms as Sony a7R IV camera, Nikon D850 DSLR, Canon EOS R5, Hasselblad X2D 100C, Kodak Portra 800, Fujicolor Superia X-TRA 400, etc. might be used.
- Focal length and lens type: You can include lens information in addition to a camera model to get the perspective you want and to search for the photographs you upload to Midjourney. You can use the following settings: 18, 28, 35, 50, 85, 100, 200, etc. Anything beyond 85mm is appropriate for portrait and macro photographs, while lenses with lower values are good for making landscape images. If particular lens brands offer distinctive effects, you can also specify them.
- ISO value: The brightness at which the camera renders the scene depends on the ISO setting for the image. When using Midjourney to create AI art, you can specify ISO values to tell the program how bright an image is. You can do that by including the term “ISO” next to any of the following values in your input prompt: 50, 100, 200, 400, 800, 1600, 3200, 6400, 12, 800, 25,600, etc. Because ISO values grow geometrically, you must enter these values exactly as they are.
- Aperture: You can play with these aperture values: f/1.4, f/2.8, f/4, f/5.6, f/8, f/11, f/16, etc. Aperture describes how much of your image remains in focus. The operation of the aperture with various lenses will require further study, and you can specify an aperture range between two values by including it in your prompt.
- Depth of field: The distance between the closest and farthest parts in an image that are in acceptable focus is referred to as depth of field. It’s crucial to describe the depth of focus for a photograph so that Midjourney can display your topic more or less prominently. You can include words like bokeh, wide/deep depth of field, narrow/shallow depth of field, etc. in your prompt.
- Shutter speed: To control how photographs of moving objects seem in your image, you can choose a shutter speed for images you create on Midjourney, just like you do with aperture and ISO. Low shutter speeds can make moving objects appear blue, whereas high shutter speeds can get rid of motion. You can experiment by adding the words “shutter speed” to your Midjourney questions, followed by any value of time in seconds, such as 5s, 2s, 1s, 1/4s, 1/60s, 1/120s, etc.
- Lighting: Use descriptive terms like “natural light,” “dramatic lighting,” “soft sunlight,” “golden light,” “film light,” “sunlight,” “hard lighting,” “contrasty lighting,” “neon lighting,” etc.
Be as detailed as possible and get the best renders
You can produce photorealistic Midjourney images as long as your descriptions are well-written. To get photographs with a certain context, you need to script the descriptions in a way that you would explain them to a real person, not just by adding a bunch of parts. To make better renderings, use the syntax below:
/imagine <subject> <environment> <color> <mood> <composition>
Let’s take a look at what this syntax specifically means.
- Subject: To make the major context of your photograph apparent, you can use adjectives to describe the person, animal, item, or location.
- Environment: Describe the environment in which your subject is present using pertinent keywords. You can go inside, outside, on the moon, in Narnia, under the sea, etc.
- Color: Since colors can be used to alter real images, you can decide how vivid your image should be when it is created in Midjourney. Use words like “colorful,” “black and white,” “monochromatic,” “vibrant,” “muted,” and “bright” in this context.
- Mood: Using keywords like “calm,” “raucous,” “energetic,” etc., you can specify how dramatic your image appears in this context.
- Composition: This kind of shot, which is a component of what we discussed in the last section, is the one you want Midjourney to produce.
This Midjourney documentation has extra information on how to write prompt descriptions.
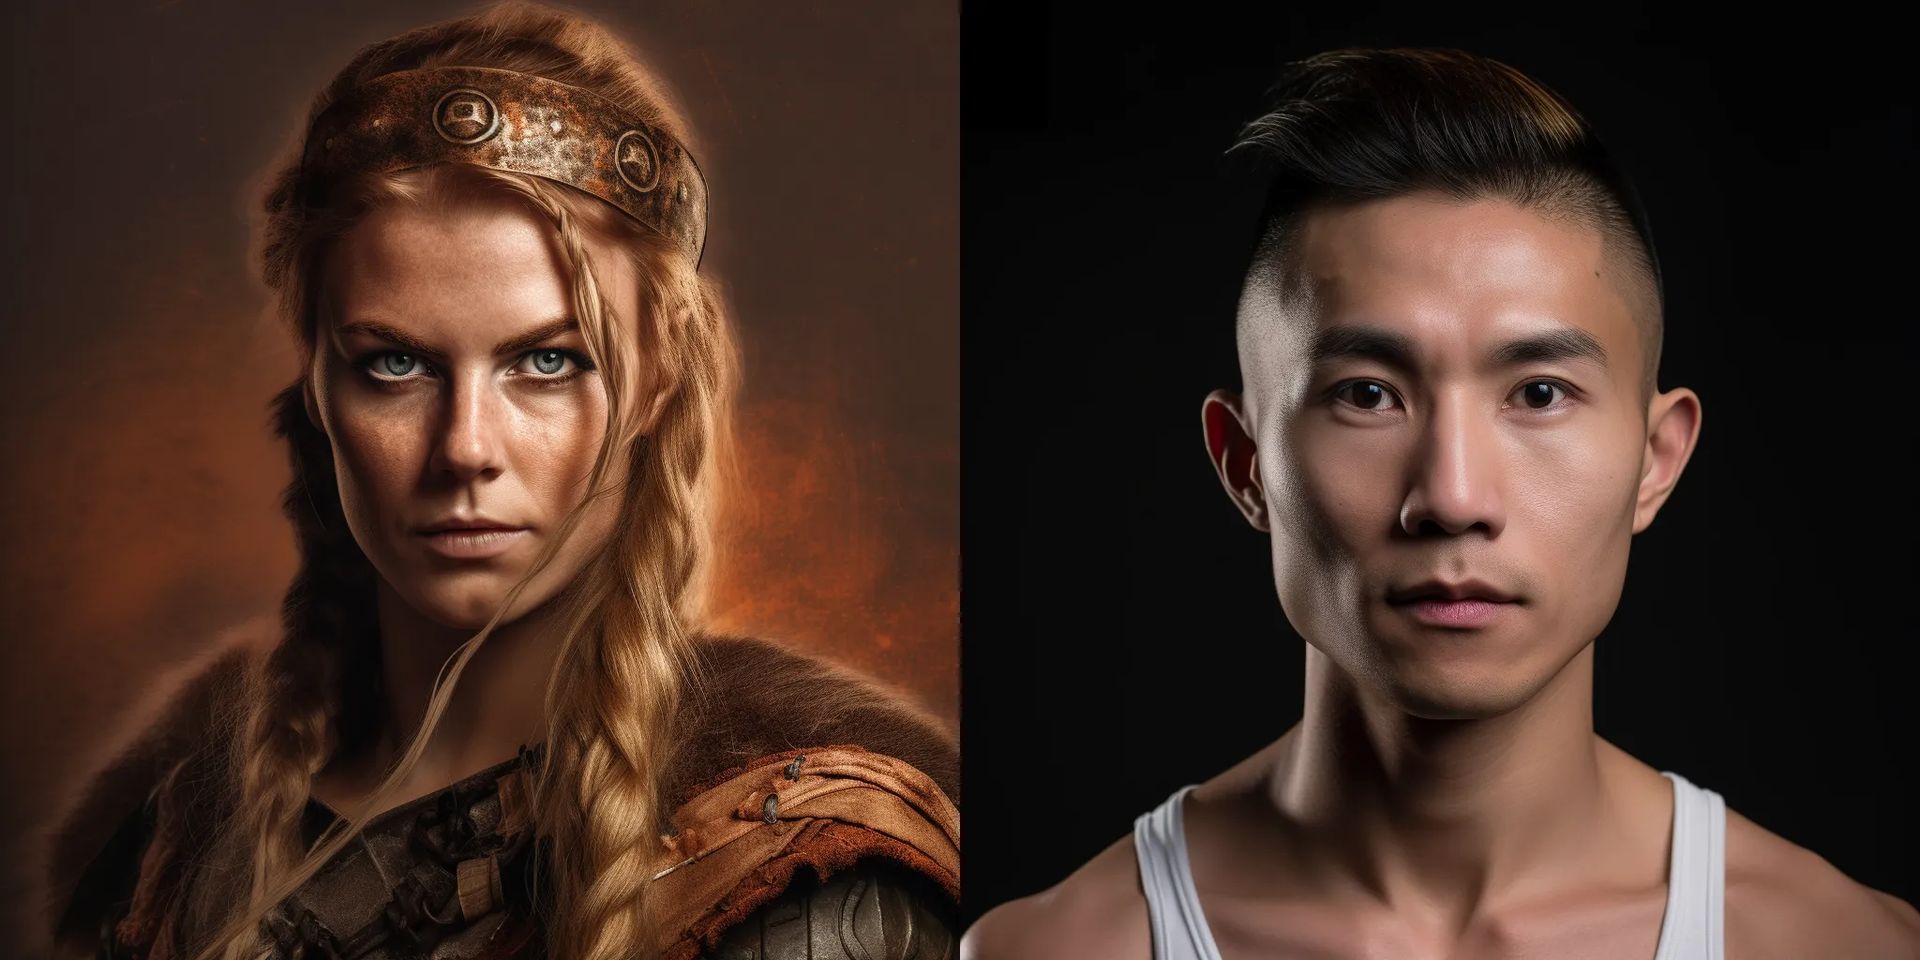
Negative prompts are almost as useful
You can use negative prompts in Midjourney to prevent the AI tool from displaying photographs with particular subjects, settings, or backdrops and make photorealistic Midjourney images. This prompt’s syntax is as follows:
/imagine <original prompt with descriptions> –no <unwanted element>
In order to prevent the undesirable elements from showing up in your projects, add –no to the end of your input along with the items you wish to remove.
A command like –no red at the end will prevent the color “red” from appearing inside the photographs or at least show it with the least emphasis. As an illustration, entering vivid tulip fields will reveal tulips of all hues in a random setting.
You can also use the –no argument to exclude viewing specific items, people, or animals in the photographs in addition to removing colors. To ensure that Midjourney does not display the collection of undesirable items in the final photos, you can use the –no argument numerous times within the input.
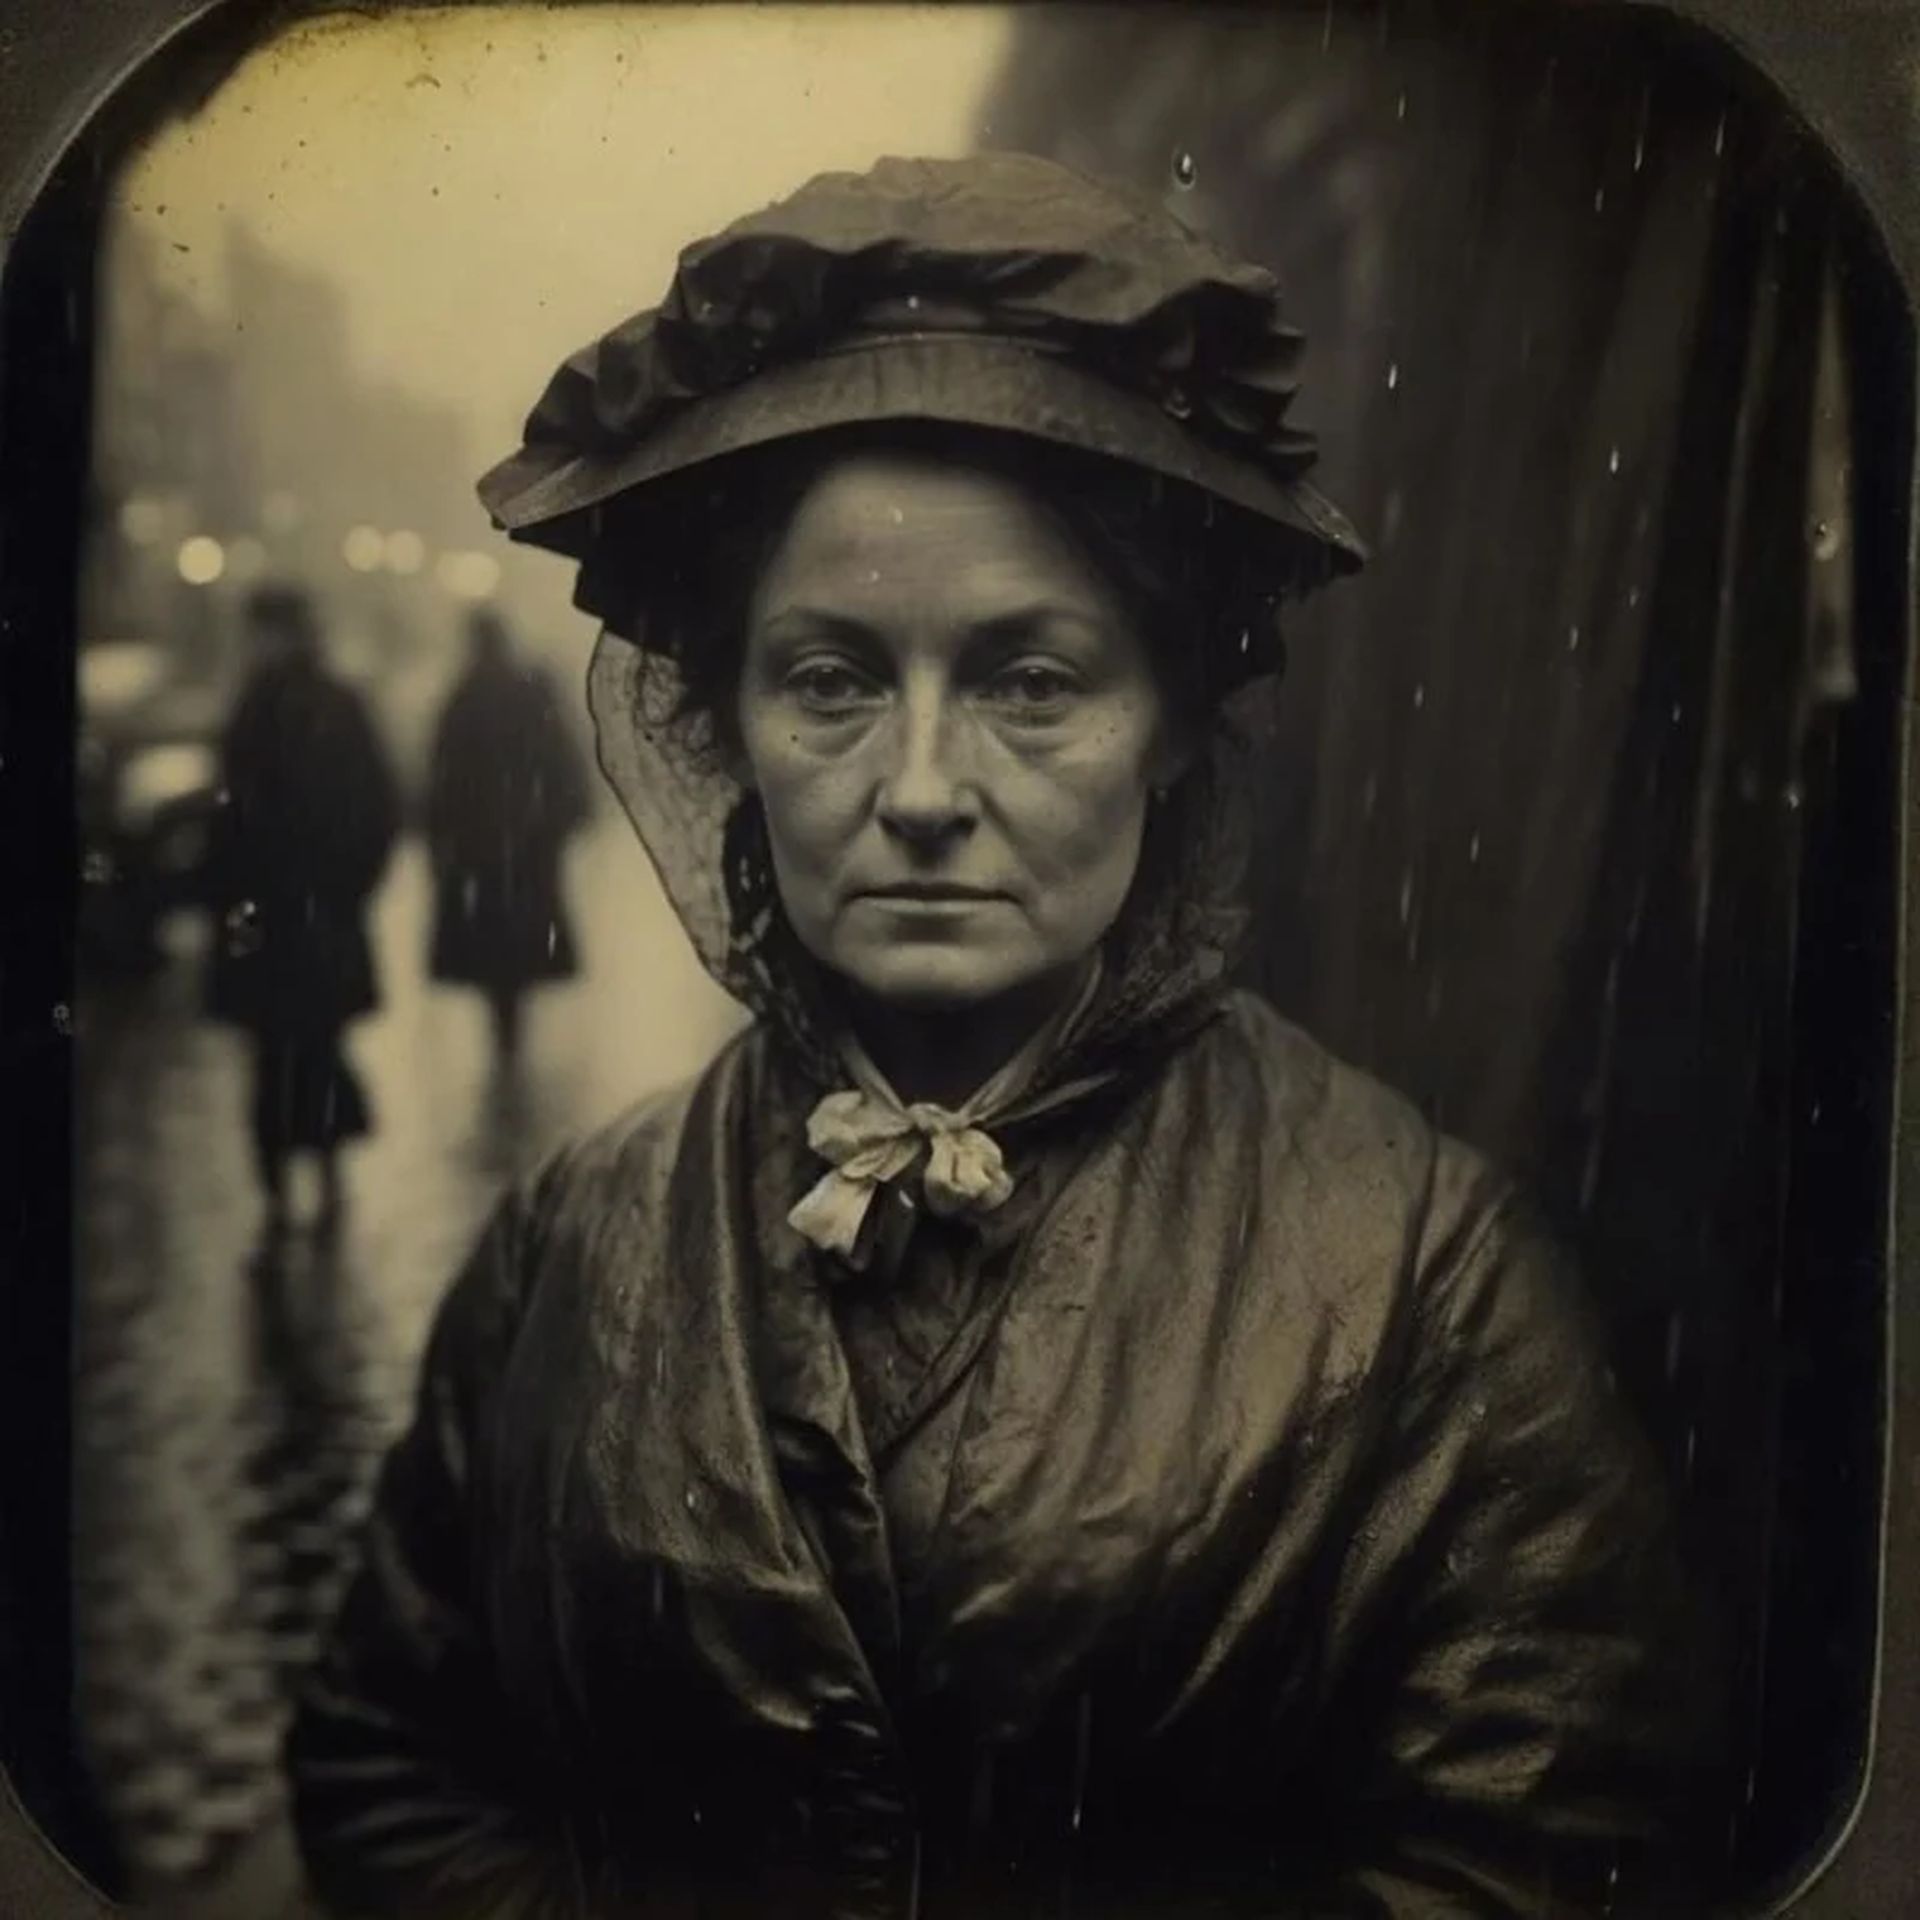
Here’s an illustration of what a negative prompt could resemble:
Prompt: a photorealistic image of vivid tulip fields in the countryside was captured using a Canon EOS R5 camera and an 85mm lens in natural sunlight with –no red
This Midjourney documentation explains how to use negative prompts in more detail.
Employing prompt weights
If you script your elements in a specific way, Midjourney will be able to comprehend the importance of each one of your elements. You can make Midjourney focus primarily on the most crucial portion of the challenge and employ keywords of gradually lower value to generate your image if you wish to rank the keywords in your prompt with varying degrees of preference. Prompt weights can be extremely useful in creating photorealistic Midjourney images.
Use the double color:: followed by the number to denote the relative importance of each section of a prompt to divide it into distinct sections. Consider splitting a prompt into two pieces, with the first half having three times the significance of the second. The syntax for such an input would be as follows:
/imagine <prompt 1>::3 <prompt>::1 or /imagine <prompt 1>::3 <prompt>::
You may skip the number after the double colon if the importance of a prompt part is “1”.
Similar to this, your input syntax should be as follows if your prompts have five distinct parts:
/imagine <prompt 1>::4 <prompt 2>::3 <prompt 3>::2 <prompt 4>:: <prompt 5>::
Here, “prompt 1” will be four times more significant than “prompts 4″ and 5”; “prompt 2” will be three times more significant than “prompts 4″ and 5”; and so on.
This Midjourney documentation has more information on employing prompt weights.
Specify the aspect ratio that suits your image
The photos that are generated when you enter your prompt on Midjourney will by default have a 1:1 aspect ratio. You can define the aspect ratio to get a polished image with more space for adding features and styling.
You can choose an aspect ratio, such as 9:16, 4:5, 3:4, or 10:16 if you want your portrait photos to be taller than broad. You might prefer any of these numbers to define the ideal aspect ratio for landscape photographs because you might want the image to be wider than taller: 16:9, 5:4, 4:3, 3:2, etc.
The syntax for applying one for the aspect ratio parameter, which you supply at the conclusion of your prompt, is as follows:
/imagine <prompt description> –ar <value>
Your selected aspect ratio is used in place of “value”.
This Midjourney documentation contains additional information about using various aspect ratios.
Permutation prompts can generate variations of a single prompt
For creating photorealistic Midjourney images, the program provides a mechanism to create different iterations of a single prompt using various parameter combinations that you can specify inside curly brackets. By doing so, you can avoid repeatedly entering the same prompts to get photographs with varied specifications but comparable aesthetics. Let’s imagine that we wish to produce many renditions of “a fruit bowl” that contain various fruit combinations. Our entry prompt for that will look something like this:
/imagine a photorealistic image of a bowl of {oranges, apples, mangoes}
Three tasks will be generated by this prompt, each of which will include sets of photographs showing a bowl of oranges, apples, or mangoes, but not all three at once.
These permutation prompts can also be used with many sets of bracketed parameters in a single prompt. As a result, your prompt will take on more versions, integrating several sets of parameters for each operation. Instead of having to select an aspect ratio one at a time, you can construct image sets with many aspect ratios using permutation questions.
Permutation prompts can only be used with Midjourney accounts that have a Pro subscription, which is the only restriction. A Basic or Standard Midjourney subscription won’t let you make permutation variations. However, it’s a very useful tool to make photorealistic Midjourney images.
The documentation provided by Midjourney on using permutation prompts can provide more information.
Chaos values can modify your generated images
Using your descriptions, aesthetic preferences, and relative importance is very important in the process of making photorealistic Midjourney images. Use the Chaos parameter inside your input if you’re not happy with the outcomes of your prompt and want Midjourney to alter them in a more strange and unconventional manner.
You can use the following syntax to define chaos inside your input:
/imagine <description> –chaos <value> or /imagine <description> –c <value>
Here, the value may range from 0 to 100. Higher chaos values will produce surprising results, whereas lower chaos values will produce results that are more dependable given your input.
This Midjourney documentation has more information on using chaos values.
And with that, we come to the end of our guide on how to make photorealistic Midjourney images. We know that it’s a slightly difficult process, but the results are so worthy of your time and effort. We have many other articles on making the most of the Amazing AI art tool Midjourney you may want to check out. For instance, if you want to take one more step, you can check out the best Midjourney prompt generators to streamline your image creation process.

