If yo want to learn where to go after Gravity Suit in Metroid Prime, look no further! We are here to help!
In Metroid Prime Remastered, obtaining the Gravity Suit is a crucial upgrade for players. This power-up is located in the Gravity Chamber of Phendrana Drifts, and once acquired, it grants Samus the ability to move more efficiently underwater.
Metroid Prime: Where to go after Gravity Suit?
The Gravity Suit plays a pivotal role in the upcoming areas that players will venture into. Therefore, this gamer guide is here to provide detailed instructions on how to progress after acquiring the Gravity Suit in Metroid Prime Remastered.
Magmoor Caverns
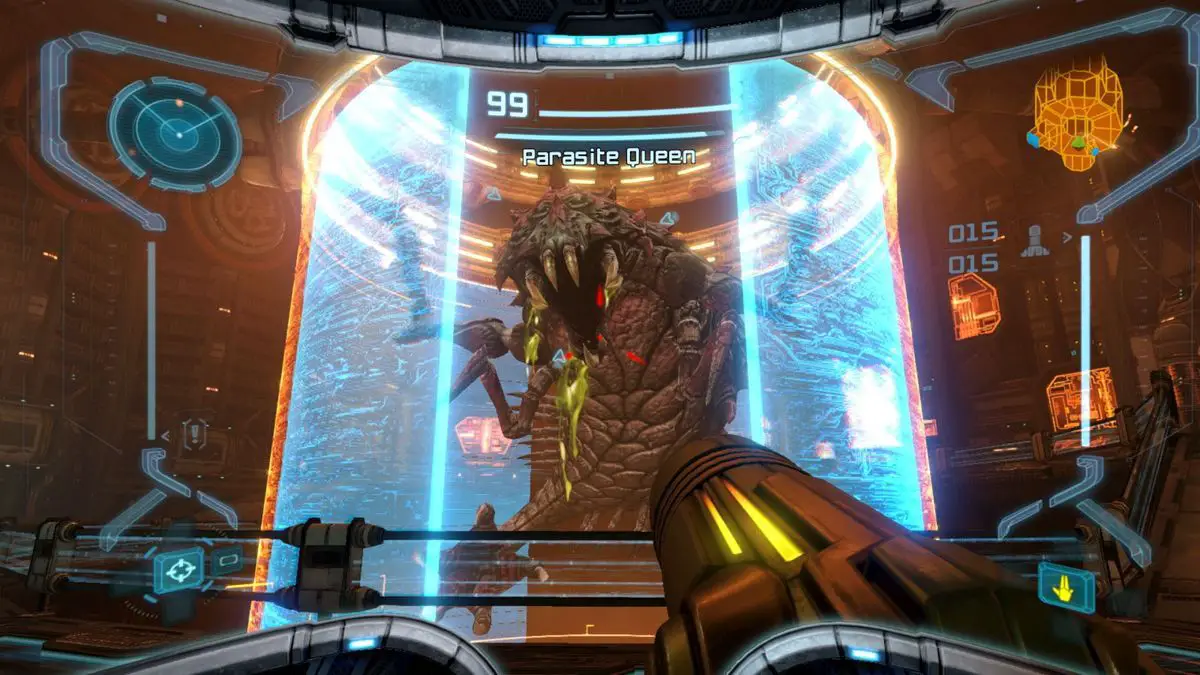
With the Gravity Suit equipped, players will now have the opportunity to explore a new section of the Gravity Chamber. A second Wave Beam door will now be accessible, leading to Chamber Access and eventually to the Hunter Cave. To continue the journey, players should follow the path on the right, utilizing the Wave Beam door to gain access to Hunter Cave Access. Afterward, players should head towards the Frozen Pike and make their way up to the top of the room, where they will come across a door. By passing through Transport Access and riding the elevator, players will arrive at Magmoor Caverns South, ready to embark on their next adventure.
Tallon Overworld
Once players have saved at the Save Station located behind the elevator, their next destination in Metroid Prime Remastered is Transport to Tallon Overworld West. This elevator can be reached by navigating through the Magmoor Workstation, Geothermal Cave, and Twin Fires, and upon reaching it, fans should ride the lift to proceed further. After the ascent concludes, players should make their way through Root Cave and Tallon Canyon until they arrive at the Landing Site.
To progress further in Metroid Prime Remastered, players should take a moment to save their progress using Samus’s ship. Next, they should navigate behind the ship and to the right, where they will discover a Morph Ball tunnel leading to the Waterfall Cavern. By morphing into a ball, players can pass through a tight passage that leads to the Frigate Crash Site. Upon arrival, players will encounter a large pool of water, which they should jump into and head towards the back-right corner.
Frigate Crash Site
In this position, fans will discover an underwater tunnel, which they should navigate through in Morph Ball form before returning to land. From here, players will see a large crashed vessel that can be entered by using the Ice Beam on a door hidden behind some crates. Upon entry, players should pass through the Frigate Access Tunnel and continue advancing until they reach Ventilation Shaft Section B.
Upon reaching Ventilation Shaft Section B, players will discover a door without power, which can be restored by shooting the conduit located above it with a shot from Metroid Prime Remastered’s Wave Beam. After restoring power, players can proceed to Ventilation Shaft Section A and ultimately to the Reactor Core.
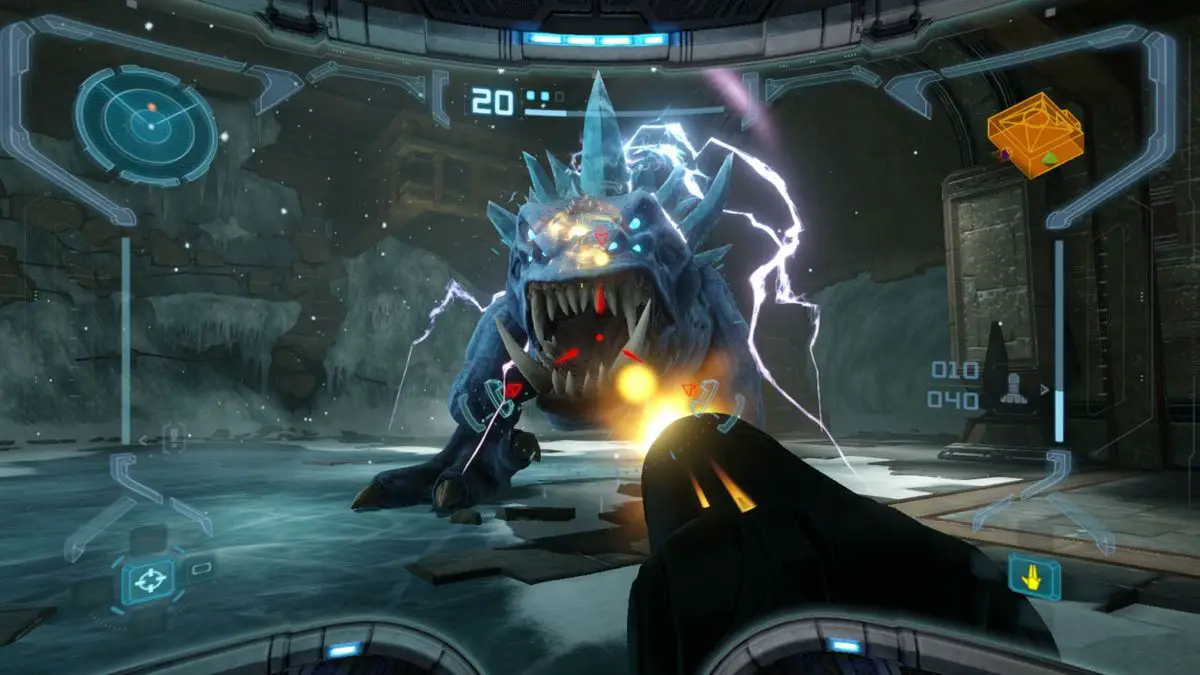
To progress through the Reactor Core, players should drop to the bottom of the submerged room and activate the Thermal Visor. This will reveal four conduits scattered throughout the area, which players should shoot with the Wave Beam to activate a door leading to Reactor Access. It’s worth noting that there is a Save Station attached to Reactor Access, which players should use to save their progress.
After saving, players should use the Thermal Visor to locate two conduits within Reactor Access, which can be used to restore power to the large door leading to Cargo Freight Lift to Deck Gamma. Upon reaching the lift, players can use a Missile to access an Energy Tank that is located in the vessel ahead. To continue the journey, fans should make their way to the top of the room, using the Thermal Visor to locate three conduits, one of which is on the exterior of the aforementioned vessel during the ascent.
After hitting all three conduits with the Wave Beam in Biotech Research Area 1, players will be able to access the Deck Beta Transit Hall and Biohazard Containment. In this room, fans should jump into the water, scan the Aqua Drone, and then use one of Metroid Prime Remastered’s Super Missiles to open a Cordite door and claim a Missile Expansion. With that collectible in hand, players can use their Thermal Visor to locate three more conduits and send power to a door submerged in the water.
Continuing forward, players will arrive at Biotech Research Area 1, where they must activate another set of three conduits to access the Connection Elevator to Deck Beta. Before dropping down and entering the Hydro Access Tunnel, fans can scan an Aqua Sac on the wall for additional information.
The Hydro Access Tunnel is a Morph Ball section, and utilizing multiple aerial Morph Ball Bomb jumps can help players navigate through the water’s physics. While this technique is not necessary to progress through the tunnel, it must be employed to reach an Energy Tank located at the top of a long vertical shaft. To obtain the upgrade, players should place a Morph Ball Bomb just before reaching the highest point of an ascent and then string together two jumps.
After completing the Morph Ball section, players will arrive at the Great Tree Hall. To proceed, players should climb out of the water and locate a Spinner. Using Metroid Prime Remastered’s Boost Ball within this device will open a nearby gate, but players should not pass through it just yet. Instead, they should use an Ice Beam door to enter Transport Tunnel E and ride the elevator to reach the Phazon Mines East.
Phazon Mines
Players should make their way through Quarry Access after arriving at the Phazon Mines to reach the Main Quarry. On the left side of this room, there is a short Spider Ball Track that leads to a Save Station. It’s essential for players to save their progress at this station, as they will face a long and challenging section of the game before having another opportunity to save.
Returning to the Main Quarry, players should destroy the Mega Turrets to their left and ascend the walkway located near the center of the room. Crossing the bridge, players should continue climbing until they reach a crane. Activating the Thermal Visor in this position will reveal a conduit, which players should hit with the Wave Beam to turn on the crane’s controls. Scanning the controls will cause the crane to move, allowing players to use its Spider Ball Track to reach a Missile Expansion.
After obtaining the Missile Expansion from the crane’s Spider Ball Track, players should return to the ground in the Main Quarry and scan two points on the path leading to the orange force field. Scanning these points will cause the force field to dissipate, giving players access to an Ice Beam door leading to Security Access A. Here, fans will find more Turrets, which can be disabled by scanning the terminal located to their right.
Beyond the Turrets lies the Mine Security Station, where players will encounter Wave Troopers. To defeat these enemies, players must use the Wave Beam, and once they are dispatched, players should pass through the Wave Beam door in the ceiling to reach Security Access B. After shooting some metal pipes and advancing through Security Access B, players will arrive at Elite Research.
In Elite Research, players should make sure to scan the Phazon Elite that they encounter, as it provides a missable Log Book entry. Additionally, players should scan the two terminals located on the first floor. One of these terminals provides Pirate Data, while the other activates platforms that players can use to reach the second floor. Again, players will need to confront enemies in this location, and there is another terminal to scan and more platforms to climb thereafter.
Upon reaching the third floor of Elite Research, players must defeat a Power Trooper that can only be damaged by the Power Beam. This enemy guards a terminal and a Spinner. To obtain a Missile Expansion, players should scan the adjacent walls to locate one with “8% integrity” when they are safe. Players should then use the Spinner to point the ceiling-mounted gun at that wall, Boost Ball within the Spinner, and scan the terminal to reveal the upgrade.
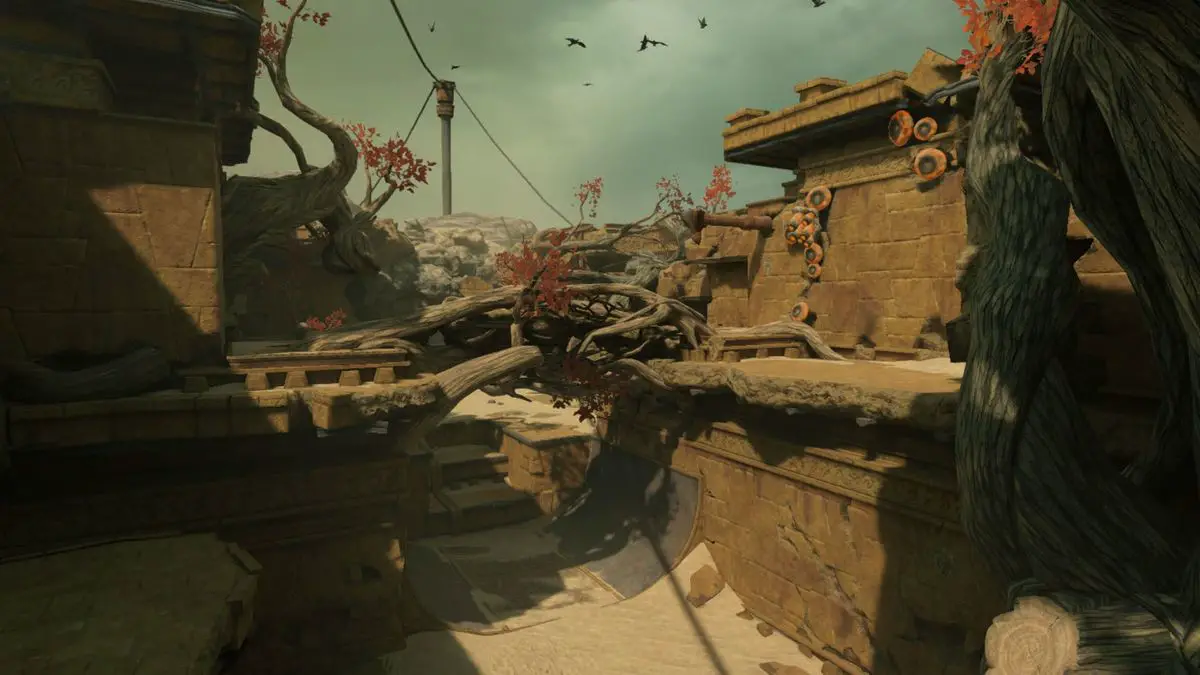
Players should then use the Spinner once again to direct the gun toward the wall that is directly across from the terminal. Another quick scan will cause the gun to fire, allowing players to enter an Ice Beam door leading to Research Access. Here, fans should use Metroid Prime Remastered’s Spider Ball to carefully descend the track and avoid taking damage from the rotating blades.
Beyond this dangerous section is Ore Processing, where fans must defeat Power Troopers upon entry. With these foes dispatched, players can focus on a Morph Ball puzzle that centers around the rotation of the central column. The first step towards solving this puzzle is locating the associated device on the first floor and entering the Morph Ball slot on its back.
To solve the Morph Ball puzzle, players should place Morph Ball Bombs inside the first device’s slot until the central column’s blue Spider Ball Track aligns with the blue Spider Ball Track that hangs over the second level. Once players have used the blue Spider Ball Track to reach the second level, they must locate another device and place Morph Ball Bombs inside its slot until the red Spider Ball Track on the central column aligns with the red Spider Ball Track that hangs over the third level. After aligning the bottom section of the red Spider Ball Track on the first floor, players can use the track to reach an Ice Beam door on the third level.
Beyond the Ice Beam door lies Elevator Access A. Players must roll down another Spider Ball Track to avoid taking damage and then use the elevator to travel to Phazon Mines Level Two. Upon entering Elite Control Access, players should shoot at an explosive crate on a platform to reveal a Missile Expansion.
Elite Control is the next room players will go, and it is home to a powerful enemy known as the Elite Pirate. Players should scan this supersized Space Pirate, use Super Missiles to defeat it as quickly as possible, and then scan the nearby terminals to obtain three Pirate Data entries. Afterward, players can ascend the room’s walkway, use their Ice Beams to defeat several Ice Troopers, and scan terminals at the top to obtain five more pieces of Pirate Data and to drop a nearby force field.
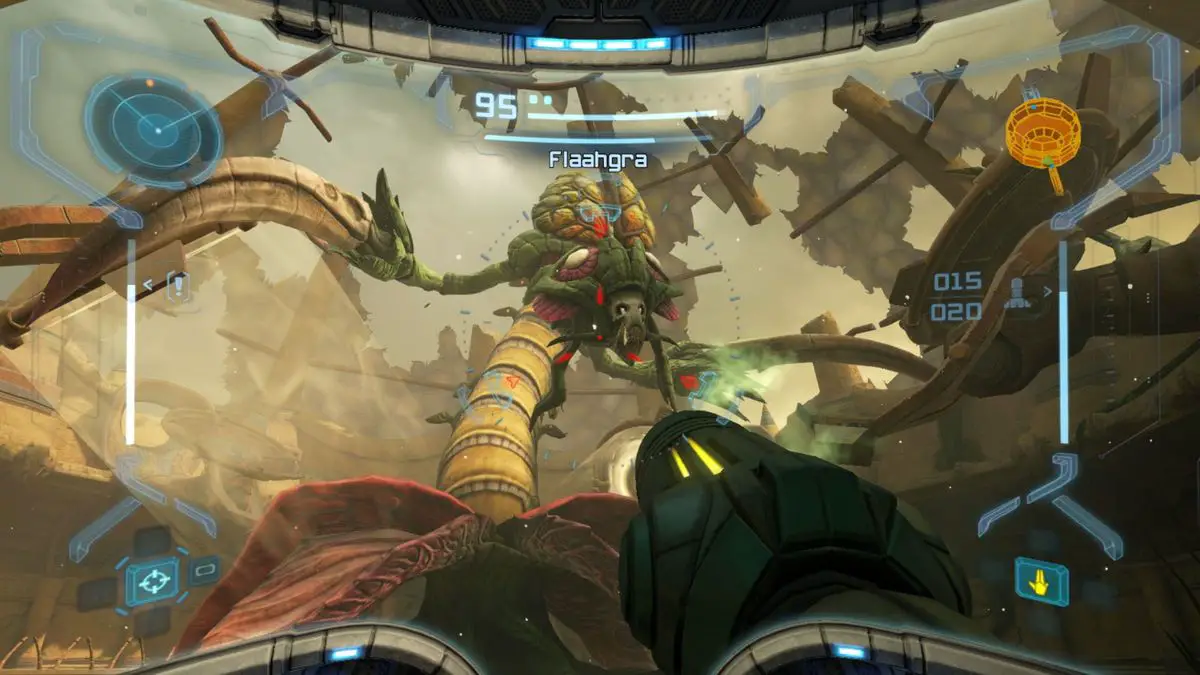
Beyond the dropped force field in Omega Research lies an Ice Beam door in the ceiling, which leads to the Ventilation Shaft and ultimately the Central Dynamo. Upon arrival, players should descend the nearby platforms, use the scan point to drop the force field, dispatch enemies, and equip the Scan Visor to obtain a Pirate Data entry from a nearby terminal. Players can then drop through an Ice Beam door to reach Dynamo Access and navigate to the Central Dynamo.
However, players should be cautious upon entering the Central Dynamo, as there is a cloaked drone patrolling the area. Though players cannot lock onto this enemy, they can aim manually and take it down quickly with Missiles. Once the drone is defeated, players can drop into the Central Dynamo and use Metroid Prime Remastered’s Morph Ball form to access a maze that is located below the room’s central grate.
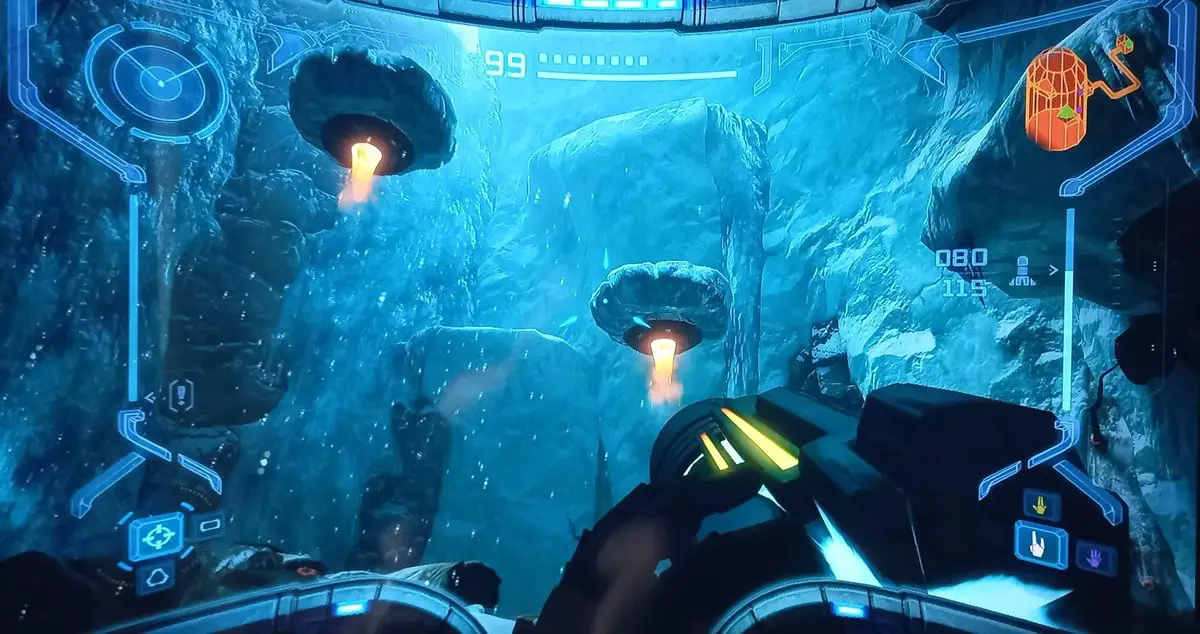
To navigate the maze, players must avoid running into electrical currents, and they will encounter water puddles as they progress. Placing Morph Ball Bombs on those puddles will shut down the adjacent currents and allow players to reach their next power-up: the Power Bomb. Notably, there is a Save Station through an Ice Beam door within the Central Dynamo that can be accessed after obtaining the Power Bomb.
This way you’ve learned Where to go after Gravity Suit in Metroid Prime. You can also learn some special item locations by visiting our guide! The game is available on Nintendo Switch!


