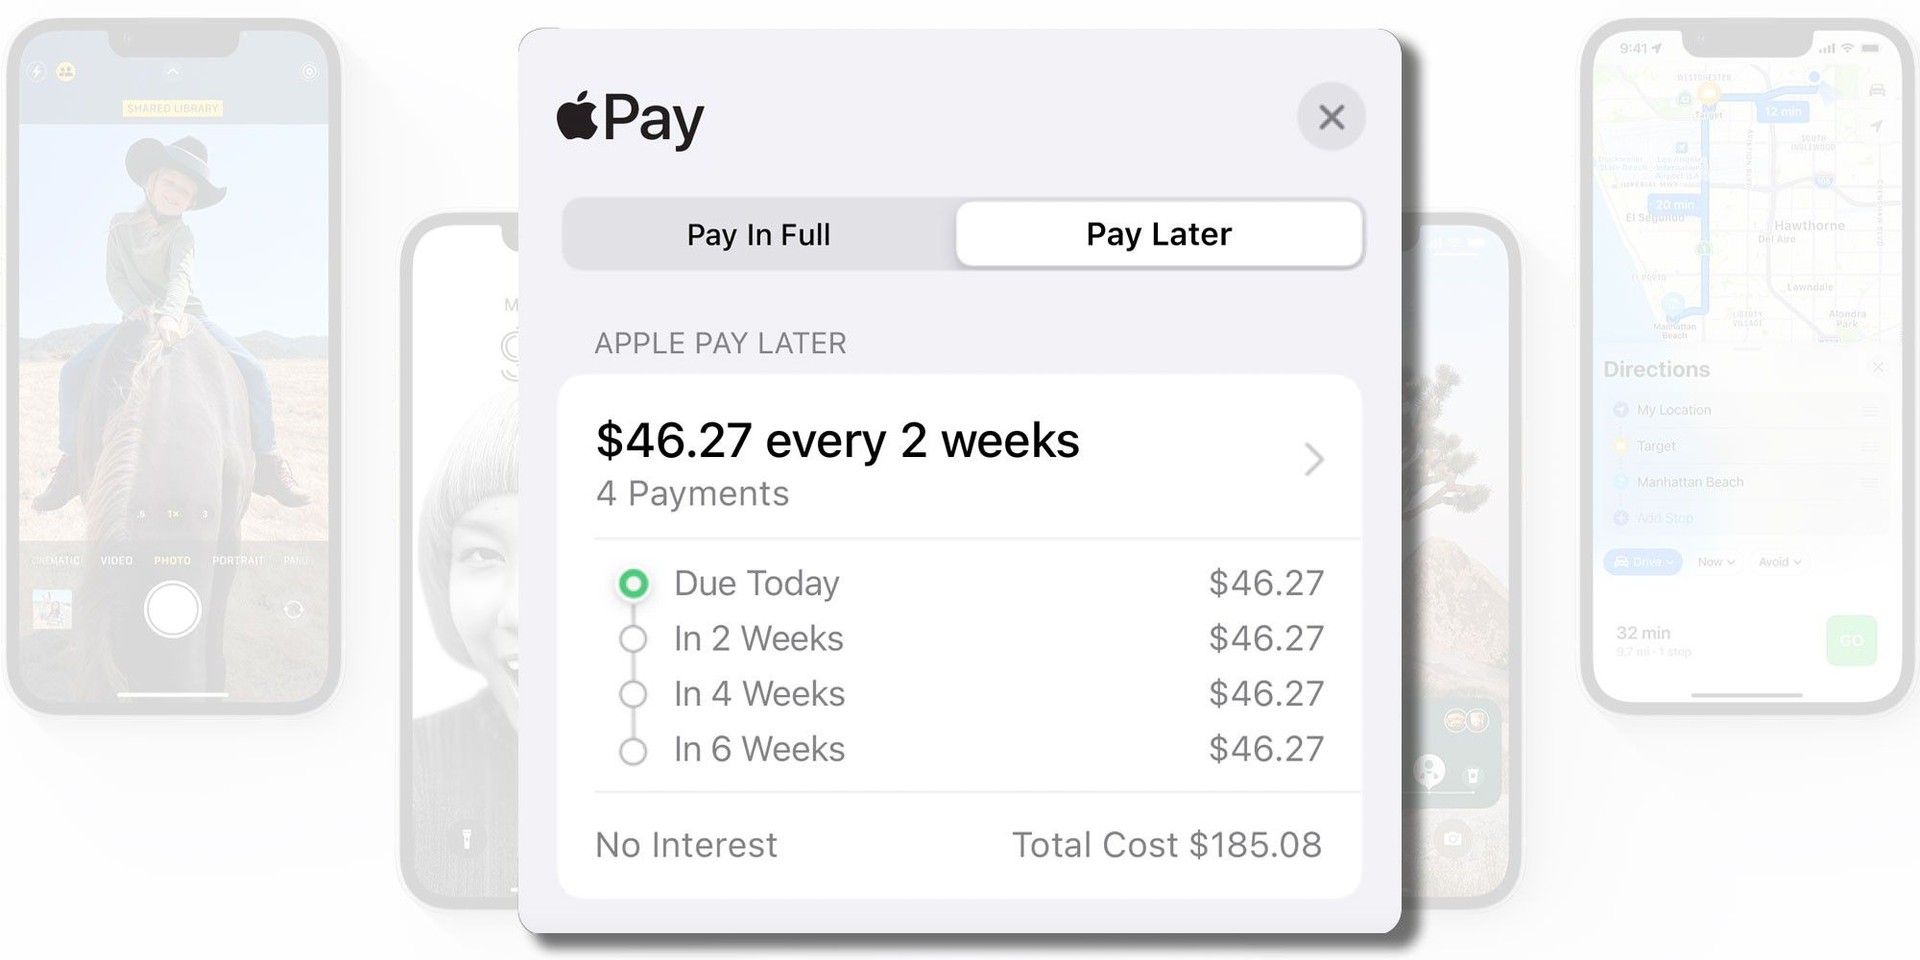
Apple Pay Later is the newest feature by Apple that allows its users to split their purchases into four equal payments over a six-week period, without any interest or fees. This new payment option can be used by customers to make purchases through participating online and in-app merchants that accept Apple Pay.
To be eligible for Apple Pay Later, you must have an iPhone or iPad device that supports Apple Pay, and the purchase must be between $50 and $1,000. The best part is that there is no impact on your credit when you apply for an Apple Pay Later loan, and you’ll know within seconds if you’re approved.
If you’re interested in using Apple Pay Later, there are a few requirements that you need to meet. You must be at least 18 years of age, a U.S. citizen or lawful resident with a valid, physical U.S. address (not a P.O. box), and have an eligible debit card set up with Apple Pay on your device. You’ll also need to set up two-factor authentication for your Apple ID and update to the latest version of iOS or iPadOS.

How to Apply for Apple Pay Later?
If you are wondering how to apply for Apple Pay Later, it is a pretty simple and straightforward process.
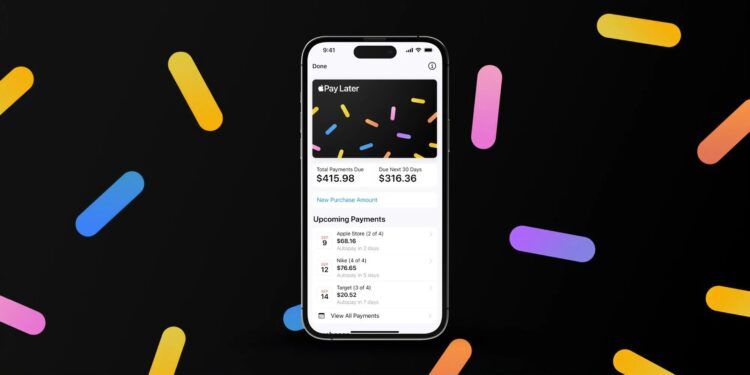
To get started with your first application, you’ll need to add Pay Later to your Apple Wallet. On your iPhone, open the Wallet app, or on your iPad, go to Settings and tap Wallet & Apple Pay. Then, tap “Add” and “Set up Apple Pay Later” and follow the onscreen instructions to apply for an Apple Pay Later loan.
Once you’re approved, you can use your available to spend amount to make a purchase up to 30 days after your application is approved. If you don’t have Apple Pay yet, follow the instructions by Apple using the link here.
If you’re already set up with Pay Later, you can apply for a loan when you check out with Apple Pay and select “Pay Later“. Alternatively, you can find out what you’re approved for at any time in the Wallet app.
However, it’s important to note that every purchase made using Apple Pay Later is a separate loan and requires a new application.

How to use Apple Pay Later?
We hear you ask how to set up Apple Pay Later, so there we go!
Using Apple Pay Later is a straightforward process, but there are a few things to keep in mind to avoid any potential issues. For instance, if your debit card account doesn’t have sufficient funds to make loan repayments, your bank may charge you fees.
It’s worth noting that Pay Later is currently not available in Hawaii, Nevada, New Mexico, North Carolina, Wisconsin, and the U.S. territories. Also, if your photo ID doesn’t scan properly during the verification process, you should contact Apple Support for assistance.
In case your Apple Pay Later loan application is not approved, there are a variety of factors that could be the reason. Based on the information you provided in your application, it’s possible that your application may not be approved, or that it can’t be approved for the amount requested.

In such cases, you’ll receive an email with the details of the decision, but there’s no impact on your credit for submitting Apple Pay Later loan applications.
Finally, it’s important to keep in mind that upon purchase, your Apple Pay Later loan and payment history may be reported to credit bureaus and impact your credit. So, it’s essential to use this payment option responsibly and only for purchases that you can afford to repay within the given timeframe.
How to make purchases using Apple Pay Later?
Making purchases using Apple Pay Later is a simple process. Once you’re approved for a loan, you can use your Available to Spend amount to make a purchase within 30 days of approval.
When checking out at a participating online or in-app merchant that accepts Apple Pay, select the Apple Pay option. If the merchant supports Apple Pay Later, you’ll see a “Pay Later” option.
Tap the “Pay Later” tab and then continue with the checkout process. Review your payment plan information and loan agreement details, and then tap “Agree & Continue“. Select or add the debit card that you want to use for your down payment and follow the on-screen instructions.
To complete the payment process, double-click the side button to confirm the payment with Face ID, Touch ID, or your passcode. Your purchase will then be paid for, and you’ll receive an email confirmation of your payment plan and the total amount due.
It’s important to remember that every purchase made using Apple Pay Later is a separate loan and requires a new application. Also, make sure to use this payment option responsibly and only for purchases that you can afford to repay within the given timeframe.
Developing technology and payment methods
As technology continues to advance, it’s no surprise that more and more companies are embracing digital payment options. With the introduction of Apple Pay Later, Apple is once again at the forefront of innovation. This new payment option makes it easier for customers to manage their finances by allowing them to spread out payments over time without accruing interest or fees.
The convenience of Apple Pay Later is unmatched, but it’s essential to remember that it’s still a loan, and it should be used responsibly. By meeting the eligibility requirements and only using it for purchases that can be repaid within the given timeframe, users can avoid any potential issues and keep their credit scores intact.


