In this article, we are going to be going over how to text wrap in Excel, so you can edit your spreadsheets with ease.
A typical Excel sheet includes cells that are 8.43 points wide and 15 points tall. This is typically 64 pixels wide by 20 pixels in height. If your text data is lengthy, you can raise the cell width to accommodate the length of the data. Instead, you may wrap the text to increase the row height so the data fits in the cell! In this tutorial, you’ll discover three different techniques to wrap your text data so that it fits inside the cell.

How to Text Wrap in Excel?
This implies that if the text is too long to fit inside its cell, it will automatically be split into numerous lines within the cell. The contents within the cell will remain unchanged, and no line break characters will be added. Only numerous lines will seem to be structured.

In the above example, the content inside cell B2 goes much beyond the width of the cell and overflows over to the right. The row height was changed to fit all of the text once the wrap text was applied to the cell.
Wrap Text from Ribbon
Because this is a frequently used activity, it may be found under the Home tab of the ribbon commands. It’s a good idea to choose the width of your cells first, as the height of the rows will be adjusted such that all of the text fits inside the cell.
- Choose the cell or range of cells to which the wrap text formatting should be applied.
- Navigate to the Home tab.
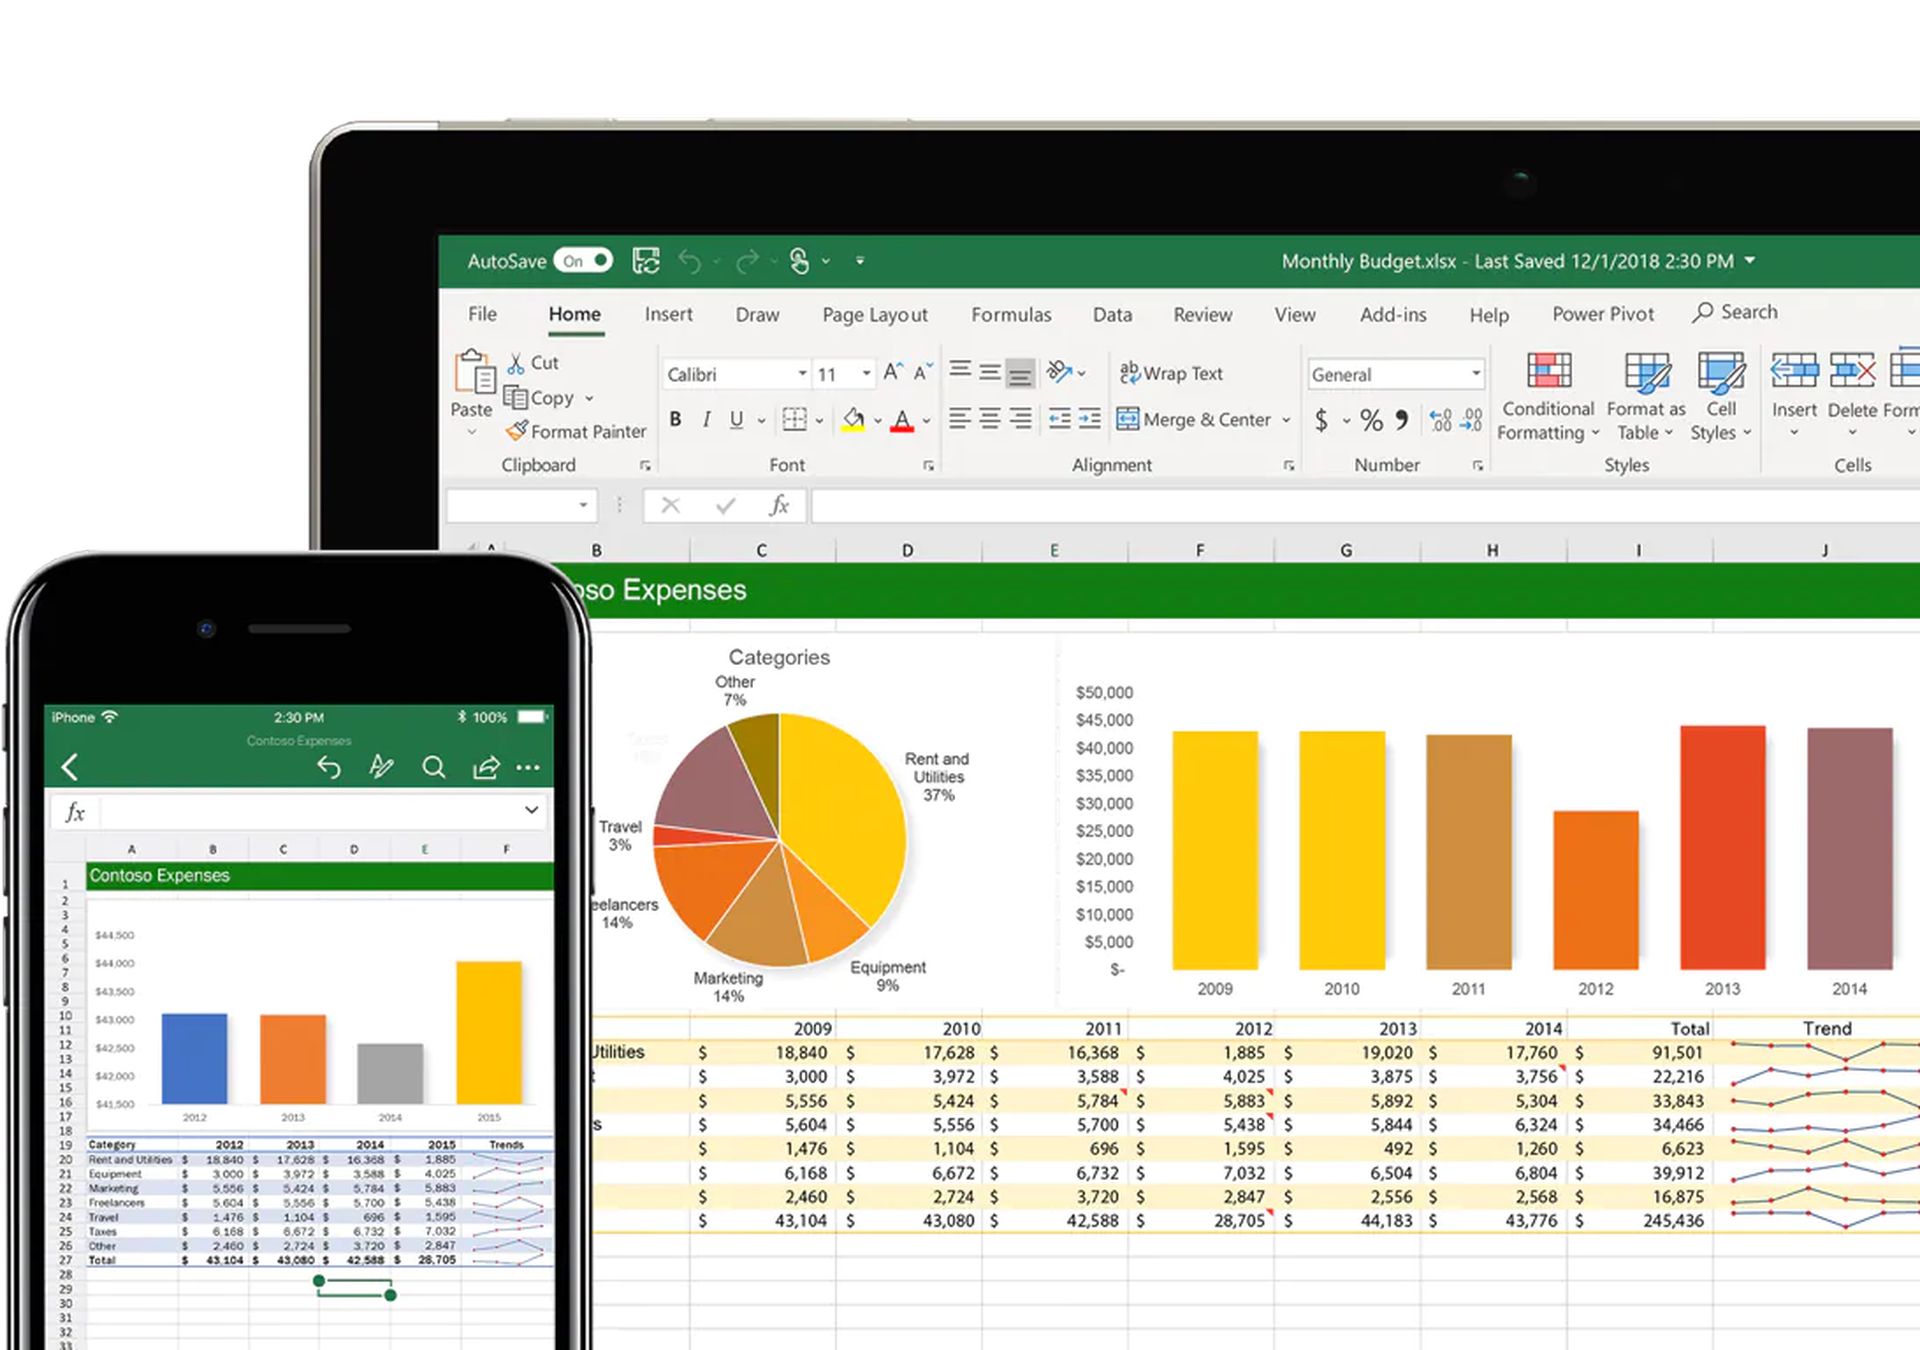
- In the Alignment section, select the Wrap Text command.
- This will make the formatting appear in your cells!

Wrap Text Keyboard Shortcut
There is no particular keyboard shortcut for wrapping text, but you may utilize the Alt hotkeys to do so. Choose the cells to which you wish to add wrap text and press Alt, then H, then W. Certainly a quick and simple method of applying the formatting.

Wrap Text in the Format Cells dialog box
The Wrap Text dialog box contains all of the formatting choices available for a cell in your spreadsheet, including the wrap text option. You may access this menu by right-clicking on the cells and selecting Format Cells, or by using the Ctrl + 1 keyboard shortcut. Go to the menu’s Alignment tab, check the Wrap text option in the Text control section, and then hit the OK button. When you wish to use wrap text and additional formatting choices at the same time, this is a perfect alternative.

Manually add line breaks to wrap your text
The wrap text option will structure your text with line breaks based on the cell’s available width. You may control where the line breaks appear by manually inserting line break characters into your text data. Place the cursor in the text where you want to insert a line break, then hit Enter while holding down the Alt key. This inserts a line break character into your text data, causing it to show on numerous lines in the spreadsheet.
We hope that you enjoyed this article on how to Text Wrap in Excel. If you did, you might also like to check out our other articles, such as how to create a bar graph in Excel, or how to password protect an Excel file, a PDF, or a Word document.


