In this article, we are going to go over how to dictate on Mac, also we will answer the question: “how to dictate in Word on Mac?”
Voice-to-text is a useful function for folks who are constantly on the go. And if you have a Mac computer, you can incorporate that capability into your daily routine. The key is dictation, a built-in function. However, before you can use dictation, you must first allow it. Following then, it functions similarly to any other speech-to-text capability, with the exception that you may be able to access more in-depth voice instructions to structure your document. Here’s how to dictate on Mac.

How to set up dictation on Mac?
- In the top-left toolbar, click the Apple logo, then select “System Preferences.”
- Choose “Keyboard.”
- Select “Dictation” from the menu at the top of the window.
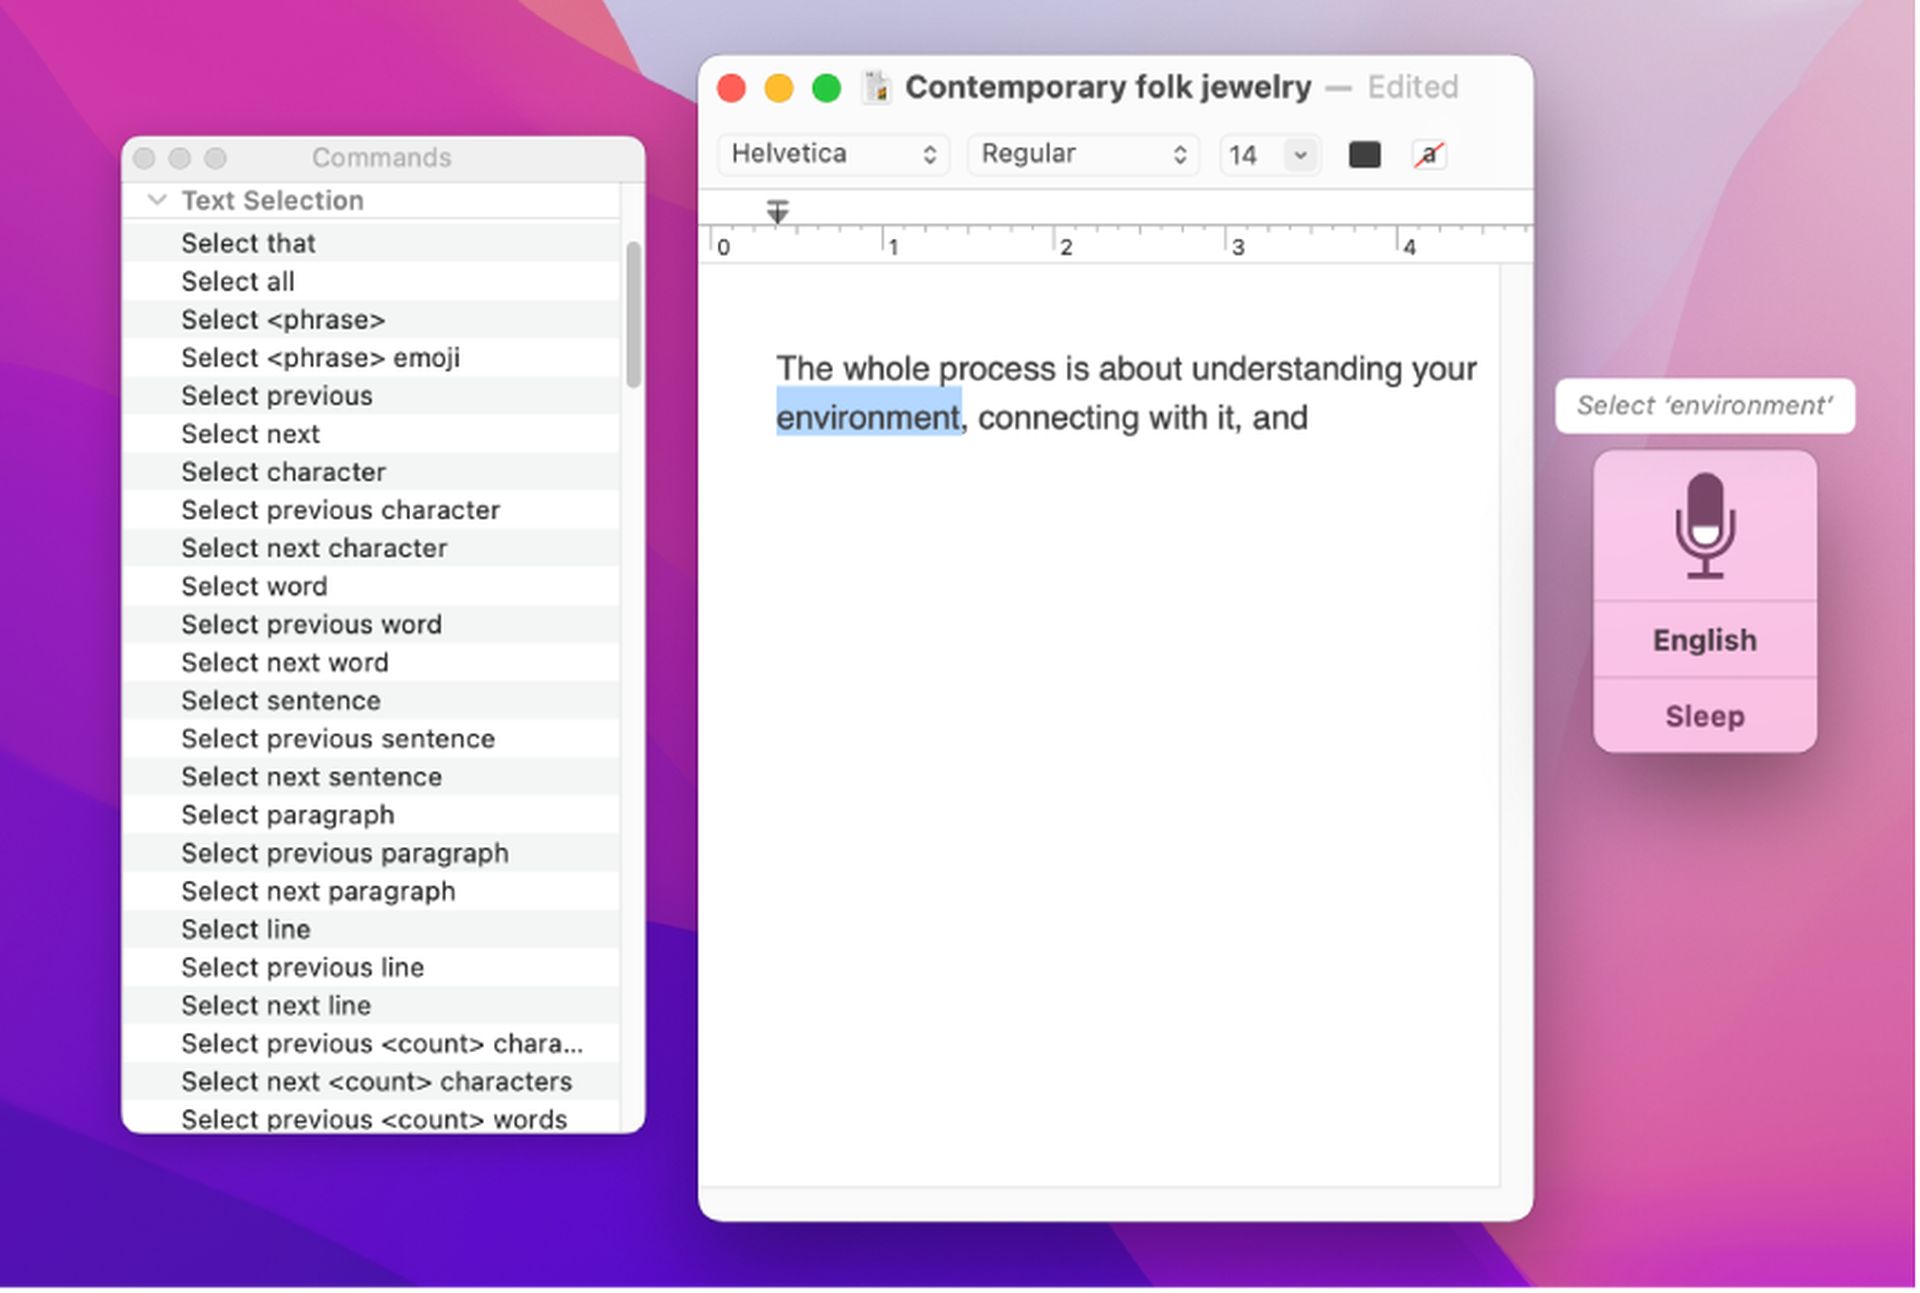
- Select “On” next to “Dictation” and, if desired, enable advanced dictation by ticking the appropriate box (this allows you to use extra commands such as bold, italics, underline, copy, delete, and undo) and dictate without an internet connection (enhanced dictation is only available for those with OS X Mavericks v10.9 or later).
- Set the language and construct the shortcut you want.
How to dictate on Mac?
Here’s how to utilize the dictation function after you’ve enabled it:
- Launch a document.
- Set your cursor to the appropriate dictation place.
- Use the shortcut you created when you first set up dictation; alternatively, choose “Edit” and then “Start Dictation.”
- Begin speaking.
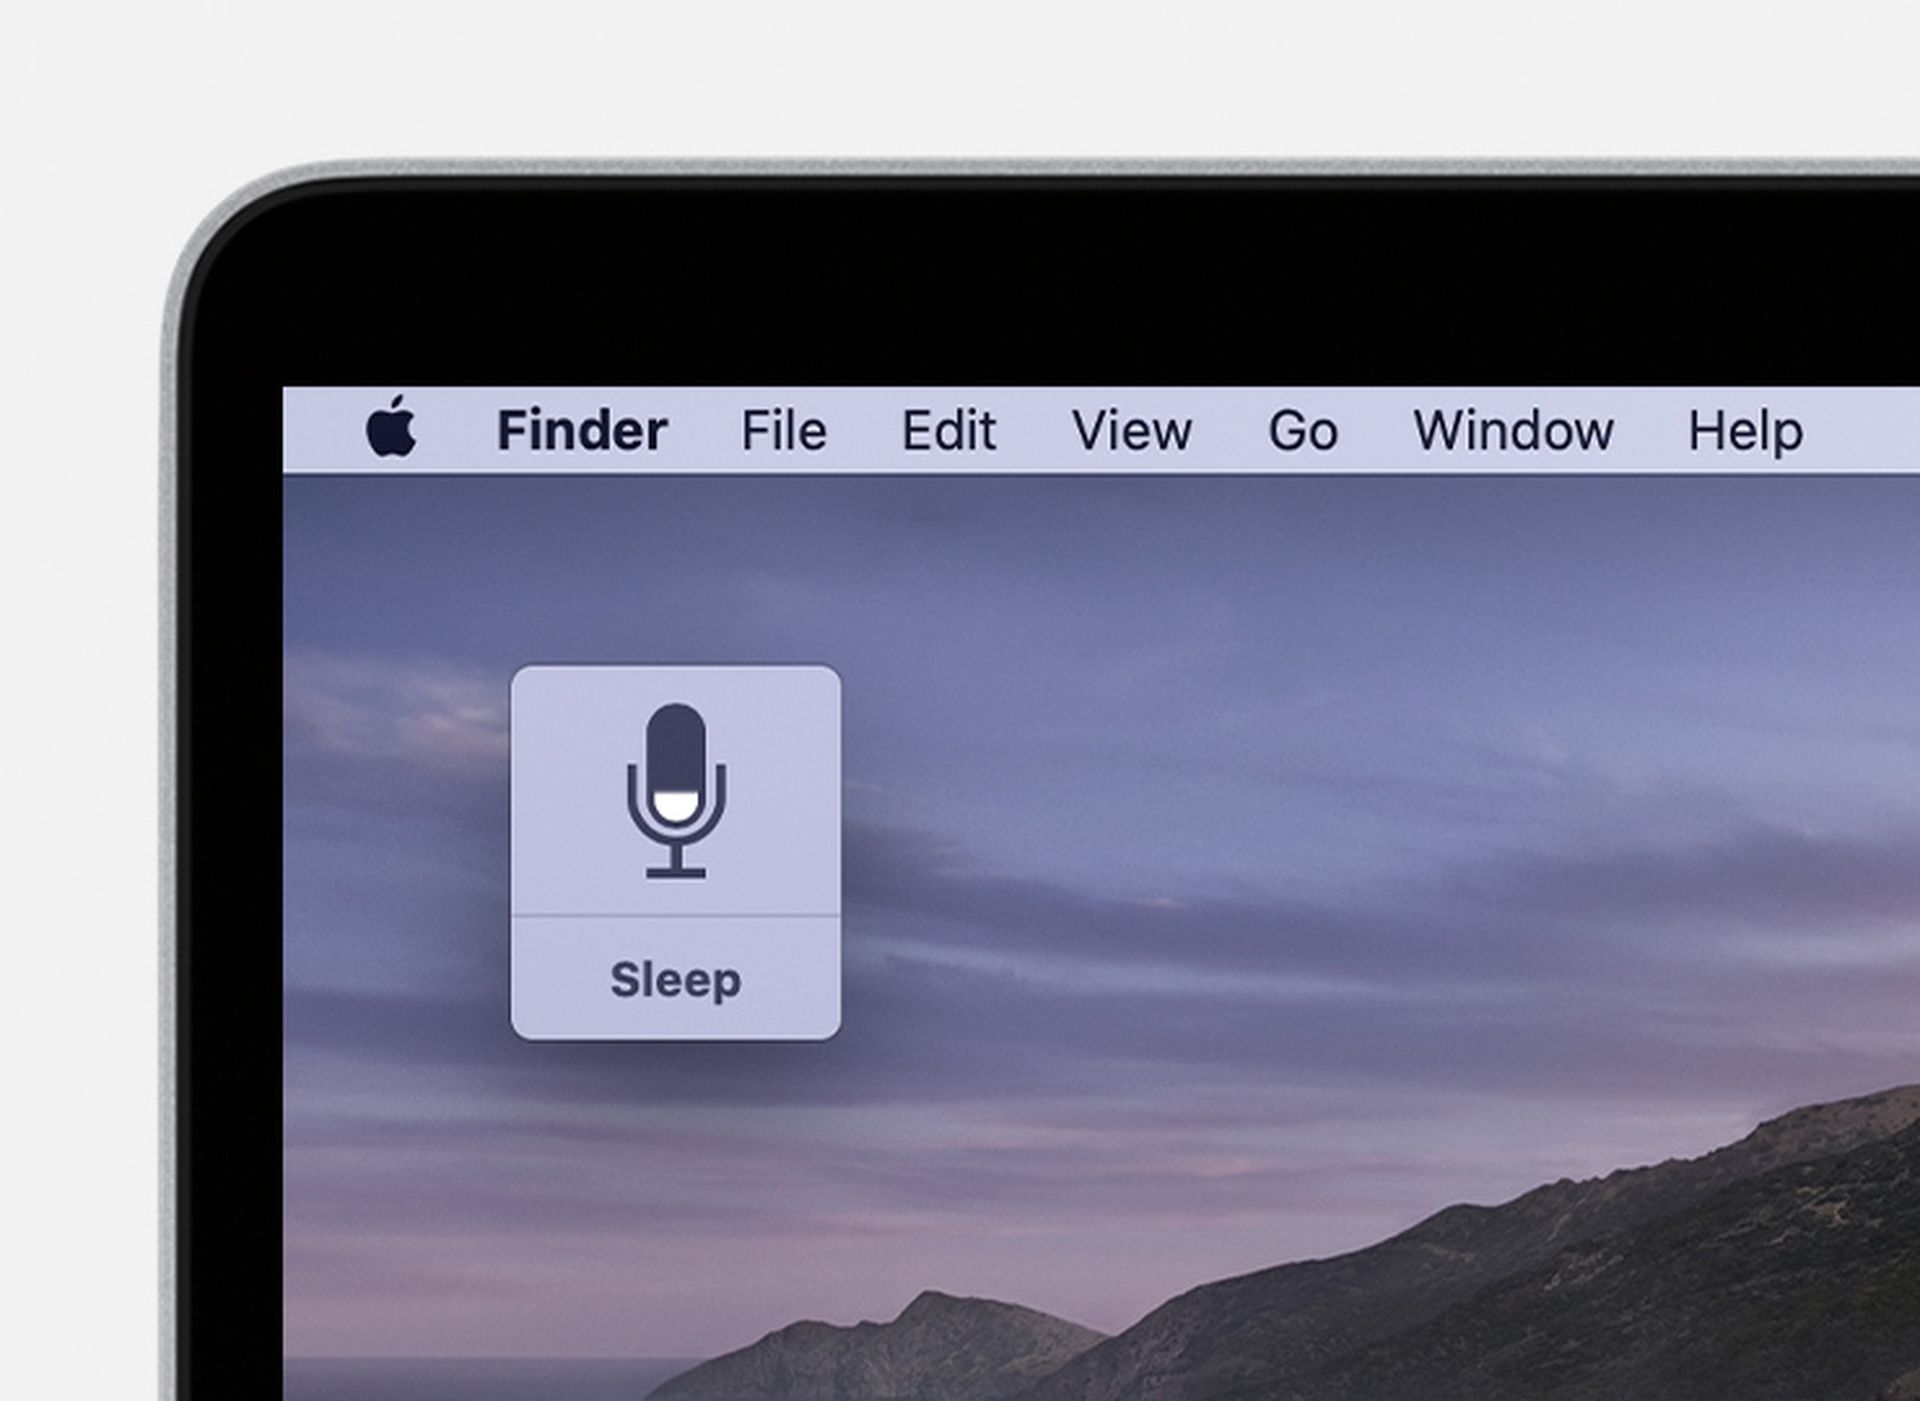
After you activate the function, you should see a microphone symbol appear on the screen. It’s critical to remember to mention your intended punctuation out loud while speaking, otherwise you’ll wind up with a long, run-on phrase. To end dictation, click the “Done” button beneath the microphone symbol.

How to dictate in Word on Mac?
In this part of the article, we will tell you all you need to know on how to dictate in Word on Mac.
Prerequisites
To utilize the Dictate functionality, you must have:
- A microphone-enabled device or an external microphone
- Insider build 16.32 (19120802) or later installed
- To be logged into an account associated with an Office 365 subscription
- A stable internet connection
Use a dictating headset or microphone for the greatest results. Also, attempt to reduce background noise in your area.
Configuration
Make sure your device has a microphone and that the language is set to the one you want to dictate in by clicking the down arrow on the Dictate button. If your microphone-enabled device isn’t working properly, try the sound input settings in System Preferences or the dictation troubleshooting instructions.

Tips & Tricks
- Speak plainly and conversely, but don’t be afraid to hesitate in between thoughts.
- To add punctuation, pronounce out loud the name of the punctuation mark you want to use.
- Period
- Comma
- The question mark
- A question mark/exclamation mark
- New product line
- Semicolon
- Colon
- Open quotation (s)
- Close quotation (s)
- You may add the microphone button to your Quick Access Toolbar to enable it without having to navigate to the Home tab every time.
Supported Languages
Fully supported languages
- Chinese (China)
- English (Canada)
- English (United Kingdom)
- English (United States)
- French (France)
- German (Germany)
- Italian (Italy)
- Spanish (Spain)
- Spanish (Spain)

Preview languages
- English (Australia)
- English (India)
- French (Canada)
- Japanese
- Norwegian (Bokmal)
- Portuguese (Brazil)
We hope that you enjoyed this article on how to dictate on Mac. If you did, we are sure that you will also enjoy our other articles, such as how to clear Discord cache on PC, Mac, iOS, and Android, or Microsoft Word vulnerability enables a backdoor for hackers.


