Today we are going to show you how to send multiple photos by email with several alternative methods on differrent services such as Gmail, Outlook and Yahoo Mail. Although email is still one of the simplest ways to stay in touch with someone, it wasn’t originally intended for transferring big media files like photographs.
Use this step-by-step approach to minimize the chances of encountering some typical problems when sending a large number of photos via email. Now let’s learn how to send multiple photos by email.
How to send multiple photos by email?
Despite the fact that instant messaging applications like WhatsApp are more popular than ever, email is still the most widely used online communication format. However, it’s not perfect at everything – if you’ve attempted to send a large number of big file attachments before and encountered problems like message rejections, failed deliveries, and so on, then you already know. Now we are going to provide you with several different solutions to teach you how to send multiple photos by email. We have gathered information about the most popular email services like Gmail, Outlook and Yahoo.

As photographs have gotten larger, the difficulties of managing these files have increased. For the purpose of this essay, we’ll pretend you’ve got a collection of picture files stored on your tiny camera’s memory card.
The same criteria may be applied to any collection of photographs, whether they’re from an iPhone/Android phone or tablet, but we recommend transferring them to a laptop or desktop before attempting to work with them on a mobile device for a large number of file.
Check the file size
Create a single folder on your computer to collect or clone all of the photographs you want to send. Creating a temporary folder and copying the photos into it is beneficial for easier management if only certain pictures from a large batch are wanted to be sent out.
Now, look at the files’ total size you want to send. In Windows, you may do this by selecting all of the files in the folder (Ctrl-A while in the File Explorer window to select all files), right-clicking on the selection, and choosing “Properties”.
- Take note of the overall size (in MB or GB), because you’ll need it to see whether it exceeds your email provider’s file attachment restrictions (and you can also use it for estimating the time to upload below).

Learn your upload speed
The amount of time it will take your file/attachment to upload can be important if you’re on a slow or mobile Internet connection. That is why it is best to check out speedtest.net for example to see how fast your upload speed is.
To obtain an upload speed prediction, simply input the file size and speed (for 1GB file size, enter 1024MB etc.).
- If it appears that the uploading process will take too long, try the following step, which may significantly cut down on file transfer times.
Reduce photo size
- It’s often unnecessary to send the exact, full resolution versions if you’re not sending photos that will be printed at some time.
- Even reducing the picture dimensions by half will not significantly decrease quality, and in many situations, it might even improve it (when using the largest photo sizes modes, digital cameras frequently exceed the resolution limit of their sensor).
- This will also result in a significant reduction in file size (and download times) – files may be anticipated to be less than half of their original size, and up to ten times smaller if the source was saved at a bad quality.
Here are some of the most popular software you’ll find on Google: -> You’ll probably want to use an automated program that can handle this for many pictures:
Windows, Irfanview is a great choice for batch photo resizing. This is a really improtant step in order to learn how to send multiple photos by email. After installation, go to the File menu and choose “Batch conversion/rename.” There are several options here, but all that needs to be done is choose the image files from the file browser in the upper-right, then click “Add” to put them on the list of images to be processed (small note – there may be a bug in Irfanview where the “Add” button won’t work if only one file is selected. If this happens, you may instead double-click on the file to add it to the list).
- Click the “Use advanced options” checkbox, then the “Advanced” button next to it. This brings up a box with even more settings; all that needs to be done here is select the “Resize’ checkbox, then choose 50% in the “Set new size as percentage of original” boxes (this will be used for both width and height).
- Close the advanced settings by clicking OK in the Batch Conversion window. The only other option to mention here is “Output directory for result files,” which should be adjusted if necessary. Now click “Start Batch,” and your pictures will be converted.
Mac – Images may be resized with ease using the Preview tool. Instead of “pixels,” you can choose “percent” to create more uniformly resized photos.
Chromebook – Batch image resizing capabilities differ somewhat on Chromebooks, but you might try the Bulk Resize Photos free Chrome Store extension.
Merge the images into a single file
If you have a large number of photographs to send, it will be much simpler to do so as a single archived file.
We’re using 7-Zip (Windows) to create file archives since it’s free and high performance, but there are other alternatives available. Simply choose all of the files you want to include, right-click on the group, and select “Add to archive…” after installation is finished. A single “.zip” file will be generated containing all of your photos.
Select the files, then Control-click and choose “Create Archive” on Macs.
If you have previously resized the photos, you may have two copies of each photo (small and large), so make sure to pick only the smaller ones when creating archivesi on Chromebooks.
Send the photos
Within an email, attachments can be sent, however there are some limitations – it’s comparable to the way that postal shipments have a set capacity for objects delivered.
Because of physical limits on storage space and network bandwidth, email providers have strict limitations on the maximum size of attachments that can be sent and/or received. The most common email services have a limit of 25MB per message for both sending and receiving attachments.
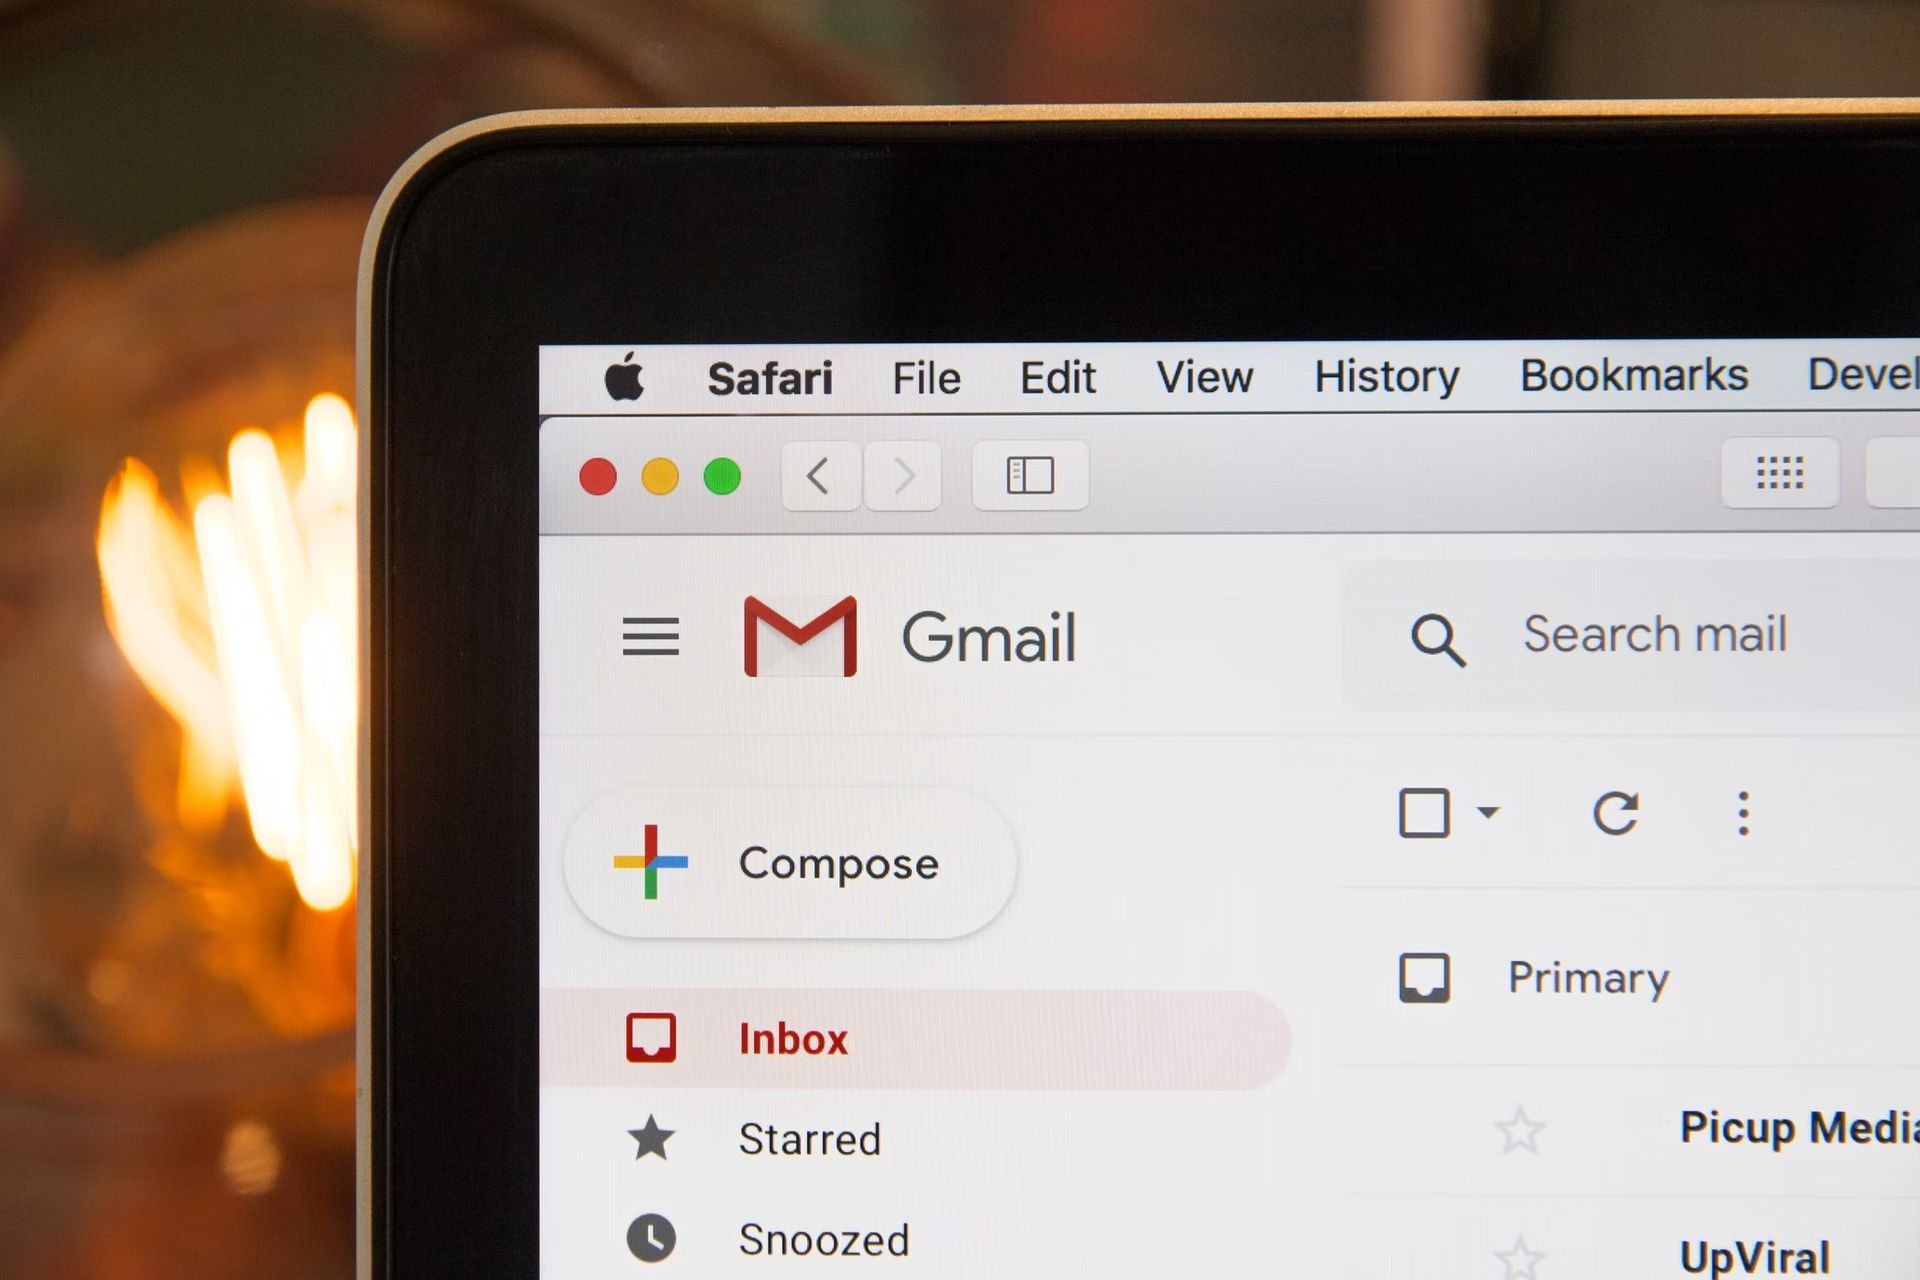
The maximum file size that Gmail allows is 25MB. Although this isn’t a large amount of space, it may make things more difficult when your files are included in emails. Most email services provide an alternative for uploading big files to their online storage services (e.g. Google Drive) and then including a link to the file in the email once it has finished uploading, to avoid this problem.
This ensures that email attachments can be much larger than their physical counterparts, since the files themselves are not actually sent with the email (just the file’s link is provided).
The most common email delivery issues
Keep in mind that although Gmail, for example, permits you to include attachments up to 25MB within emails, other email services may have lower limits for incoming messages. This can be especially true if you’re using corporate or commercial email addresses where there are frequently tighter restrictions. If you really want to learn how to send multiple photos by email, you need to keep in mind several things:
- Most email systems will give an error notice if the recipient’s attachment size restriction is surpassed. This simply indicates that the delivery failed to that address; if you sent out a message to a group of people, they probably received it and do not require re-delivery.
- This method might not work since the file was deleted. You may try again, but use Google Drive, Dropbox or OneDrive to attach it.
We will dig into detail on how to send multiple photos by email with Gmail, Yahoo and Outlook below.
Gmail
- Now first, open a new mail, and choose the paperclip icon to attach files.
- The maximum file size that Gmail allows is 25MB, however if your file is larger than this, Google Drive will be offered as a choice where the file size can be up to 10GB (10000MB).
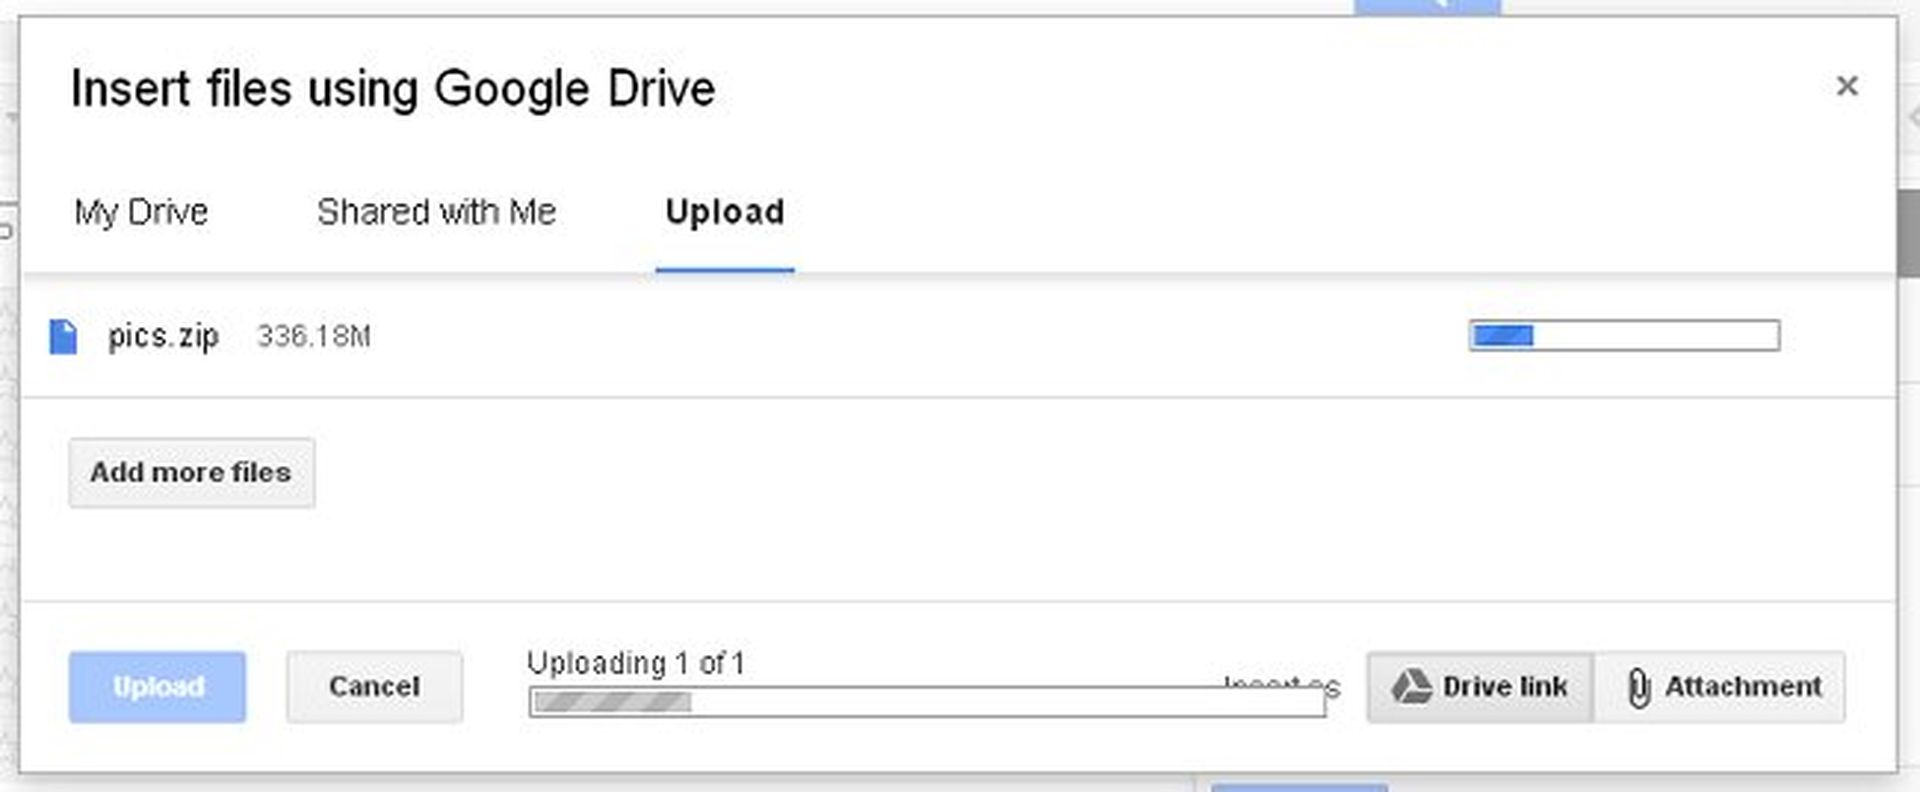
- If you’re using Google Drive to send, it’ll show you the files you’ve already uploaded. So, if necessary, select the file and click the blue “Upload” button below.
- You will need to leave the browser tab open in either case while uploading, but if you just switch to another tab or window, it will continue uploading in the background.
- When the upload is finished, if you’re uploading to Google Drive and want to share the file with the recipient, it may prompt you with that choice. If you select “Share & Send,” the person you’re sending the file to can see it on your Google Drive storage area but not any other files (unless you’ve previously shared them).
- In this scenario, the recipients don’t need a Gmail or Google account in order to access your attachment once it’s sent. Keep in mind that if the email is forwarded again, other people may be able to click on and view or download the file attachment from Google Drive.
- If you select “Send without sharing,” the recipient will have to complete a further procedure before receiving access to the file. This may be useful if you want to send a file link to a large group of individuals but only grant access to someone after they click on it. In order for the receiver to get access, he or she must first create a Google (but not necessarily Gmail) account.
The capability to send files stored on Google Drive as a conventional “Attachment” rather than a “Drive Link” is somewhat perplexing in Gmail.

Google Drive lets you share files using the Attachment option for free. If you don’t already have a file on Google Drive, this Attachment option is largely useless since you may just attach papers with the paperclip symbol in Gmail. This might be an interesting alternative if you’re a Gmail user who keeps files on Google Drive (for example, Chromebook users), because regular attachments are kept permanently with the email they were sent with, while other files on your Google Drive may be deleted at any time and shared files would no longer be accessible.
Outlook.com (Hotmail)
- Start by creating a new email. After that, from the menu at the top, choose “Insert.” If your file is less than 25MB in size, select “Files as attachments” and upload the file.
- If your files are larger than 25MB, OneDrive will be prompted for you. It’s less integrated with email than Google’s version because when you get to the OneDrive page, you’ll need to pick the file for uploading again, so if you know the file is too big to be sent as an attachment, it’s preferable to select “Share from OneDrive” in Outlook while composing your email.
- When you insert a file from OneDrive, it will appear on your Outlook.com account page. However, now you must return to your email in Outlook.com and pick “Insert” and “Share from OneDrive.” You may then choose which file to send with the message.
Yahoo Mail
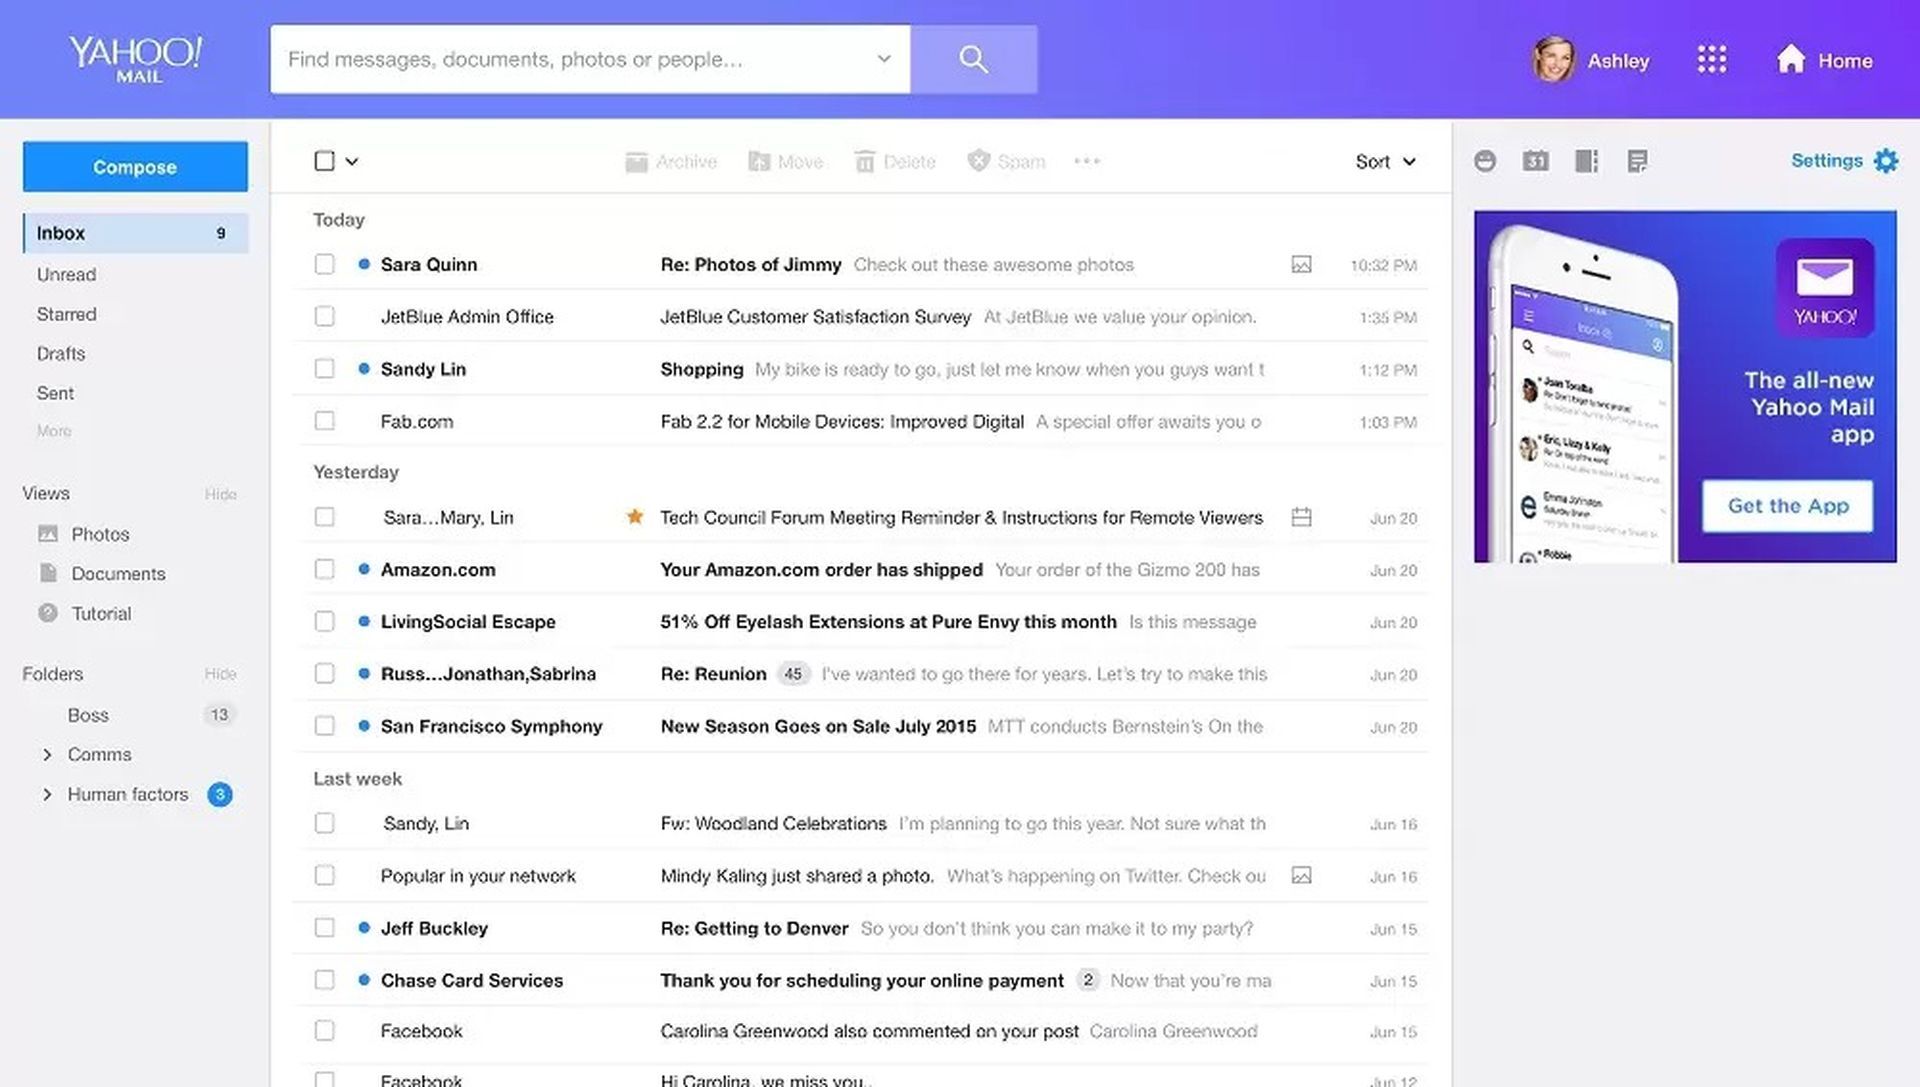
- Despite what was stated back in March, Yahoo has not eliminated attachment restrictions in email. You’re prompted to use Dropbox to store files over 25MB before sending an email if they are above that size.
- You can also use cloud storage services that work similarly to Google and Microsoft’s online file storage platforms. You may access the files later as a separate virtual drive or folder on your computer, but the person you’re sending them to doesn’t need any login information to be able to read them in an email.
Other alternatives
Now that you’ve learned how to send multiple photos by email, it’s to to talk about some other methods. The global compatibility of email is still a major advantage over other technologies – you don’t have to inquire about software or system preferences before sending files to them.
You can also check out our guide showing how to free up space by deleting unnecessary files of Telegram.
However, many users discover that dedicated file applications are a superior choice when sharing files with the same recipient or group on a regular basis.
- Social networking and photo-sharing sites such as Facebook, Google+, Flickr, Picasa, and Instagram. These websites will generally enable you to create albums for your images and give different users access permissions. They’re typically better suited for distributing photos on a regular basis rather than rapidly sharing a large number of images.
- File transfer via messaging services such as Skype is sometimes possible, but it generally needs both users to be online at the same time.
- Outside of email, you may use online storage services such as Google Drive, Microsoft OneDrive, Apple iCloud Photo Sharing, and Dropbox to store files. These services are meant to make data easily available by allowing users to access their files from anywhere.
Conclusion
Email is not the best way to send multiple photos by email but there are some methods you can try as explained above. In summary you should:
- Check the file size: Create a single folder on your computer to collect or clone all of the photographs you want to send.
- Learn your upload speed: The amount of time it will take your file/attachment to upload can be important if you’re on a slow or mobile Internet connection.
- Reduce photo size: It’s often unnecessary to send the exact, full resolution versions if you’re not sending photos that will be printed at some time.
- Merge the images into a single file: If you have a large number of photographs to send, it will be much simpler to do so as a single archived file.
- Send the files: The most common email services have a limit of 25MB per message for both sending and receiving attachments, if your file is below 25MB, just send it.
This way you’ve learned How to send multiple photos by email, if you want to learn how to find someone’s email on Facebook or how to delete all emails in Gmail, check our guides out!


