In this article, we are going to go over how to insert data from picture in Excel, on iOS, macOS, and Android, as well as the feature coming to PC.
A new update in the Microsoft 365 roadmap shows that soon users will be able to insert information straight from an image or picture inside the spreadsheet program. Users will be able to add table data from an image from the Data tab, which is a much-needed improvement for many people since it eliminates the time-consuming procedure of entering data manually as previously required.

Insert data from picture in Excel on PC
The upgrade is still labeled as “in development” at the moment of writing, but Microsoft has given a general availability date of June 2022, suggesting a release might not be long-off. The feature will become accessible to all Microsoft Excel web users across the globe once it’s released. Excel already has a Data From Picture function, which is available for Mac, iPhone, and Android.
It scans an image for any pertinent data that may then be edited and pasted into your spreadsheet. The good news is that the most recent Microsoft Excel upgrade, which appears to be basic, will be very popular among users worldwide. The advantage of this is that users may now insert hyperlinks into comments inserted in spreadsheets rather than the previous method of only pasting them manually into a web browser.
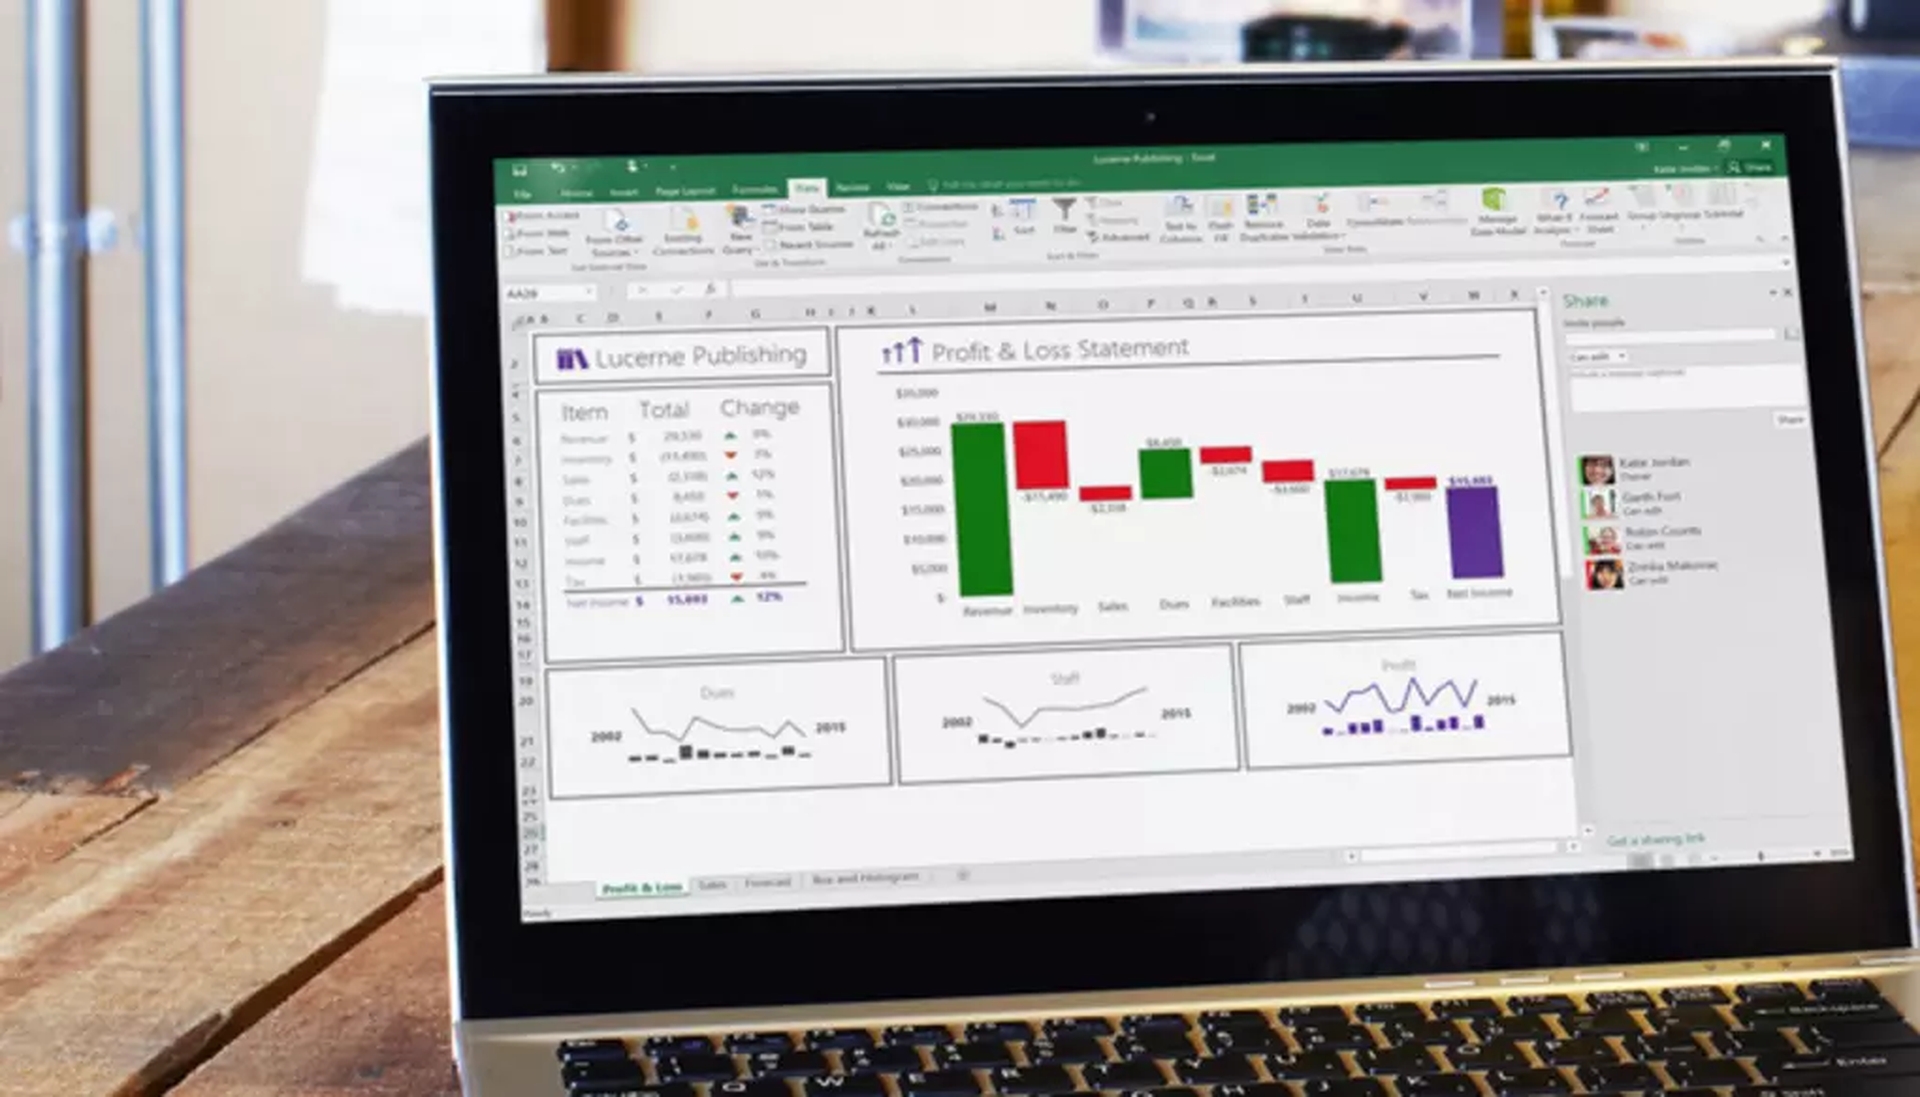
Microsoft also recently announced that it will be enhancing the Excel Desktop app with smoother scrolling, hopefully resulting in a far better user experience and putting an end to accidentally snapping to random undesirable cells or losing track of all your vital data during a crucial work activity. Finally, in November 2021, the firm released a new JavaScript API that will enable users to create their own unique data types in Excel. These new custom data sources can contain pictures, entities, arrays, and formatted number values. These new Excel data types may also be used as both inputs and outputs.
How to insert data from picture in Excel?
Now that we covered the PC version, here is how to insert data from picture in Excel. You may use the Data from Picture function to add data from a screen clipping on your clipboard, a picture file saved on your computer, or even video taken with your iPhone camera.
On macOS
Step 1: Take a picture of your data. You can use the following methods to capture your data from an image:
- Use an existing picture file: Only the data you want to import should be shown in the picture. If required, trim the photo. Images with data from an angle are not advisable since they show a wrong perspective, head-on and concentrated are preferable. Consider adjusting your iPhone settings to fix the perspective if necessary.
- Take a screenshot: Check to see whether the screenshot contains only the data you want to import.
- Scan data using your iPhone: To get the most out of this feature, you should use a document that is as bright as possible. Make sure you’re only importing the information you want. Scan from straight ahead, not from an angle, to ensure accurate results.
Step 2: The Data from Picture dialog box displays Excel’s progress in analyzing the image for data after you’ve taken the photograph.
Step 3: After that, go to the results page and make any necessary data modifications. Then select Insert Data from the menu.
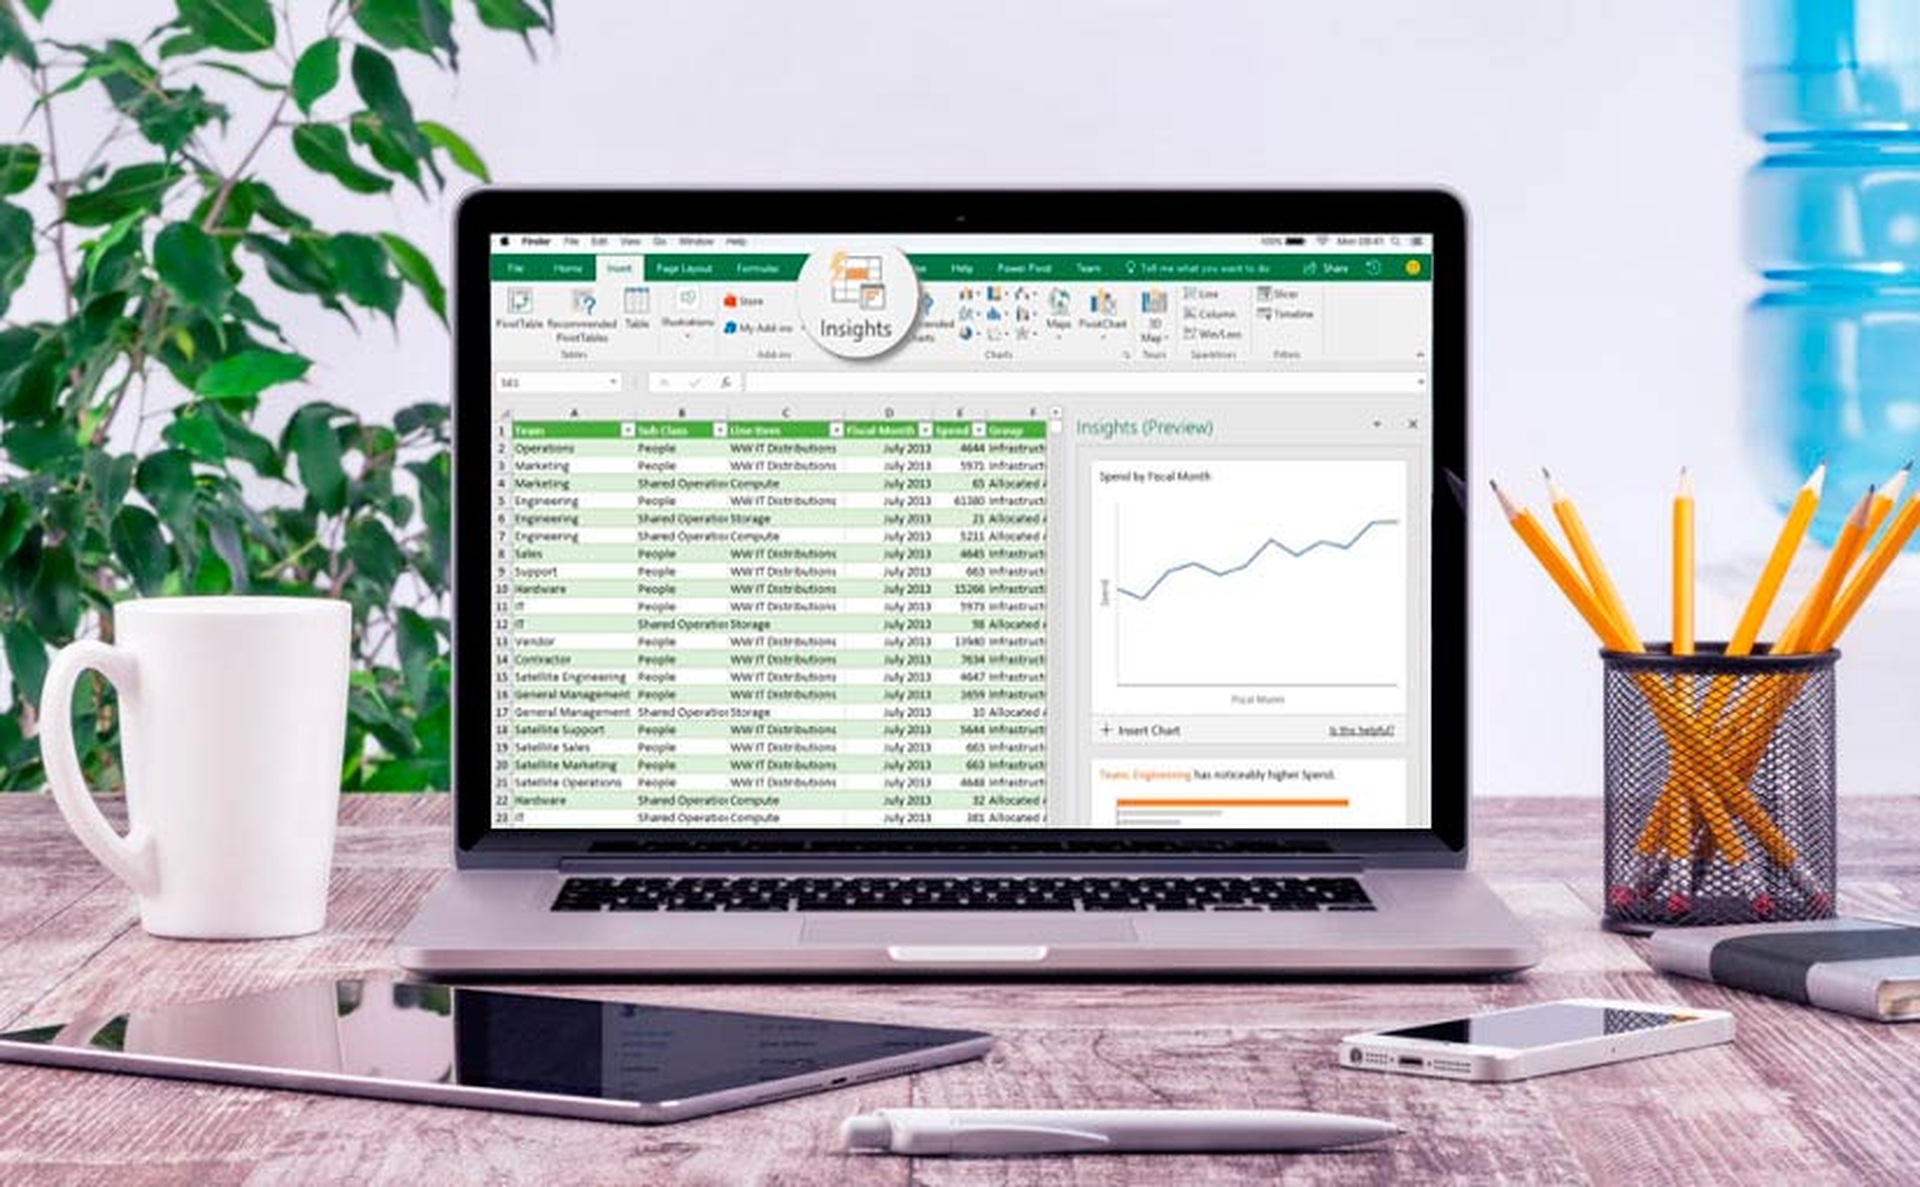
On Android and iPhone
- To begin, open Excel on your phone or tablet and select the Insert data from picture option.
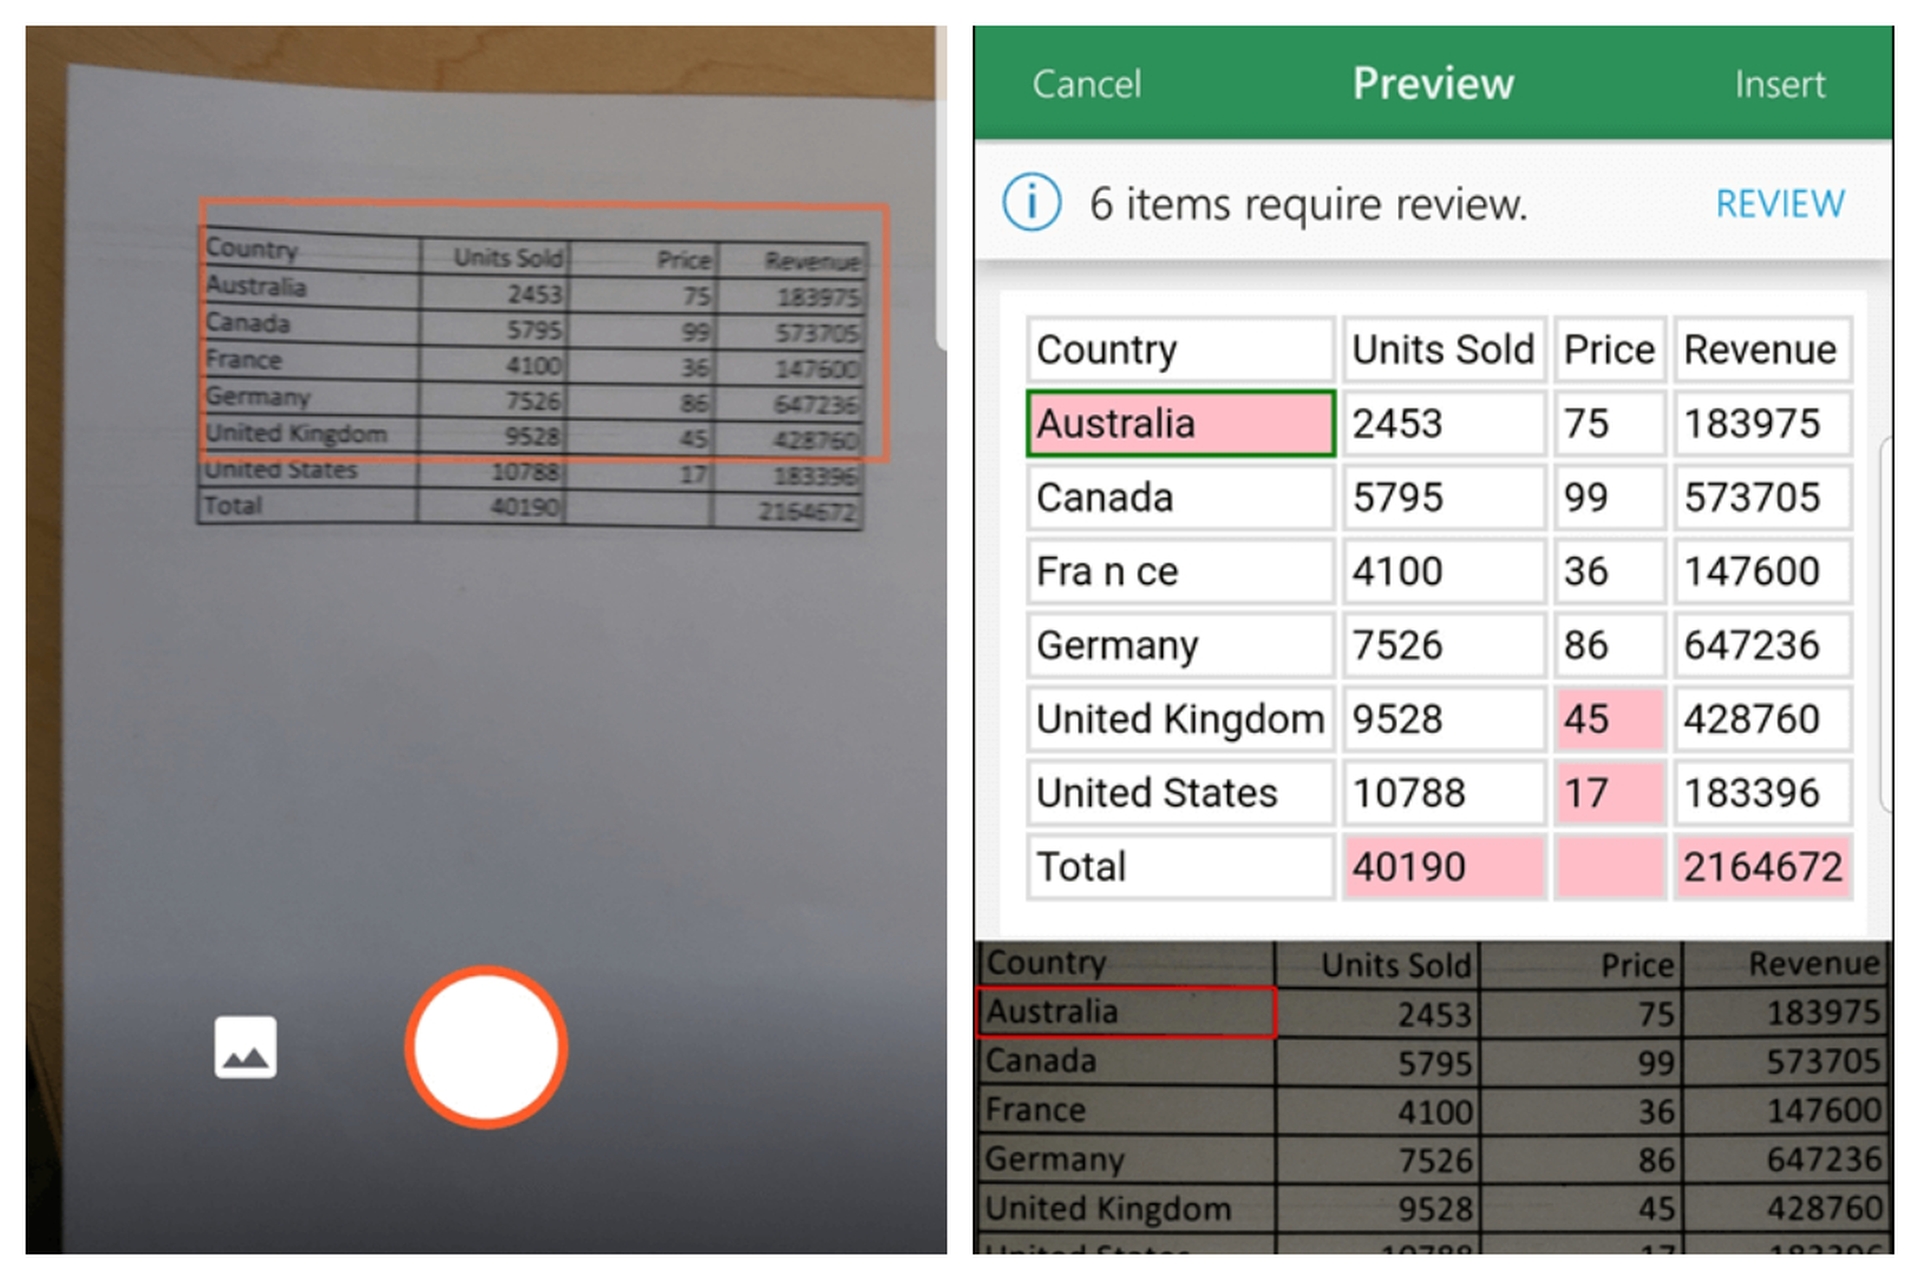
- After that, narrow in on your data until it’s encircled by a red border then hit the capture button. If you want to crop it before capturing it, use the sizing handles around the image’s edges to do so.
- The image will be converted to a table using Excel’s strong AI engine. It will give you the opportunity to correct any problems it detects during the conversion process when it first imports your data. Tap Ignore to move on to the next problem, or Edit to make any changes.
- When you’re done, press Insert to have Excel complete the conversion and show your data.
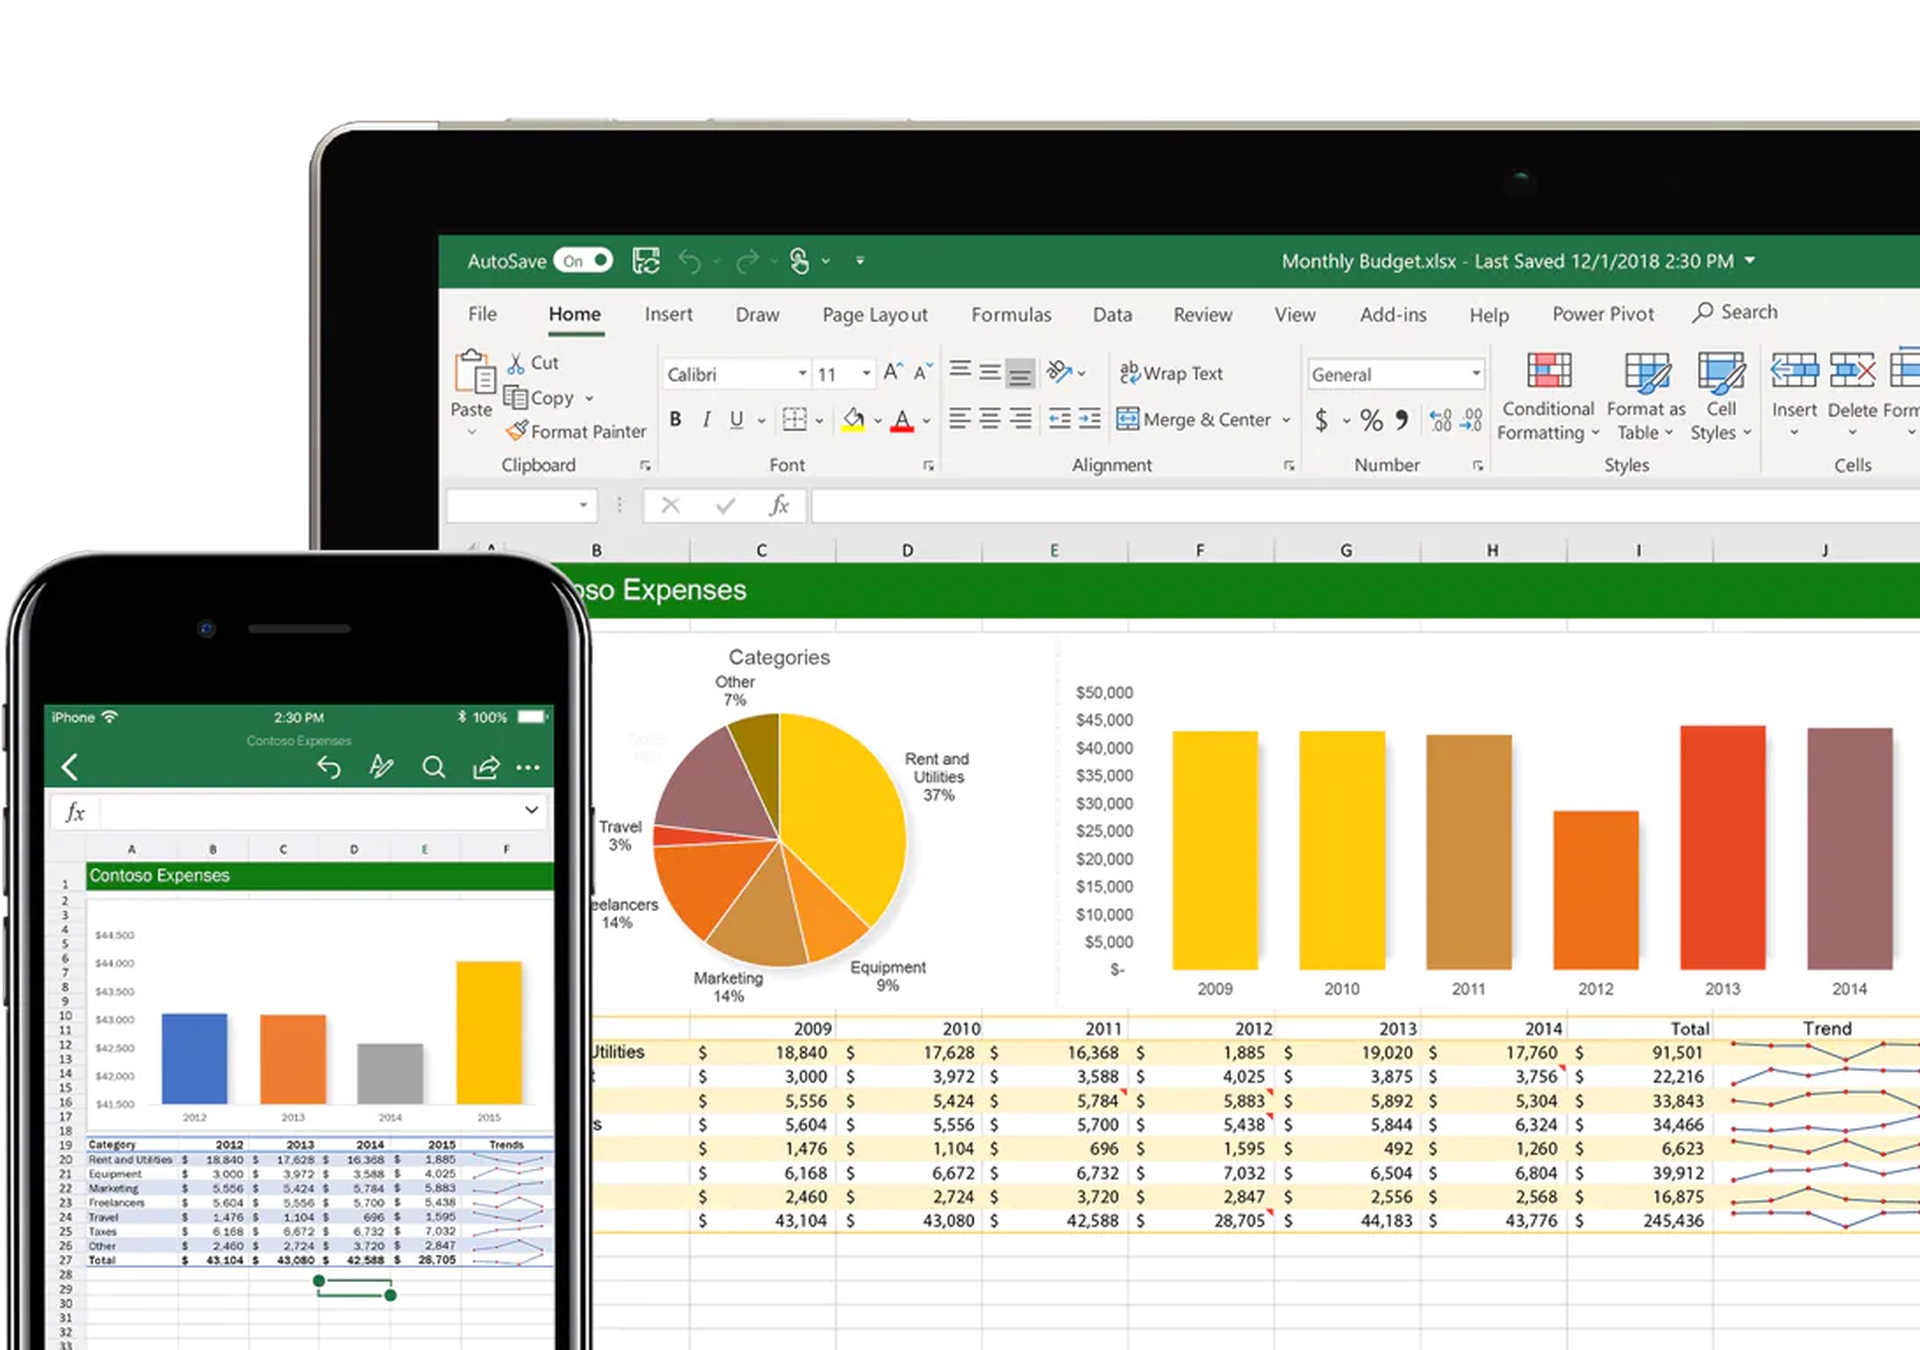
On the Office app
- Select Actions > Image to Table from the Office app on your phone.
- Tap the capture button when the camera is pointed at the table you want to use. The picture is cropped so that only the table is included. If required, tinker with the crop’s size using the border handles around the image’s perimeter. When you are finished, confirm your choices by selecting Confirm. The app takes data from the image and displays a preview of the table.
- To open the table in Excel, select Open. If any problems were found in the table during extraction, you’re prompted to make a decision regarding how they should be handled.
- After you’ve customized the table to your needs, make sure to save it.
We hope that you enjoyed this article on how to insert data from picture in Excel. If you did, you might also like to check out how to password protect an Excel file, a PDF, or a Word document, or how to unlock Scroll Lock in Excel.

