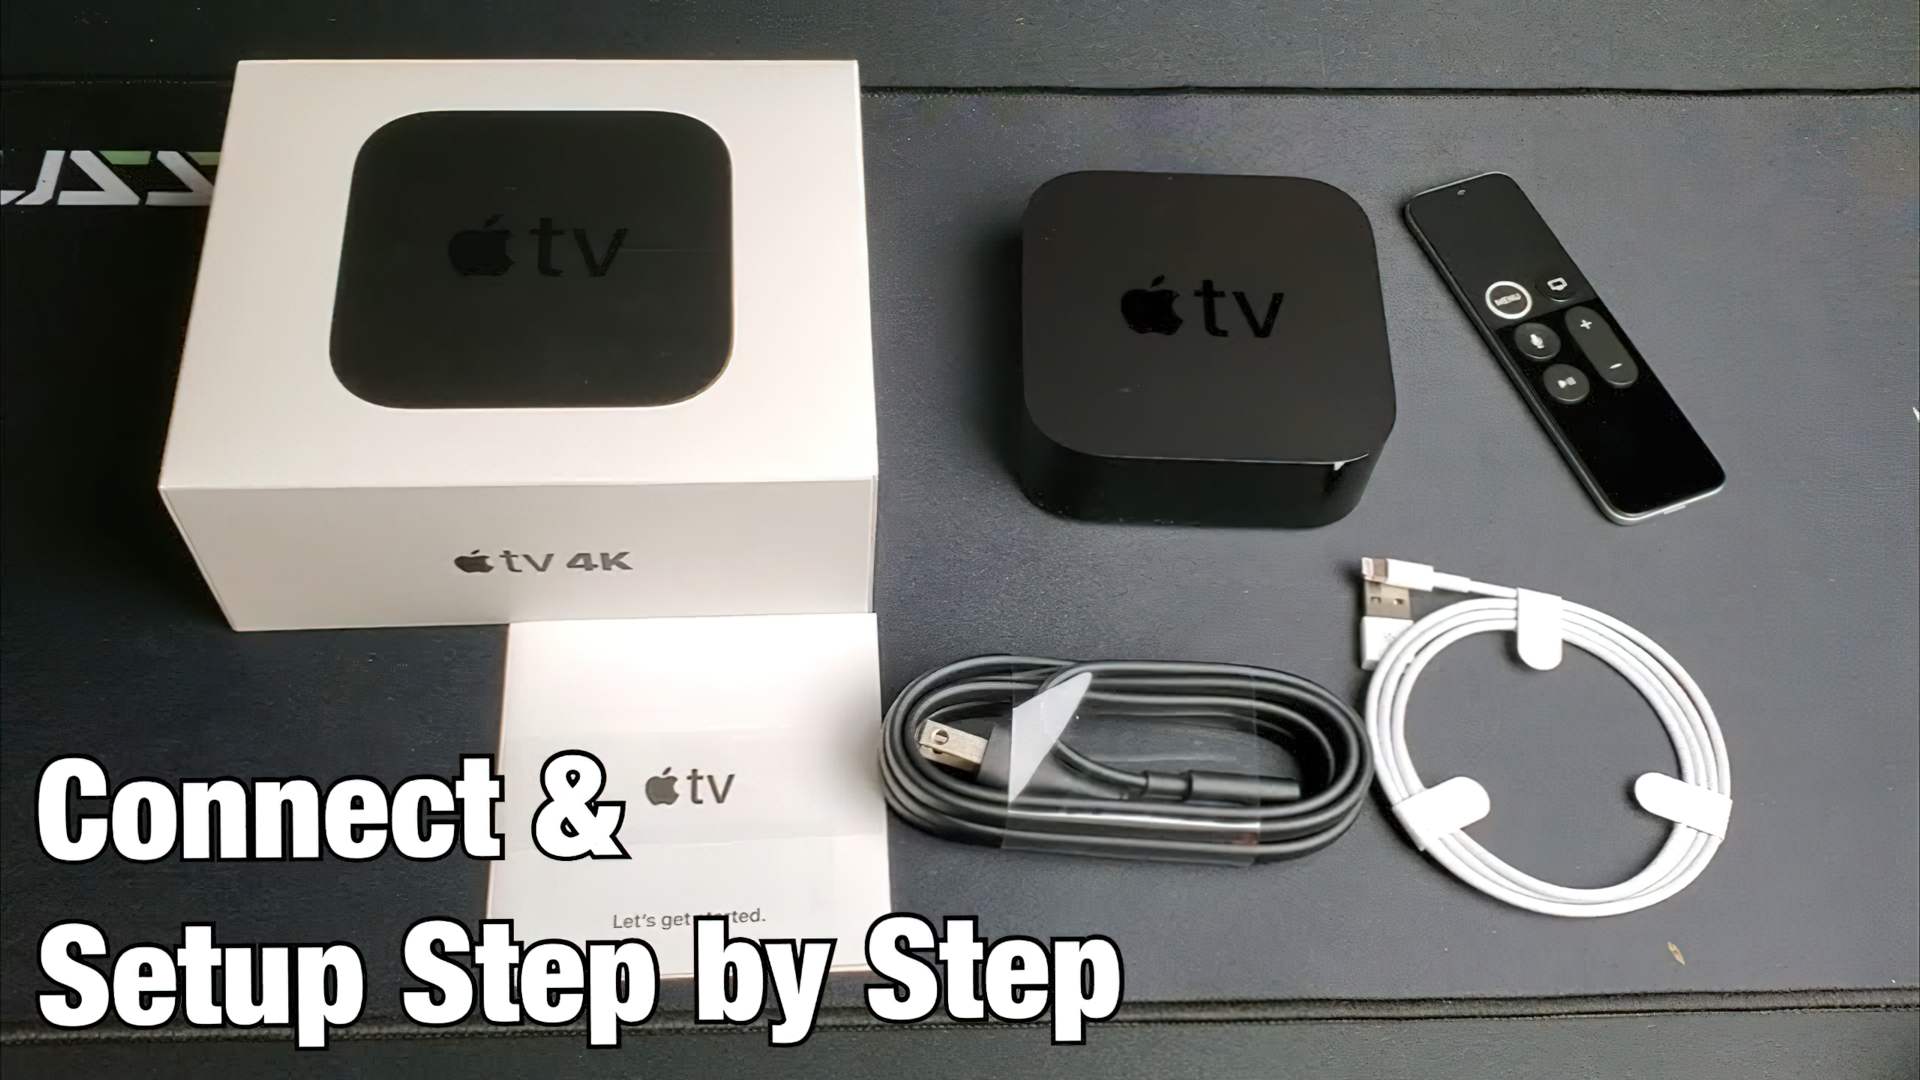
With this simple Apple TV configuration guide you’ll be able to set up and link an Apple TV 4K (4th generation) or a Apple TV HD (5th generation). The older 3rd and 2nd generation Apple TVs are also covered in our guide.
Are you an iPhone user? You can speed up the process of connecting and setting up your Apple TV 4K or HD (4th and 5th versions) by using your iPhone.
Setting up an Apple TV demonstrates why Apple is famous for its user-friendly interfaces and easy-to-use products. Apple TV configuration is simple. It only takes a few minutes to go from unpacking the box to streaming internet video and listening to music through your home theater.

4th and 5th generation Apple TV configuration
The fourth and fifth generation Apple TV and Apple TV HD now include more features than their predecessors. Here’s how to get started.
- Begin by connecting the Apple TV to your television or home theater receiver with an HDMI cable (HDMI 2.0 for the Apple TV 4K) and then plugging it into a power socket. Using ethernet or Wi-Fi, you can connect Apple TV to the internet.
- Turn on your television and change the TV’s input to match the one used by the Apple TV. The Apple TV setup screen will appear.
- Pair the included Siri Remote to your Apple TV by clicking the touchpad at the top of the remote.
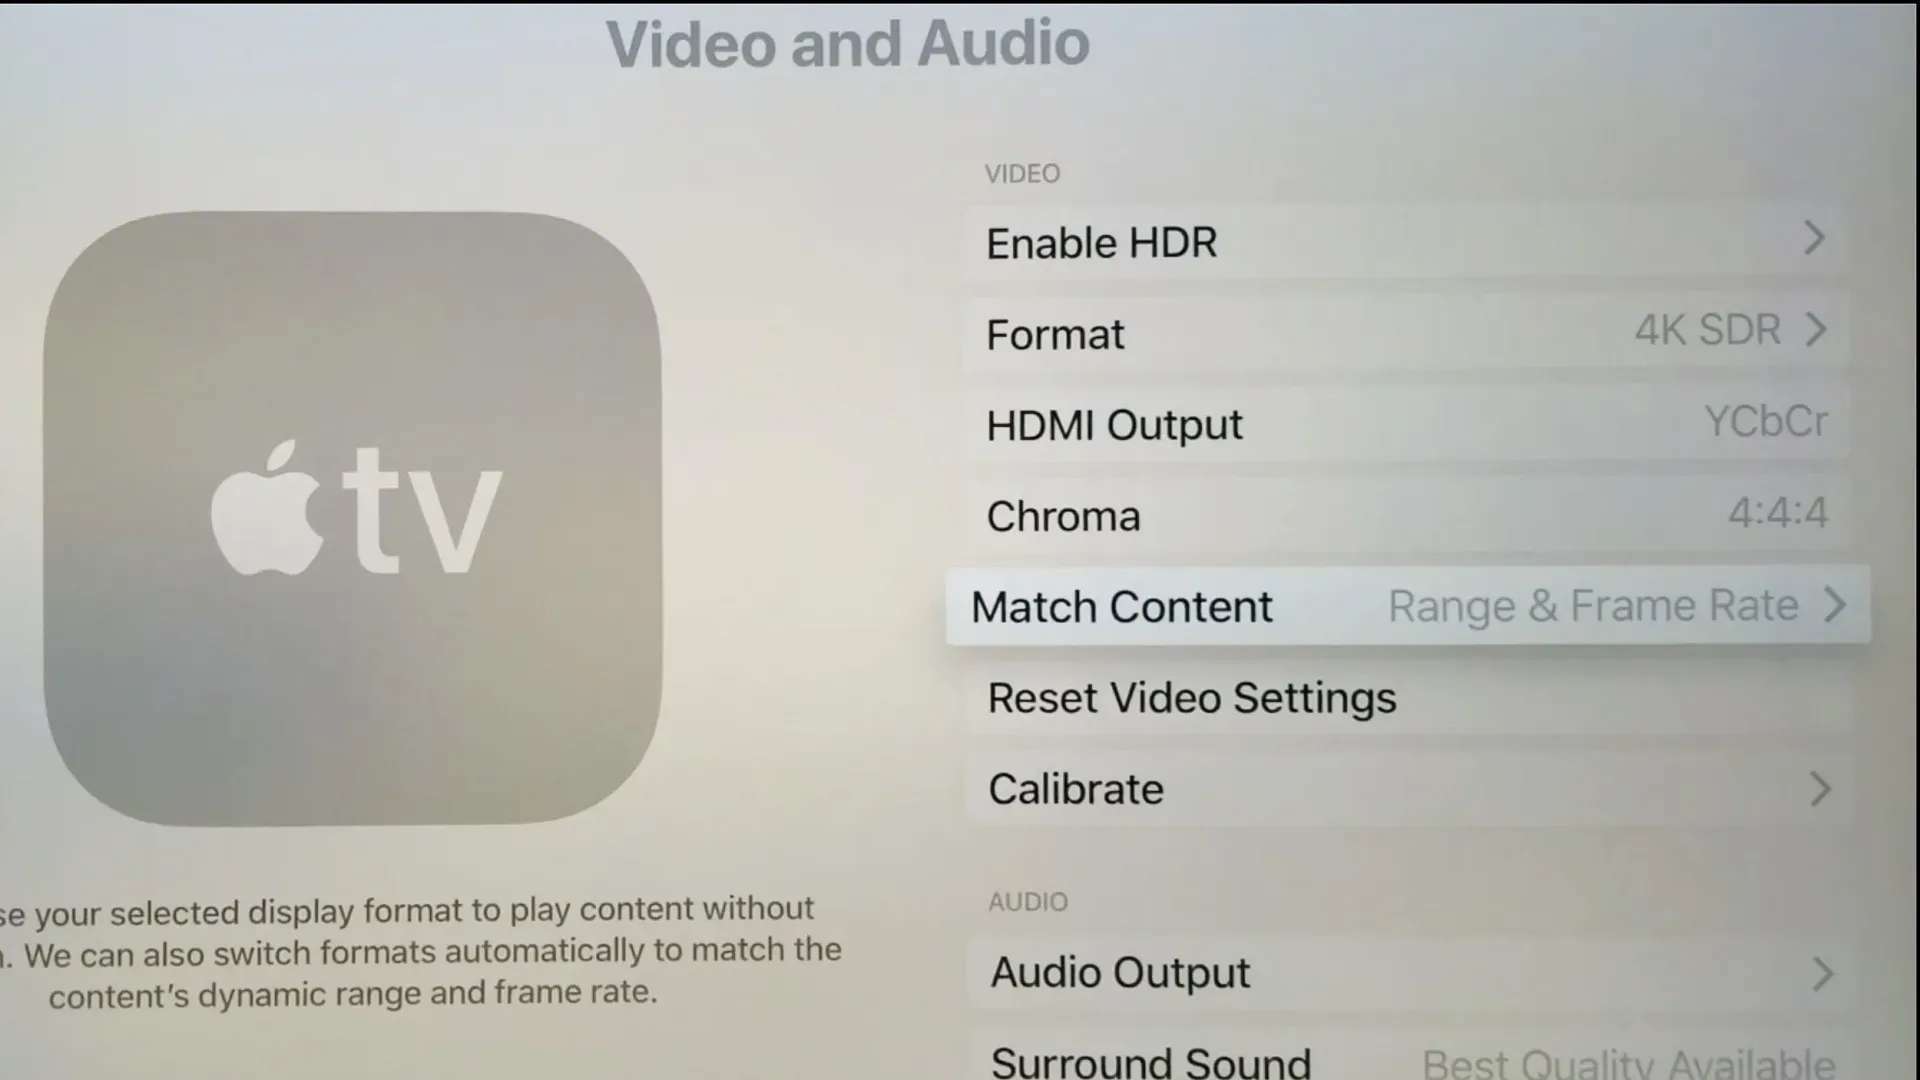
- To get started, use the Siri Remote to follow the on-screen instructions to set up your Apple TV. You’ll choose a location and a language, sign in using your Apple ID, select screensaver preferences, and so on.
- If you don’t already have an account with your TV provider, go ahead and create one. Access to streaming video content in apps that your TV provider supports is unlocked using this button.
You can now begin installing applications and viewing content after you’ve completed the setup process.

2nd and 3rd generation Apple TV configuration
Apple TV configuration guide for the previous versions of the Apple TV is similar. Here’s how to go about it:
- Connect Apple TV to your HDTV or receiver. The Apple TV will display the Apple logo onscreen as it boots up.
- Using the remote, choose the language you’d like to use for the menus.
- Select with the center button to move the highlight up and down. The volume up and down buttons raise and lower the highlight; Use them together.
- The Apple TV looks for available wireless networks (assuming you’re using Wi-Fi). Connect via Ethernet if necessary. Select it, then enter your password.
- There’s a selection that lets you choose whether or not your Apple TV should transmit diagnostic data to Apple. This option shares information about how well Apple TV is functioning (if it crashes, etc.) but does not send personally identifiable information. Depending on how you view your privacy, you may disable it, since you already paid for the device. If Apple wants to learn why the device crashes (if it does) they should do the testing, not you.
- Make sure Home Sharing is enabled on your main home computer. You may use the Apple TV to connect to the internet and get information without turning on Home Sharing, but you’ll get more usage out of it with it on. The local files will be streamed over local network and you won’t waste data or hog the home internet bandwidth.
- To access a Home Sharing library from your main iTunes library, you must first log in to Home Sharing using the same iTunes account as your primary iTunes library.
You can now play music or video from your iTunes library via AirPlay or access web-based content at the iTunes Store, Netflix, YouTube, or other locations. Apple recently had its WWDC event, would you like to know if there’s something new for your Apple TV?


