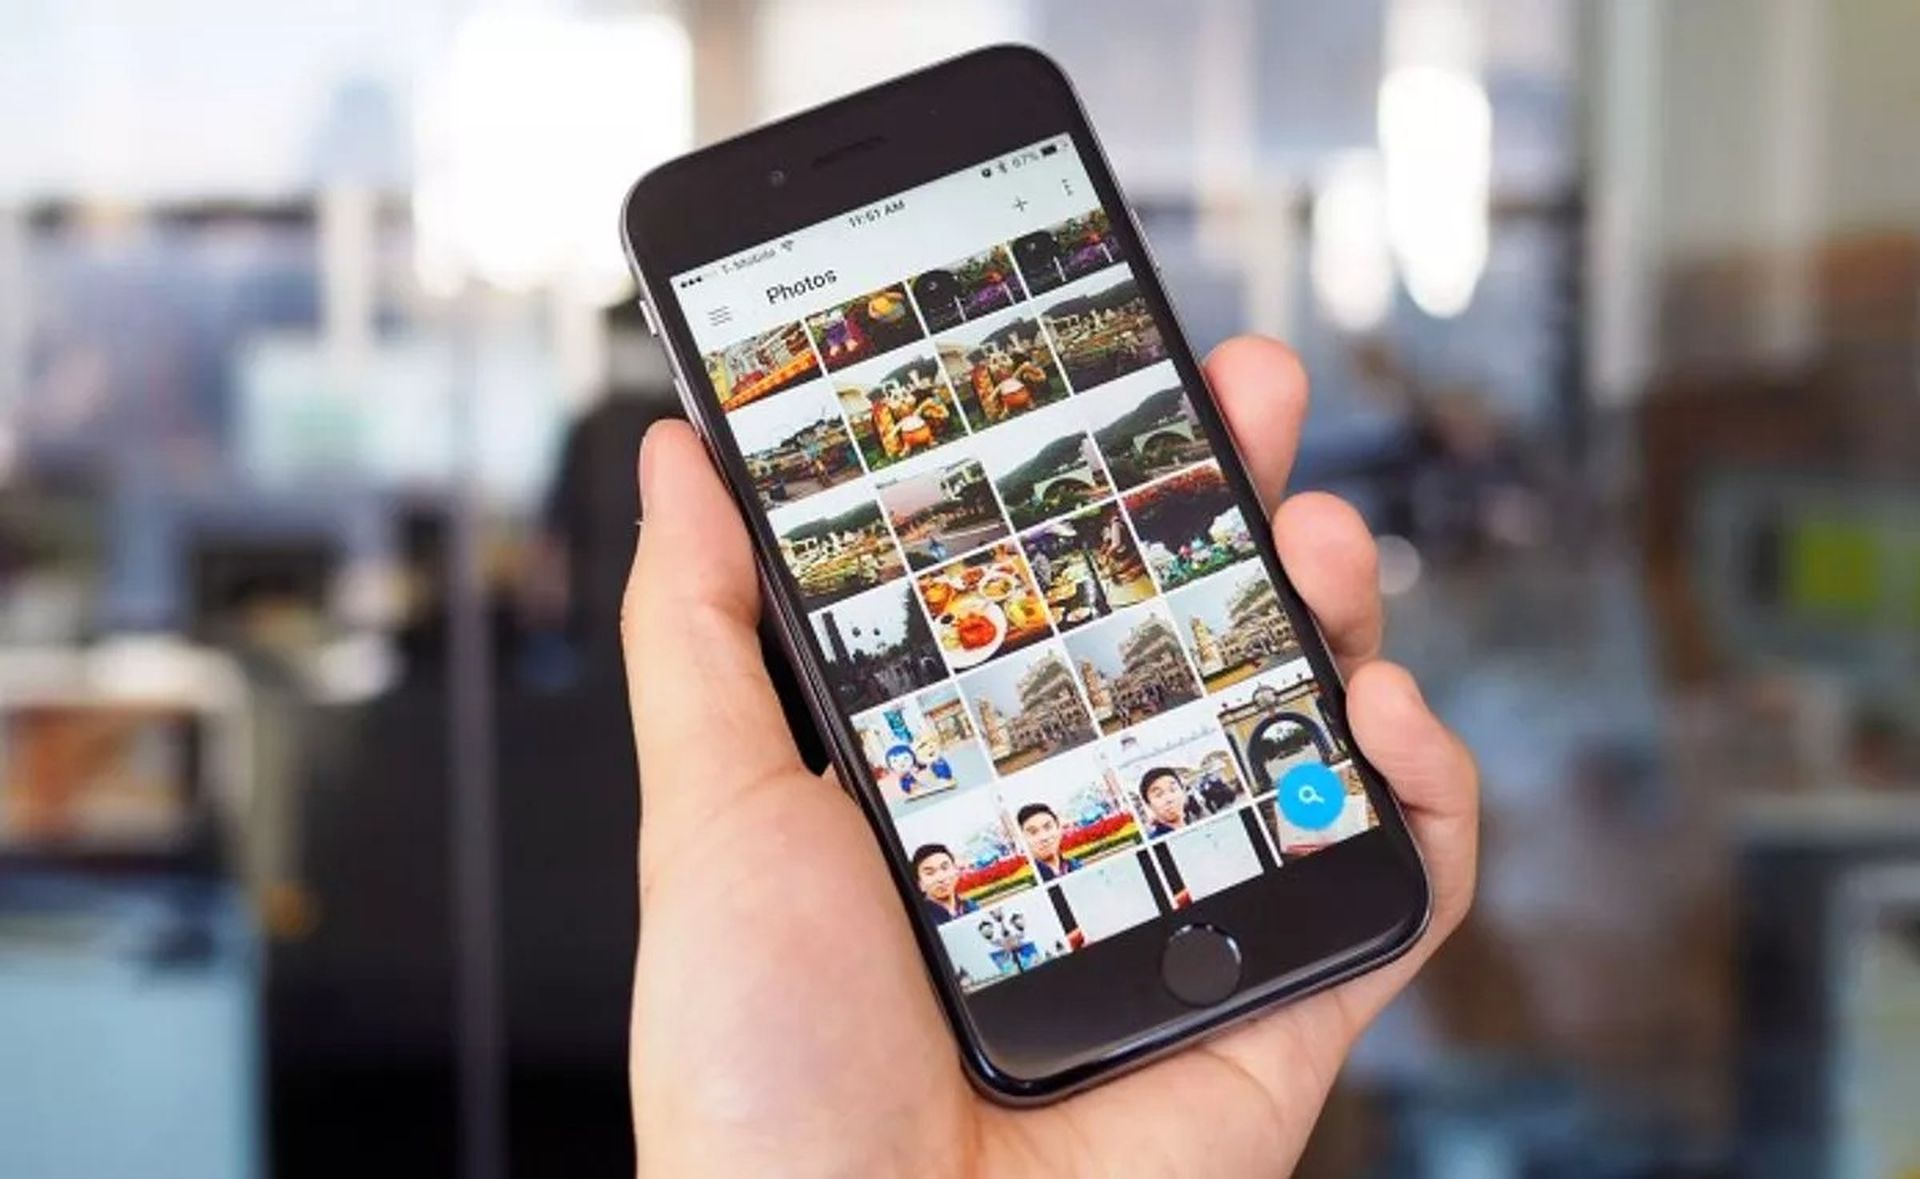
If you don’t know how to delete an album on iPhone, iPad, or Mac, we are here to help. The Photos app on iPhone is a fantastic tool for managing your personal photographs. Albums are really helpful when it comes to photo and video organization. The Photos app enables you to group and label photos in different ways, so it’s easy to make sense of your collection.
However, third-party applications that have access to the Pictures library may automatically generate unwanted photo albums, cluttering the whole experience. It’s now very simple and straightforward to remove individual photographs and videos from your iPhone, but removing albums is not as obvious.
In this article, we’ll learn how to delete an album on iPhone.
How to delete an album on iPhone and iPad?
The iPhone and iPad’s Photos app makes adding, managing and deleting albums a breeze. You may remove many albums at once from the album-editing screen as well. Did you know that Apple iPhone 14 launch date might be leaked?
When you remove a photo album, it does not delete the photos within it. The images will be accessible in the Recents album and other albums, just as they were before. Follow these steps:
- Open the “Photos” app on your iPhone or iPad, then go to the “Albums” menu.
- At the top of the page, you’ll see a “My Albums” tab where you can view all of your albums. To see all of your photos in one spot, tap the “See All” button in the top-right corner.
- You’ll notice a grid with all of your albums now. Simply click the “Edit” button from the top-right corner to begin editing.
- The Album-editing mode is now enabled, which is comparable to the Home screen editing mode. You may relocate albums here by dragging and dropping them about.
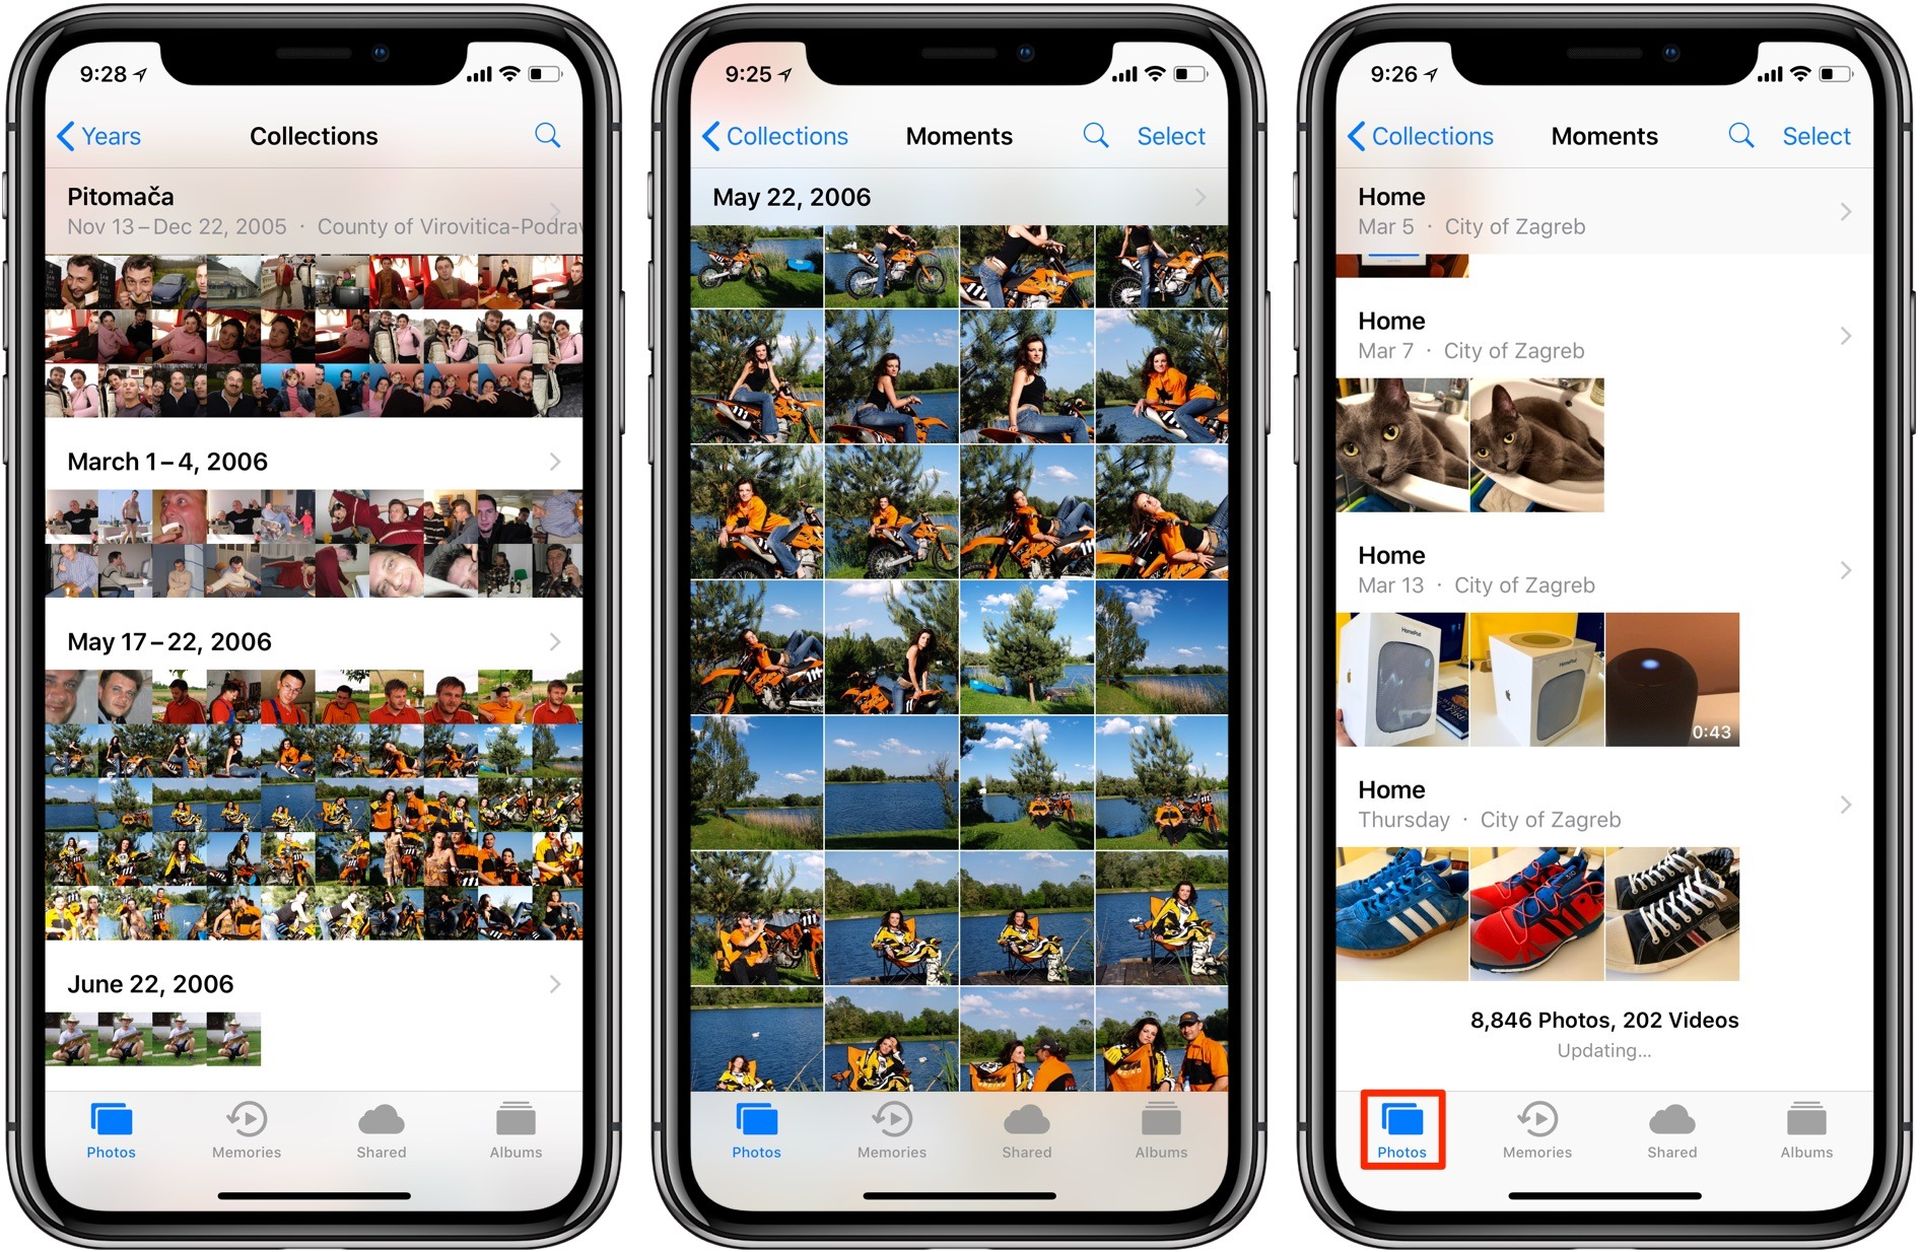
- Simply tap the red “-” button in the top-left corner of an album photograph to remove it.
- Then, from the pop-up message, confirm the action by selecting the “Delete Album” option. You can delete albums other than the “Recent” and “Favorites” ones.
- To confirm, navigate to the album you wish to delete by tapping the More button and then My Albums in the lower right corner. The album will be removed from your My Albums list after you confirm. You may remove albums in the same way. After that, click Done to return to viewing your albums.

You may not be able to remove certain albums from the Photos app. These are some of them:
- For example, Apple automatically generates albums such as Favorites, People, Places and others.
- Albums that are synced from your computer using iTunes, or Finder on Mac
You can’t delete system albums, which are automatically created by Apple.
If you want to remove an album from your device, first connect it via USB to your computer, open iTunes or Finder on your computer, go to the Photos tab, uncheck the album(s) you wish to remove, and then sync. If you made the album on the device or a third-party program, you can remove it in the same way as we explained above.
How to delete an album on Mac?
On the Mac, deleting a photo album from the Photos app is even easier than it is on iPhone and iPad. Just follow these steps:
- Open the Photos program on your Mac. Select a folder and then right-click it in the “My Albums” sidebar to get rid of it.
- Choose the “Delete Album” option from the context menu.
- When you first start the program, you will be asked to confirm that you want to delete it. Click the “Delete” button in this case.
- The album will be removed from your iCloud Photo Library, and the change will be propagated to all of your devices. This won’t affect any of your photos.
This way you’ve learned how to delete an album on iPhone, iPad, and Mac. If you couldn’t delete an album by following the steps we provided above, contact Apple’s support team. If you want to learn how to make an app a widget on Android and iPhone or how to remove payment info on iPhone and other devices, check out our guides!

