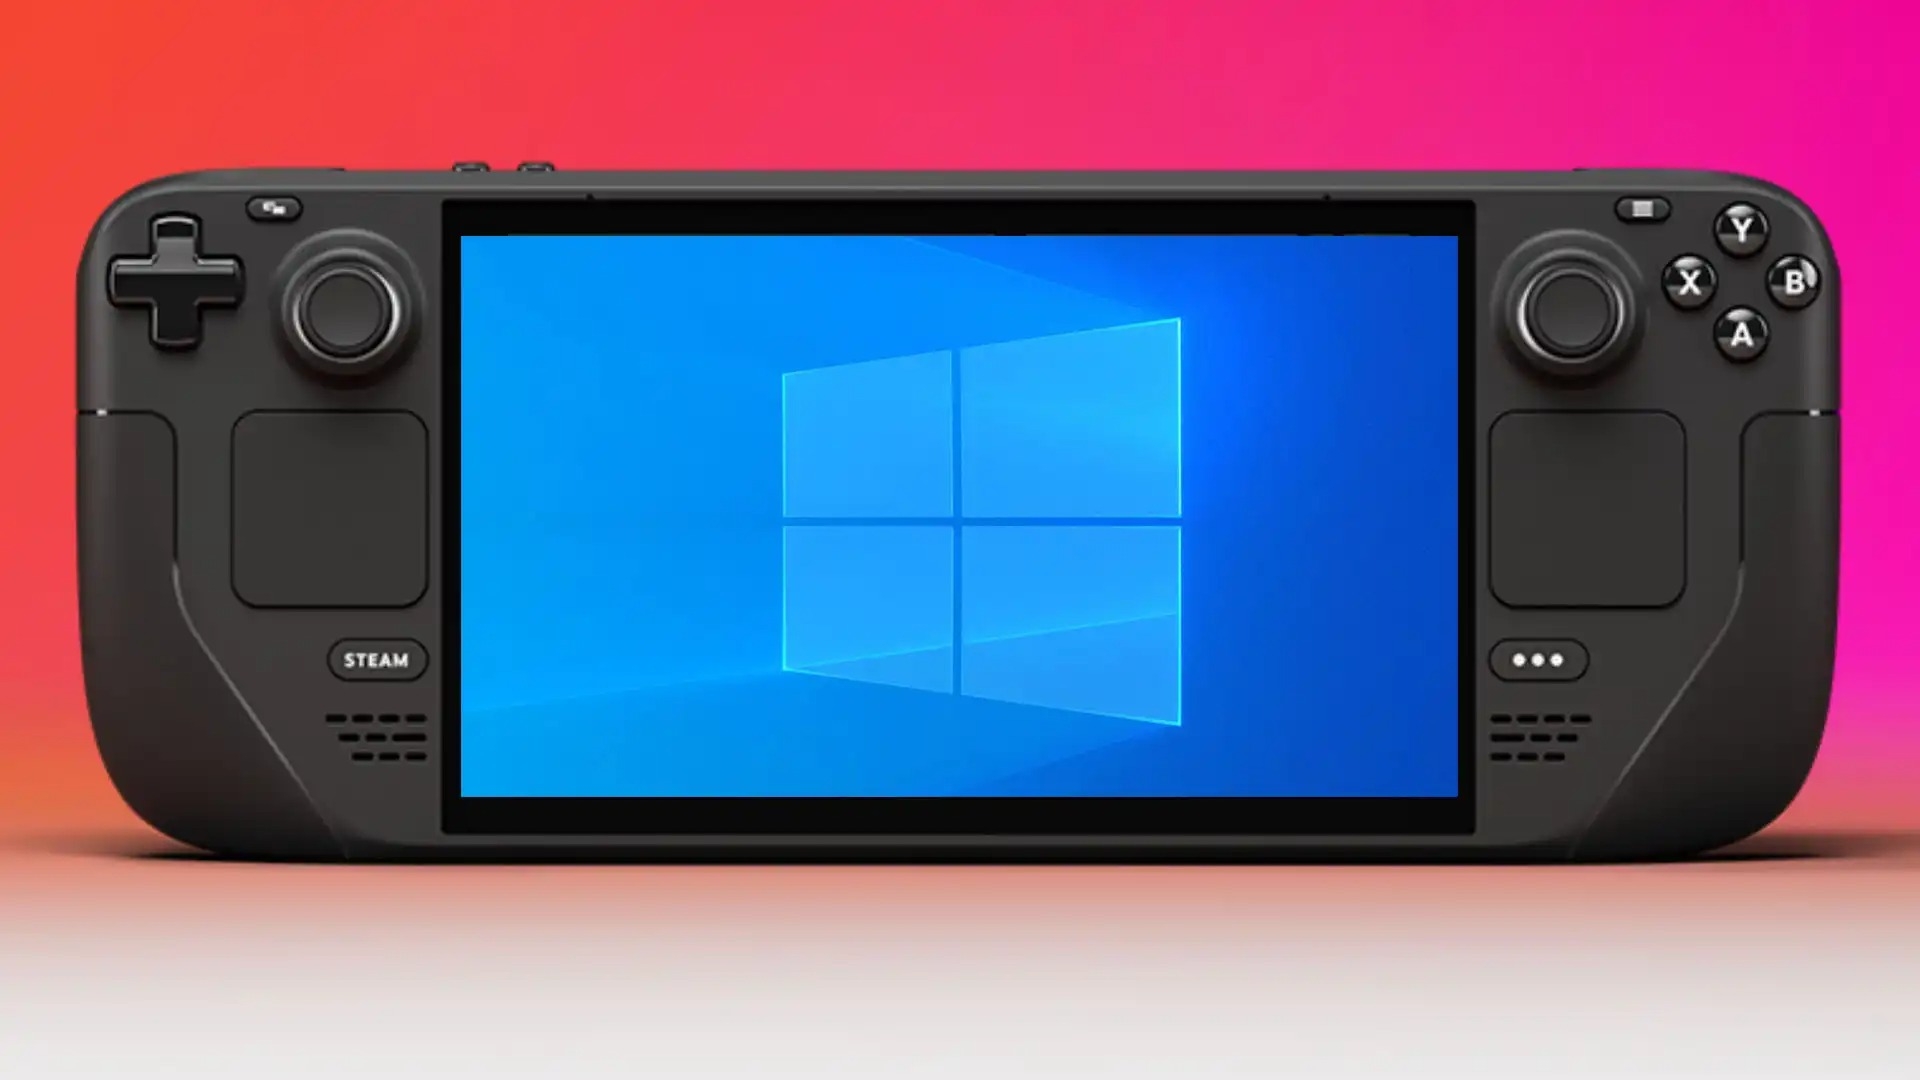
In this guide, we will tell you how to install Windows on Steam Deck, so you can play the games that are not on Steam on this handheld console.
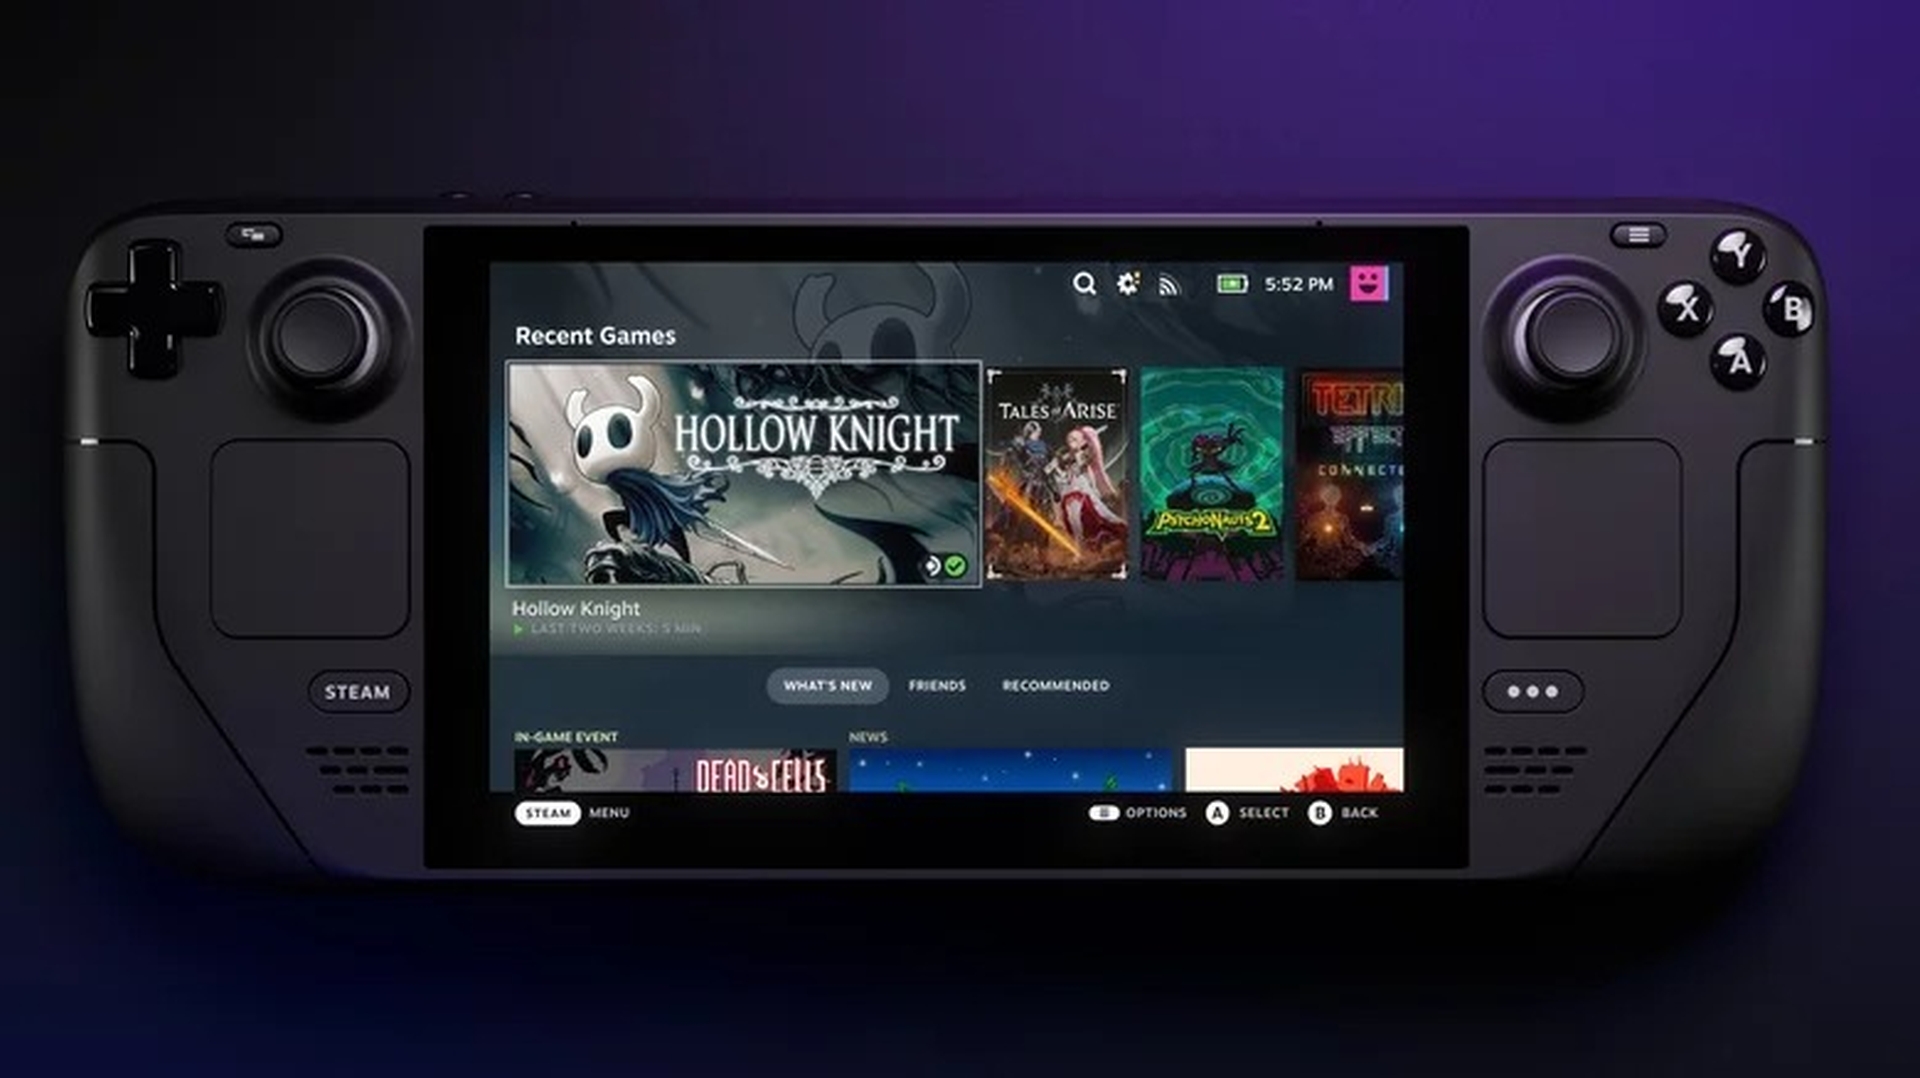
The Steam Deck is a handheld gaming device that tries to provide a comparable experience to a gaming laptop or, at best, a gaming PC with decent specifications. The user interface (UI) installed on the console, on the other hand, restricts it from doing so. The Steam Deck features a custom interface called SteamOS, which is a Linux-based operating system that aims to enhance the hardware’s performance. Because Proton is used to emulate the games, however, SteamOS lacks support for all of Steam’s compatible Windows titles.
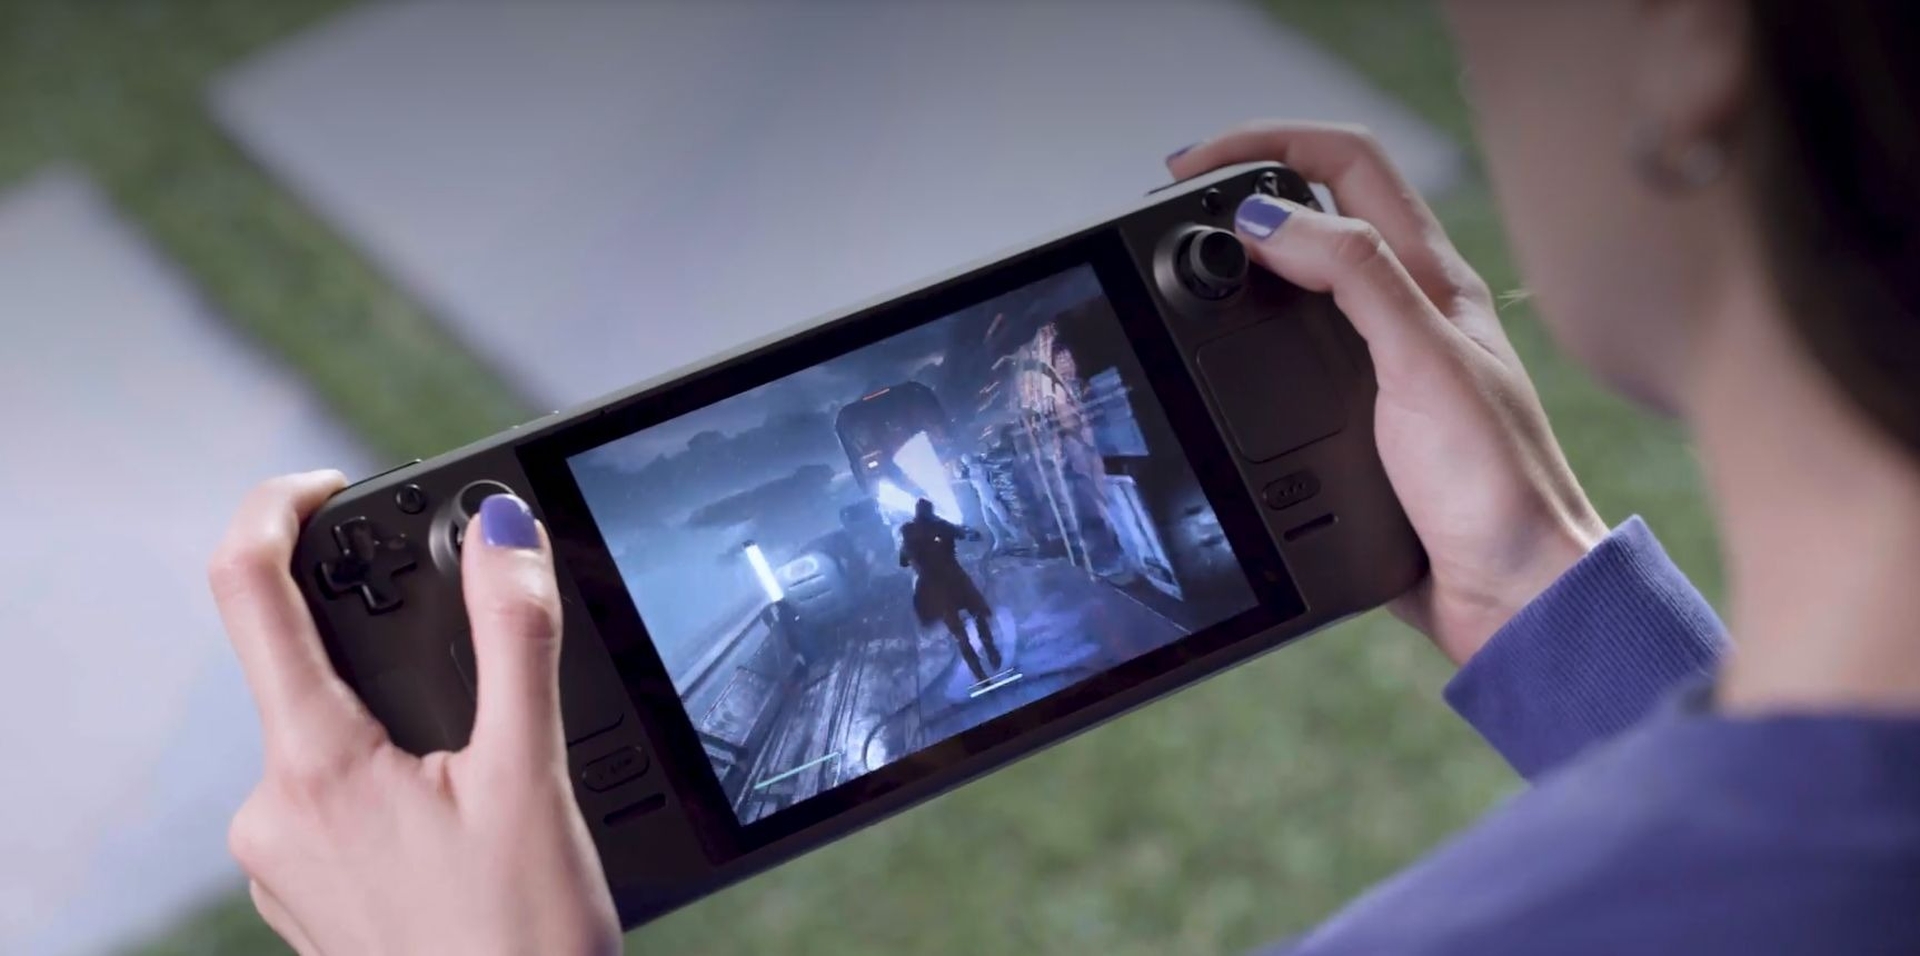
As a result, if you want to play almost every game you like on this portable console, Windows may be a good idea to replace the present operating system. Valve first offered drivers for the Steam Deck in March 2022 as a sign of Windows compatibility, although they do not support devices of those who attempt to install Microsoft’s OS. The console’s built-in speakers and 3.5mm headphone Jack were the only parts of Windows that didn’t function at first, but Valve fixed the problem later by releasing audio drivers for the Steam Deck.
Why you should install Windows on Steam Deck?
Although the Steam Deck is a powerful gaming console, it has some limits. For example, the console restricts the number of titles that can be played on Steam and prevents you from playing any that are accessible through other channels. For example, “Fornite” or other games exclusive to Epic Games Store or EA’s Origin store cannot be played by default.
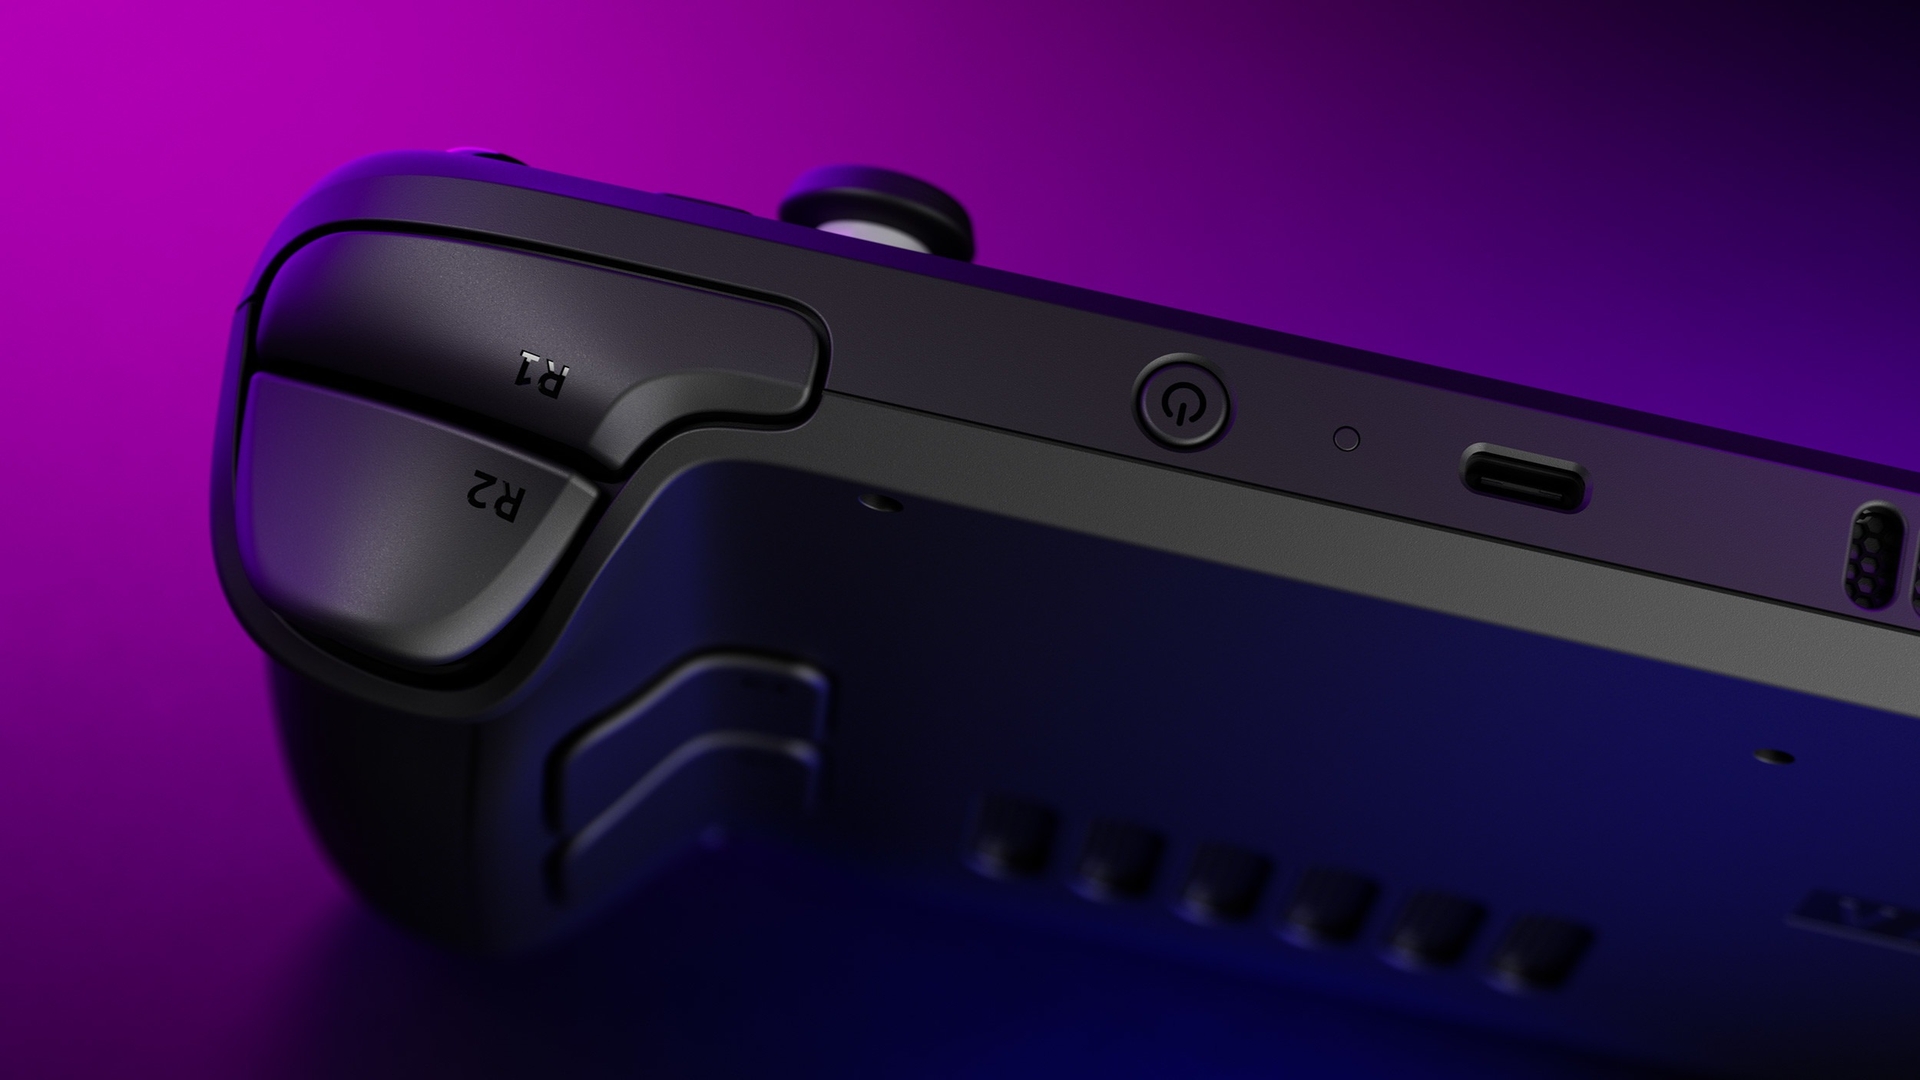
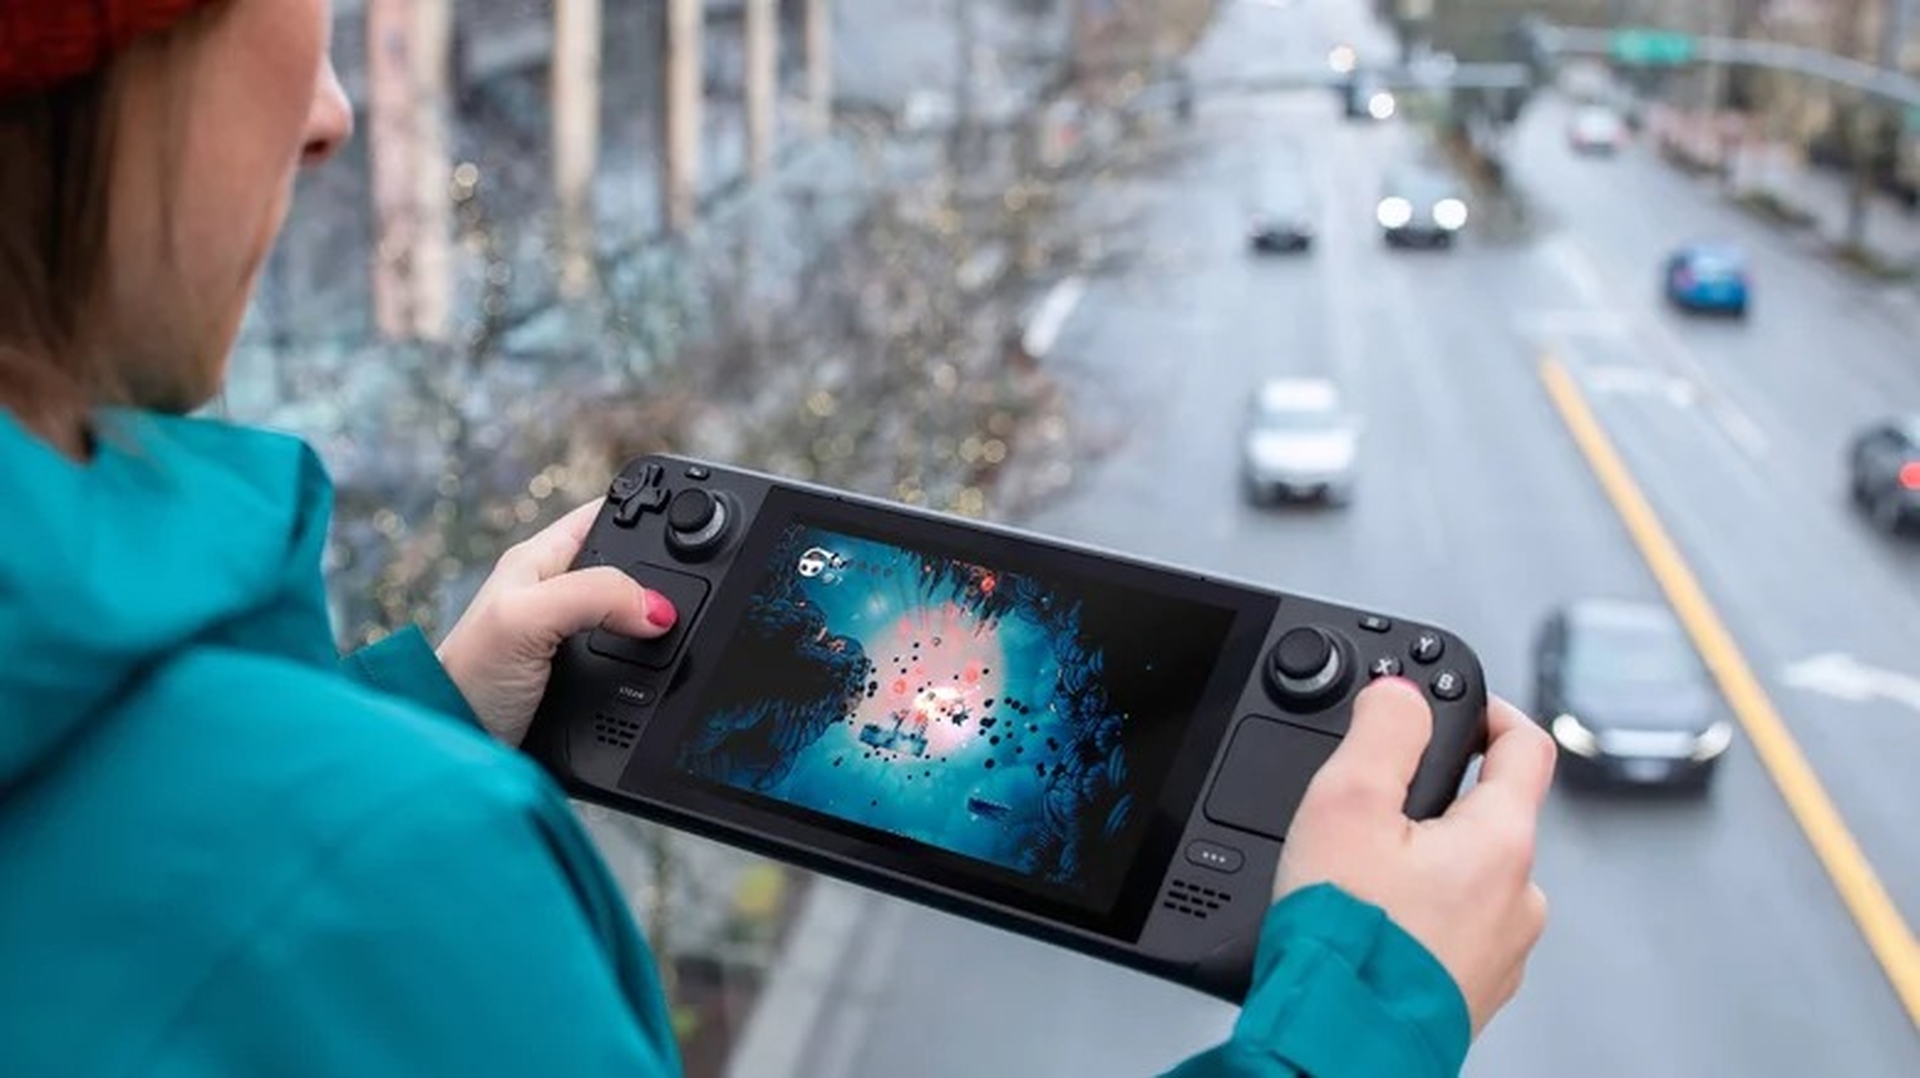
Installing Windows has several benefits, but it also comes with some restrictions. The Steam Deck features a touchscreen, despite the small size, that makes interacting with the hardware more convenient. If you don’t prefer to use it, you may utilize the integrated touchpad or connect a wireless keyboard and mouse for a more conventional feel.
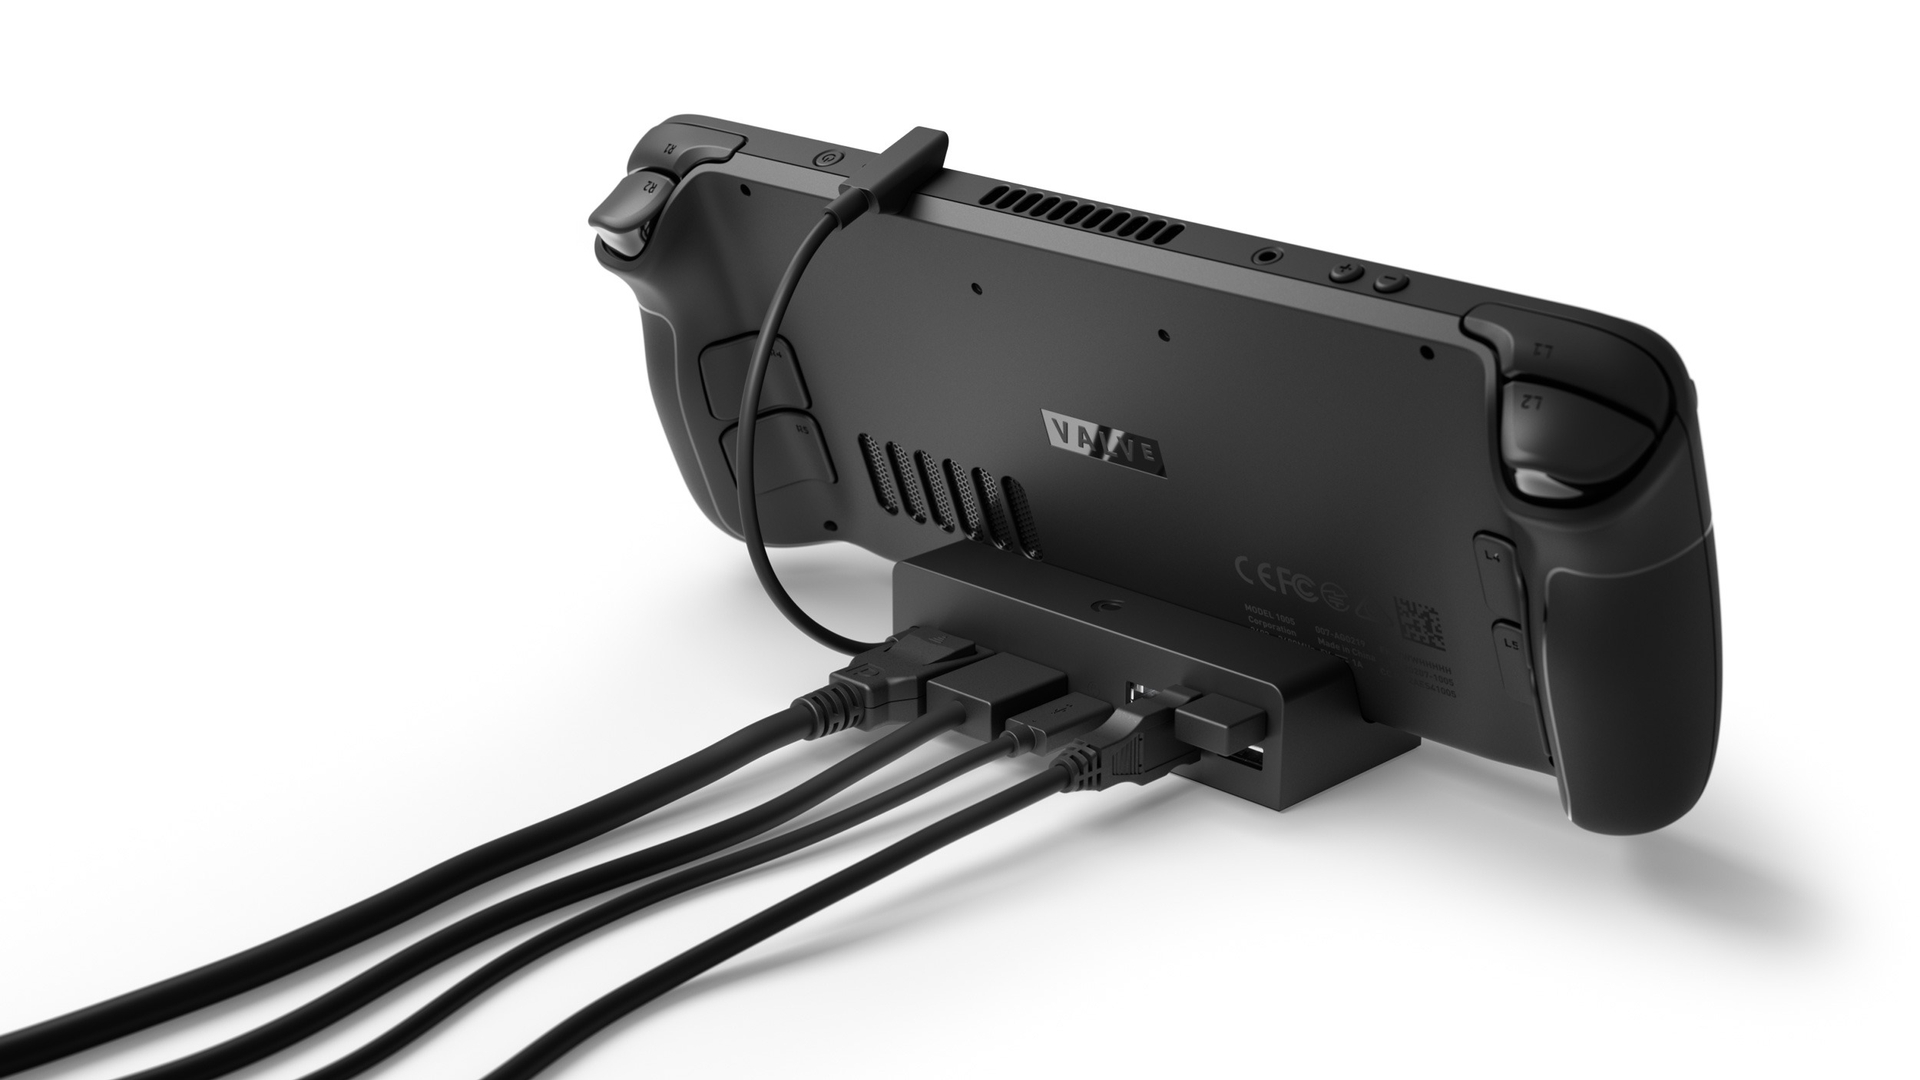
The excellent AMD-designed Aerith APU, 16GB of RAM, and the built-in USB-C port provide for a smooth gaming experience. The USB-C interface may be used to project the screen over HDMI using a dongle or directly via the Display Port protocol. Although these gadgets remove the mobile aspect of the Steam Deck, they do bring you a reasonably portable gaming PC that you can take with you anywhere. Here are the steps to enable you to play Windows on the Steam Deck.
What you need to install Windows on Steam Deck
To install Windows on Steam Deck, you’ll need the following:
- A USB thumb drive with at least 8GB of available space.
- If you don’t have a USB Type-C thumb drive or a microSD card with an SD card reader, a USB Type-C docking station.
- Any desktop or laptop with Windows installed.
Before you begin, make Windows installation media using the tool available on the Windows download page. Valve advises adding Windows 10 to your Steam Deck since Windows 11 requires a new BIOS to enable firmware-based Trusted Platform Module (fTPM).
After you’ve downloaded the installation tool for Windows 10, connect the USB thumb drive to your current Windows computer and run it. “Accept” the terms, then pick the option to generate “installation media for another PC,” followed by “Next.” You may also install Windows 10 directly onto a microSD card that has been inserted into the Steam Deck’s microSD port. By following this procedure, you will have generated a Windows 10 setup drive. Now download all of the necessary drivers for your Steam Deck and save them to your thumb drive. You are now ready to begin installing Windows on your system.
How to install Windows on Steam Deck?
You’re now ready to install Windows on the Steam Deck if you followed the procedures in the previous section. The process is simple, but if you’ve never installed Windows on a PC before, it may seem a little frightening. If you run into difficulties while following the steps or want to revert back to Steam OS, Valve provides rollback instructions. With that in mind, read on to learn how to install Windows on the Steam Deck:
- With the Windows 10 installation media in hand, you may begin by inserting it into your Steam Deck. Switch off the gaming console before restarting to access its Boot Manager. Hold down the power and volume down buttons at the same time to enter the Boot Manager of your Steam Deck.
- Use the direction pad to browse down to other options rather than the default one once you’ve entered the Boot Manager. Find “EFI USB Device” and select the option with your A button. This will allow you to boot into the Windows installer via your Steam Deck.
- On the Windows installer, select your region, language, and keyboard type, then tap “Next” with touch input on the Steam Deck. Tap “Install Now” on the next screen.
- If you have a Windows 10 product key, type it in the box on the next page. If you don’t, pick “I don’t have a product key.” On the next page, agree to the terms and then select “Custom: Install Windows only (advanced).”
- Then, you must delete any existing storage partitions and establish a new one to avoid the old operating system from interfering with the fresh Windows 10 installation. Select each partition and then hit “Delete.” You may also complete the procedure by formatting the partition with the largest storage capacity first.
- Select the largest drive option, and then tap “Next” after the storage has been formatted. Windows installation will begin, and you will be greeted with a freshly installed version of Windows. After that, go through the setup process to arrive on the Windows desktop. The Wi-Fi connection will not function during this time, so if you need to connect your Microsoft account, you’ll need a USB-C dongle with Ethernet support.
- Following the installation of Windows 10, install each driver one at a time. It’s also necessary to change the display orientation from portrait to landscape in the final stage. To do so, go to System Settings > Display and choose “Landscape” under “Scroll down to Display Orientation.”
- You’ve now installed Windows 10 on your Steam Deck, and you can enjoy a variety of games for Windows, including ones that aren’t available through Steam.

We hope that you enjoyed this article on how to install Windows on Steam Deck. If you did, you might also want to check out how to install Android apps on Windows 11, or Comparison: Steam Deck vs Nintendo Switch.

