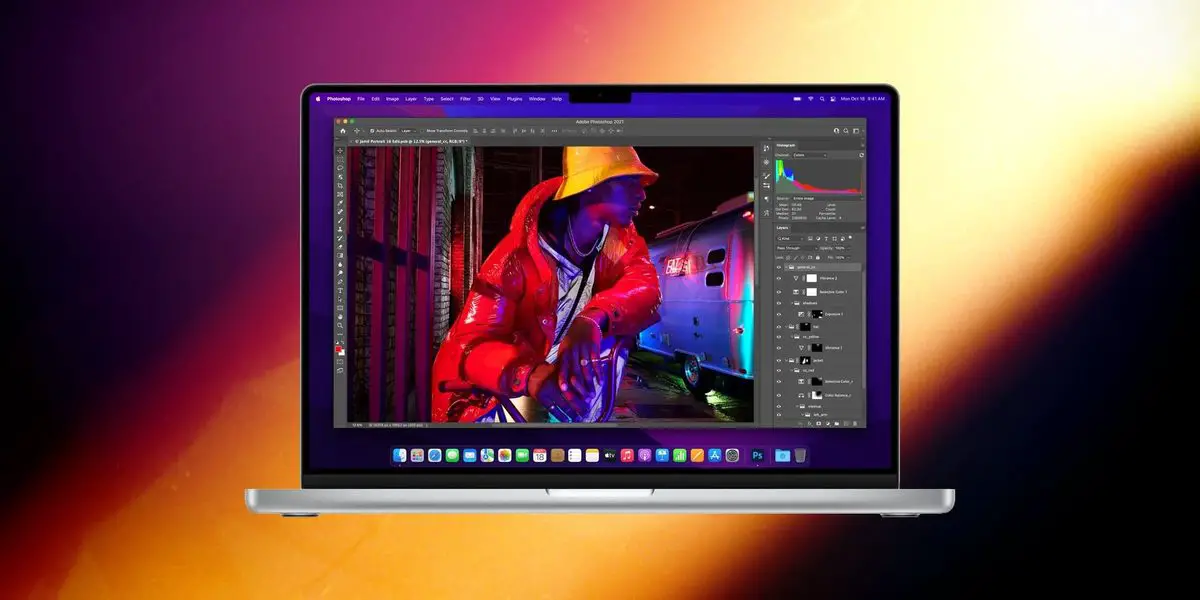
You may take a screenshot on any of the four methods available to you, depending on which Apple computer you own: MacBook Pro, MacBook Air, or iMac. For many new Apple users, particularly those coming from Windows and accustomed to the Prt Scrn (Print Screen) button, figuring out how to take a screenshot on Mac isn’t as simple as it might seem.
Although it only takes a few keystrokes to capture a screenshot on a Mac, the fact is that screen capture has historically been something of a mystery. For example, aside from various key commands for capturing windows vs. finer options, recording video of your screen for an extended period necessitated the use of QuickTime Player.
Four quick ways to take a screenshot in Mac
If you have a Mac, you can capture a screen with keyboard shortcuts in one of three ways—and if you have a MacBook with a touch bar, there’s also a fourth option.
In this article, we’ll teach you how to use the keyboard shortcuts to take a screenshot on your Mac. We’ll also walk you through what you can do with the resulting images once they’ve been captured. Apple provides several simple tools for saving, deleting, and viewing screenshots for editing.
Command-Shift-3
This key combination takes a screenshot of your entire Mac screen.
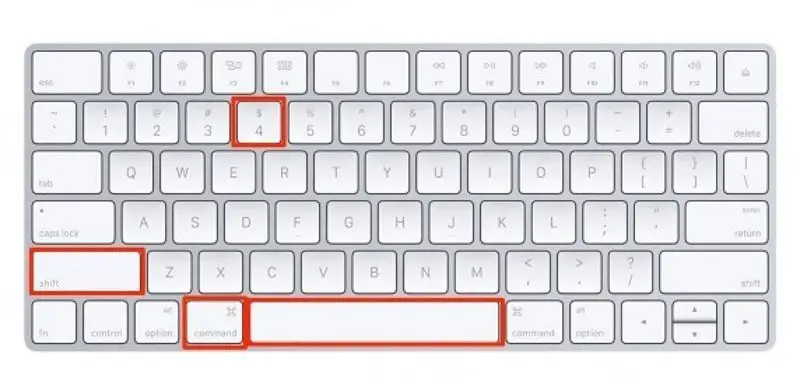
Shift-Command-4
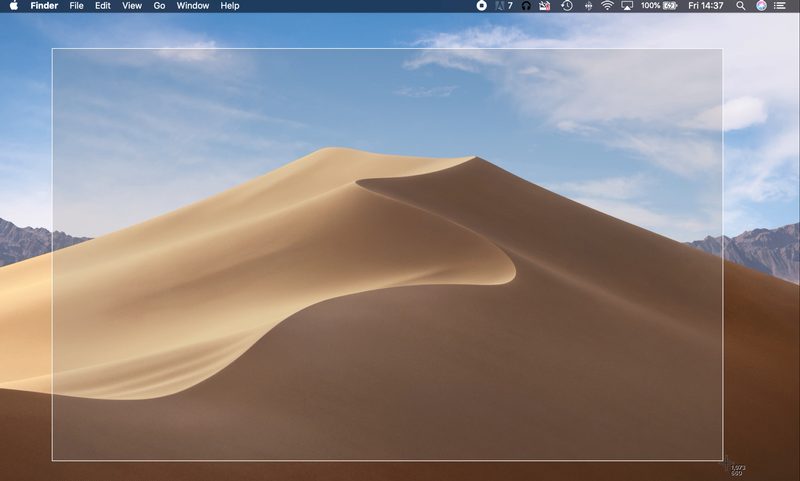
Using these keys activates the crosshair cursor. Then you can drag it to select a portion of your screen and when you release the mouse button or trackpad, it will save the screenshot.
There are also other tricks when using this combinations:
1. Press and release the space bar
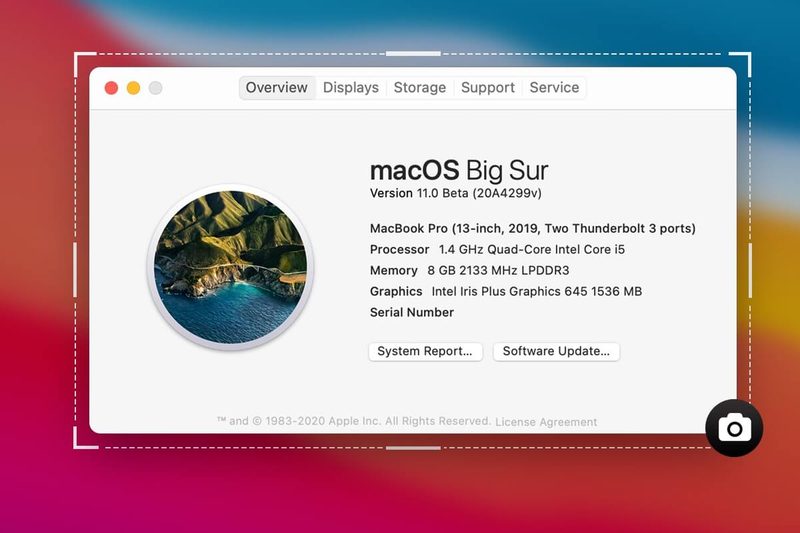
The crosshair transforms into a little camera symbol and may be moved over any open window. To take a screenshot of a particular window, click on it. A screenshot taken in this manner has a white border surrounding the window with some drop shadow.
2. Press and hold the space bar
You should do this after dragging the crosshair to highlight an area of the screen, but do it before you release the mouse button or trackpad.
So this combination maintains the selection area’s shape and size while allowing you to relocate it on the screen. It’s quite useful if your initial selection area is a few pixels off; just hold down the space bar to move it before releasing the mouse button to take a photo.
3. Hold down the Shift key
This works like the previous combo, so drag to highlight an area and hold Shift down, it will lock in each side of the selection area. The crosshairs will keep the bottom edge in place, allowing you to move your cursor up or down to fine-tune the position of the bottom edge.
To move the right edge of your selection area, press and release the Shift key. Then, once you’ve released the mouse button or touchpad, hit it again to reposition the right border of your selection area. You may change between moving the bottom edge and right edge by keeping the mouse button or touchpad engaged while pressing and releasing the Shift key.

Shift-Command-5
This shortcut came into our lives with the MacOS Mojave (2018). When you take a screen capture, the Capture tool opens and it displays a small panel at the bottom of your display with options to save or discard it. There are three screenshot buttons: one for capturing the whole screen, one for capturing a window or part of your screen, and one for taking a photo.
You can also capture your whole screen or a section of it by simultaneously pressing the two video-recording buttons. The X button on the left closes the screenshot panel, but you may also just hit the Escape key to quit.
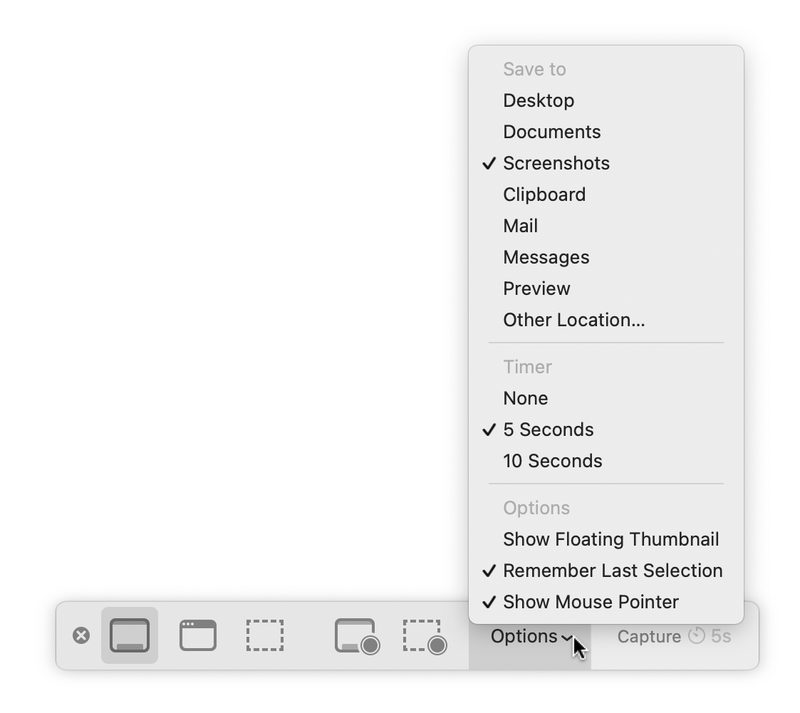
There’s also an Options button on the right. It allows you to pick where your screenshot will be saving, such as Desktop, Documents, Clipboard, Mail, Messages, Preview or any other location and establish a 5- or 10-second delay so you can arrange items that may disappear when you take a screenshot.
By default, the Show Floating Thumbnail option is enabled, which puts a little preview thumbnail of your just-capture screenshot in the lower-right corner of your screen, similar to the screenshot procedure with iOS. Unlike your iPhone ($899 at Amazon), you can turn off this preview thumbnail on your Mac. Lastly, you can choose to show your mouse pointer in a screenshot or video.
If the screenshot panel is blocking your view, you may drag its left edge and relocate it to a new location on your screen.
Take a screenshot on MacBooks with Touch Bar: Command-Shift-6
Have you heard that you may take a screenshot of what’s currently displayed on the Touch Bar if you have a 2016 or later 16-inch MacBook Pro with the Touch Bar? To take a wide and thin screen capture of your Touch Bar, press Command-Shift-6.
How to annotate on screenshots with Mac?
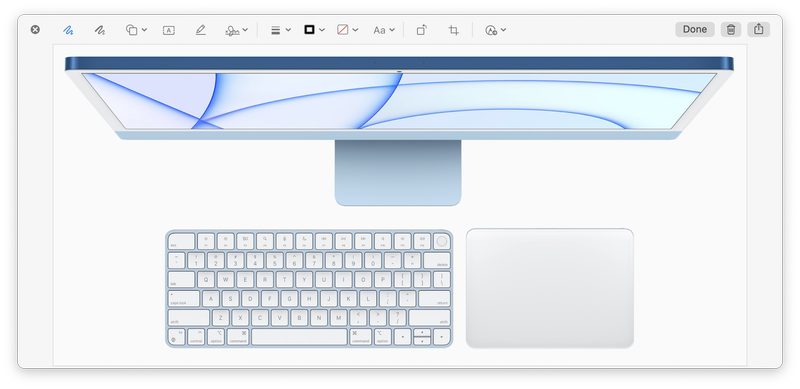
You may use the Floating Thumbnail to access Markup tools that allow you to highlight your screenshot fast. You can either swipe the Floating Thumbnail away or let it go on its own, and it’ll be saved to the same spot where you last saved a screenshot. When you click the Floating Thumbnail, it will launch in a Preview (but not View) with all of the markup tools available in View.
Right-clicking the Floating Thumbnail will help you:
- Save the screenshot to your desktop, Documents folder or clipboard
- Open it in Mail, Messages, Preview or Photos
- Show in Finder
- Delete
- Open in in the Markup preview window described above
- Close (and save)
Change default screenshot format to JPG
Screenshots on a Mac are saved as PNG files by default, which tend to be larger files. To change the default to JPG (smaller file sizes), follow these steps:
- Open the Terminal app
- Enter this command: defaults write com.apple.screencapture type JPG
- Press return (enter)
How to crop and annotate screenshots on Mac?
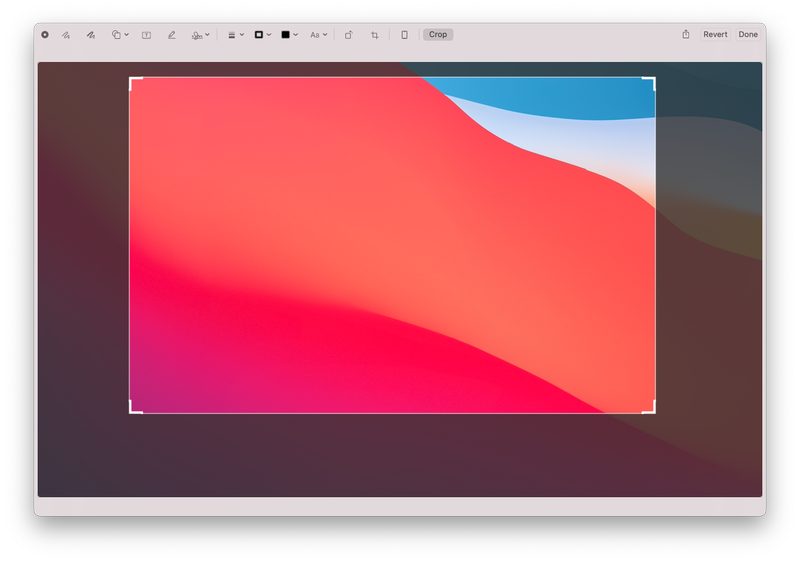
If you don’t adjust the floating thumbnail option described above, your Mac will display a preview of your screenshot in the lower right corner of your screen for a few seconds. If you click on that thumbnail, you’ll be able to crop and annotate it. There are several tools at the top of this window: for further information, see this Apple help page.
How to take a screenshot using Screen Sharing on Mac?
If you have more than one Mac, you may take screenshots using Screen Sharing, which is useful for focusing on just one Mac while shooting and saving on another.
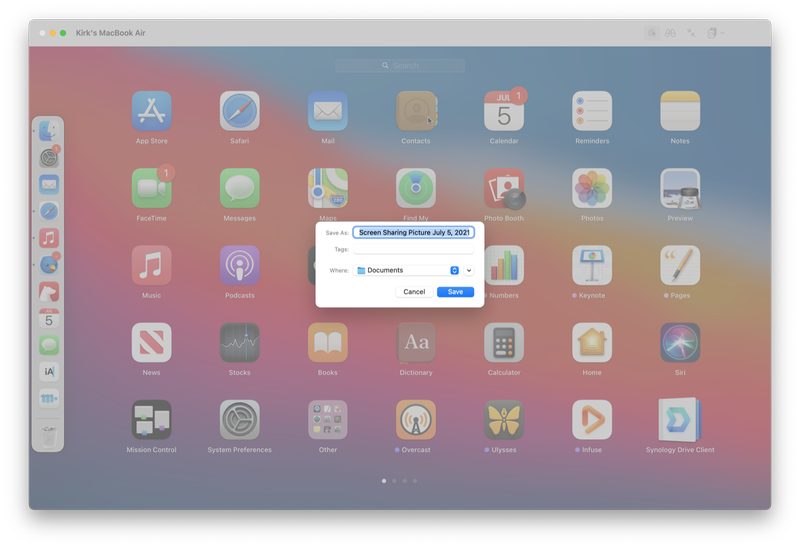
On a Mac, you enable Screen Sharing by selecting the Screen Sharing option in System Preferences > Sharing. Select the shared computer from the Finder’s sidebar on your other PC and then Share Screen to reveal it, along with its user name and password. The Screen Sharing program will launch, displaying the desktop of the shared Mac within a window.
Screenshots can be saved at any time by opening Connection and selecting Save Screen Capture As… (to which you may add a shortcut in the Keyboard pane of System Preferences if desired).
Where are screenshots saved on Mac?
Screenshots are saved to the desktop by default on a Mac. You can save screenshots to a variety of other locations in MacOS Mojave or later.
However, if you were to use an app like Grab (which was previously available in macOS) to capture your screen shots, they may end up somewhere else. The screenshot will be saved to your Documents folder if you don’t alter the file name.
It is possible to change where Mac saves screenshots in MacOS Mojave or following versions of the operating system.
- Hold down Command + Shift + 5.
- Click on Options.
- Find the location you want to save to in the Save to section. Or, if you want to save the image elsewhere, choose Other Location.
How to choose or change dimensions of screenshot in Mac?
There are a variety of reasons why you may need a screenshot to be a certain size. Perhaps you’ve been instructed to provide an image that is a specific number of pixels wide by height, or maybe you’d want to capture many screenshots at the same dimensions. You could be thinking that editing the picture after it’s taken is necessary, but you can actually change the screenshot dimensions as you capture it, and use those same dimensions again.
If this is only one time and you need to take one screenshot at a specific size use Command + Shift + 4 combination. For specifics, you can see the headline above.
If you frequently have to take images that are the same size – for example, we use 1,600 x 900 images so that tends to be our default – you could set up your crosshairs in advance by using Command + Shift + 5. FOr specifics, we have told you in this article above.
How to screenshot a window on Mac?
If you want to screenshot a single window on your desktop, you have two options.
You could press Command + Shift + 5 and choose Capture Selected Windows. Or hold down Command + Shift + 4.
How to take a screenshot of a window without a shadow on Mac?
If the shadow is a distraction to the picture, you may take a screenshot without it:
- Press Command + Shift + 4.
- After crosshairs appear, press Space + Alt/Option.
- Position your cursor over the window which will be highlighted in blue and click.
- A screenshot of the window (without shadow) will be saved on your desktop.
How to take a screenshot of a dropdown menu on Mac?
You can use the same combo for menus. Open the menu you want to screenshot and follow these steps:
- Press Command + Shift + 4.
- After crosshairs appear, press Space.
- Position your cursor over the dropdown menu and click.
- You’ll get a screenshot of the menu.
This screenshot will now include the title of the menu. If you want that, you should use the standard Command + Shift + 4 and size it manually.
How to take a timed screenshot on Mac?
Sometimes it appears to be impossible to take a screenshot of what you want to capture since you must be interacting with the software while taking the shot. Fortunately, there is a solution for this. To take a timed screenshot (on MacOS Mojave or later versions) you should do the following:
- Hold down Command + Shift + 5.
- Click on Options.
- Under Timer choose 5 or 10 seconds.
- After that, select the screengrab type: whole screen, a specific portion of the screen, or a certain window.
- When you begin pressing the keys, a timer will start up. When the time runs out, your screenshot will be taken.
If you’re using an older version of Mac OS X or macOS, you can use Grab to make a timed screenshot. Start by entering Command + Space and typing Grab, or search the Utilities folder (which is in the Applications folder.)
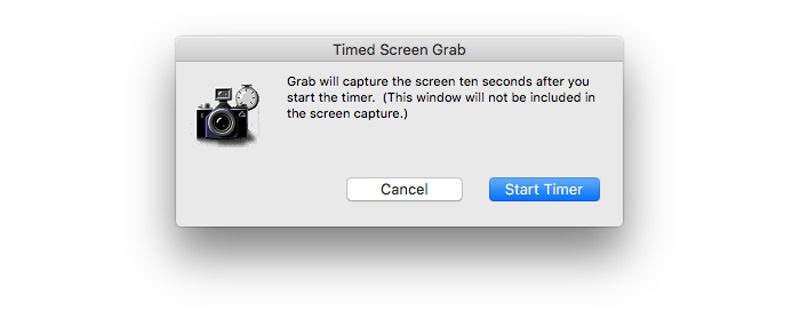
- Open Grab.
- Click on Capture > Timed Screen.
- Click on Start Timer.
A red dial will appear next to the camera icon to show you how much time is left before your screen will be grabbed. You can’t save a grab that includes the entire screen; however, if you like, you might focus on a certain area after taking it.
Launch Grab and click Capture in the top menu; you’ll see options for the usual screen captures (a small Selection, a Window, or the entire Screen, each one with a shortcut that you can use to access it in future) but also includes the handy option of timed screenshots (select Timed Screen), for when you want to set up a capture and then activate whatever it is you want to grab. The timer is 10 seconds.
How to edit a screenshot on Mac?
The ability to edit screenshots without opening an application is one of the most helpful features in recent versions of macOS. A thumbnail of your screenshot will display in the lower right corner when you take one (macOS Mojave or later). If you click the picture, it will open in Quick Look mode, where you can use Apple’s tools for drawing, highlighting, adding shapes, text boxes, and even signing your screenshot.
If you miss the thumbnail, you may quickly access and modify the screenshot in the Preview app, which is part of macOS. You can also press the Space bar on your screenshot on the Desktop to display a Quick Look view that allows you to make changes without launching the Preview app.
Here is how you can edit a screenshot on Mac:
- Open the image by double-clicking on the file, selecting it and pressing the Space bar, or clicking on the thumbnail when it appears after you recently took the screenshot.
- On top of the window you will see Open with Preview, but you don’t need to do it. You can reach the tools by clicking on the icon which is like a pencil in a circle.
- Now you will see wider options for editing your screenshot. You can do this for adding annotations, underlining words, etc.
How to crop a screenshot on Mac?
There are a variety of ways to edit a screenshot. You may take the image in the required dimensions as suggested above, but if you’d rather fine-tune it later, here’s what you should do:
- Open the editing panel (we have told you how in the previous answer).
- Click the Crop icon and crop markers will appear at each edge of your image. Drag these in until you are fine with the cropped image
- Once you are done, click Crop.

Best third party apps you can use to take a screenshot on Mac
Apple already has a great screenshot tool built into macOS. The program is simple to use and works well. You can take a screen capture, a portion of the screen, or an open window with it. You may also record a video of your screen using the same tool. However, third-party screenshot solutions are also accessible. These apps, free or paid, generally include features that can be useful to you.
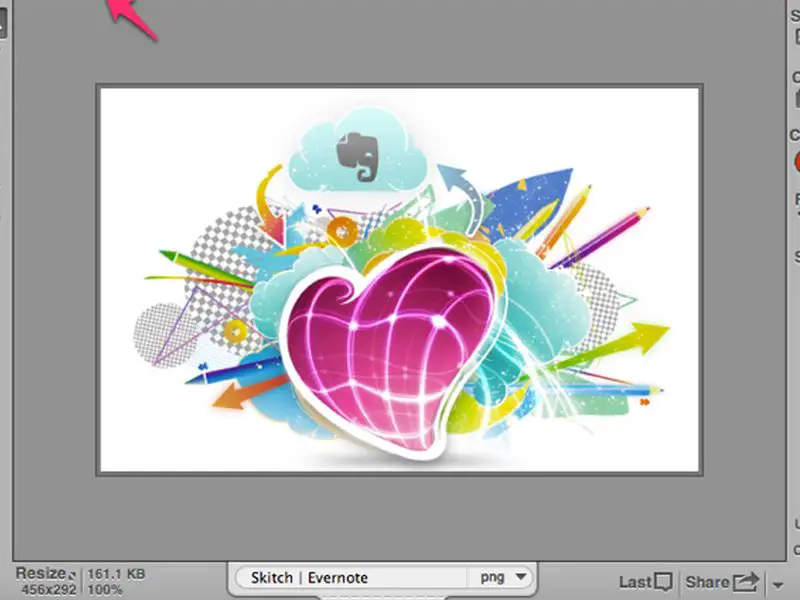 Skitch by Evernote
Although it doesn’t differ much from Apple’s Mac screenshot tool, it does have a camera mode that allows you to take selfies. Its most fascinating feature is editing. You can add arrows, lines, shapes, callouts, pixelation, and highlights to the screen. It can also save reports in 8 different file formats and share them with Apple AirDrop, Notes, and other apps. If you use Evernote, you may save photos to its servers and access them on any other platform.
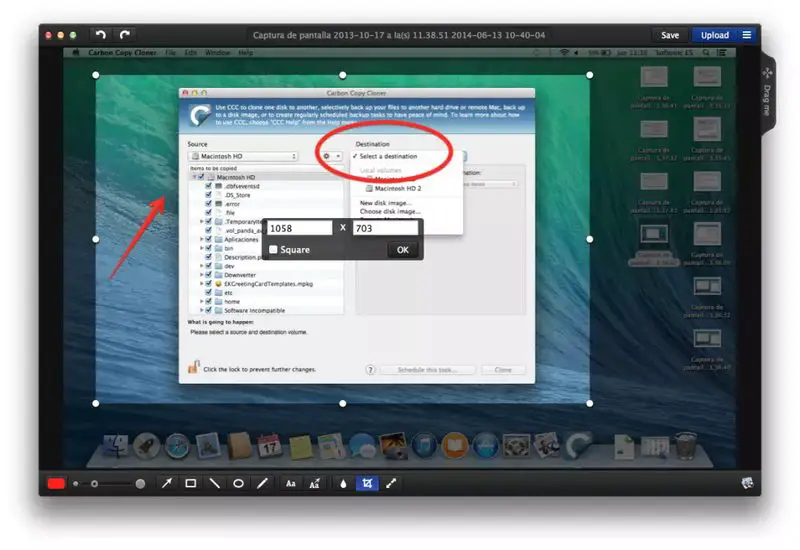 Monosnap
Monosnap is a popular Mac snapshot tool. Its editing capabilities, such as annotations, video recording, drag and drop, a blur feature, and more make it comparable to Skitch.
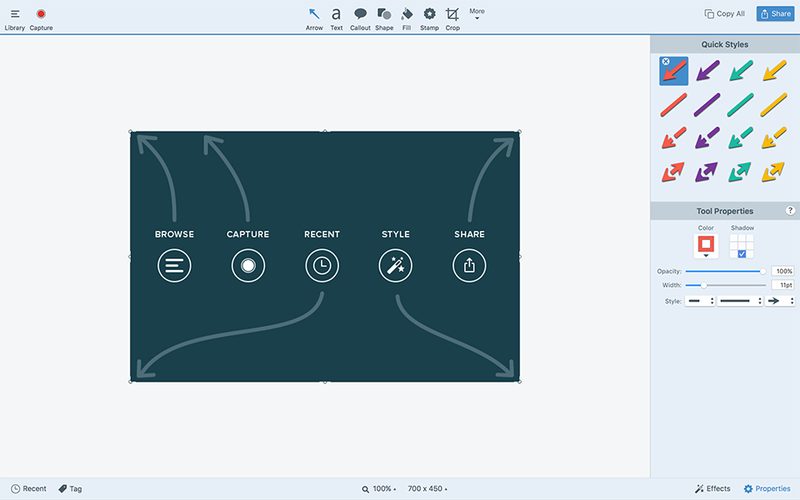 Snagit by TechSmith
Snagit is a screenshot tool for both PCs and Macs. It has all of the typical screenshot features, as well as the ability to import photos from scanners or cameras. Snagit allows you to insert text from an image into a Mac editor. Snagit links with Microsoft 365, Box, Slack, Dropbox, Gmail, among other services. The multi-functional program is only accessible through paying for it; nevertheless, it is free to try it out for a certain amount of time.
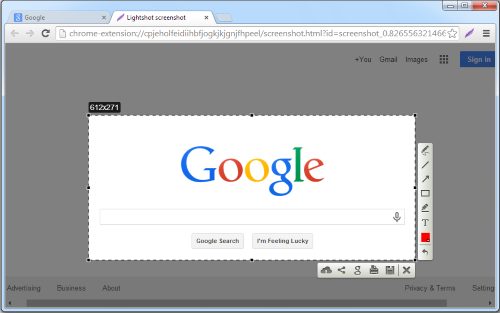 LightShot
LightShot is completely free and available for both Mac and Windows, with a user-friendly interface that’s easy to understand. LightShot is a lightweight Mac screenshot tool that’s ideal for those on-the-fly adjustments. You can modify photos using colors, forms, text, and more with LightShot. Other programs lack this capability, which allows you to take several pictures rapidly.
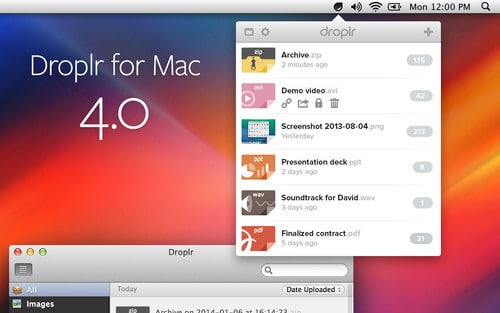 Droplr
Droplr is a comprehensive screenshot program for both Mac and Windows. The high-resolution snipping tool, which is mostly aimed at business and enterprise users, includes cloud storage, security, and, yes, screen recording for a monthly fee. Integration options include eBay, Mailchimp, Intercom, Slack, and many other platforms.
Fixes for Mac screenshot problems
Why are my screenshots blank?
If you’ve followed the steps above and are confident that the item, window, or screen you targeted for screenshot had graphical components visible but no longer does in the screenshot taken, there’s a good chance your program has chosen to prohibit screenshots. For example, you won’t be able to capture a visual from a video using the same piece of software. You should be able to work around it by switching programs.
What to do when screenshot function doesn’t work on Mac?
If you’ve pressed another button, such as CTRL at the same time while taking a screenshot on a Mac, it won’t work. But if your situation is different, then follow these steps:
- Go to System Preferences > Keyboard > Shortcuts.
- Check that the shortcuts are activated under Screen Shots.
It’s also possible that the standard shortcuts have been reassigned to something else. Double-check this in System Preferences as well.

