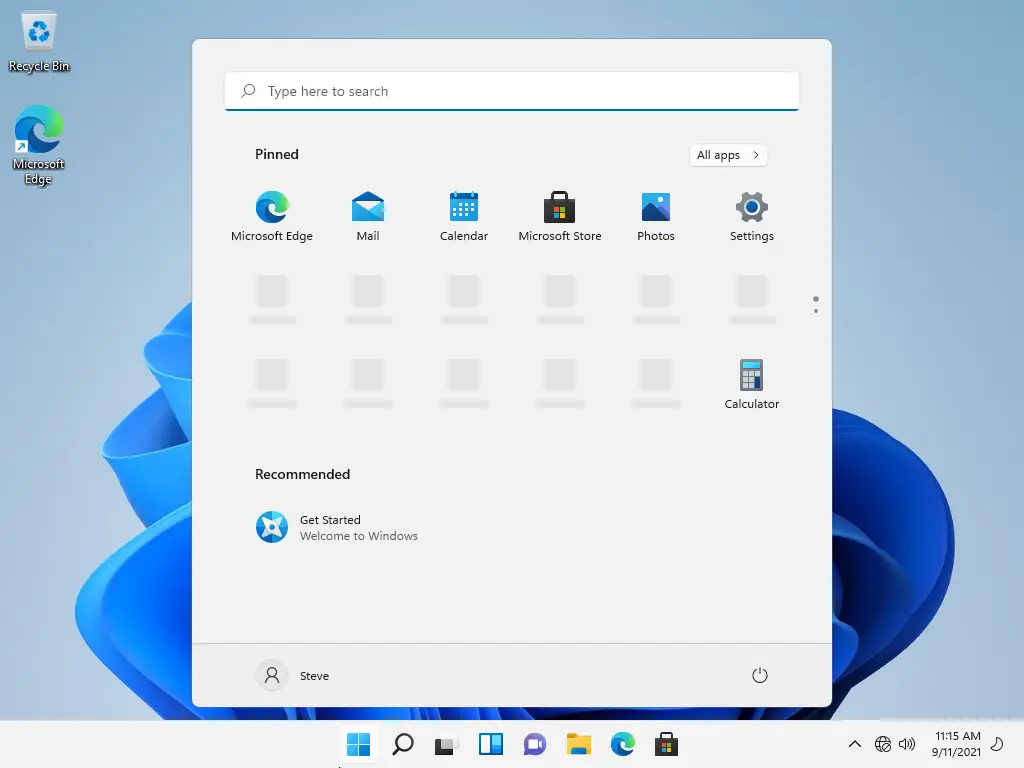
Today we are going to tell you how to hide file explorer check boxes on Windows 11, if you find those icons annoying, you can turn them off easily. When you are navigating between folders, Windows 11 shows you a check box as you select some files. It’s a useful feature for those who use touch screen devices, but some might not find them very attractive.
How to hide file explorer check boxes on Windows 11?
When you select a file in a file explorer window or on the desktop, you will see those check boxes we are telling you about.

The process is really simple, to be able to hide those check boxes follow these steps:
- First open the “File Explorer.”
- If you don’t see the shortcut in the taskbar, right-click on the Start icon and choose “File Explorer” from the menu.
- Then you should select the “View” menu from the toolbar.
- Choose “Show,” then click on “Item Check Boxes” to be able to hide the check boxes.
It is that easy! If you want to see those check boxes again on Windows 11, follow the same steps and you should have no problems.


