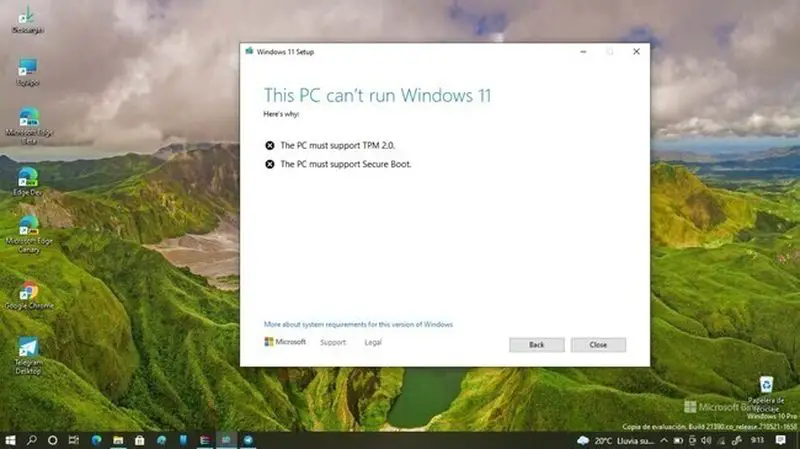
In this post, we’ll show you how to use your computer’s TPM chip for Windows 11 on October 5. We previously discussed the PC Health Check program, which allows you to determine whether your computer is ready for Windows 11. You must have a TPM and, if your PC does not have it enabled, you must follow these procedures to do so.
It may be the case that although your computer has a TPM chip, the motherboard has it deactivated. A setback that does not offer a major problem, since it is possible to activate the TPM chip from the UEFI (old BIOS) of your computer. And these are the necessary steps to activate it.

Waking up the TPM chip
Before proceeding, double-check to ensure that our PC has the TPM chip installed, even if it is turned off. You can use a system file checker, PC Health Check, or WhyNotWin11 for this purpose. Secure Boot is also necessary.
Then it is convenient to see if you have the TPM chip active and to know it is necessary to enter the “Start” menu and then look for the “Windows Security” section. Inside this, we must look for the option “Device Security” was to see the type of security that comes integrated. If we have the TPM chip, a notice appears telling us about Security Processor and a button with the title “Security Processor Details.” If we click on this, the chip’s version will appear but if it doesn’t, it means either that we don’t have a TPM chip or that it isn’t active.
Another method to check if you have a TPM chip is to type the command “TPM.msc” in the search box. Then we click on “Open” and we will see a window with information about the TPM chip in case we have it.
By UEFI or from Windows
If this is the case, there’s no cause for concern. To utilize the TPM chip on your PC, you’ll need to access the UEFI firmware of your computer, which may be different depending on the motherboard you’re using. Simply reboot the computer and press the corresponding key (it may vary depending on the motherboard) before Windows starts to load. On the first screen, it usually indicates the required key, which is usually some of the keys from F1 to F12.

When you have managed to access the UEFI you will have to forget about the mouse or trackpad (in almost all cases). From there you will have to use the keyboard arrow keys to move through options and tabs. From here, the steps may change depending on the motherboard manufacturer and this compilation shows the most important ones.
- For ASUS computers: You must access the advanced UEFI options and look for the Trusted Computing section. Here you can enable the TPM Support option by changing the status from Disable to Enable and then just save and reboot.
- For MSI computers: When we enter the UEFI we must look for advanced options and then the Trusted Computing section. Changing the Security Device Support option from Disable to Enable enables the TPM chip and then just save and reboot.
- For Lenovo computers: Inside the UEFI, we must enter the Security menu and navigate until we find the Security Chip Selection option. Choose the Intel PTT or PSP fTMP option if it is an AMD processor and then just save and reboot.
- For HP computers: In the UEFI look for the security section and enable TPM by changing the TPM State option to Enable and then just save and reboot.
- For Dell computers: Inside the UEFI we must look for the security options and the Firmware TPM section. In them, we must change from Disable to Enable and then just save and reboot.

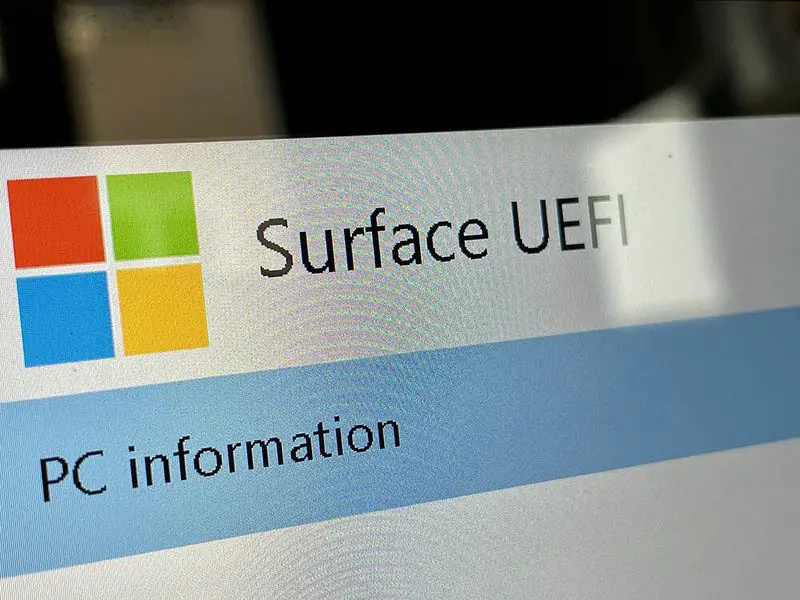
To access the UEFI on Surface PCs, just wait 10 seconds after turning off the device. Then, while still holding down the volume up key on the Surface, simultaneously press and release the power button. The Microsoft or Surface logo will appear on the screen, and you must hold down the volume up button while releasing the volume down button when the UEFI screen appears. The TPM chip is disabled by default.
Another method to enable (or disable) the TPM chip is to do it from Windows in the same way as before. To use the TPM chip after activating it, you must open the TPM MMC with the command “TPM.msc” and in the “Action” panel, click on “Enable TPM” to display the “Enable TPM security hardware” page. At that point, we must click on “Shutdown” or “Reboot” and then follow the prompts on the UEFI screen.
Each brand has a UEFI screen that may vary in layout, although the options are the same. Only on Surface models, there is no option to enable or disable the TPM chip.


