Today we are going to show you how to take a screenshot in macOS. Taking a screenshot on macOS is much simpler than on Windows. There is no ‘Print Screen’ button on the keyboard, but we don’t have to go to Paint to save the image either. Everything can be done practically with keyboard shortcuts, and there are many different options.
How to take a screenshot in macOS?
In macOS, we can take different types of screenshots. Let’s see all the possibilities.
How to take a screenshot of the entire screen in macOS?
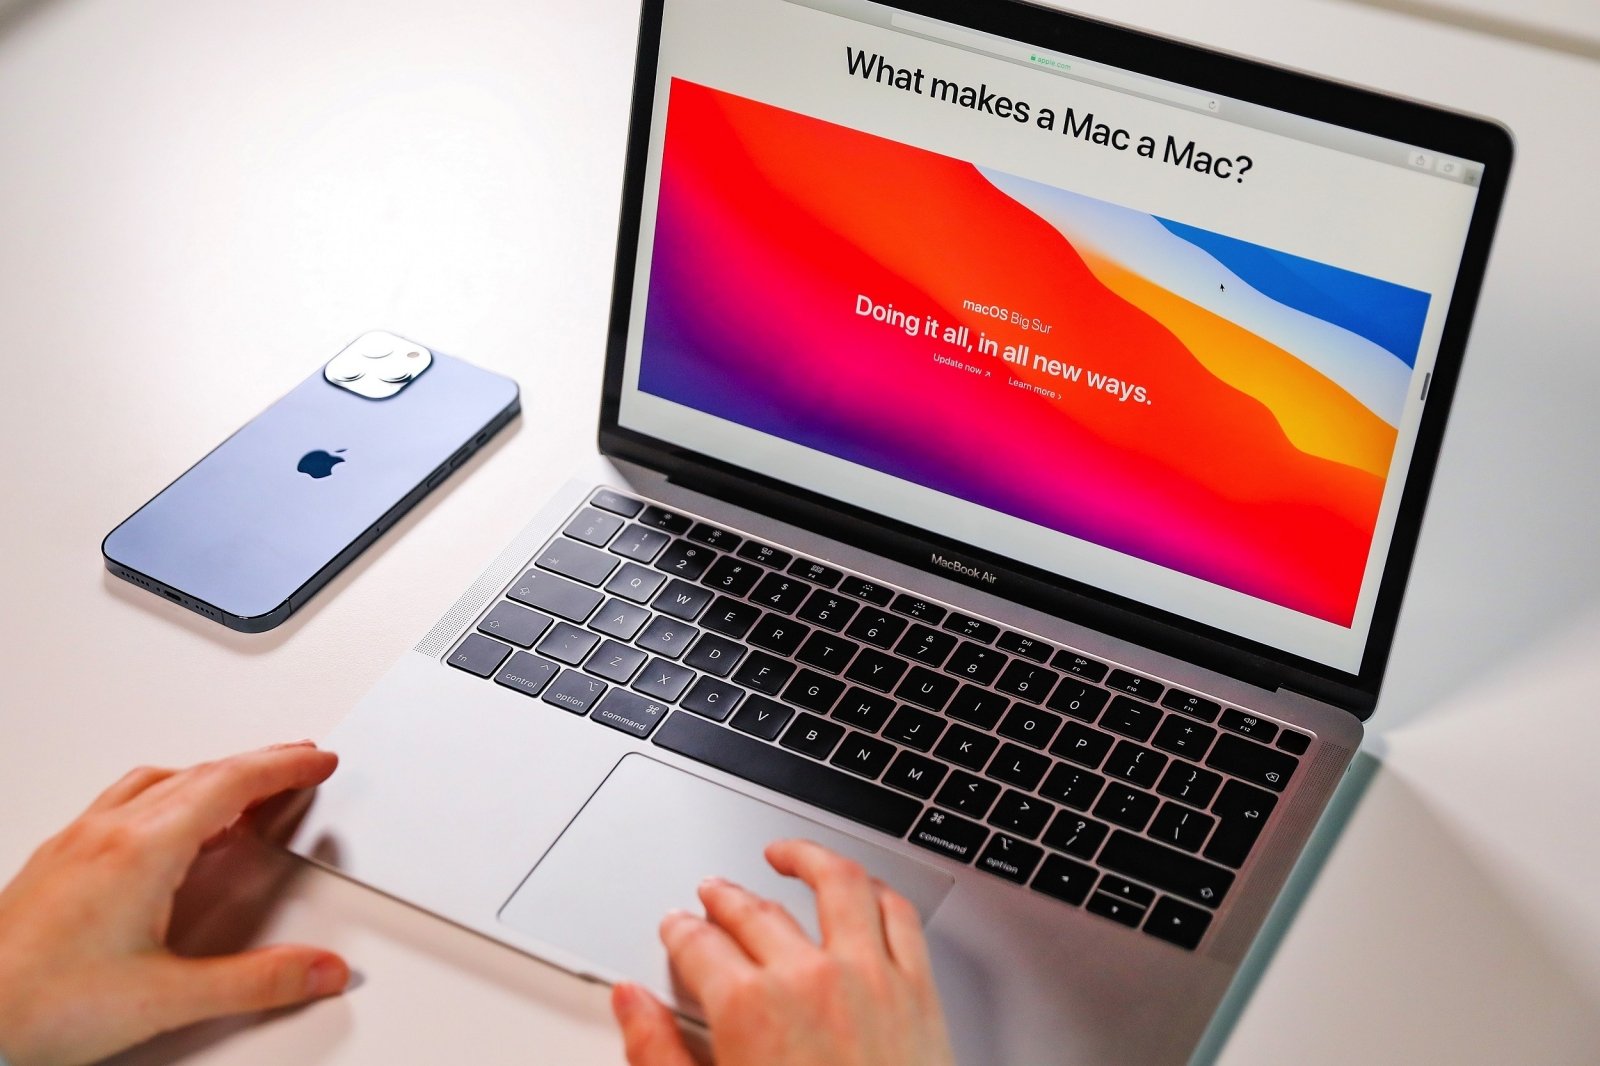
This is the easiest and most common method. This screenshot allows us to save an image of the entire computer screen. Simply press the keyboard combination Cmd-Shift-3. It will automatically take a screenshot of the entire screen and save it to your Desktop or wherever you have the default location.
How to take a screenshot of only a part of the screen in macOS?
We do not always want to capture the entire screen, most of the time we are only interested in a small part of the screen to show a certain aspect. For this, macOS allows us to select the area we are interested in by dragging the cursor. Press the keyboard combination Cmd-Shift-4, the cursor will automatically transform into a crosshair, drag to select the part of the screen you are interested in and release to save your screenshot.
You have not selected correctly? No problem, you can modify the selected area before releasing the cursor. Depending on the key you press while selecting, it will perform a different action:
- Shift: Modify the area with horizontal or vertical limitations.
- Option: Modifies the selected area from the center outwards.
- Space bar: This allows you to move the selected area.
How to take a screenshot of a single window in macOS?
macOS allows us to take a screenshot of one of the open windows on the desktop. It is very simple, press Cmd-Shift-4 and then the space bar. The cursor will change from a crosshair to a camera icon, select the window you are interested in screenshotting and click on it. The capture will be saved automatically showing only the window you have selected and with a white/transparent background and shading.
This applies not only to app windows, but also to the menu bar for example, or any popup menu or dialog box that appears in an app. Move the cursor before clicking to highlight the area to be captured so that you can easily tell. As a final trick, holding down the Option key while clicking will not apply a shaded white background to the screenshot.
How to take a screenshot of the Touch Bar in macOS?
With the arrival of the MacBook Pro with Touch Bar, a second screen has arrived on the computer, which can also be captured. The key combination, in this case, is Cmd-Shift-6.
How to take a screenshot of the lock screen in macOS?
The lock screen in macOS appears before logging in or after coming out of sleep. There are few reasons to take a screenshot of this interface, but if you want to do so it is possible. Log out or lock the screen with the shortcut Ctrl-Cmd-Q, after that press the keyboard combination Cmd-Shift-3. When you unlock the screen again, the screenshot will appear on the Desktop or in your default location.
How to take a screenshot with timer in macOS?
We will need to use Apple’s official app for taking screenshots, Snapshot. Open the Snapshot app from the Utilities folder. Then, in the menu choose Screenshot > Screenshot with timer. A 10-second timer will start after which the screenshot will be taken.
How to take a screenshot that includes the mouse pointer in macOS?
To mark an element that we are interested in highlighting on the screen, the most logical way is to use the mouse pointer. However, the mouse pointer does not normally appear in screenshots, but you can make it appear. In this case, you have to use the Preview app. In the app, menu go to File > Screenshot > Full Screen. A small timer will start, giving you time to go to the interface you are interested in, the image will be saved with the cursor and you can edit it directly in Preview.
5 tricks to get more out of screenshots in macOS
Those are all the ways to take a screenshot in macOS, although there are more things to keep in mind if you want to be an expert on Apple’s operating system snapshots. For most of these tricks you have to use Terminal, but don’t worry, you don’t have to be a hacker to do it.
How to change the default name for screenshots in macOS?
‘Screenshot 2018-05-18 at 12.35.02’ is not a very nice name for an image, it’s descriptive but you might want something simpler or something that differentiates your screenshots from others. You can change the default name.
- Open Terminal.
- Copy and paste the following command: defaults write com.apple.screencapture name “Techbriefly”.
- Replace what is inside the quotes with whatever you want to appear.
- Copy and paste the following command: killall SystemUIServer
- Remove the default date and time from screen captures
The previous trick allowed us to change the name but it still shows the date and time in the screenshots, you can get rid of that too:
- Open Terminal.
- Copy and paste the following command: defaults write com.apple.screencapture “include-date” 0
- Copy and paste the following command: killall SystemUIServer
- If you want to include the date and time again do the same steps but at the end of the command change the ‘0’ to a ‘1’.
How to change the default location of the screenshots in macOS?
By default, screenshots are saved on the macOS Desktop. There is a Terminal command to change this:
- Open Terminal.
- Copy and paste the following command: defaults write com.apple.screencapture location ~/Documents/Captures
- Copy and paste the following command: killall SystemUIServer
- In this case the command indicates that they will be saved in the ‘Documents’ folder and inside this folder in the ‘Captures’ folder. You can create your own custom location.
How to change the format of the screenshots in macOS?
By default, the operating system saves screenshots as PNG images. They have higher quality and allow transparencies, but they also take up much more space, and sometimes we are just interested in sharing something quick. You can change the format from the Terminal to make them JPEG files:
- Open Terminal.
- Copy and paste the following command: defaults write com.apple.screencapture type jpg;killall SystemUIServer
Don’t want JPEG? There are a few more options, just use one of the following commands:
- JPEG: defaults write com.apple.screencapture type jpg;killall SystemUIServer
- GIF: defaults write com.apple.screencapture type gif;killall SystemUIServer
- PNG: defaults write com.apple.screencapture type png;killall SystemUIServer
- PDF: defaults write com.apple.screencapture type PDF;killall SystemUIServer
- TIFF: defaults write com.apple.screencapture type tiff;killall SystemUIServer
How to copy the screenshot directly to the clipboard in macOS?
Finally, if you don’t want the image to be saved in any location and you don’t want it to be named or dated… you can store it directly to the clipboard. To do this, any of the screenshot combinations seen above, if accompanied by the Ctrl key, will be saved directly to the clipboard.

