Today we are going to show you how to remove audio from a video using VLC media player. This trick can be useful for many purposes, so keep reading!
To do this task, we are going to use the VLC program, which is available for almost all operating systems. Maybe you even have it on your PC. If you don’t have it you can download the software from this website.
How to remove audio from a video?
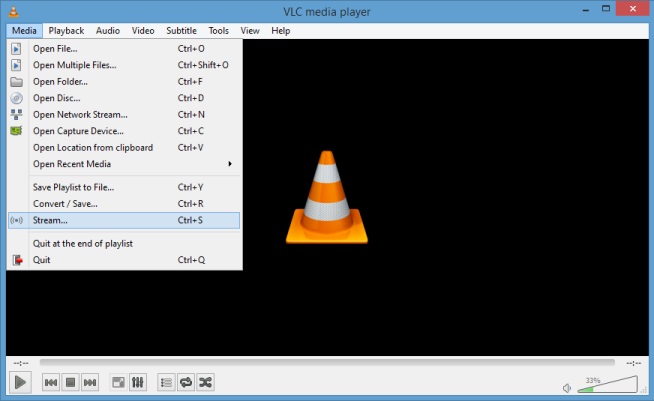
The process is really simple, just follow our instructions. To begin with, open VLC and click on Media. It is located on the menu at the top. When the options are displayed, click on the Convert option. You can open it directly by pressing Control + R at the same time.
You will go to the Open Media screen. Here, in the File tab, click on the Add button then the file explorer will open and you can add the video or videos you want to compress. Then, click on Convert / Save to proceed to the compression settings.

You will enter the Convert window, where you have to configure everything. Open the Profile drop-down menu to select the video format in which you want to save it. It can be the same format that you already have right now or you can take the opportunity to change it to another format. When you select it, click on the edit profile button that appears to the right of the selected profile.
You will enter the Edit Profile window. The first thing you have to do here is to check the Encapsulation tab, where you have to make sure you have selected the video format.

Go to the Audio Codec tab. In this tab, uncheck the Audio option. By doing this, you will be telling VLC that you want your video to have no audio. When you have finished doing this, click Save to apply the changes.
Then, click on Export to decide in which folder you want to save the final video. You will have to do this within the file explorer that will open. And when you are done with this, click the Start button to start exporting.
This process may take a few minutes, but if you carefully follow all these instructions, there should be no problems.


