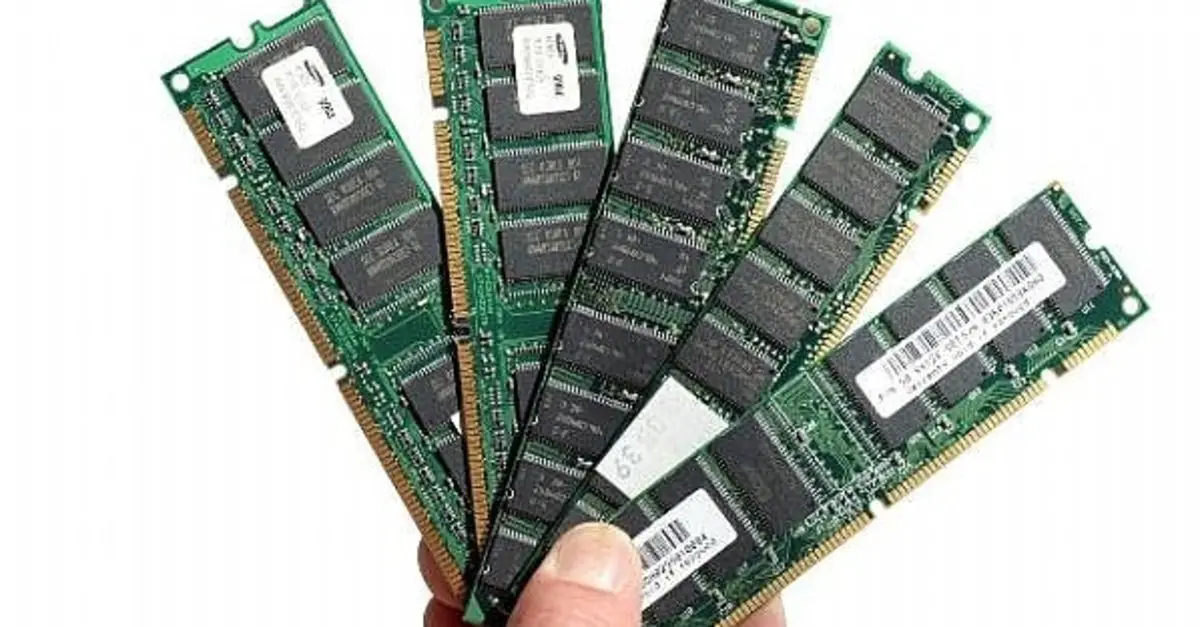
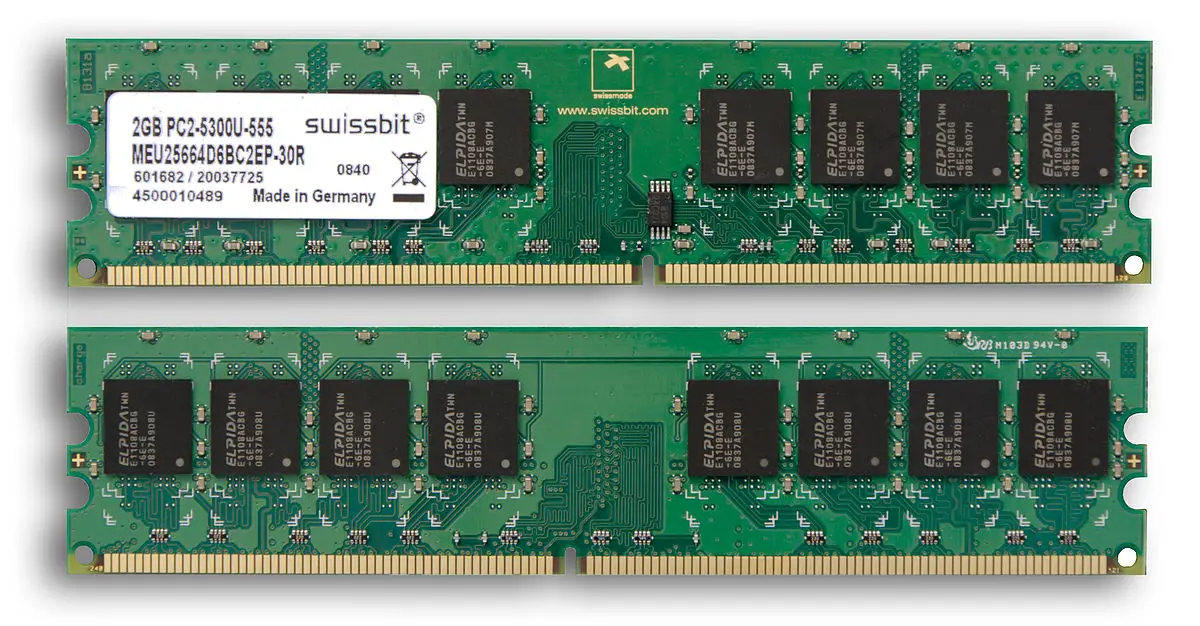
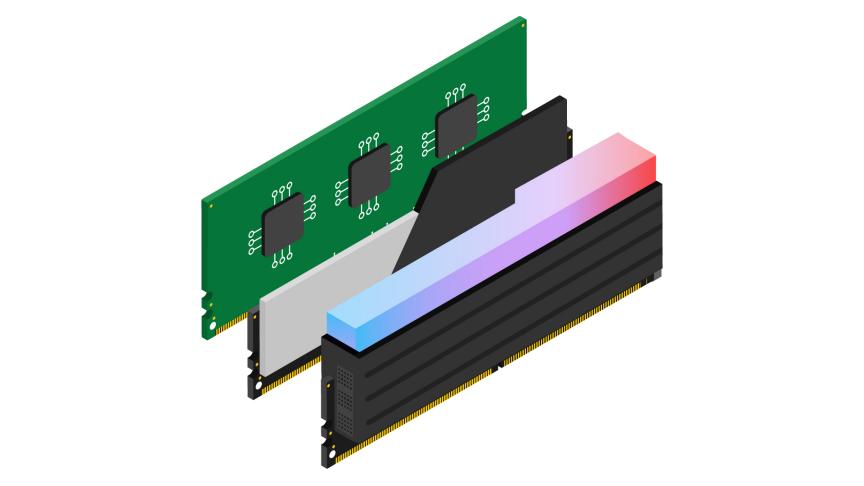
If you don’t know how to set XMP profiles in your BIOS, we are going to help you out, this way you will optimize your PC’s RAM performance. For example, there are memories that come tested at 3200 MHz by the manufacturers but sometimes our computer only recognizes it at 2133 MHz (in the case of DDR4 RAM) or at 1333 MHz with DDR3 DIMM RAM.
The importance of having the XMP profile active
If you are one of those people who are never satisfied with the characteristics and specifications of a computer and you have decided to build one that suits your needs or you just bought a RAM, but it does not run according to its characteristics, we are going to help you to enable XMP instead of configuring the timings.
It is normal for this RAM to run below its characteristics, this is because it is designed to run at standard speeds. But if you want your RAM to perform at its maximum, you must set XMP profiles to reach the maximum limit.
Why my RAM is not working at the maximum speed?
There is an engineering board, JEDEC, that decides the limits of RAM speed. Even if you get a RAM that exceeds these limits it will automatically run at the limits.
The advantage is that you can opt for a different way than the traditional one, which is to enter the BIOS and manually set the timings one by one. Your RAM has “Extreme RAM Profiles”, XMP, which is a small amount of storage.

Your BIOS will be able to read the profiles and do the configuration automatically according to the RAM manufacturer. If you want to check the timings first you can do it inside Windows.
The first thing you should do is download the CPU-Z executable by clicking on the RAM tab and you will see the RAM timings that are already configured for execution.
How to set XMP profiles in your BIOS to optimize RAM performance?
In order to set XMP profiles, you need to enter the BIOS of your computer. You need to reboot your computer and then you will press the correct key when the boot process starts, usually, it is “Delete/Del/Clear”, “Esc” or “F2”.
Now you are going to look in the BIOS for the option that has the name XMP. Go to the “Extreme Tweaker” area and click on “AI Overclock Tuner” and activate the XMP option.
If we look at the XMP option we can see that there is only one profile: DDR4-3200 16-18-18-36 at 1.35V. In other RAM modules we can choose two profiles: default and tested overclock. In this case, we leave active the DDR4 at 3200 MHz.

Now, let’s check if the RAM voltage is properly marked. All components oscillate the voltage up or down (even slightly), this event is called VDROOP. We fix it by applying one more voltage point to the memories (by pressing the + key) and all our problems will be over.
Now go again to your BIOS output options to confirm the change of your timings and restart your computer and you are done.


