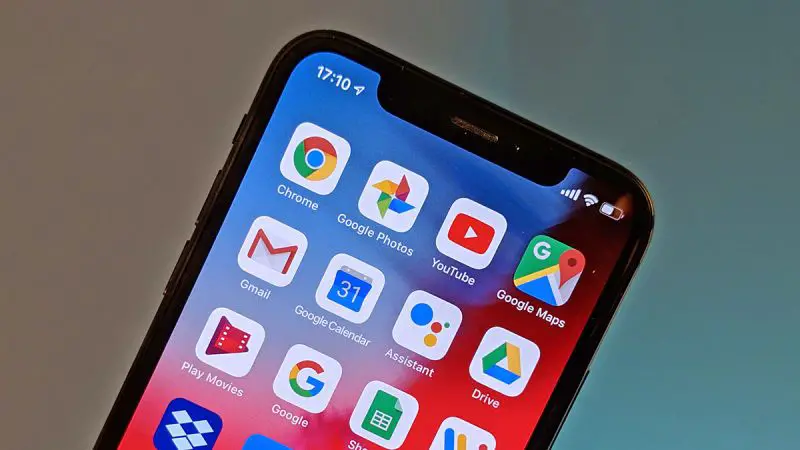
Today we will explain how to manage Google Photos storage to maximize available space. Since June 1, Google Photos no longer offers what has been its great claim since it was launched: unlimited free storage space. Any image uploaded to Google Photos now counts towards the free storage space (15GB), which is still available to any Google user and is divided between services such as Gmail, Google Drive, and Google Photos itself.
Thus, it is not surprising that many of the Internet giant’s users have considered one of the three ways that the company left to those who relied on Google Photos: abandon the service in search of an alternative with better free or paid plans, hire an extension of storage with Google, or adjust to the default available for free. The problem with the latter option is that miracle, to Lourdes, as they say.
The truth is that Google Photos storage expansion plans are quite affordable, so if you were already using the service and were comfortable with it, scratching your pocket can be worth it. Be that as it may, if you are a Google Photos user and want to squeeze as much storage space as possible, pay attention to the following tips.
How to manage Google Photos storage to maximize available space?
The first thing you need to know is that unlimited free storage space on Google Photos was only unlimited when the “high quality” option was enabled. Ergo, if instead of saving your files in “original quality” you chose “high quality”, compression was applied to images and videos that reduces the weight of the file, without reducing the quality too much.
Curiously, Google even warned earlier this year that the high-quality mode irreparably damages photos, although judging by how long it has taken them to reach such a conclusion and that a thousand independent checks have been made in this regard, it all smelled like an attempt to discourage the masses from taking advantage of the remaining free storage time…
And the proof is that they still offer the same mode, with a nuance: “High Quality is now Storage Saver”, it is stated in the Google Photos settings. Ergo, you can still use this mode to save some storage space, without losing too much quality in photos and videos (it all depends on the original resolution: photos are reduced to 16 MP and videos to 1080p).
In the same section of Google Photos settings, you can apply a generalized compression to all files, by running the “Recover space” option.

You can also access “Manage storage”, where a graph is displayed with the shared storage you have spent and, somewhat lower, “Review and delete”, a section with several options with which to get rid of ballast, including:
- Large photos and videos, for example, those you uploaded in original quality and can compress.
- Blurry photos, although sometimes the algorithm and Google Photos is wrong and interprets blurred elements that do not matter.
- Other applications and screenshots, both specific to those who make their backups on Android systems.
Of course, everything you do is up to you: you decide what is important and deserves more space, what is filler and you do not care to lose or compress … Just in case, you should review everything calmly, because no matter how much you exceed the default 15GB of free space, if you accumulated before June 1 will not be deleted. But don’t start deleting impulsively either, because you will not recover more space than the free or what you pay for.


