Today we will tell you how to install Windows 11 on computers without TPM 2.0 chip.
We already know the demanding specifications with which we must comply if we want to upgrade to Windows 11. Many computers will be left out when they find that their equipment does not have the TPM chip, a security processor that Microsoft requires along with the presence of Secure Boot. Two key elements that however can be circumvented to upgrade as detailed by the user Albacore on Twitter.
Windows 11 requires a computer that is compatible with TPM 2.0 and that in turn has Secure Boot. However, it seems that with a series of steps, it is possible to bypass these requirements and install Windows 11 on computers that, in theory, do not support it.
Installing Windows 11 on all computers
With a Windows 11 Build already available for those who are part of the Windows Insider Program, simply download the ISO and follow a series of steps on the computer to skip the requirement to have the TMP chip during the testing process.
This is a section in the Windows registry called “LabConfig” that allows you to skip the TPM 2.0 check, the 4GB RAM limitation, and the Secure Boot check.
It should be noted that for this process you have to touch the “Windows Registry”, so everything is at your own risk. It is a process, this tutorial, that can cause performance and operation problems in the computer.
How to install Windows 11 on computers without TPM 2.0 chip?

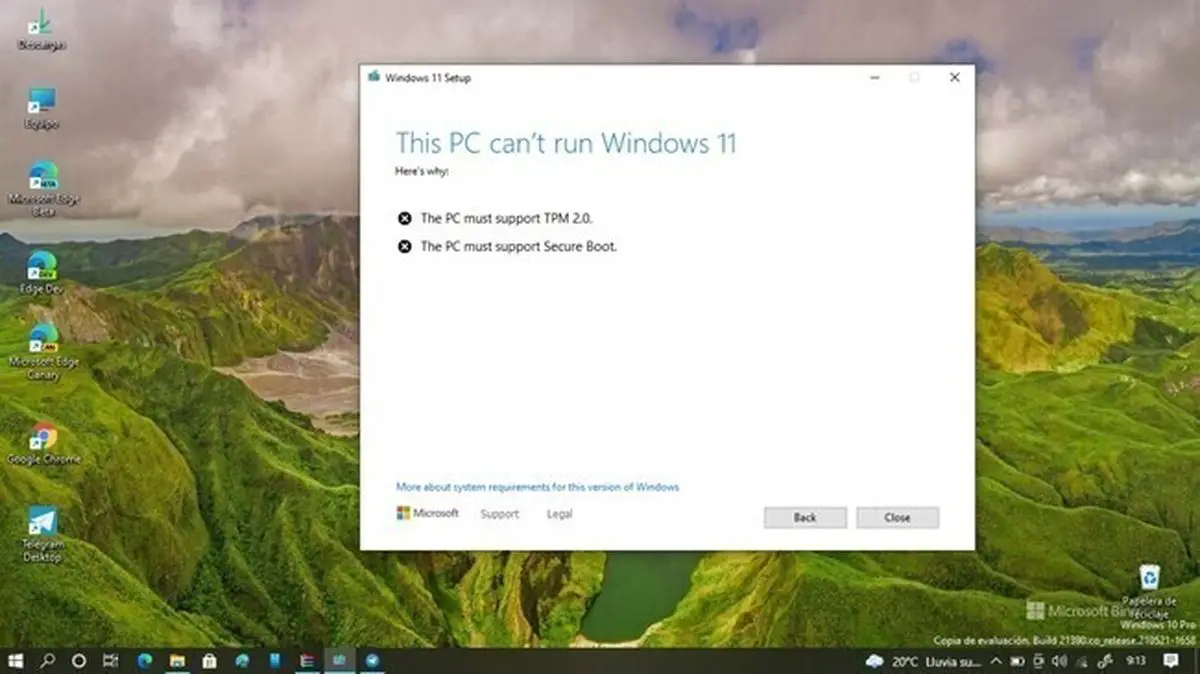
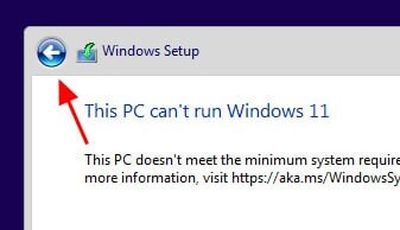
Once we download the ISO of Windows 11 and we try to install it, we will see that the PC warns us that it cannot continue because it does not fulfill the requirements and therefore it cannot install and execute Windows 11.
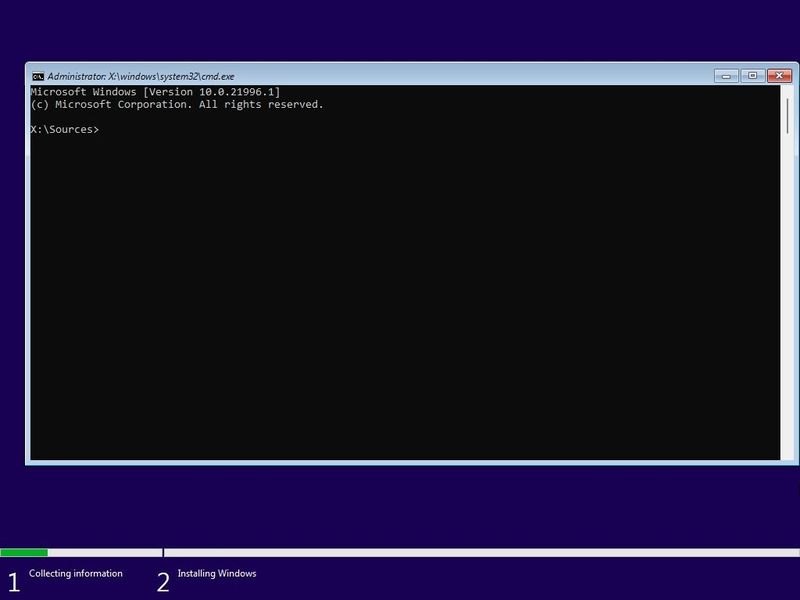
At that moment we must press the key combination Shift+F10 to open the “Command Prompt” and access the “Registry Editor” by typing the command “regedit”.
Inside the “Registry Editor,” we must look for the path HKEY_LOCAL_MACHINESYSTEMSetup and once found we click with the right button of the mouse or trackpad on “Setup”, selecting then the option “New” and “Key”. We will call the key “LabConfig” and press “Enter”.
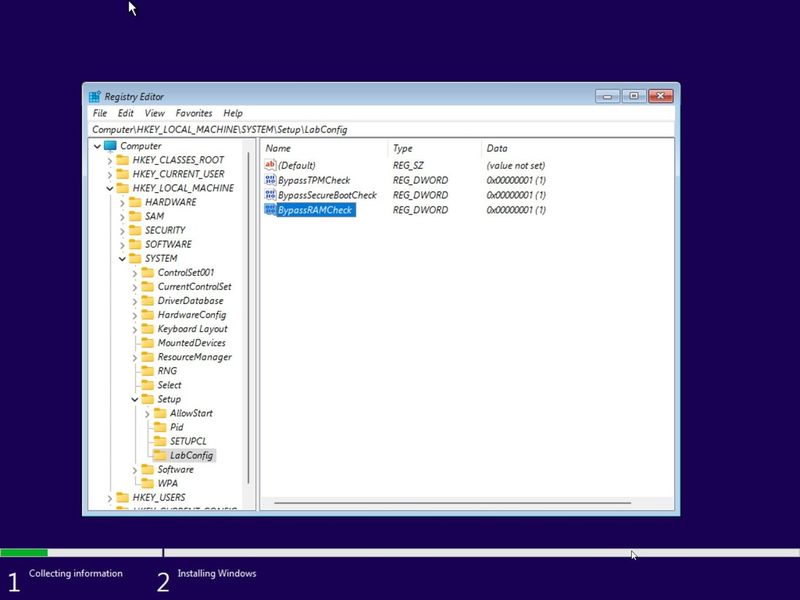
Inside the new folder, we have just created we must add the DWORD values by right-clicking on “DWORD Value (32 bits)” and create the value “BypassTPMCheck” with the value 1. We repeat these steps with the values “BypassRAMCheck” and “BypassSecureBootCheck”.
At this point, we can exit the “Registry Editor” and the “Command Prompt” and try to install Windows 11 again. The incompatibility warning should no longer appear and Windows 11 can be installed on non-compatible computers.
However, we must not forget what was said before and it is that to carry out these steps can cause that our equipment has problems of performance, security, and operation with Windows 11.

