There will be many times when you are surfing the Internet, either for leisure or for work, with your computer based on Windows 10 software and you need to take a screenshot or screenshot to save or remember later what you are seeing at that moment. It is very simple and there are different ways to do it.
How to take a screenshot in Windows 10?
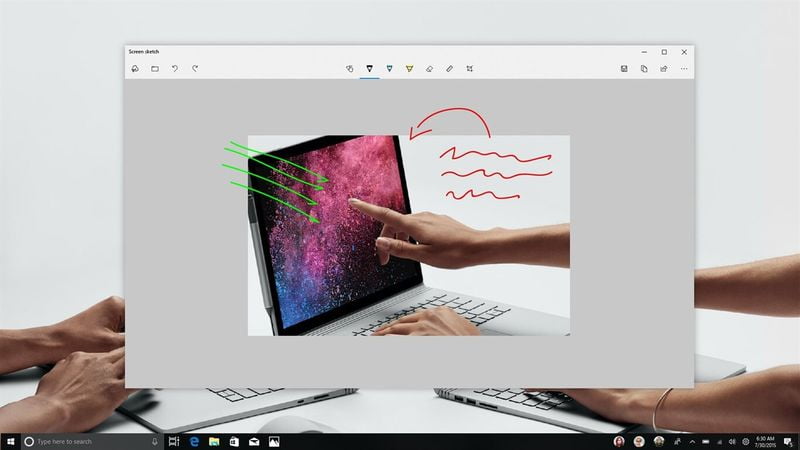
Screenshot via the Snipping and Sketching application

Windows 10 comes with the trim and sketch application already installed. If you do not have it because at some point you have removed it while cleaning your PC, you should know that it is available in the Microsoft Store for free. When you have it, access it from the Windows 10 start menu and press the “new” button to start clipping with the so-called clipping bar.
This bar allows you to capture the following types of clippings. On the one hand rectangular, on the other hand, free-form, and the other hand full screen. To do this, you will see that when you open “Crop and sketch” and click on “new” four buttons appear at the top. The first one is for capturing a frame of the screen, the second one is for capturing a freeform shape and the third one is for capturing the whole screen. The one with the “x” symbol is used to close the application (although you can also use the “ESC” key to exit).

You can also decide whether you want a screenshot immediately or within a few seconds. Once you have cropped an area of the screen, the image will be added to the clipboard and you can immediately paste it into another application. Also, when saved to the clipboard a notification will appear which, if you click on it, will take you to “Crop and Sketch”.
Take a screenshot with a keyboard shortcut
This same crop and sketch function is available in Windows 10 via a keyboard shortcut. To do this, you must press the Windows logo key + SHIFT (or SHIFT) + s to open this modern snipping experience (also called the snipping bar).
When you open this tool in this way you go directly to the box where you can choose whether you want it to be square or free. This way you avoid the process of choosing a “new” crop that is in the previous option when you open the application from Windows startup.
Take a simple screenshot of the entire screen

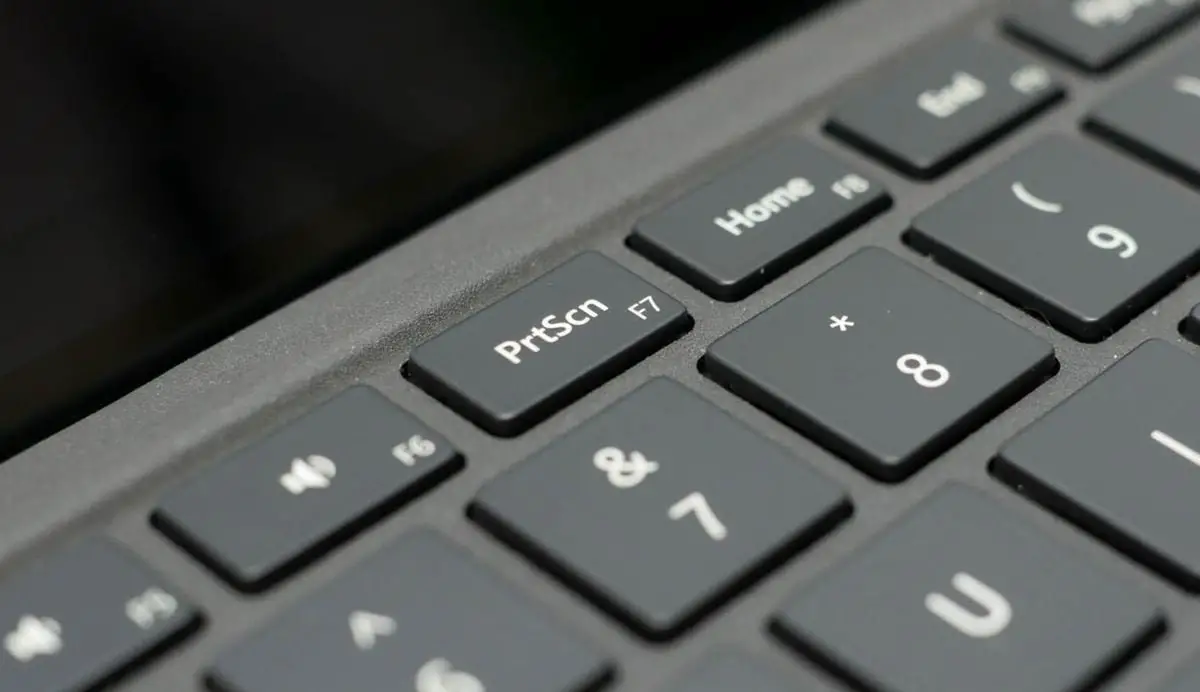
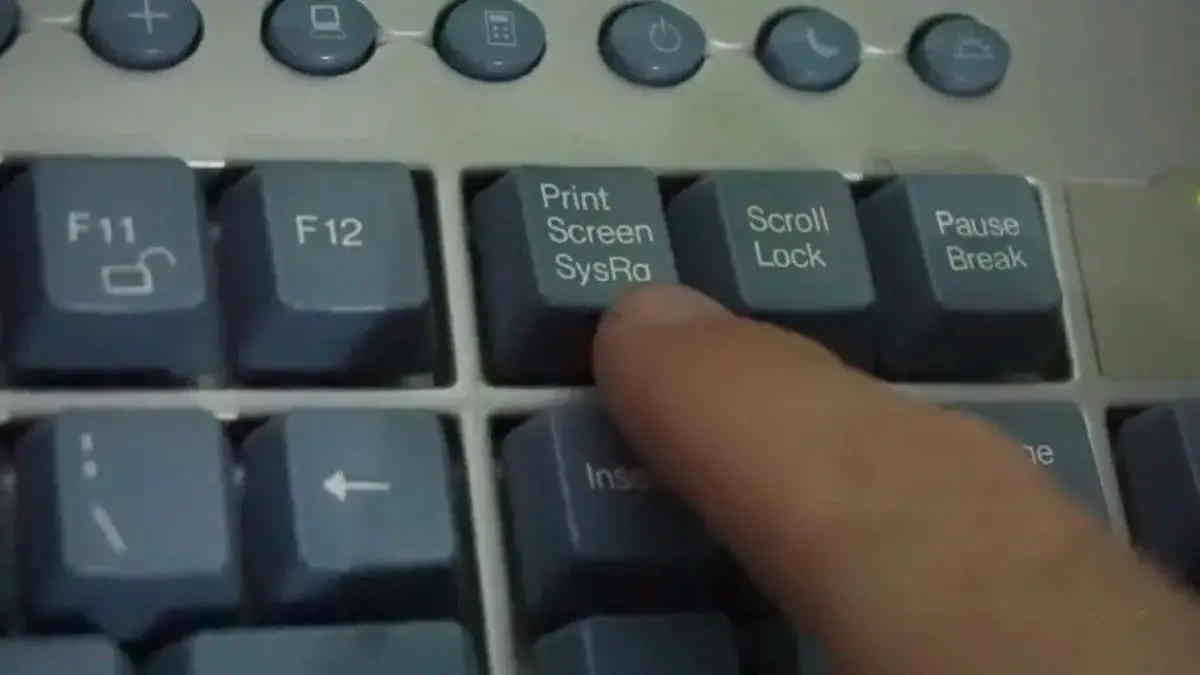
This is the traditional Windows mode. You must press Print pa (or Print pa) on the keyboard. Many computers that come standard with Windows 10 include a button with these letters written on it. Depending on the size of the keyboard they can be more or fewer letters. In English, it may be PrtScrn, so some computers may also have this key.
By simply clicking on this button, you will make a screenshot that is saved in the clipboard. If you do not want to lose it, go to Paint, press Control + V to paste the contents of the clipboard and you can save it and then if you want to edit it.
Create an active screenshot
If you press Alt and Print Screen at the same time you will create a screenshot of the active screen. That means that if you have several windows in Windows you will not capture everything you are seeing, but only the window or the element that you have in the foreground. This capture remains in the clipboard.


